Trashed Black SRT-8 Jeep Cherokee by Unique Car Care

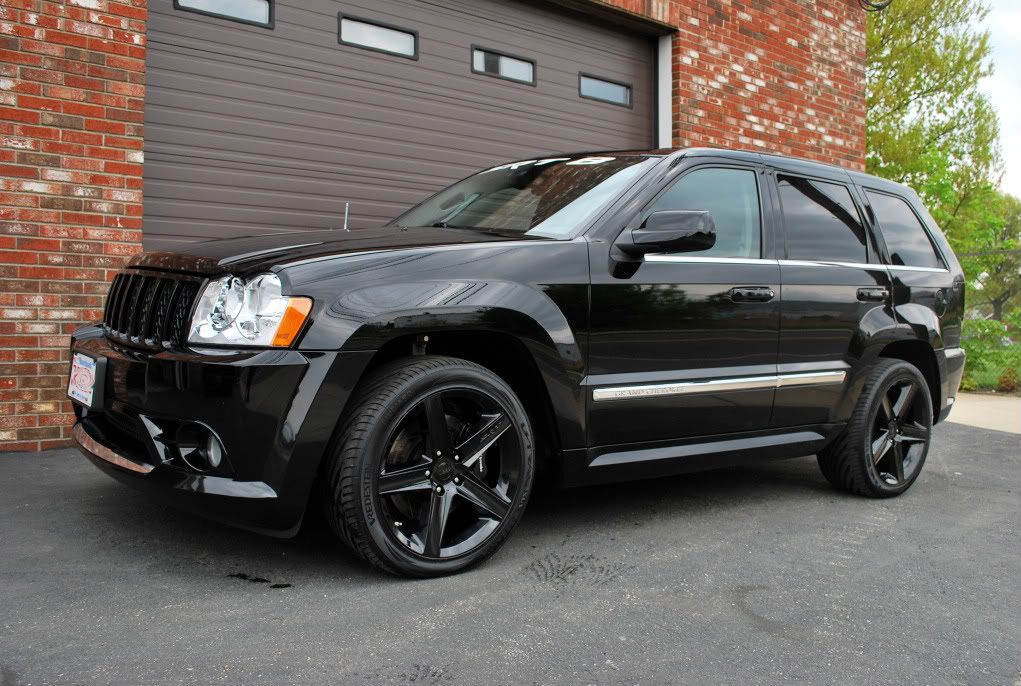
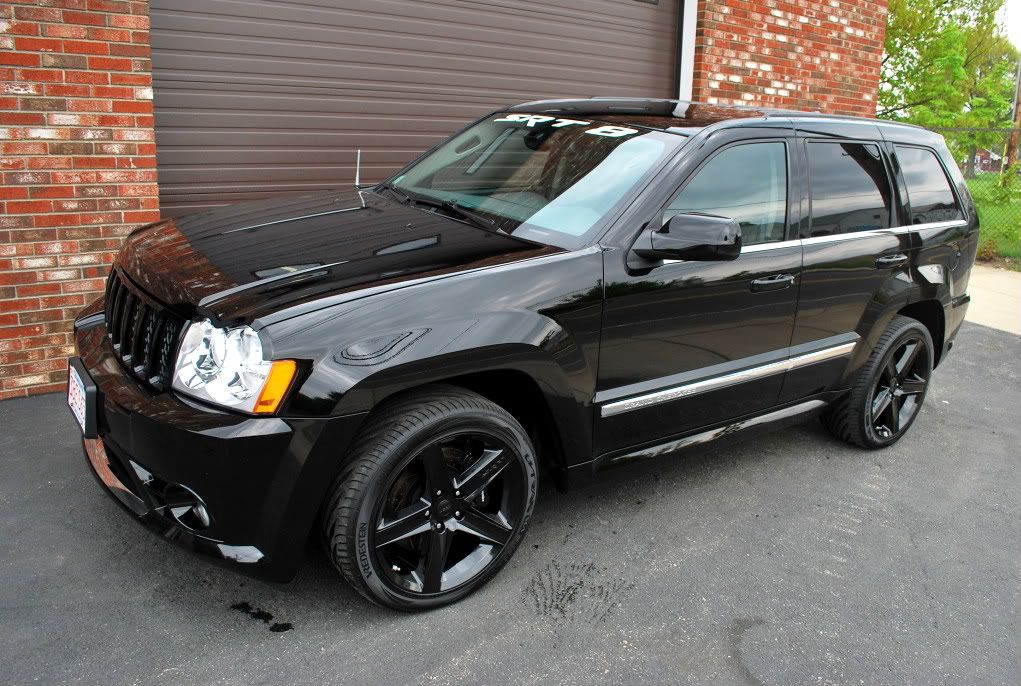
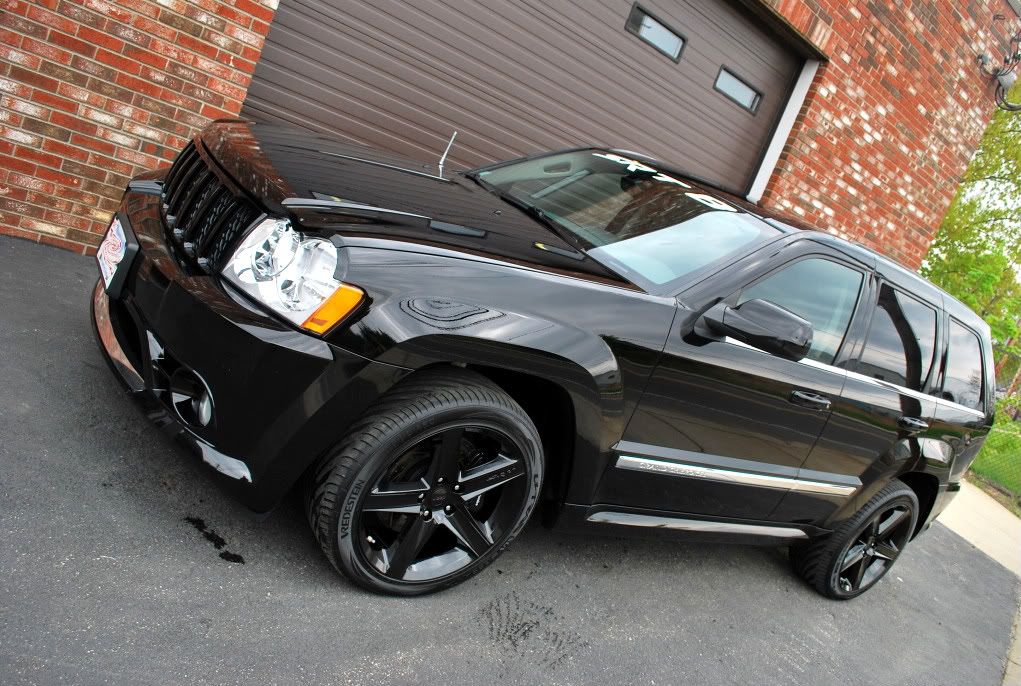
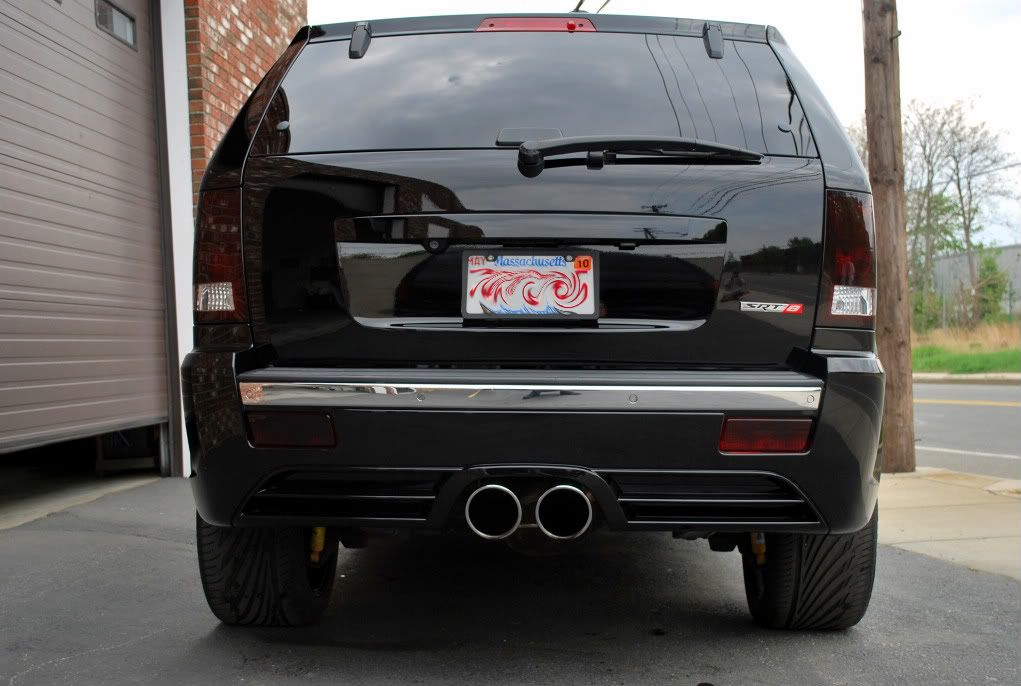
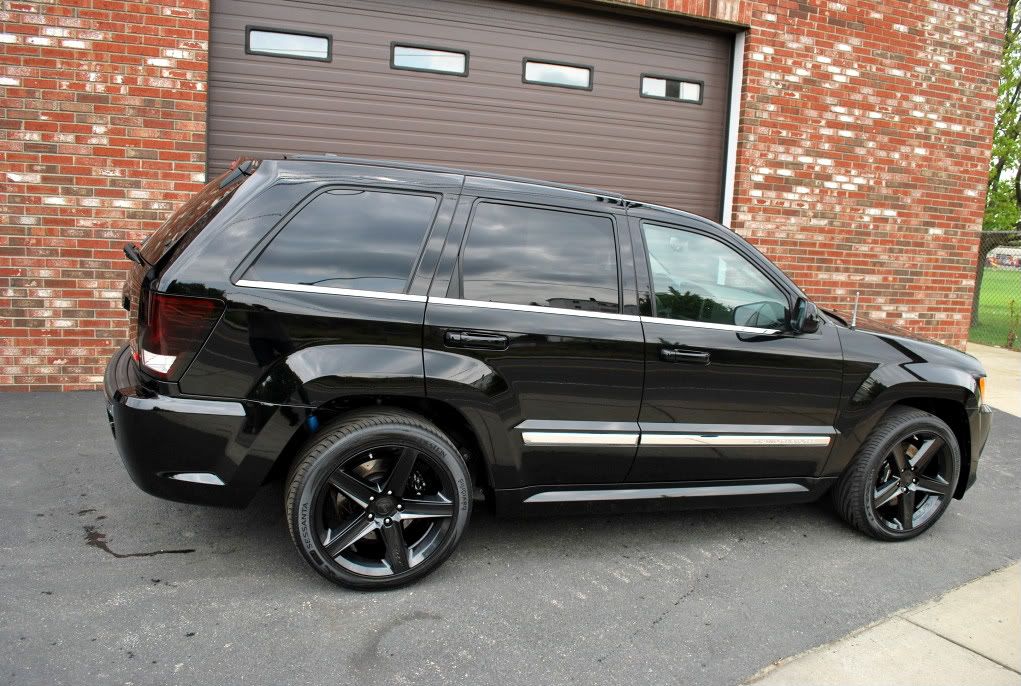
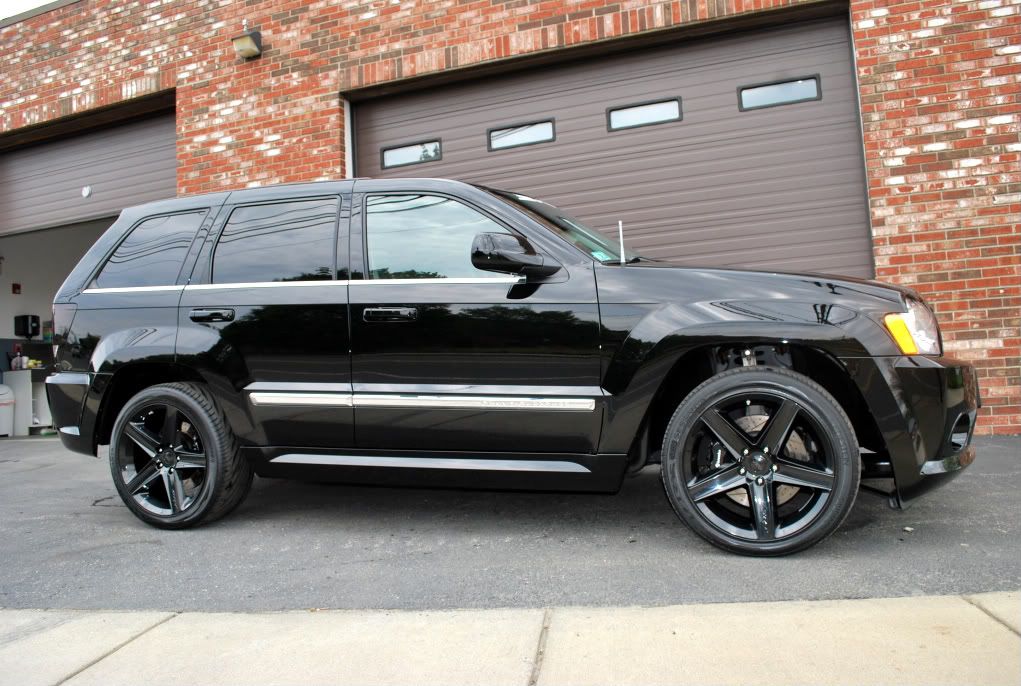
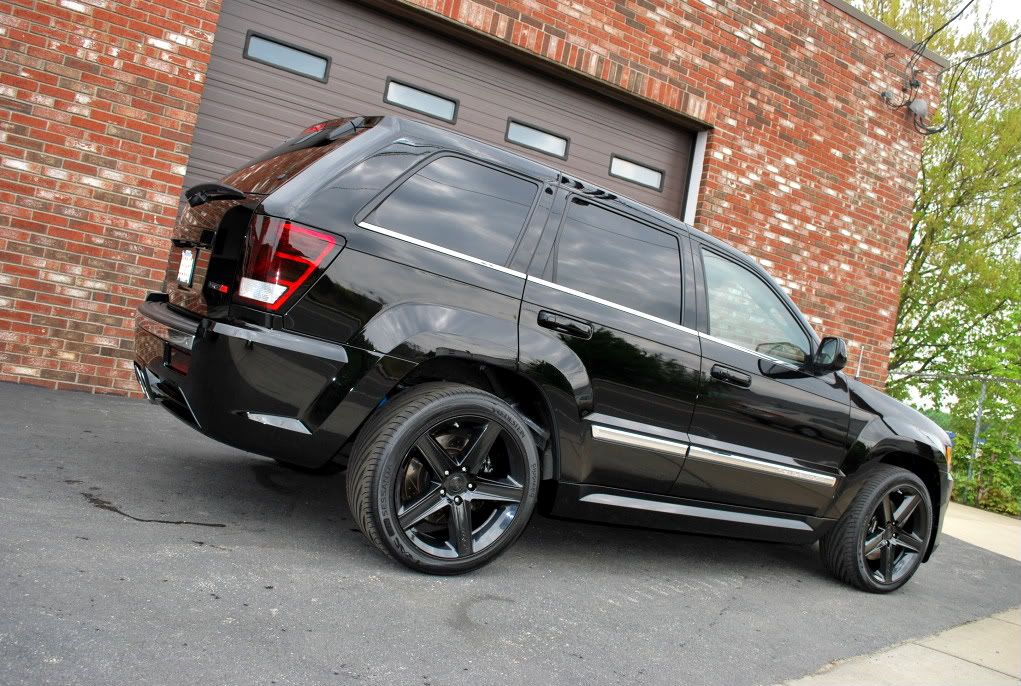
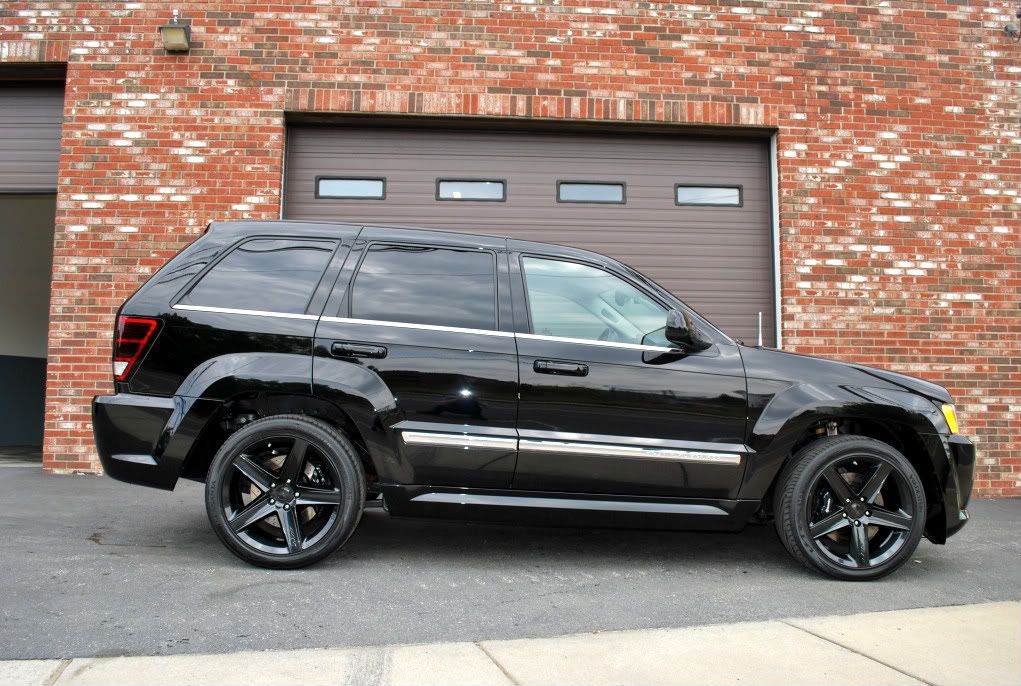
This Jeep Cherokee SRT-8 was scheduled for a basic exterior detail. The paint ended up being in worse condition than we had originally expected, so it ended up turning into an extensive paint correction and required lots and lots of polishing to get it looking new again.


To prep the vehicle for polishing, all dirt and sand that had accumulated in all of the cracks & crevices was rinsed thoroughly, including the undercarriage, engine compartment and wheel wells.

May82009626.jpg


The exterior received a hand wash and extensive cleaning of all wheels, tires, wheel wells and jambs using an assortment of brushes and cleaners. As soon as Ryan and I began washing, we noticed that the paint felt very rough. This was due to the heavy amount of bonded contaminants present.


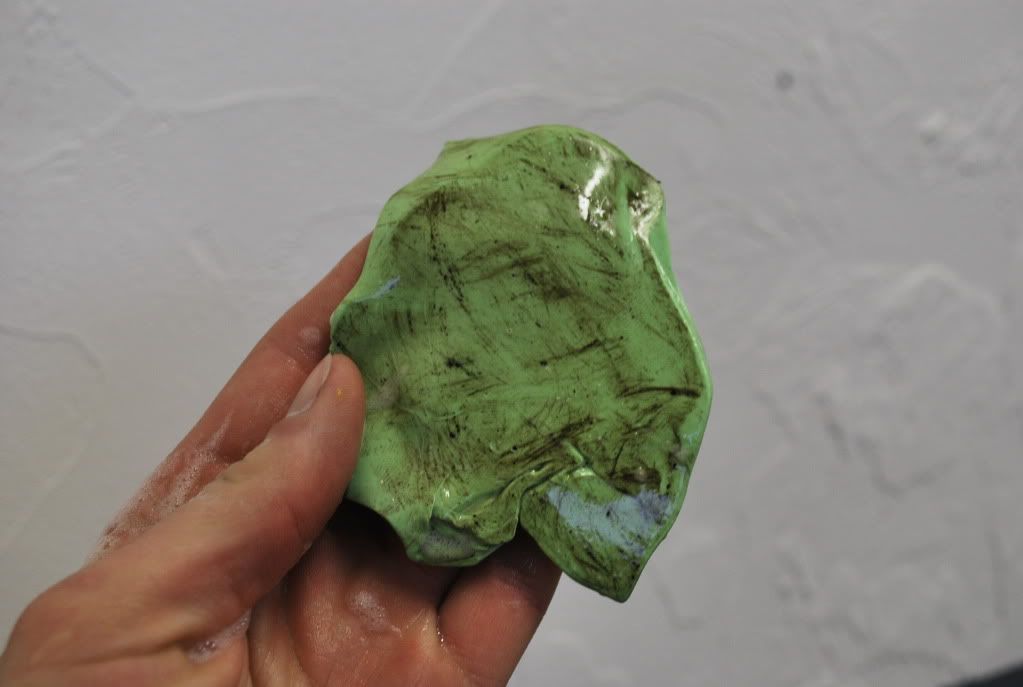
A claybar was used to remove the bonded contaminants, which worked perfectly and left the paint feeling silky smooth.


Ryan claying?

May82009632.jpg


Here?s the claybar after the 1st panel !!!

May82009634.jpg


Once the entire vehicle was clayed, Ryan and I washed the exterior again using a degreaser to remove any remaining dirt, grime, wax, etc. from the paint surface as well as any residue left behind from the claybar. The exterior was dried, all jambs were wiped clean using a microfiber towel and all moldings were masked off before any polishing took place.


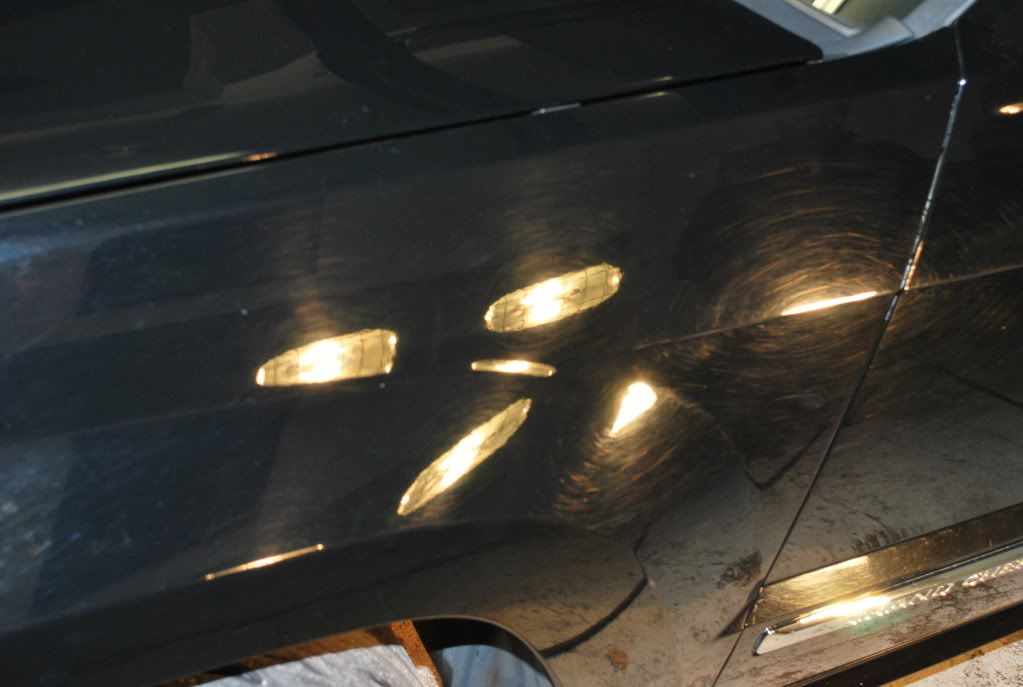
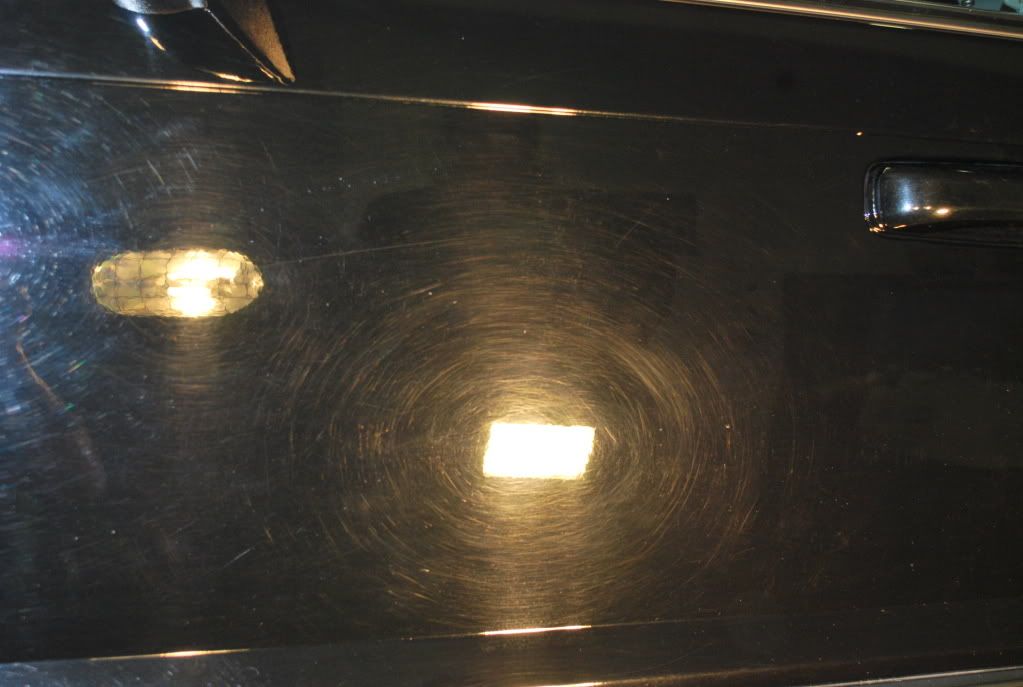
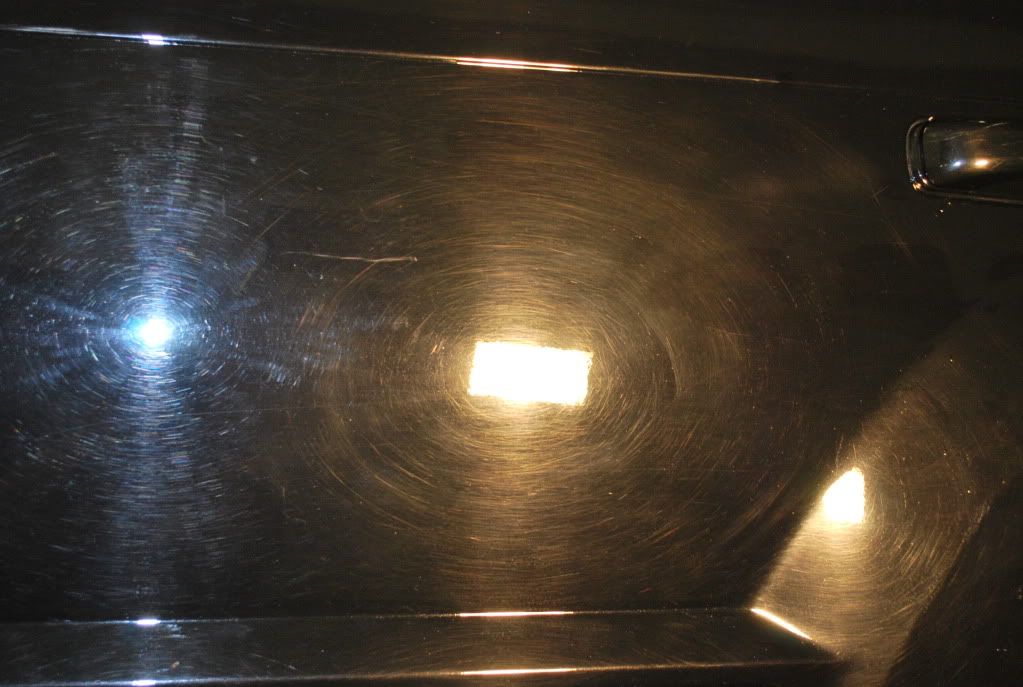
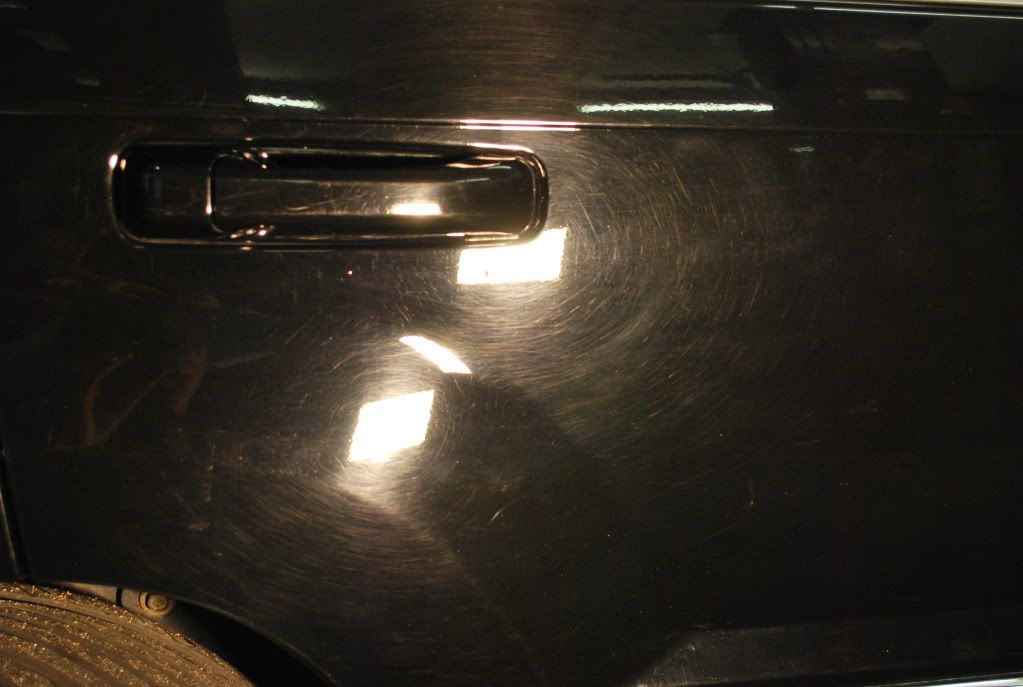
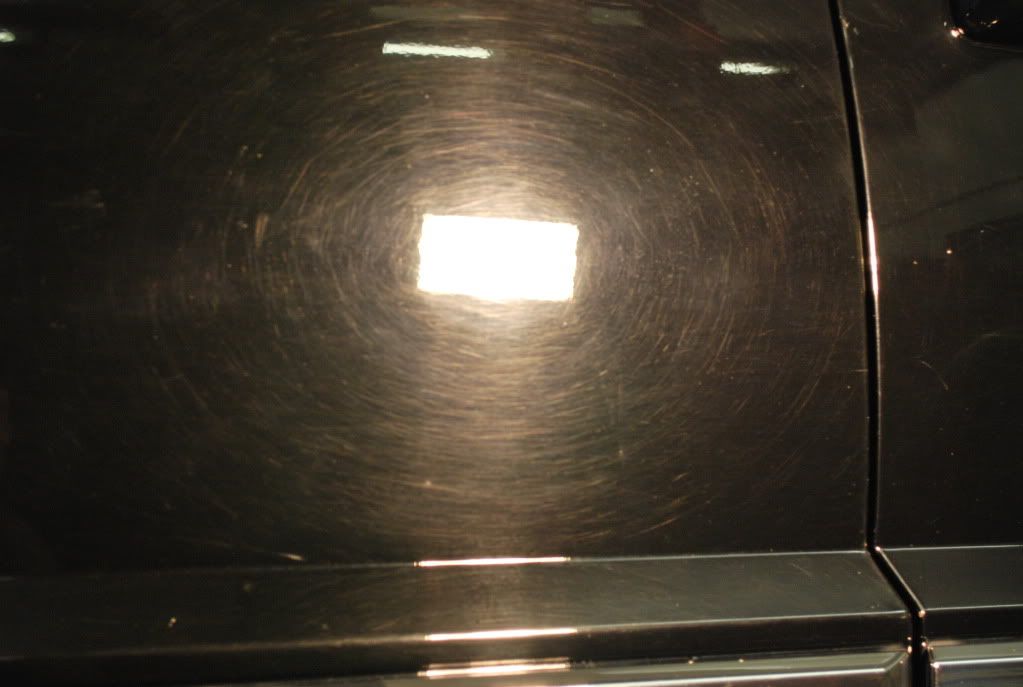
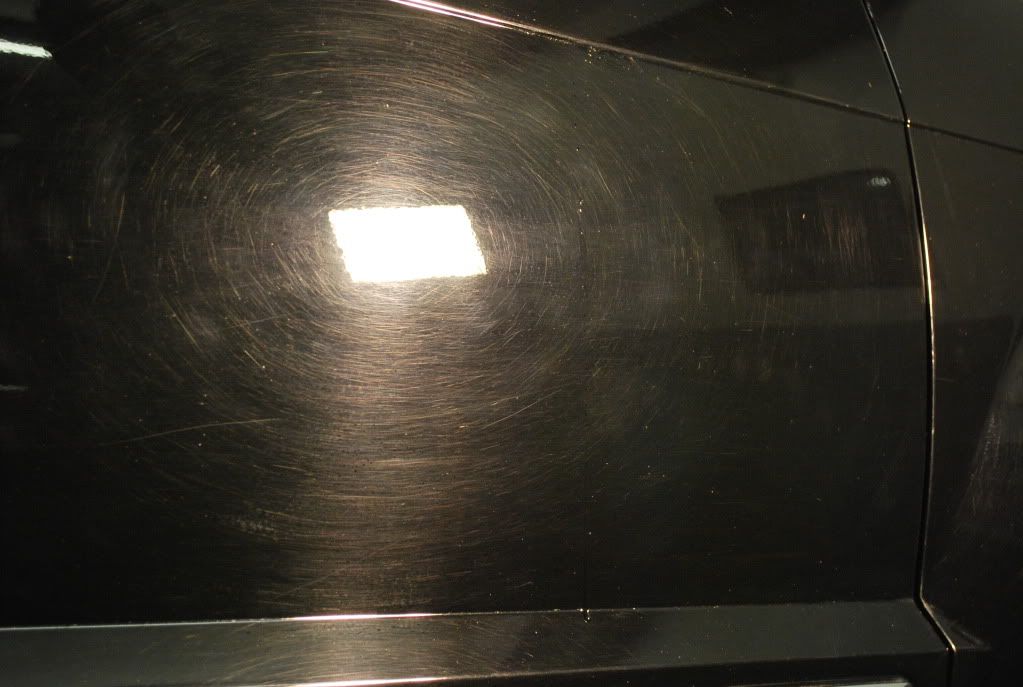
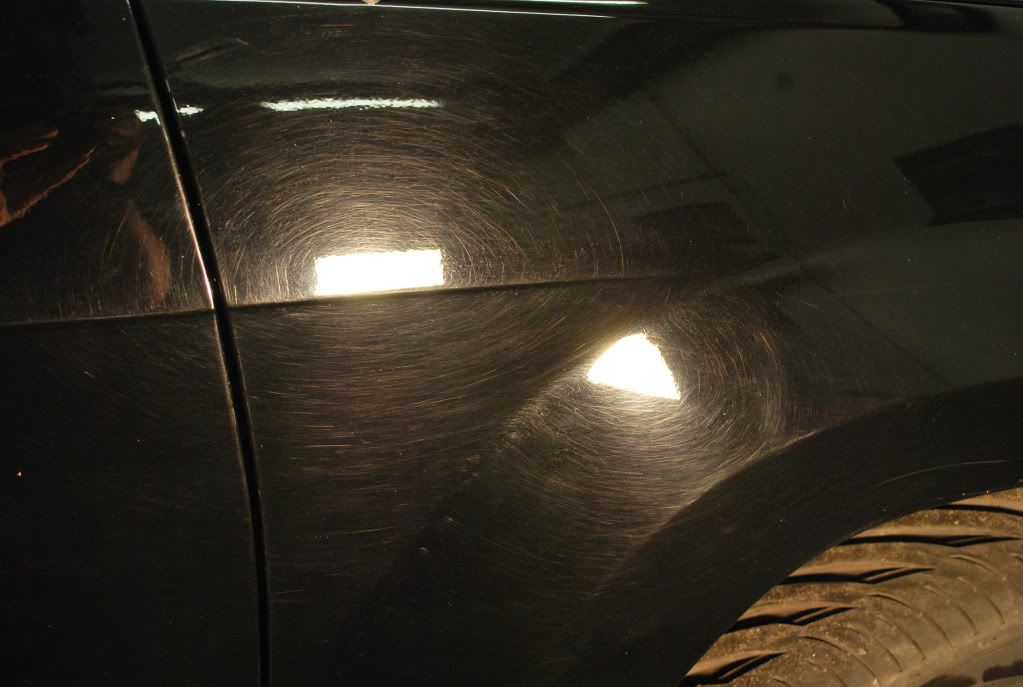
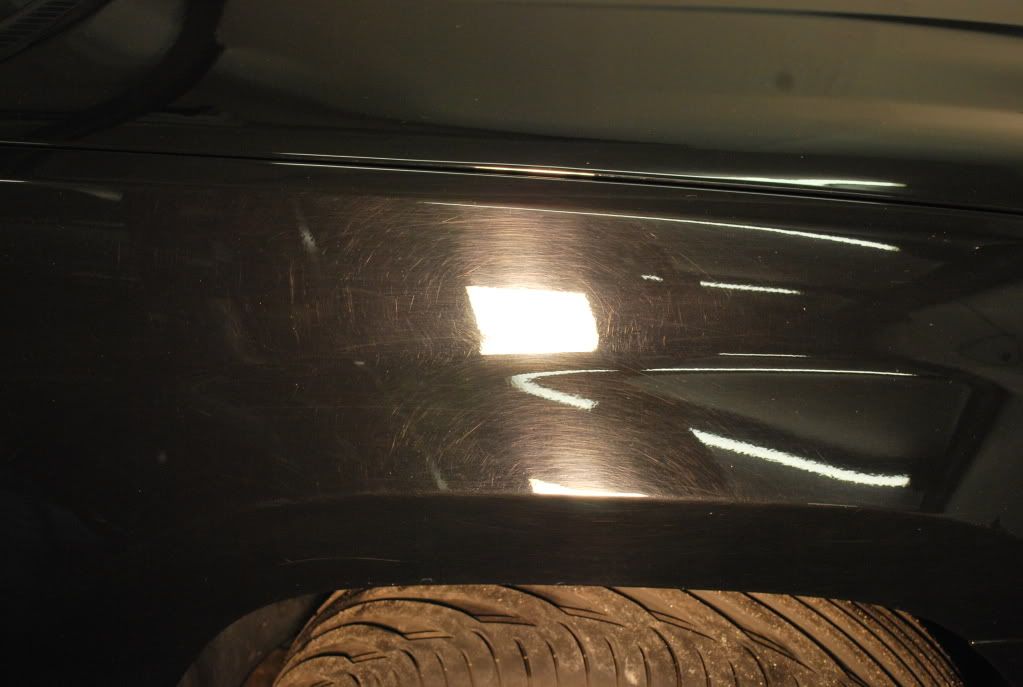
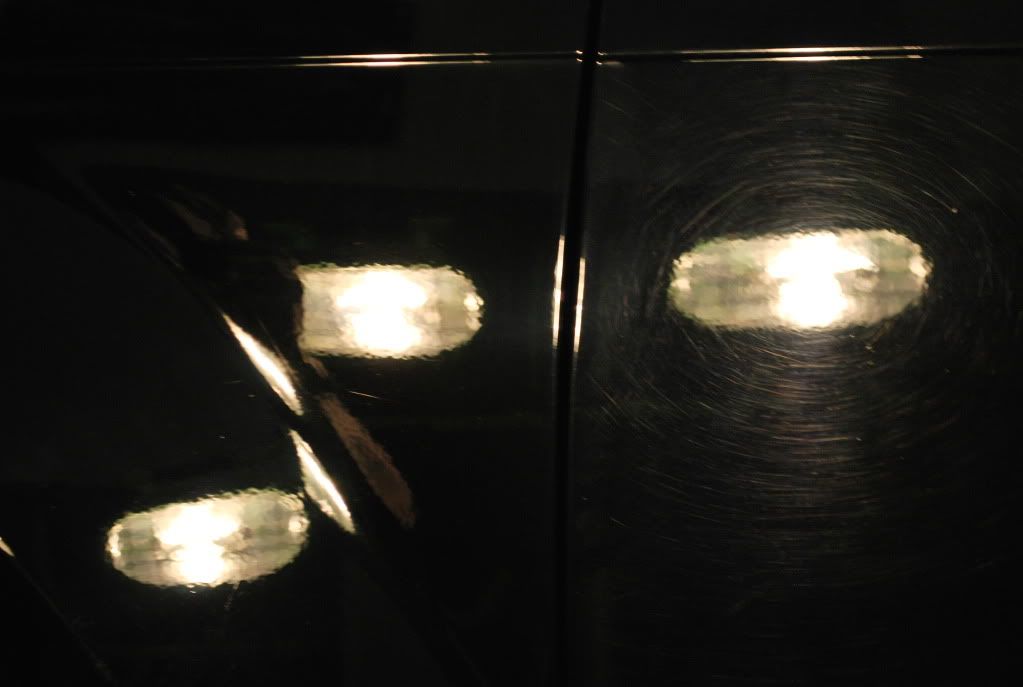
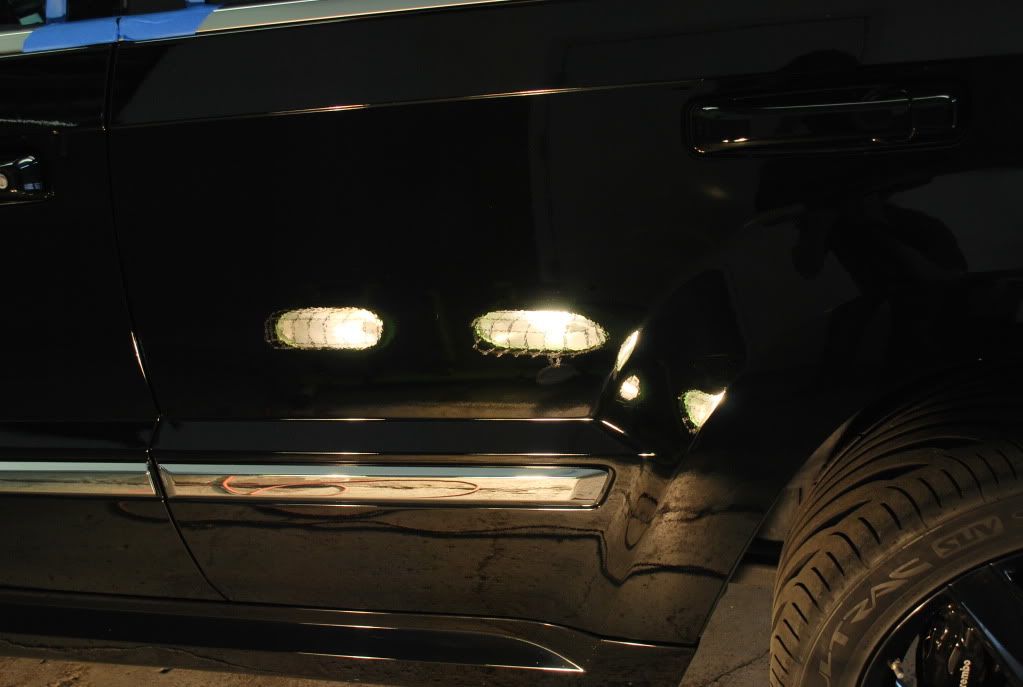
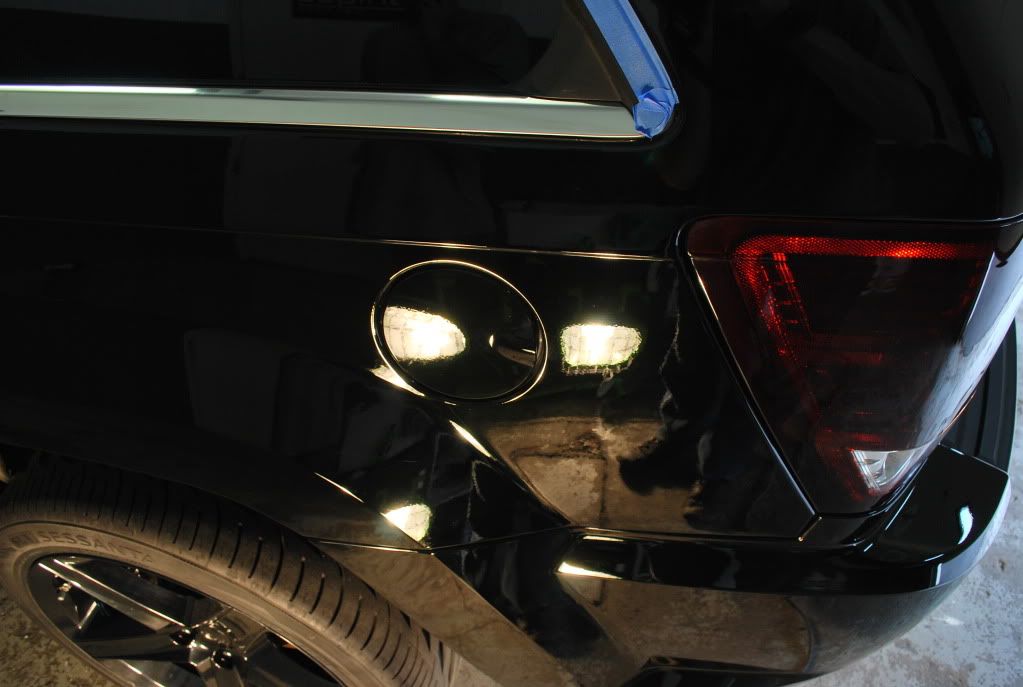
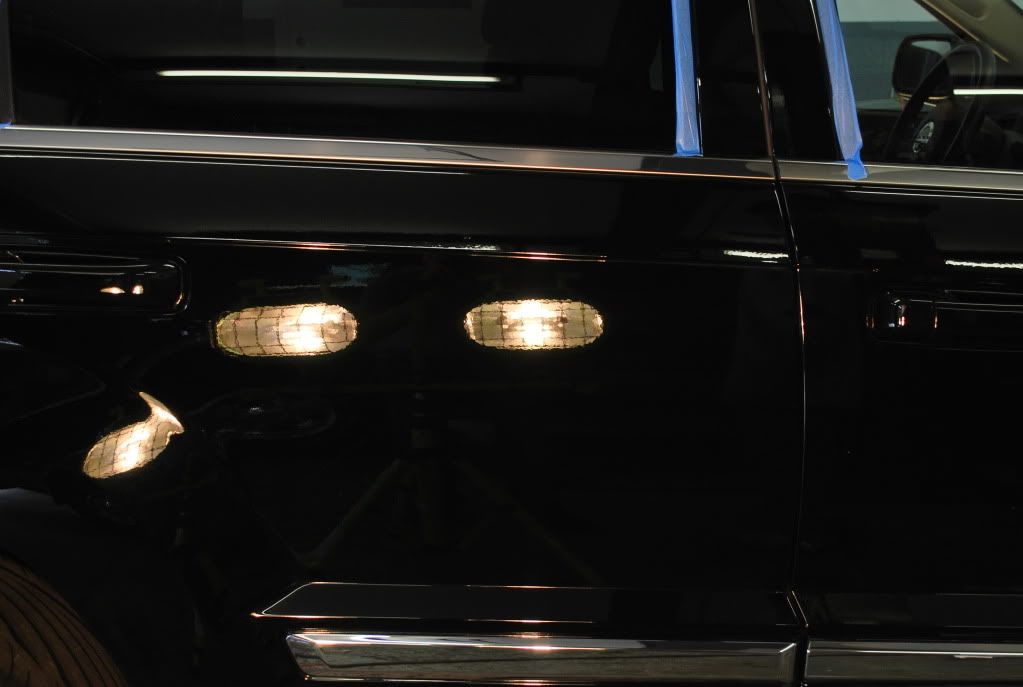
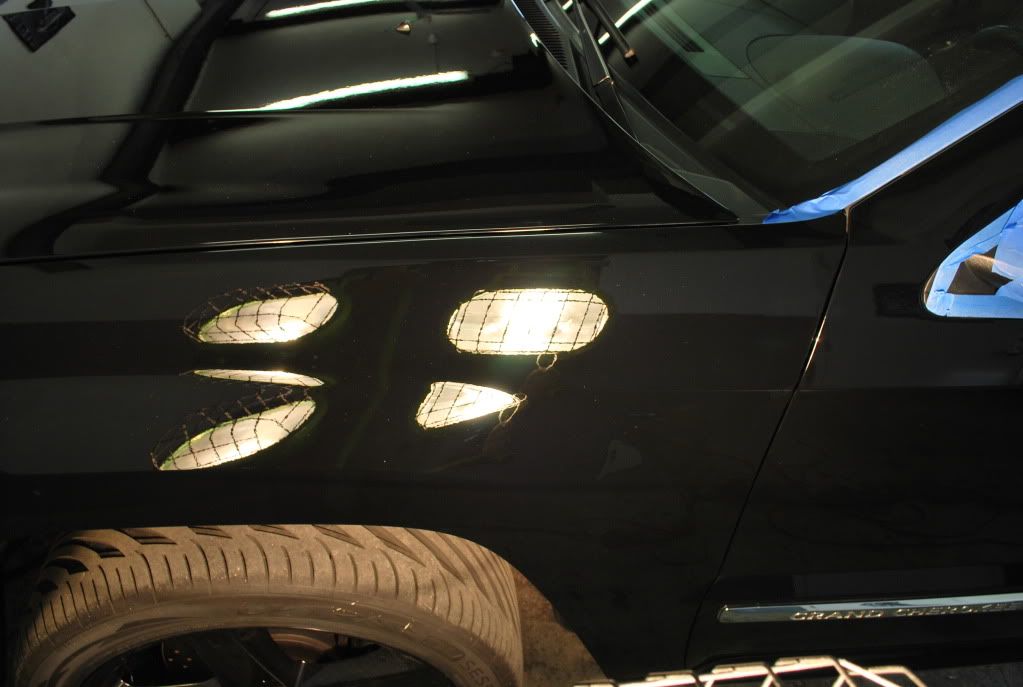
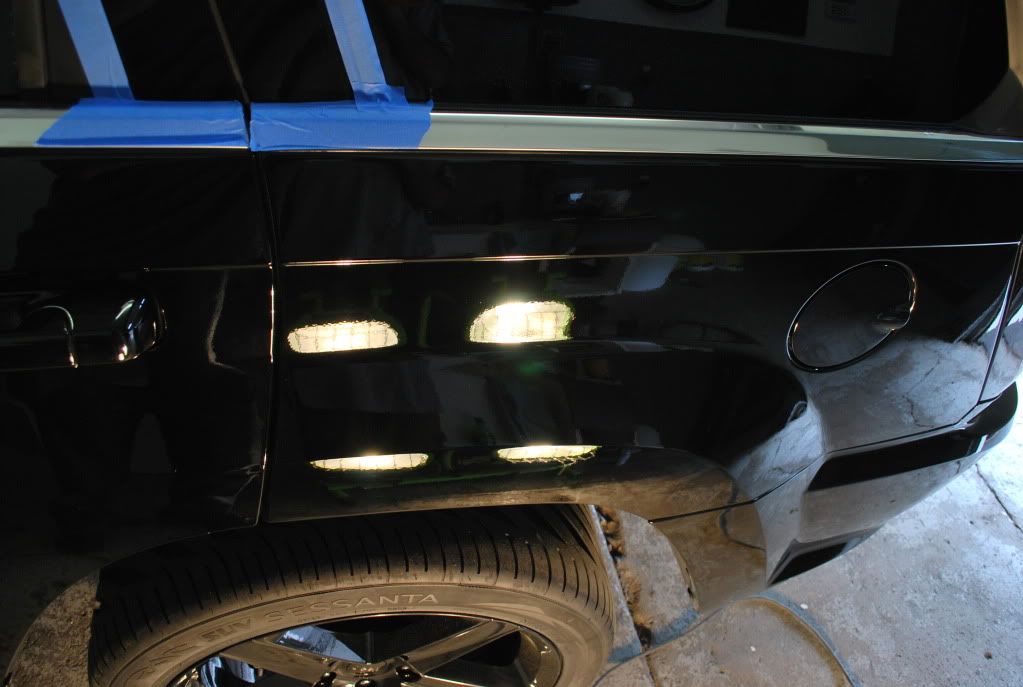
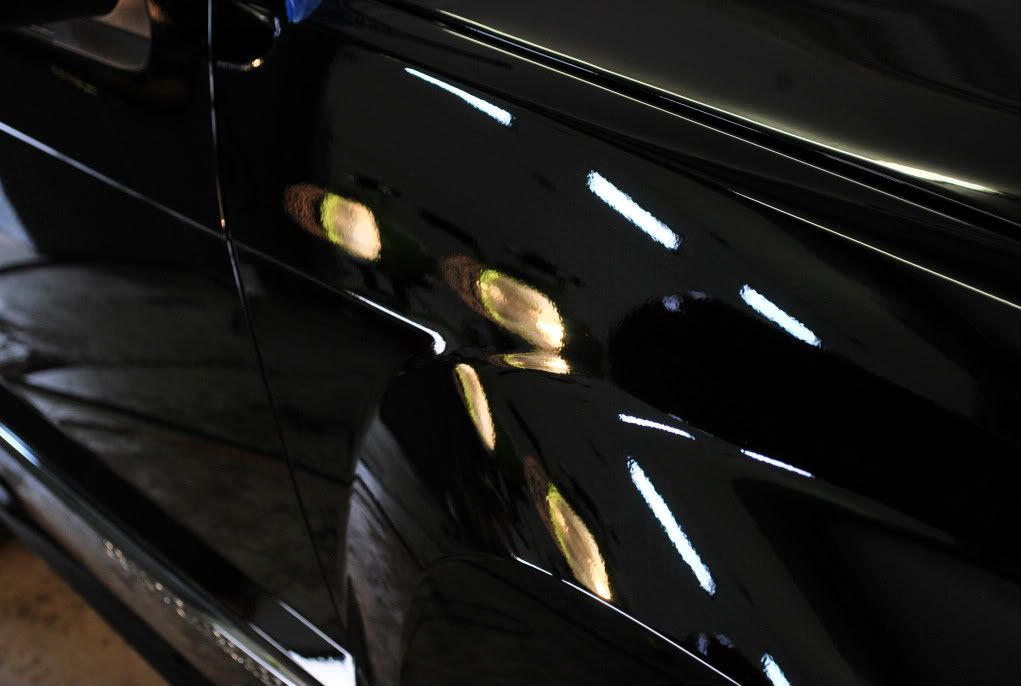
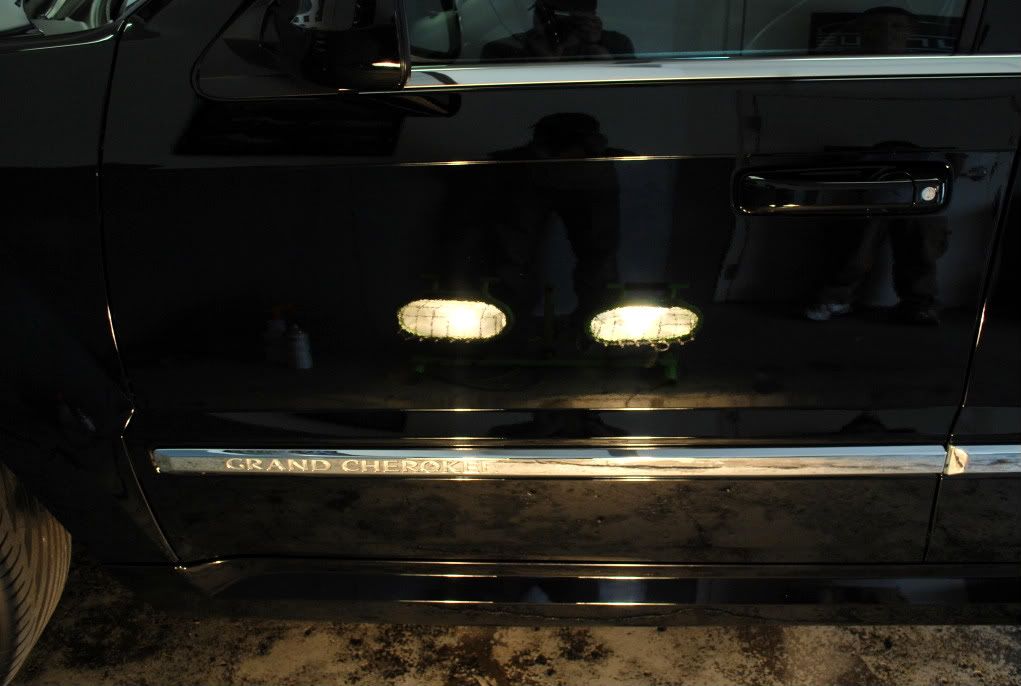
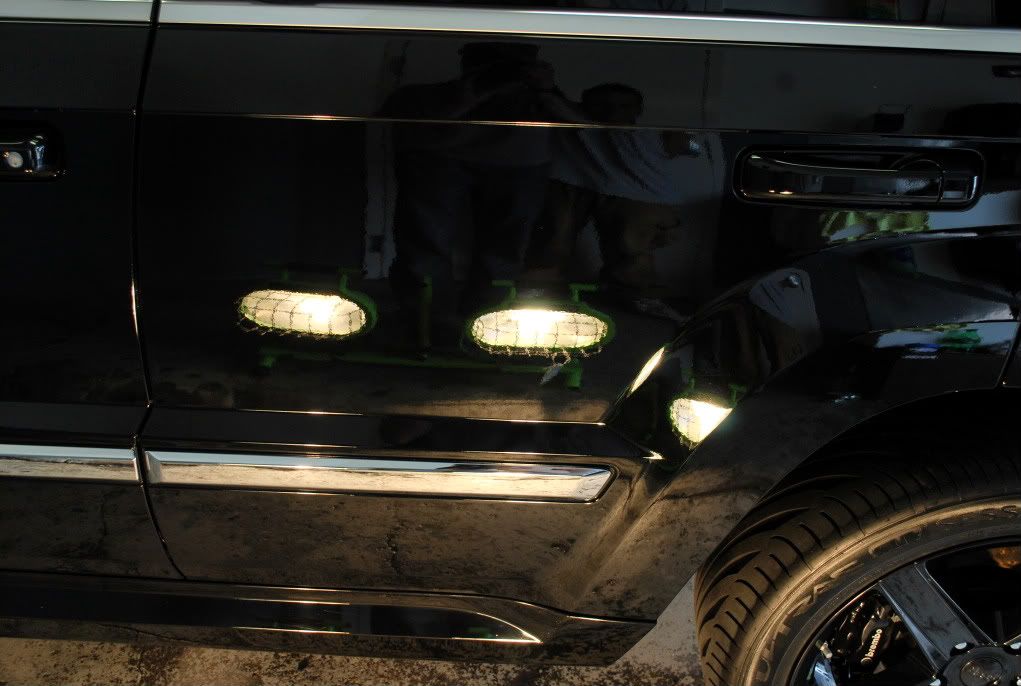
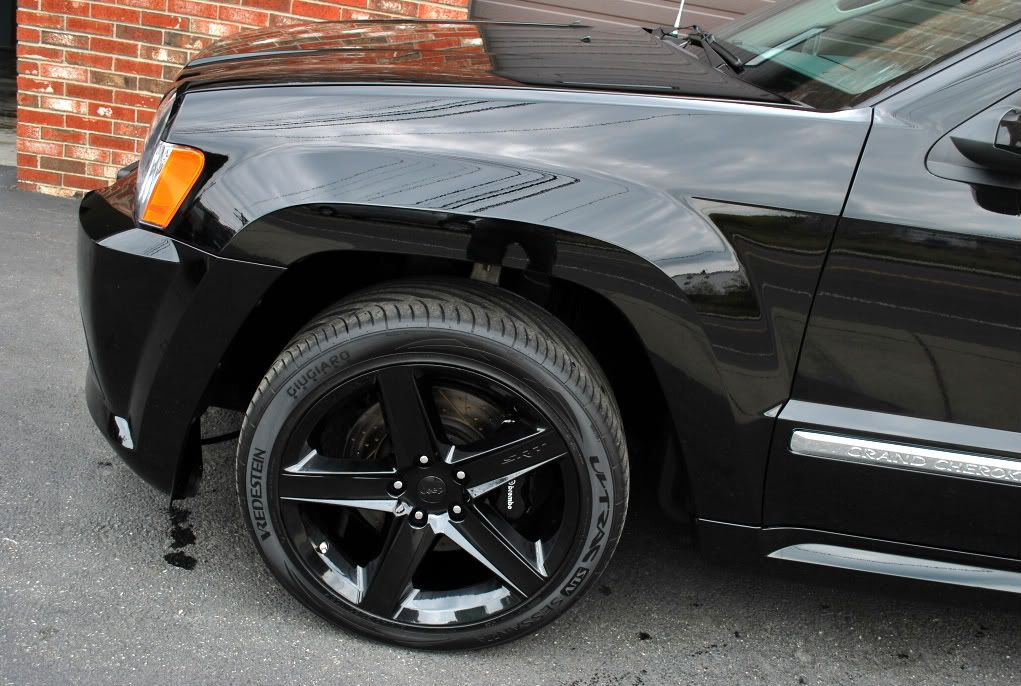
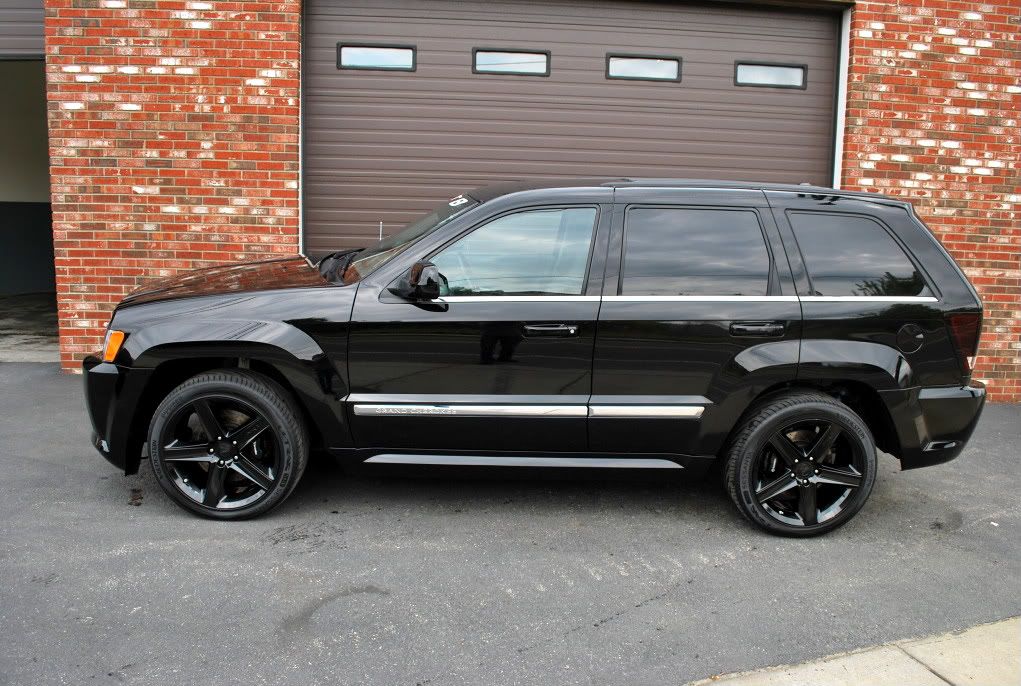
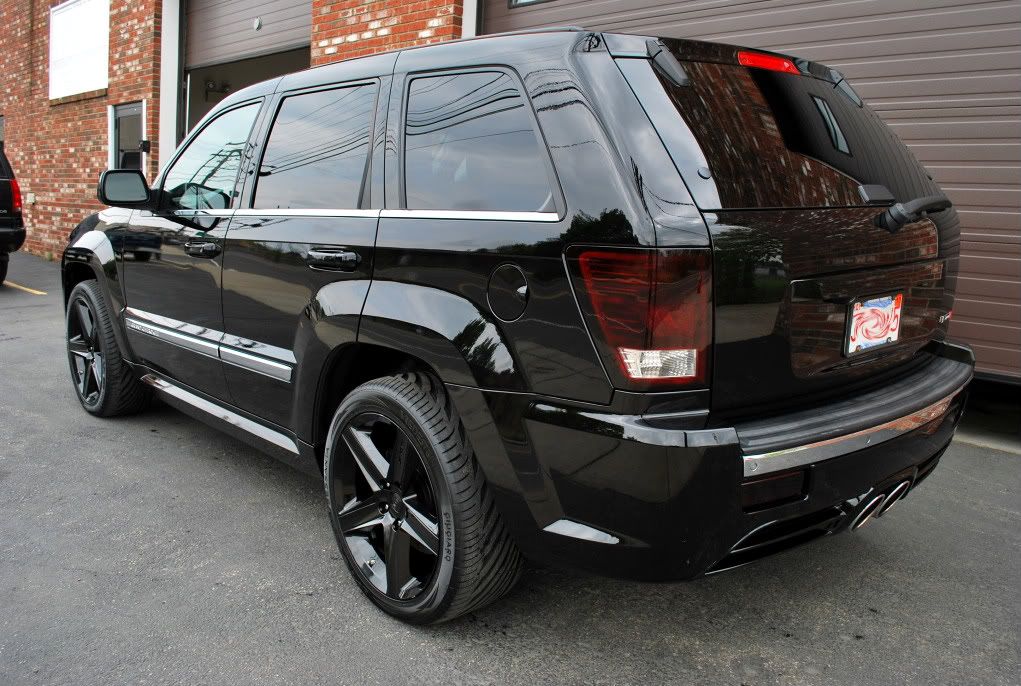
The pictures below show the horrendous condition of the paint after the prep, prior to any polishing?

May82009657.jpg


May82009655.jpg


May82009653.jpg


May82009641.jpg


May82009640.jpg


May82009639.jpg


May82009638.jpg
 

May82009637.jpg


May82009635.jpg


The drivers side fender was chosen for a test panel to see what products/pads worked the best on this particular paint. After a bit of testing, we chose to do a 3 step polishing treatment to get the results we were looking for.


A total of 3 passes were necessary on most panels to remove the deeper RIDS (random isolated deep scratches). The picture below is after just one pass with 3M Extra Cut Compound using an orange LC pad. As you can see, it is quite a big difference compared to the door, which was untouched.

May82009662.jpg


Once we had our process down, Ryan and I went to town with the buffers and completed all of the heavy compounding in one day. Considering the condition of the paint, it corrected better that what we had originally thought.


After all of the heavy compounding was completed, the entire exterior was wiped clean using a damp microfiber towel to remove of any dust and compound residue that was on the surface and hiding in the cracks & crevices. Once the surface was clean, we wiped down the paint with 91% alcohol to remove any carrier oils left behind from the compound and all panels were carefully inspected under various light sources (halogen, xenon & fluorescent) to check for any defects we might have missed.


For a medium polish, we chose to use Menzerna Power Finish on a white LC pad. The Power Finish did a great job at removing the slight compounding haze left behind from the Extra Cut and made a noticeable difference in both gloss and reflectivity.


Here are a few pictures after the second polishing step?

May82009677.jpg


May82009678.jpg


May82009686.jpg


May82009680.jpg


May82009679.jpg


Before moving on to the final polishing stage, we gave it an exterior hand wash to remove any polishing residue that was present. For the final polishing step, we used Menzerna 85rd using a black LC pad, which really amped up the glow and darkened up the paint quite a bit. All tires & wheel wells were dressed using Super Blue dressing and the wheels were polished with Werkstatt Prime, then sealed with Opti-Seal. The exterior glass was cleaned with Invisible Glass and sealed with Opti-Seal.


Before applying the LSP, the paint received a Zaino Z6 wipedown, which really makes for an easy application/removal of the wax or sealant used. Blackfire Wet Diamond Sealant with Polycharger was applied to the complete exterior using a gold LC pad via Porter Cable RO polisher. The sealant was applied very thin and let to dry for about 15-20 minutes before removing it using a new microfiber cloth.


The Wet Diamond completely changed the look of the paint and added some incredible depth and slickness, which was exactly what we were hoping for. I have been using this product for quite a while now with amazing results. The application and removal is almost effortless, which is why it has become one of my favorite LSP?s.


Both Ryan and I wrapped things up for the day and planned on meeting up with the customer the following morning. When Ryan and I walked into shop the following morning, we both looked at the paint and were blown away at how amazing it looked. Just for fun, we applied a topcoat of Blackfire Midnight Sun carnauba wax to see if we could get any additional gloss out of the paint and extend the durability a little. The paint was already looking amazing before we applied the Midnight Sun, so it was hard to tell if there was any difference, but it was so easy to apply & remove that it didn?t matter.
 
The car looks Great!!! Nice job on that nasty paint.....:thumbup:

Black rims are really growing on me... I use to hate 'em, but those look darn good on that vehicle!
 
A magnificent job you two. I'm pretty sure that your customer was very satisfied witht he finish. However, you really surprised me when you use 3M to do your heavy compounding, is there a reason why you didn't use Menzerna PO 83 Super Intensive Polish compound? Just wondering because I also have the 3M Compound but barely use it today since I found Menzerna products to be more easily usable. Again, I great job by both of you.
 
GREAT JOB! That is an amazing turn around! You guys do awesome work!


The truck could use a 2 inch drop...holy wheelgap batman!
 
Awesome job Rick/Ryan!


Did you have to hand rub the area between the top of the door handles and below the sharp body line; or were you able to get a pad in there with the buffer? I hate those tight areas like that! :cursing:


Rasky
 
GREAT JOB! That is an amazing turn around! You guys do awesome work!


The truck could use a 2 inch drop...holy wheelgap batman!

It looks like it already has a 2 inch drop on it. I think it looks dumb lowered- I am into lifting vehicles, not dropping them down haha. That thing is really close to the ground compared to a normal Grand Cherokee.

It looks amazing now though. What a huge difference after all of yalls hard work. That paint looks absolutely perfect now.
 
It's so great to see pro's go at it and the end result is amazed by their workmanship! Thank you both for sharing it here at TID.......:notworthy:
 
It looks like it already has a 2 inch drop on it. I think it looks dumb lowered- I am into lifting vehicles, not dropping them down haha. That thing is really close to the ground compared to a normal Grand Cherokee.

Your right, the SRT8 is lower than the stock Grand Cherokee...it is made as a performance vehicle, not a truck anymore.

Either way Rick and Ryan did an amazing job!
 
Back
Top