Marc08EX
New member
Review: Rupes Bigfoot Nano iBrid Polisher
Short Neck: Rupes Bigfoot Nano iBrid Short Neck Kit
Long Neck: Rupes Bigfoot Nano iBrid Long Neck Kit
Description: (Taken from Autopia`s website)
The Rupes Bigfoot Nano with iBrid Technology makes it possible to accomplish the most challenging tasks in detailing, from polishing panels as small as 1-inches wide, to gently removing grease and grime from recessed areas of your car or motorcycle using a series of available brush attachments. Rupes Bigfoot Nano with iBrid Technology sets the new standard for innovation.
What exactly is the Rupes Bigfoot Nano with iBrid Technology? First and foremost, the Bigfoot Nano, available in short and long neck versions, enables you to CUT THE CORD and instead rely on Li-ION rechargeable batteries(either configuration includes two batteries). If you forget to charge one battery while the other is being used, you still have the option of plugging in the tool so you can continue to use it.
Secondly, the Rupes Bigfoot Nano with iBrid Technology gives you the option to switch between rotary, 3mm random orbital, and 12mm random orbital actions quickly and easily. In a nutshell, the Rupes Bigfoot Nano accomplishes the same task as 3 other tools, if such individual polishing options even existed in the first place! The Rupes Bigfoot Nano with iBrid Technology will forever change the way you detail.
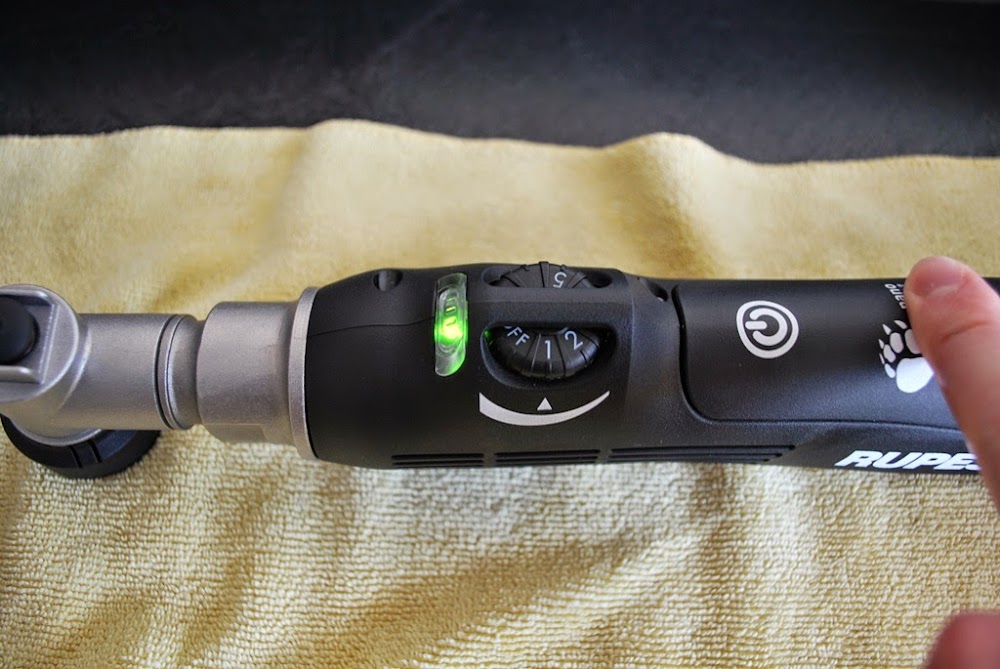
The Rupes Bigfoot Nano with iBrid Technology is loaded with advanced features. For example, the Bigfoot Nano includes two Li-ION battery packs and a battery charger. 22-24 minutes is all you will need to charge the battery and each charge provides 30 minutes of run time under full load. The two battery packs allow you to use one in the tool, while charging the other. You will always have a battery charged and ready to switch out. Changing the battery is as easy as changing a backing plate. There are two buttons on the base of that unit that release the battery when depressed. Pull the old one out and slide the new one in – it’s that simple! LED indicators on the unit and the battery charger will keep you informed on how much power you have left in the battery pack.
Price:
$560 for the Nano iBrid Short Neck Kit
$590 for the Nano iBrid Long Neck Kit
Introduction:
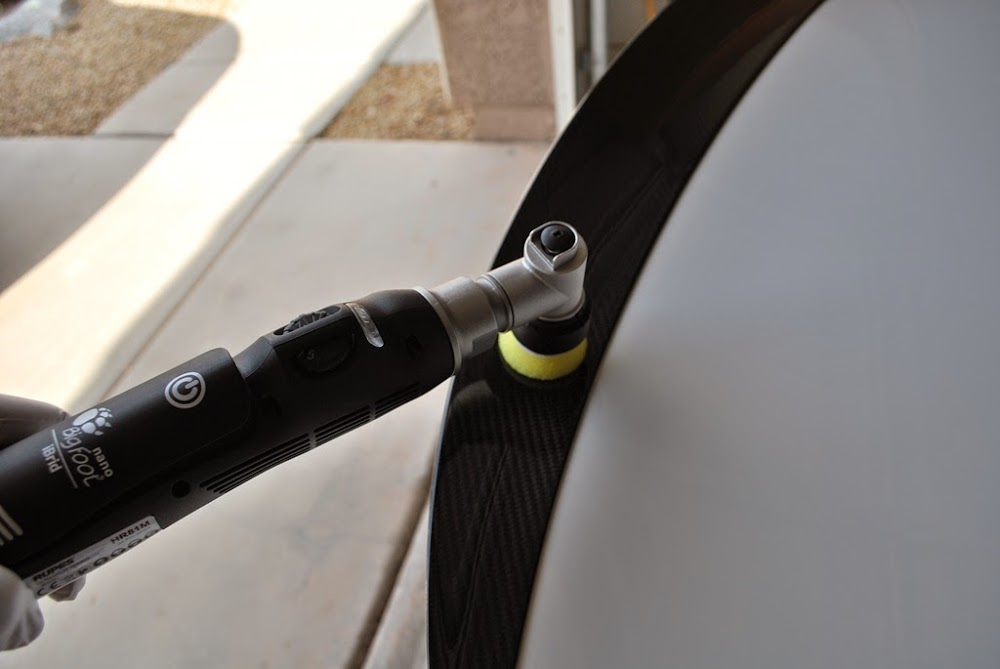
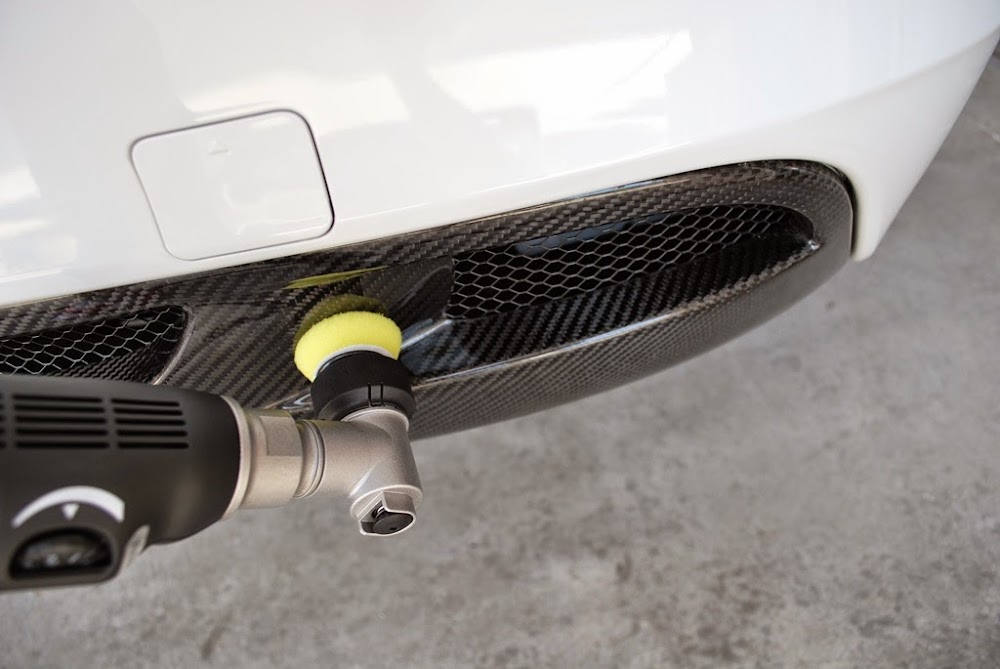
Have you ever encountered a situation wherein you`re trying to polish a very tight area only to find out that your 3 inch DA setup is too big for the area you`re working on? If you encounter lots of situations like this, then you will love this product!
Ever since the introduction of the long throw big foot orbital polishers, Rupes has taken the detailing world by storm. I remember the day I switched to my first Rupes polisher - I was so amazed at how smooth the tool is and how easy it is for it to remove defects. The company designed and innovated the long throw polishers and continued to do so as time went on. They eventually presented us with various offerings such as the Duetto and the mini 75E. This innovation continued and last year, Rupes unveiled a brand new polisher, the Nano iBrid.
Review:
Upon opening the box the polisher kit comes with, I`m greeted with this carrying case that says it`s the Rupes Bigfoot Nano iBrid. The case is a lot bigger than I would have imagined based on the pictures I saw online. This thing is massive.

Now let`s talk about the features of this tool case that`s included in the Nano iBrid kit. The quality of the case`s exterior is top notch. The fabric seems very sturdy and looks like it will take a lot of beating. I`m sure this case will protect the contents of it.

The case features a very sturdy rubberized grip on top. This makes carrying it an easy and a comfortable endeavor.

The case also features a clip on the side as shown:

This clip is used to attach the shoulder strap included in the kit. The shoulder strap includes a padded section so it makes it very comfortable to use on your shoulder. I`m sure it will help reduce the heaviness of the case and its contents.

The case has a couple of rubber stoppers at the bottom of the case as well:

Overall, the case looks and feels luxurious and high quality. It should be as it commands a $105 price tag when purchased separately.
Now let`s open the case and see what`s inside!!!


On the top cover, there is a pocket held securely by a velcro strap. Inside this pocket are a few microfiber towels, instruction documentation and the 2000 and 3000 grit sanding attachments.

Now let`s examine each component closer.
Here`s the extra battery and the charger:

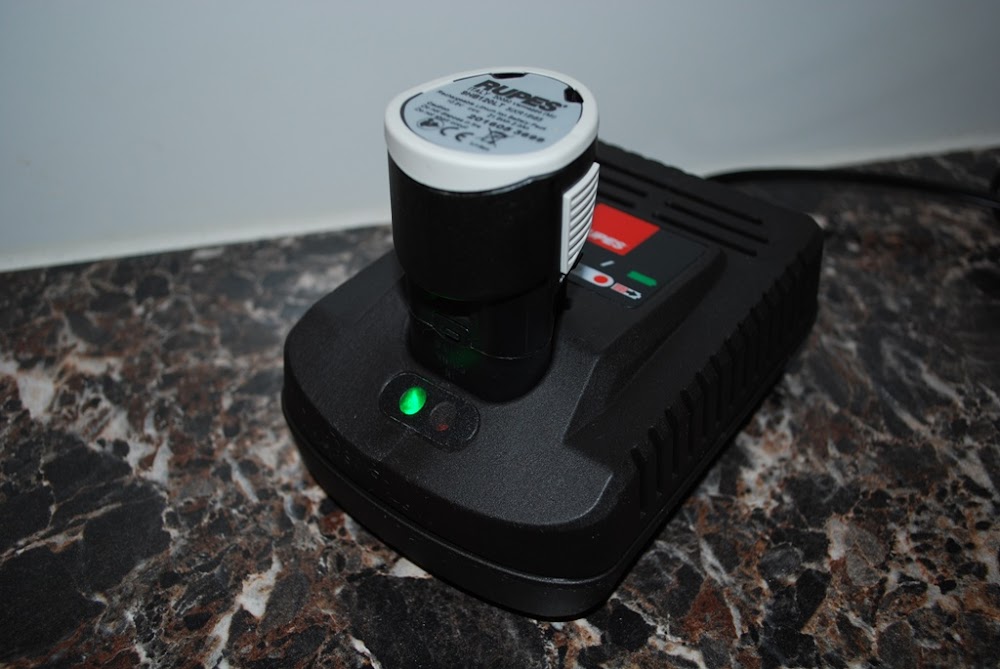
Here`s the explanation that shows what each status light color means. Green when it`s plugged in (without a battery attached) or when the battery is fully charged. Red when it`s charging. I`m guessing blinking red means there`s an error.

Here`s how the charger looks like when it`s charging the battery. Notice the red LED status light.

When the battery is full, the status LED light turns green as shown:
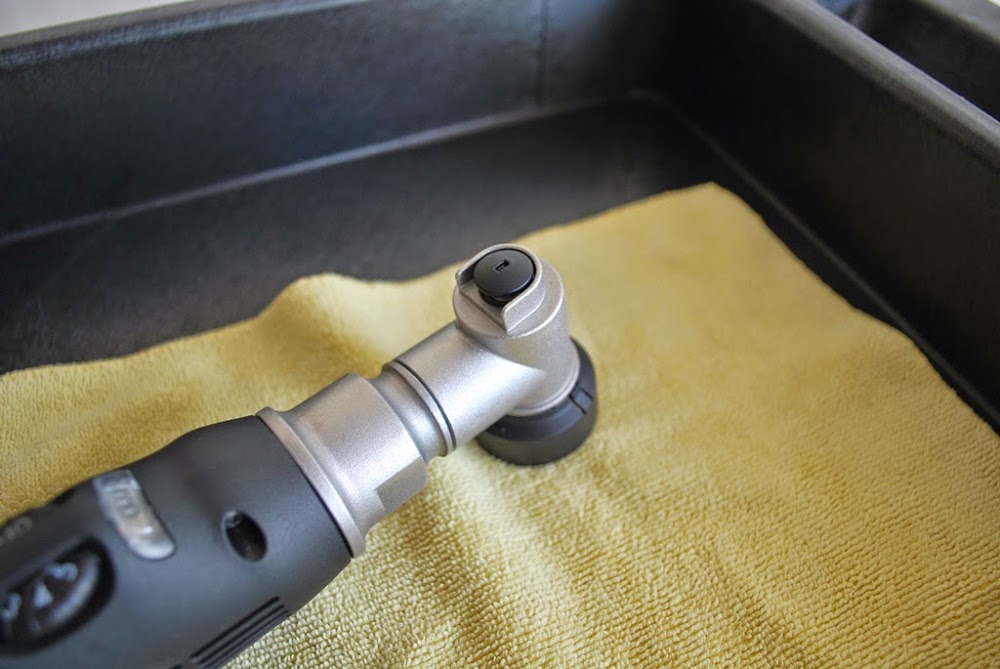
The kit comes with an AC power attachment. This is used when you want to use the wall socket as the power source. Here`s how it looks like attached to the nano polisher:

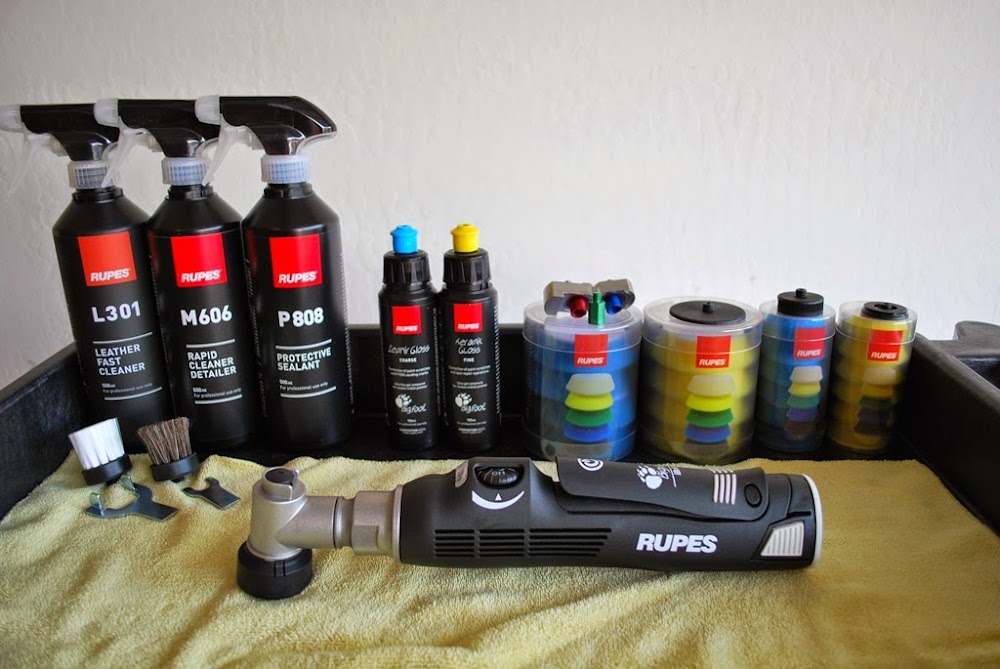
It comes with a pack of 40mm (1.5") blue and yellow foam pads (6 each) and a pack of 70mm (2.75") blue and yellow foam pads (4 each):

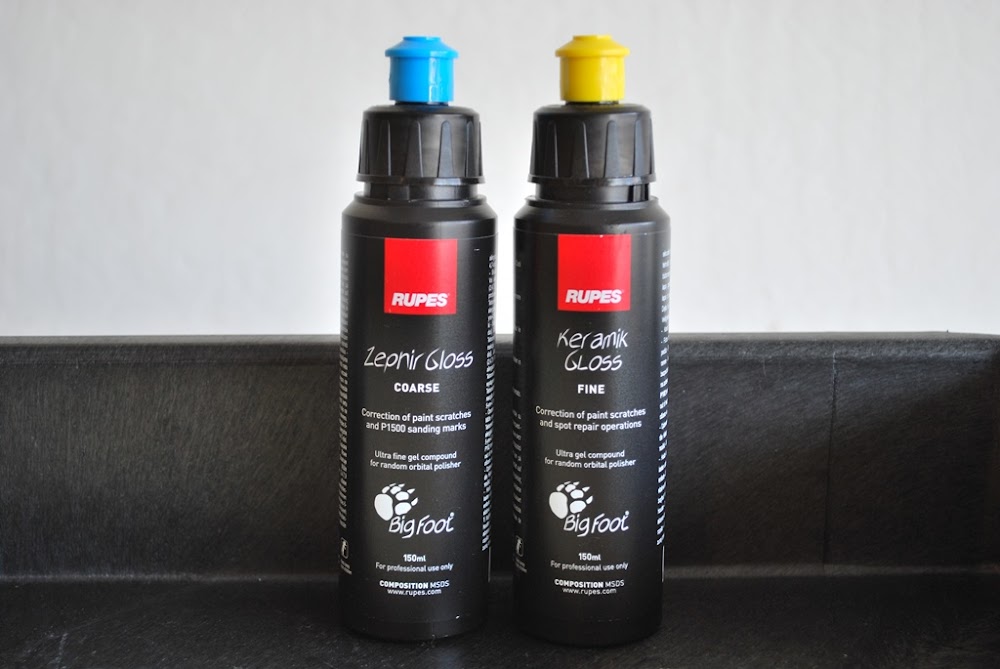
It also comes with the Zephir Gloss Coarse Gel Compound and the Keramik Gloss Fine Gel Polish both in 150ml bottles:
Here`s a picture of all the attachments/accessories included in the kit:

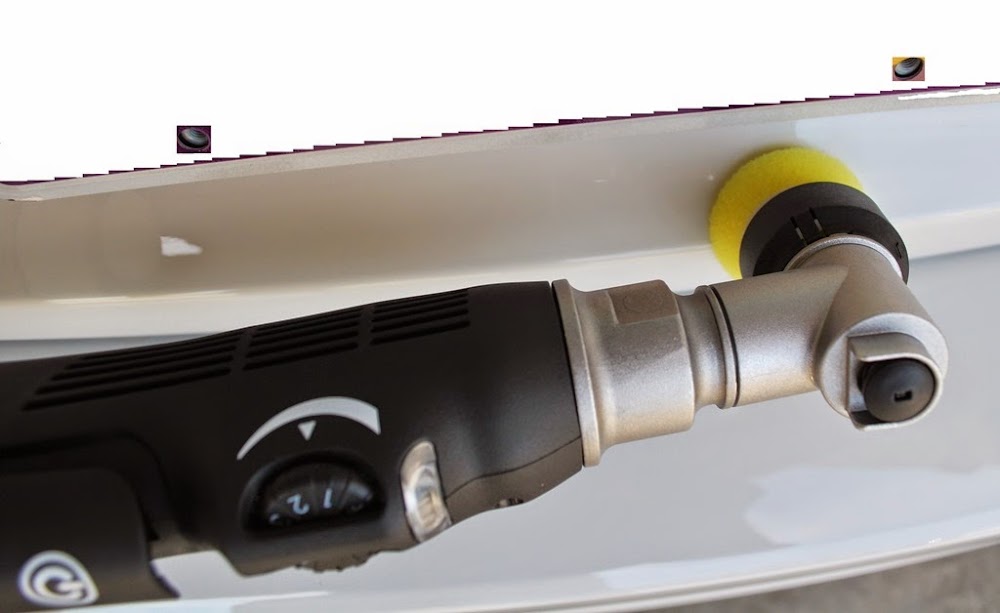
Here are some pictures of the rotary attachment tool:

Here are some pictures of the 3mm random orbital attachment:
Top view:

Side view:

Bottom view:

Here are some pictures of the 12mm random orbital attachment:
Top view:

Side view:

Bottom view:

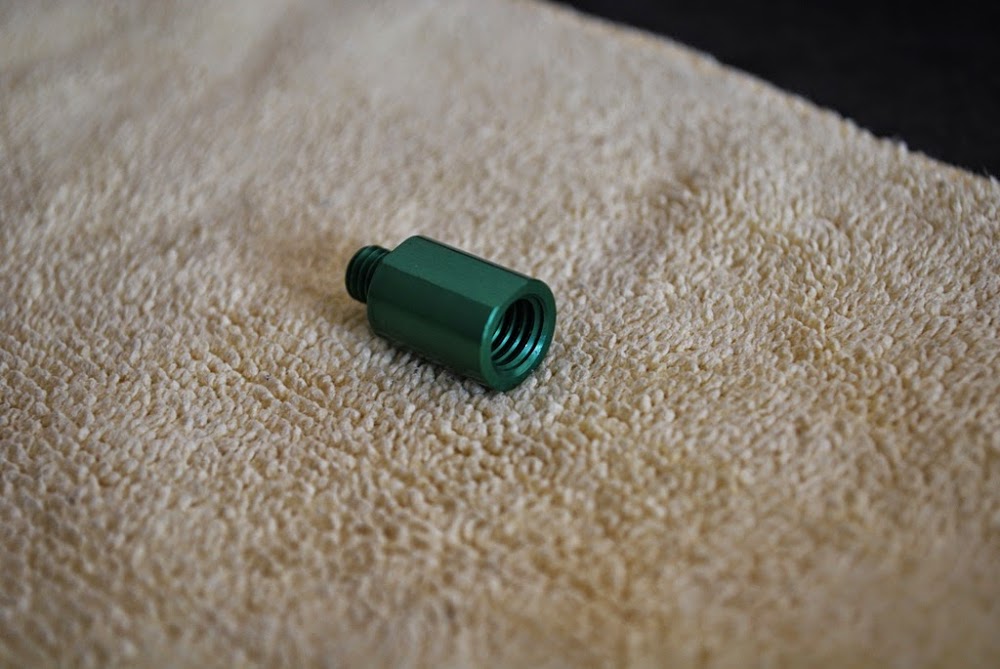
I was pleasantly surprised at how well the rotary and random orbital attachments are constructed. The counter weight of the random orbital attachments are machined. The rotary attachment and the free floating spindle in the random orbital attachment are all anodized and they each have different colors. Even the inside where the threads are is anodized!!! Top notch build quality.
Here are a couple of pictures of the 50mm (2") backing plate, the 34mm (1.25") backing plate and the 34mm (1.25") sanding backing pad respectively.
Top view:

Bottom view:

As you can see, the normal backing plates have velcro at the bottom while the sanding backing pad is smooth and cushioned.
Here`s a picture of the brush attachments that`s included. To the left is a soft horse hair brush and to the right is a stiff nylon brush.

Short Neck: Rupes Bigfoot Nano iBrid Short Neck Kit
Long Neck: Rupes Bigfoot Nano iBrid Long Neck Kit
Description: (Taken from Autopia`s website)
The Rupes Bigfoot Nano with iBrid Technology makes it possible to accomplish the most challenging tasks in detailing, from polishing panels as small as 1-inches wide, to gently removing grease and grime from recessed areas of your car or motorcycle using a series of available brush attachments. Rupes Bigfoot Nano with iBrid Technology sets the new standard for innovation.
What exactly is the Rupes Bigfoot Nano with iBrid Technology? First and foremost, the Bigfoot Nano, available in short and long neck versions, enables you to CUT THE CORD and instead rely on Li-ION rechargeable batteries(either configuration includes two batteries). If you forget to charge one battery while the other is being used, you still have the option of plugging in the tool so you can continue to use it.
Secondly, the Rupes Bigfoot Nano with iBrid Technology gives you the option to switch between rotary, 3mm random orbital, and 12mm random orbital actions quickly and easily. In a nutshell, the Rupes Bigfoot Nano accomplishes the same task as 3 other tools, if such individual polishing options even existed in the first place! The Rupes Bigfoot Nano with iBrid Technology will forever change the way you detail.
The Rupes Bigfoot Nano with iBrid Technology is loaded with advanced features. For example, the Bigfoot Nano includes two Li-ION battery packs and a battery charger. 22-24 minutes is all you will need to charge the battery and each charge provides 30 minutes of run time under full load. The two battery packs allow you to use one in the tool, while charging the other. You will always have a battery charged and ready to switch out. Changing the battery is as easy as changing a backing plate. There are two buttons on the base of that unit that release the battery when depressed. Pull the old one out and slide the new one in – it’s that simple! LED indicators on the unit and the battery charger will keep you informed on how much power you have left in the battery pack.
Price:
$560 for the Nano iBrid Short Neck Kit
$590 for the Nano iBrid Long Neck Kit
Introduction:
Have you ever encountered a situation wherein you`re trying to polish a very tight area only to find out that your 3 inch DA setup is too big for the area you`re working on? If you encounter lots of situations like this, then you will love this product!
Ever since the introduction of the long throw big foot orbital polishers, Rupes has taken the detailing world by storm. I remember the day I switched to my first Rupes polisher - I was so amazed at how smooth the tool is and how easy it is for it to remove defects. The company designed and innovated the long throw polishers and continued to do so as time went on. They eventually presented us with various offerings such as the Duetto and the mini 75E. This innovation continued and last year, Rupes unveiled a brand new polisher, the Nano iBrid.
Review:
Upon opening the box the polisher kit comes with, I`m greeted with this carrying case that says it`s the Rupes Bigfoot Nano iBrid. The case is a lot bigger than I would have imagined based on the pictures I saw online. This thing is massive.
Now let`s talk about the features of this tool case that`s included in the Nano iBrid kit. The quality of the case`s exterior is top notch. The fabric seems very sturdy and looks like it will take a lot of beating. I`m sure this case will protect the contents of it.
The case features a very sturdy rubberized grip on top. This makes carrying it an easy and a comfortable endeavor.
The case also features a clip on the side as shown:
This clip is used to attach the shoulder strap included in the kit. The shoulder strap includes a padded section so it makes it very comfortable to use on your shoulder. I`m sure it will help reduce the heaviness of the case and its contents.
The case has a couple of rubber stoppers at the bottom of the case as well:
Overall, the case looks and feels luxurious and high quality. It should be as it commands a $105 price tag when purchased separately.
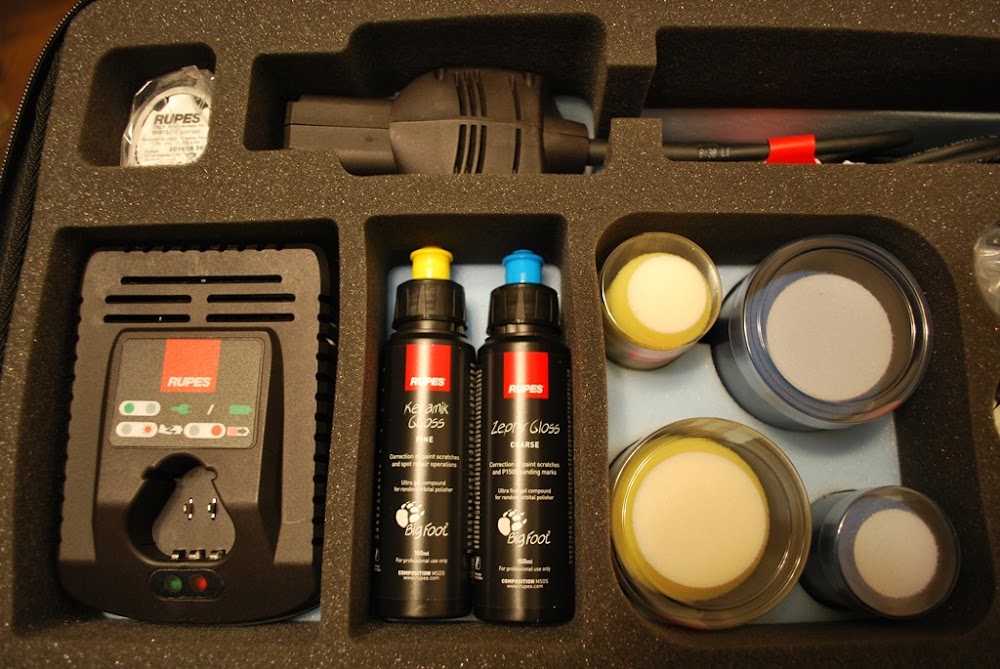
Now let`s open the case and see what`s inside!!!
On the top cover, there is a pocket held securely by a velcro strap. Inside this pocket are a few microfiber towels, instruction documentation and the 2000 and 3000 grit sanding attachments.
Now let`s examine each component closer.
Here`s the extra battery and the charger:
Here`s the explanation that shows what each status light color means. Green when it`s plugged in (without a battery attached) or when the battery is fully charged. Red when it`s charging. I`m guessing blinking red means there`s an error.
Here`s how the charger looks like when it`s charging the battery. Notice the red LED status light.
When the battery is full, the status LED light turns green as shown:
The kit comes with an AC power attachment. This is used when you want to use the wall socket as the power source. Here`s how it looks like attached to the nano polisher:
It comes with a pack of 40mm (1.5") blue and yellow foam pads (6 each) and a pack of 70mm (2.75") blue and yellow foam pads (4 each):
It also comes with the Zephir Gloss Coarse Gel Compound and the Keramik Gloss Fine Gel Polish both in 150ml bottles:
Here`s a picture of all the attachments/accessories included in the kit:
Here are some pictures of the rotary attachment tool:
Here are some pictures of the 3mm random orbital attachment:
Top view:
Side view:
Bottom view:
Here are some pictures of the 12mm random orbital attachment:
Top view:
Side view:
Bottom view:
I was pleasantly surprised at how well the rotary and random orbital attachments are constructed. The counter weight of the random orbital attachments are machined. The rotary attachment and the free floating spindle in the random orbital attachment are all anodized and they each have different colors. Even the inside where the threads are is anodized!!! Top notch build quality.
Here are a couple of pictures of the 50mm (2") backing plate, the 34mm (1.25") backing plate and the 34mm (1.25") sanding backing pad respectively.
Top view:
Bottom view:
As you can see, the normal backing plates have velcro at the bottom while the sanding backing pad is smooth and cushioned.
Here`s a picture of the brush attachments that`s included. To the left is a soft horse hair brush and to the right is a stiff nylon brush.


")