The Guz
Mike
I went ahead and purchased this during a sale over on AGO. It was hard to pass up for $100 shipped to my door.
I have only used it twice since I am doing my part to conserve water here in California by doing rinseless and waterless washes.
It's a powerful machine that works very well. I have a Master Blaster Sidekick that I would use mainly for blowing water out of the seems of the car and the wheels and tires. With the DP car dryer I can blow the water off the surface, seams, wheels and tires effortlessly with the DP dryer. It has a lot of power.
I carry a towel with me as I am blowing the water off the surface to clean up anything left behind. There is no strap and I don't think a strap would be beneficial. With the strap I could see it banging and clanging around while using it. Now if it was worn like a back pack pack then maybe that would be better. But then the power buttons are inaccessible using it like that.
The air hose is long so it has enough length when one's arm is extended out reaching out over a surface. The power cord is long and it's definitely a plus. No need to pull out an extension cord with this one.
I found this review to be very helpful on how to hold the dryer and the hose.
Review: DP Turbo Car Dryer - Auto Geek Online Auto Detailing Forum
I don't have any action shots with it. But I do have photos of the actual dryer.
Comes packaged in a nice box.

Has a sticker with the specs.

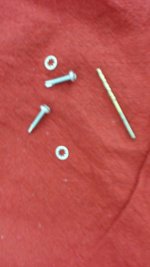
Here is what is included in the box.

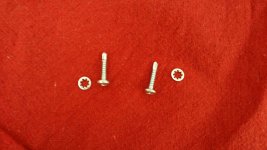
The attachments

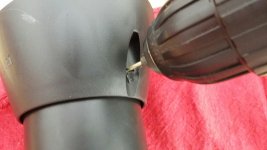
Close up of the hose ends. They are both different. This end goes into the unit.

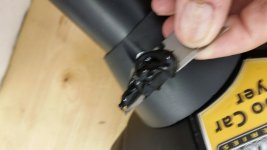
It attaches via this coupler. It takes a few twists to lock it in place.

This is the end that attaches to the attachments

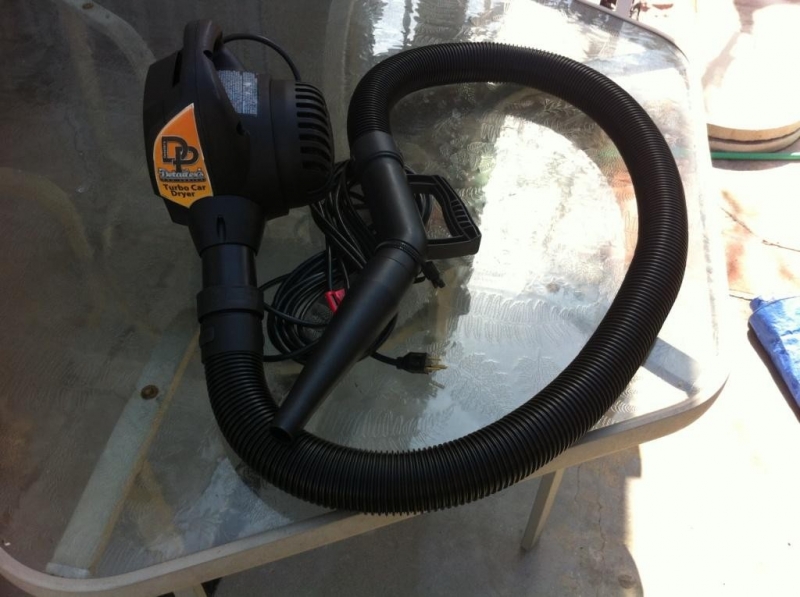
The handle and the attachment assembled

There is a zip tie lock included to keep the hose attachment from coming lose.

Here are images of the dryer

The side with the On/Off buttons
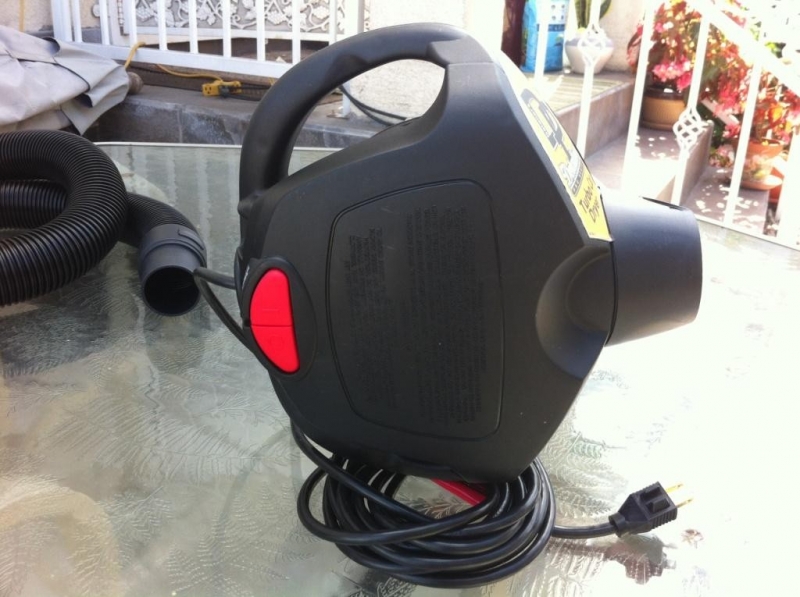
The other side. There is a filter so it is filtered air coming out of the unit.

I'm just being nit picky but the quality and alignment of the stickers was a bit off. See the bottom of the sticker. I don't know how long the sticker will last over time.

Here's another under the On/Off buttons. The alignment is slightly off and it did not stick on the lower part of it as it has a bubble in it.

Close up of the power buttons. These are easy to press.

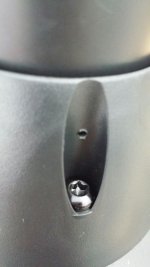
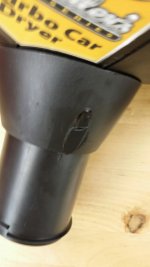
This is supposed to be the serial number of the unit. It's an incomplete etch. There is actually a white sticker on the unity that has the number. Looks like a price tag sticker. Seen above on the filtered side of the dryer.

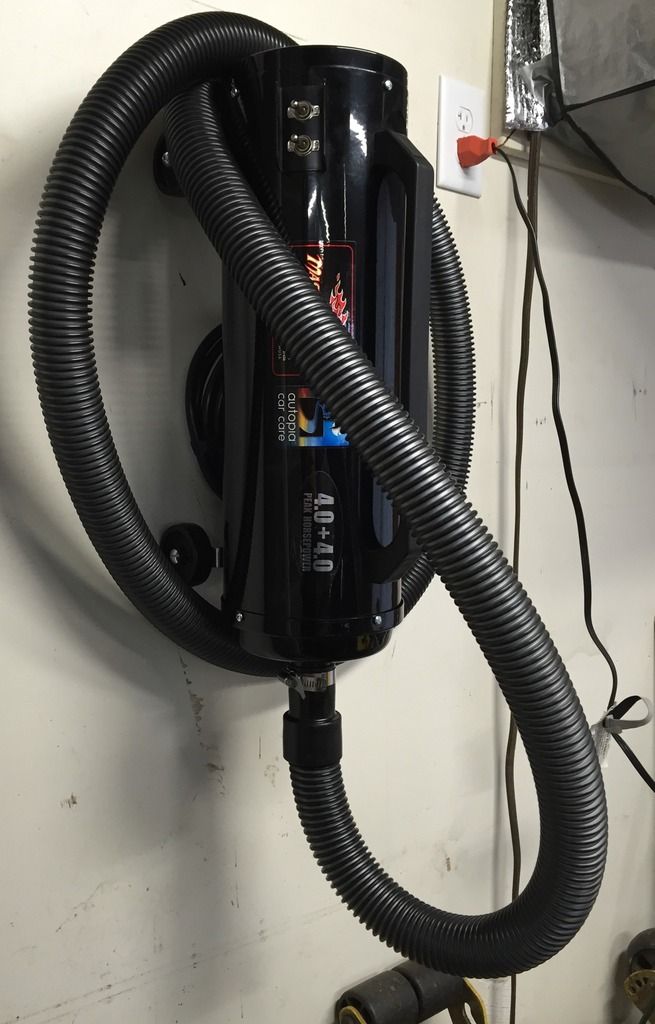
Final shot of it completely assembled.
Overall it's a good unit. Has plenty of power to blow water off the surface. Power cord has plenty of length as does the hose. There have been some folks noticing that the hose attachment has been coming loose while using it over time. I will see if that happens to mine over time. It does what it was designed for and it's hard to beat for the price especially when a 20% off sale comes by. Pick one up and give it a try.
DP Turbo Car Dryer
I have only used it twice since I am doing my part to conserve water here in California by doing rinseless and waterless washes.
It's a powerful machine that works very well. I have a Master Blaster Sidekick that I would use mainly for blowing water out of the seems of the car and the wheels and tires. With the DP car dryer I can blow the water off the surface, seams, wheels and tires effortlessly with the DP dryer. It has a lot of power.
I carry a towel with me as I am blowing the water off the surface to clean up anything left behind. There is no strap and I don't think a strap would be beneficial. With the strap I could see it banging and clanging around while using it. Now if it was worn like a back pack pack then maybe that would be better. But then the power buttons are inaccessible using it like that.
The air hose is long so it has enough length when one's arm is extended out reaching out over a surface. The power cord is long and it's definitely a plus. No need to pull out an extension cord with this one.
I found this review to be very helpful on how to hold the dryer and the hose.
Review: DP Turbo Car Dryer - Auto Geek Online Auto Detailing Forum
I don't have any action shots with it. But I do have photos of the actual dryer.
Comes packaged in a nice box.
Has a sticker with the specs.
Here is what is included in the box.
The attachments
Close up of the hose ends. They are both different. This end goes into the unit.
It attaches via this coupler. It takes a few twists to lock it in place.
This is the end that attaches to the attachments
The handle and the attachment assembled
There is a zip tie lock included to keep the hose attachment from coming lose.
Here are images of the dryer
The side with the On/Off buttons
The other side. There is a filter so it is filtered air coming out of the unit.
I'm just being nit picky but the quality and alignment of the stickers was a bit off. See the bottom of the sticker. I don't know how long the sticker will last over time.
Here's another under the On/Off buttons. The alignment is slightly off and it did not stick on the lower part of it as it has a bubble in it.
Close up of the power buttons. These are easy to press.
This is supposed to be the serial number of the unit. It's an incomplete etch. There is actually a white sticker on the unity that has the number. Looks like a price tag sticker. Seen above on the filtered side of the dryer.
Final shot of it completely assembled.
Overall it's a good unit. Has plenty of power to blow water off the surface. Power cord has plenty of length as does the hose. There have been some folks noticing that the hose attachment has been coming loose while using it over time. I will see if that happens to mine over time. It does what it was designed for and it's hard to beat for the price especially when a 20% off sale comes by. Pick one up and give it a try.
DP Turbo Car Dryer
")
")