Its my first real write-up so be kind ")
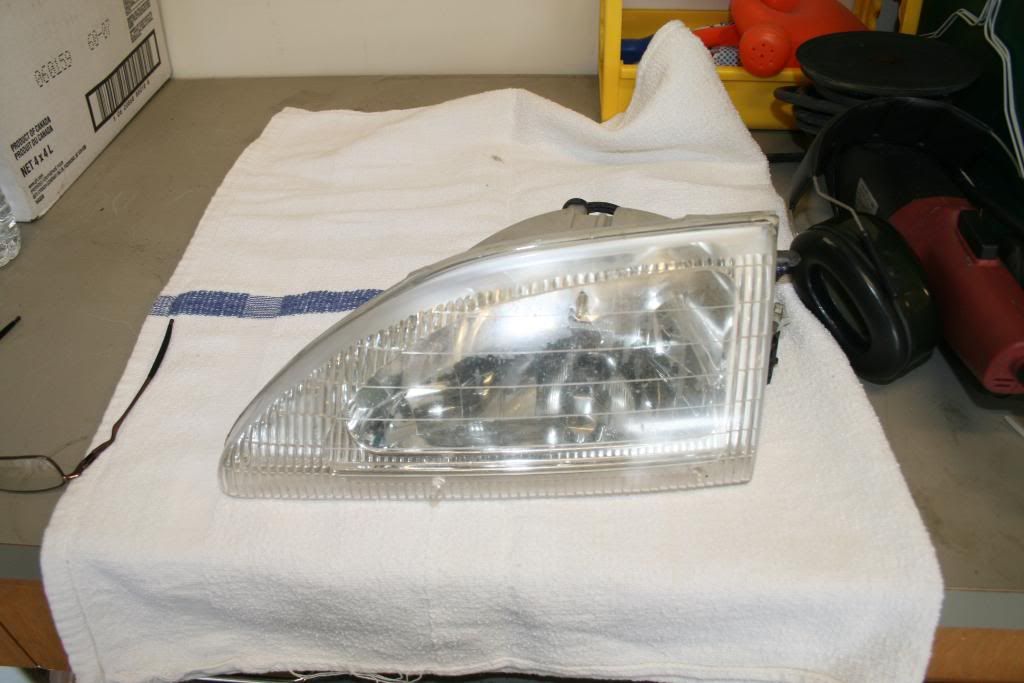
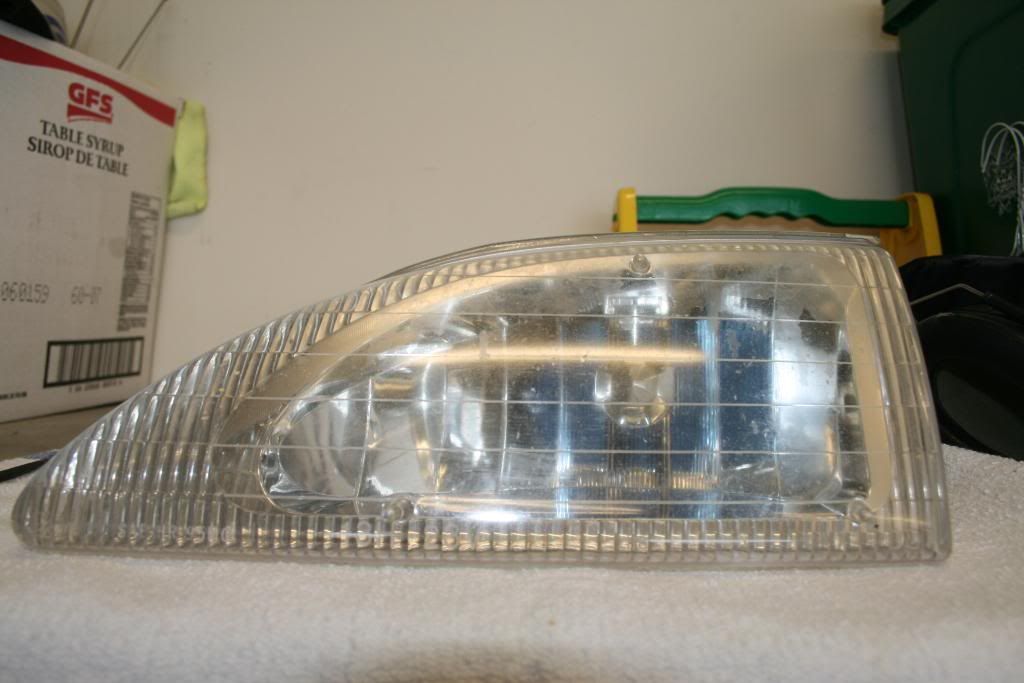
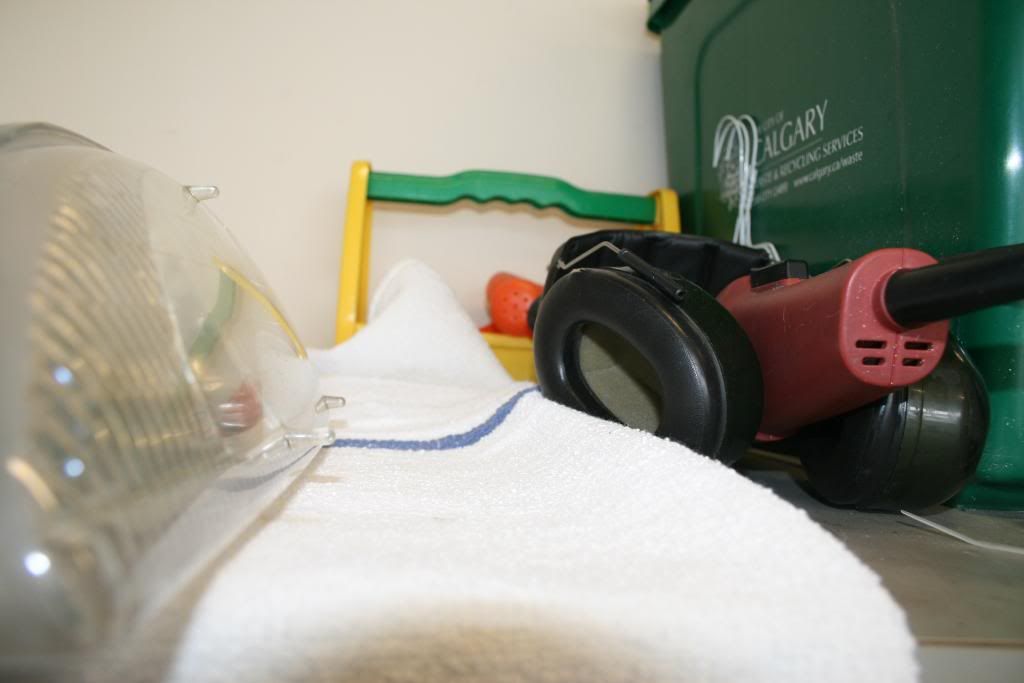
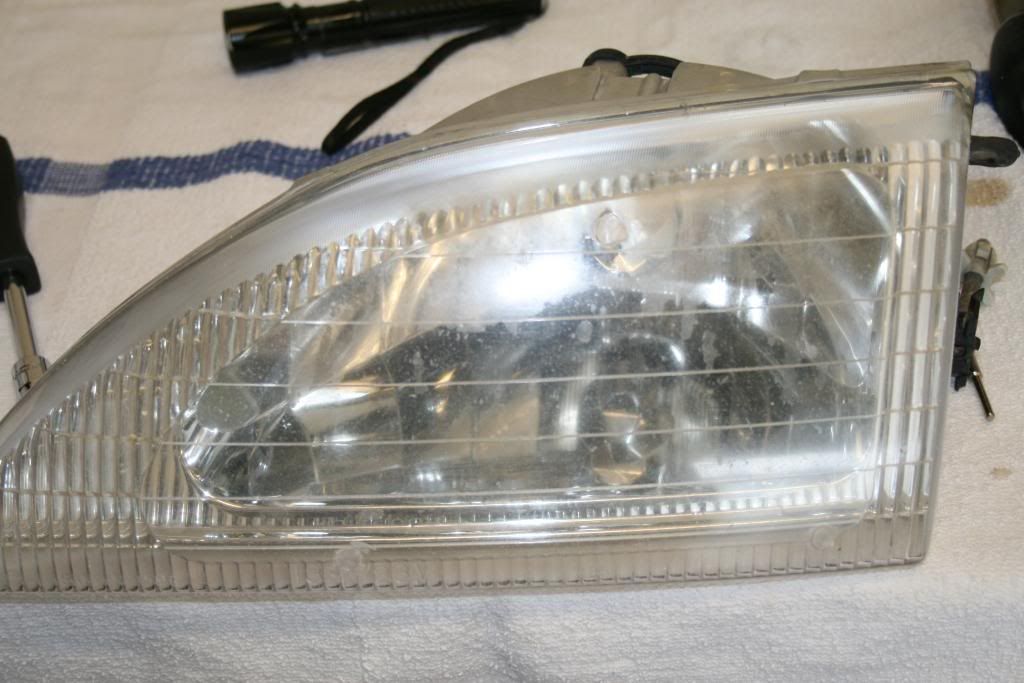
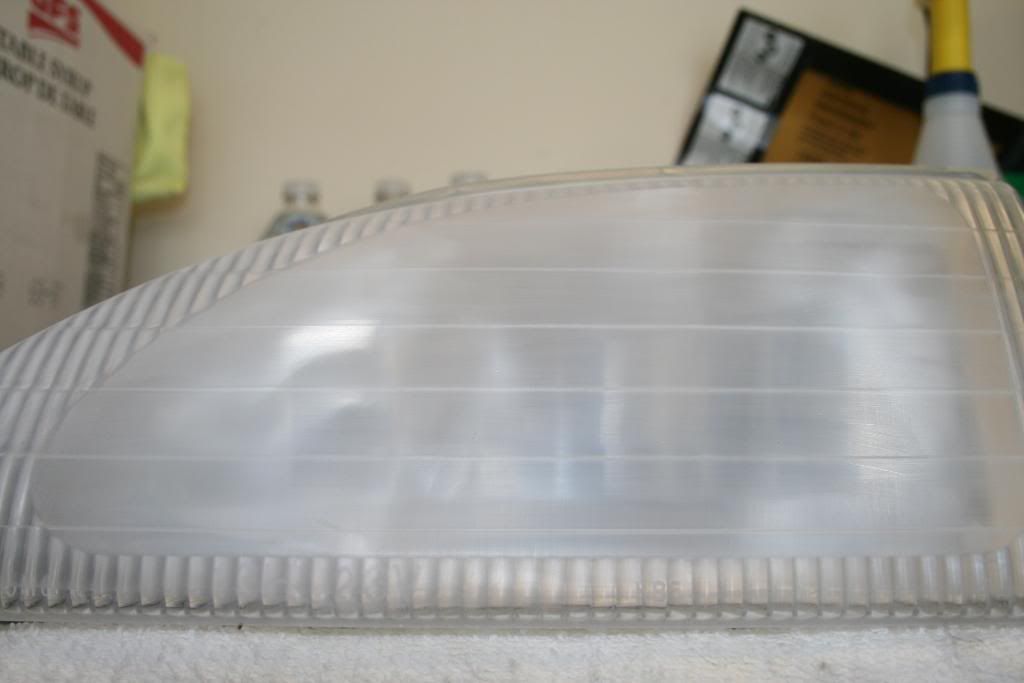
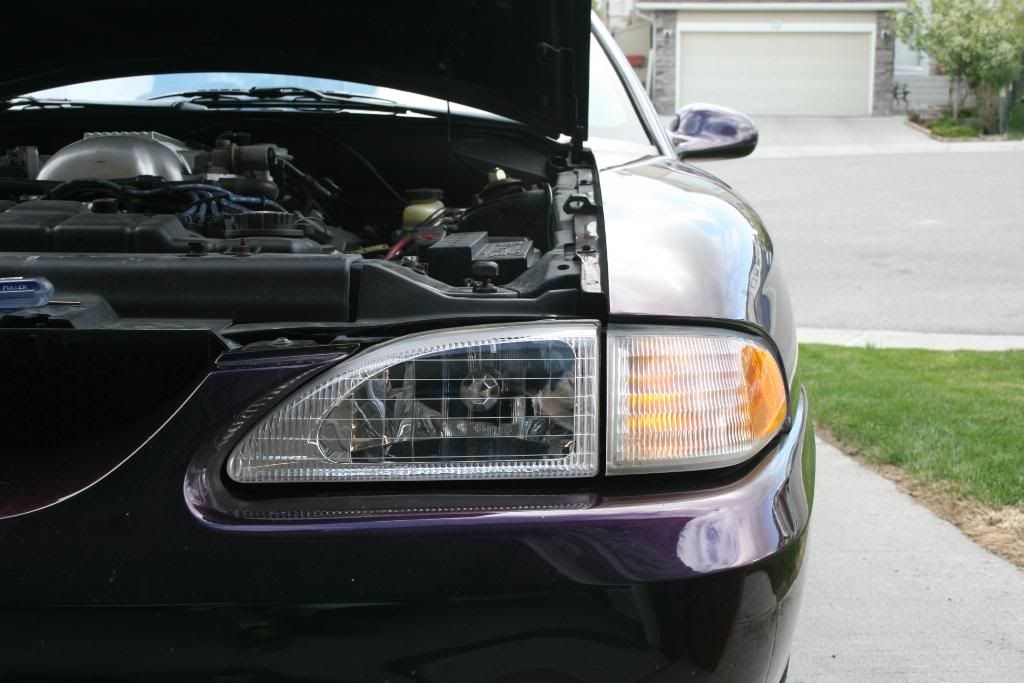
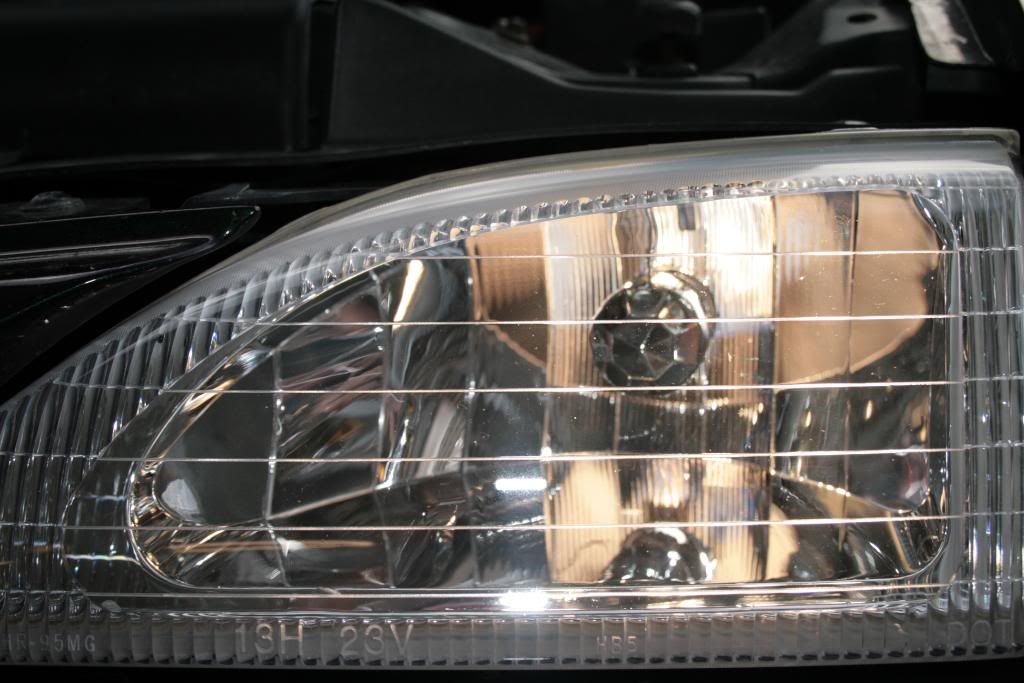
Here's the drivers side OEM headlight from 1996. The UV coating is peeling off and making a mess, the lenses are milky white and it looks like it needs replacing... right? :sad5:

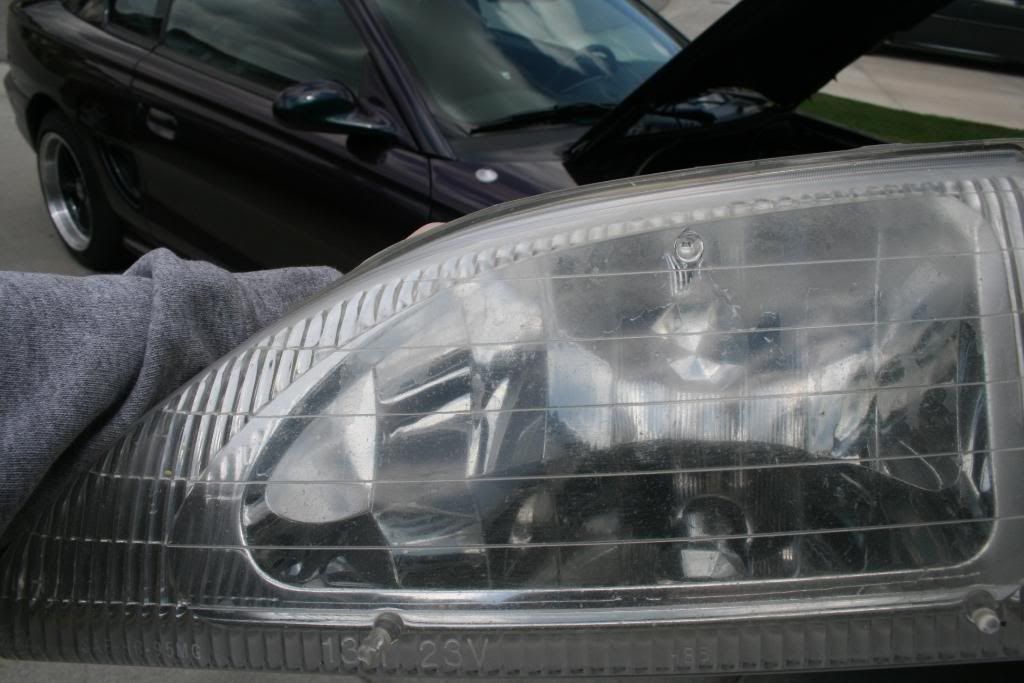
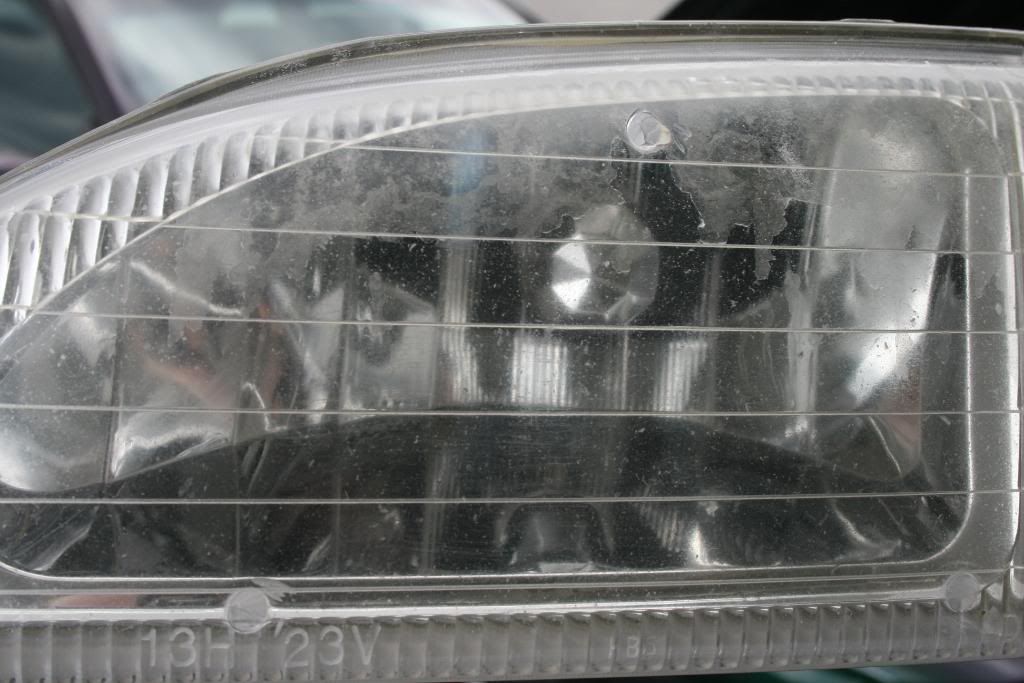
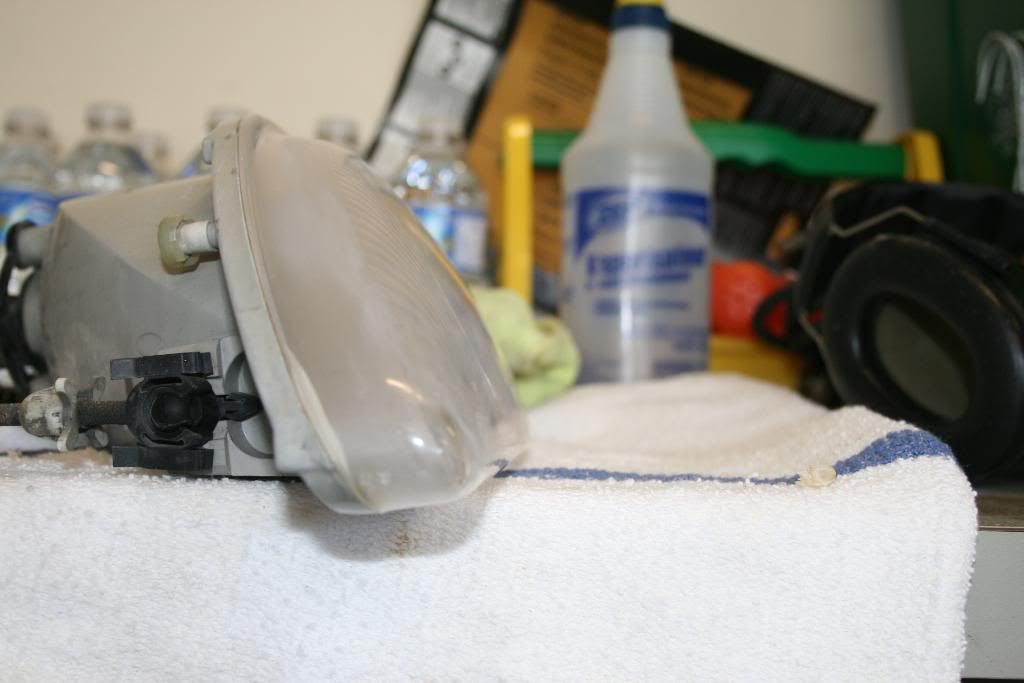
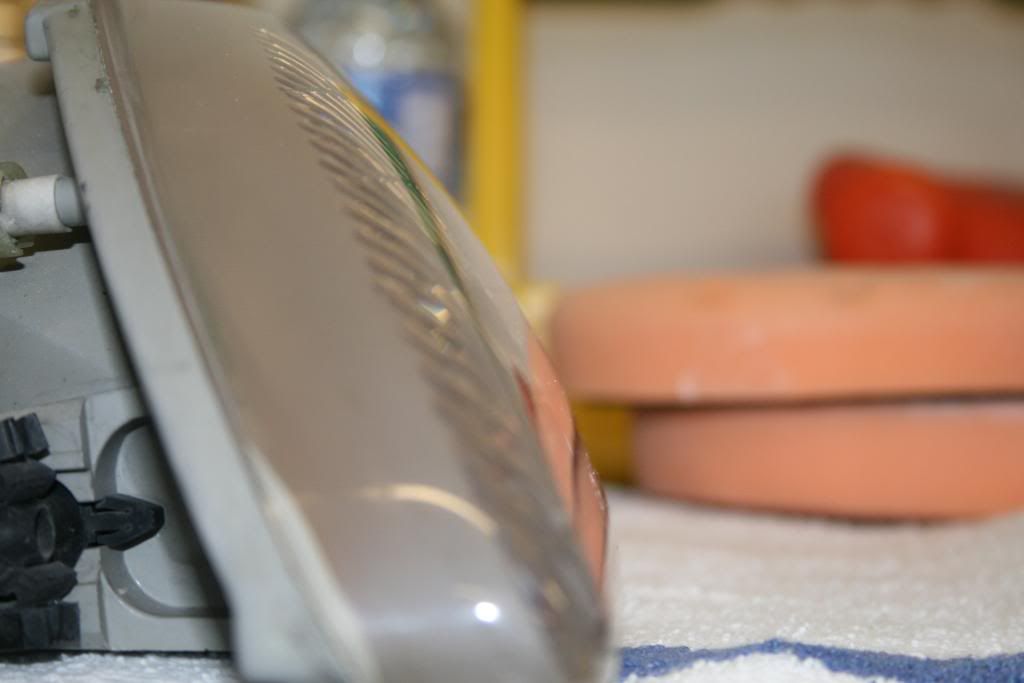
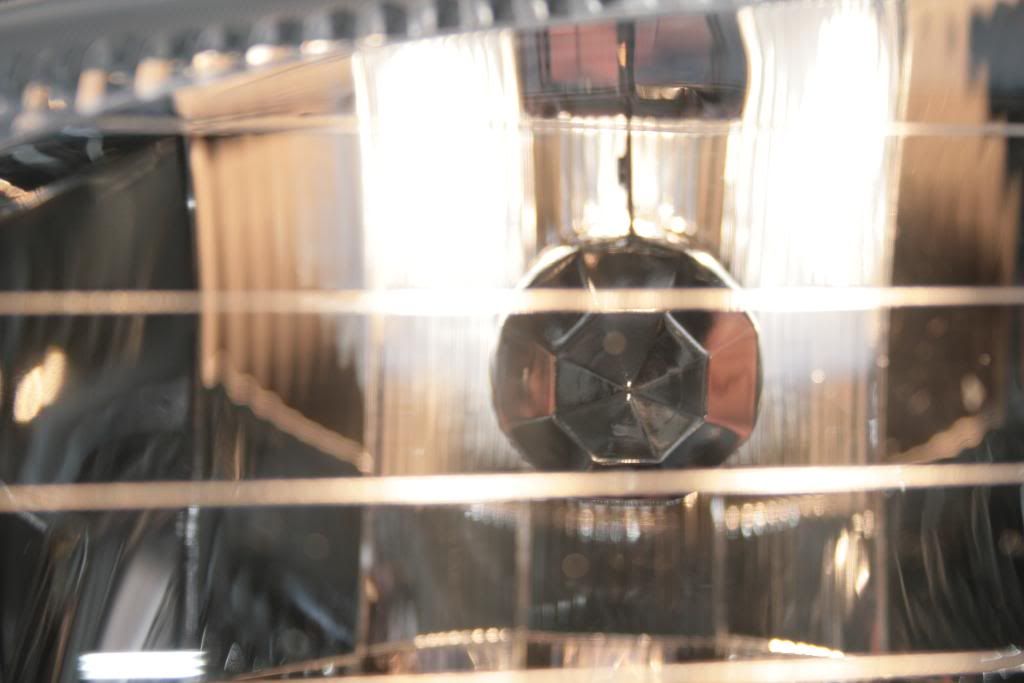
Another thing with SN95 headlights is they have those stupid little tits on them! You know, the ones that you always crush a finger on when your washing your car? I will be removing them aswell, heres a pic of what i mean
I used a dremel tool with a cutoff wheel to remove the tits. Heres the first pic of the tits shaved off. WARNING: Be very carefull when your using a dremel tool, use eye protection and DO NOT remove too much of the tit. If you go too deep you will NOT be able to sand it out.
and to the side
One more for good measure
The Lenses were then block sanded with 800 grit. Focus on removing the remainder of the tits before you work on the lens. Remove all the factory UV coating and any defects you want gone. Here are some pics having everything completly sanded down with 800 grit

Tits gone!!!
Repeat the process with 1000 grit and 1500 grit if you see fit. I left it at 1000 grit as i am able to fully remove 1000 grit marks easily!
Lets polish the lens clear again!
I used my Flex 3401VRG using orange and white pads with 3 diffrent polishes.
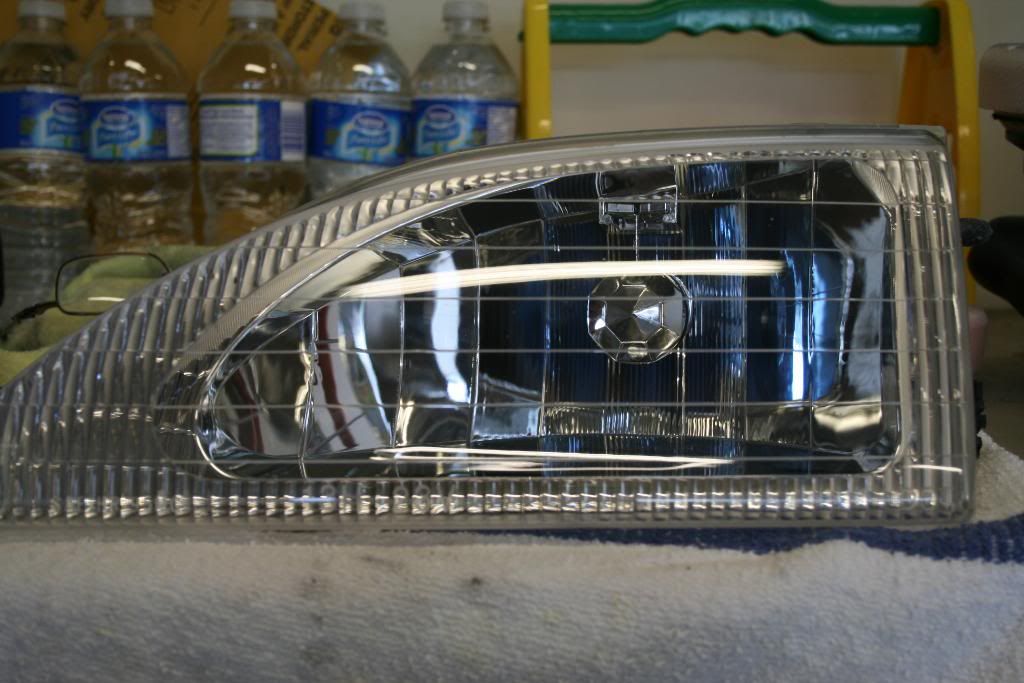
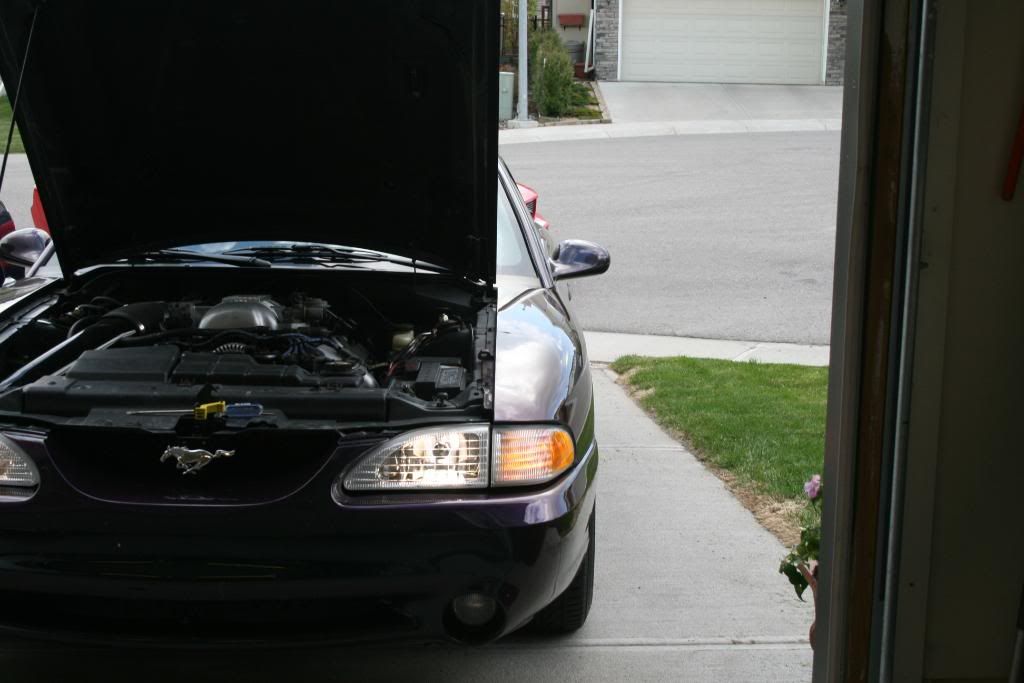
I started off with an orange pads with menzerna powergloss.Defects were still vizible so i moved on to a gentler menzerna super intensive polish using a fresh orange pad. The defects are now 100% gone, now all i needed to do was add clerity and some pop. i used my white pad with menzerna P085RD. The results speak for themself. The lens is now clearer than factory, titsless and lookin awesome!
Enjoy!
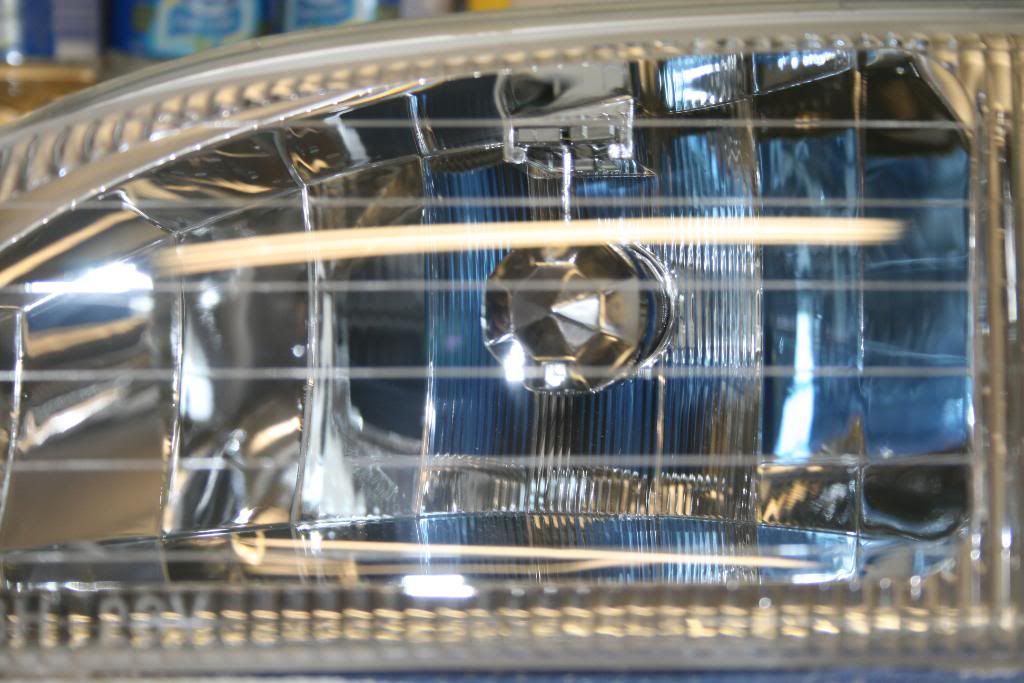
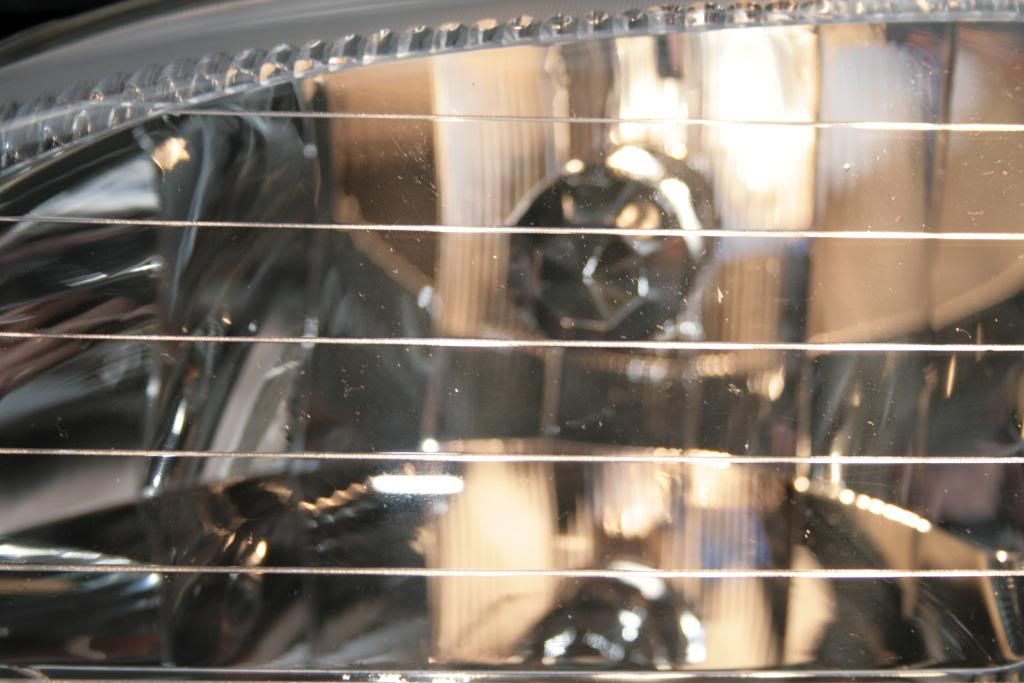
Those dots are just dust!
Here's the drivers side OEM headlight from 1996. The UV coating is peeling off and making a mess, the lenses are milky white and it looks like it needs replacing... right? :sad5:
Another thing with SN95 headlights is they have those stupid little tits on them! You know, the ones that you always crush a finger on when your washing your car? I will be removing them aswell, heres a pic of what i mean
I used a dremel tool with a cutoff wheel to remove the tits. Heres the first pic of the tits shaved off. WARNING: Be very carefull when your using a dremel tool, use eye protection and DO NOT remove too much of the tit. If you go too deep you will NOT be able to sand it out.
and to the side
One more for good measure
The Lenses were then block sanded with 800 grit. Focus on removing the remainder of the tits before you work on the lens. Remove all the factory UV coating and any defects you want gone. Here are some pics having everything completly sanded down with 800 grit
Tits gone!!!
Repeat the process with 1000 grit and 1500 grit if you see fit. I left it at 1000 grit as i am able to fully remove 1000 grit marks easily!
Lets polish the lens clear again!
I used my Flex 3401VRG using orange and white pads with 3 diffrent polishes.
I started off with an orange pads with menzerna powergloss.Defects were still vizible so i moved on to a gentler menzerna super intensive polish using a fresh orange pad. The defects are now 100% gone, now all i needed to do was add clerity and some pop. i used my white pad with menzerna P085RD. The results speak for themself. The lens is now clearer than factory, titsless and lookin awesome!
Enjoy!
Those dots are just dust!
 gatta be an autopian to spot it tho!