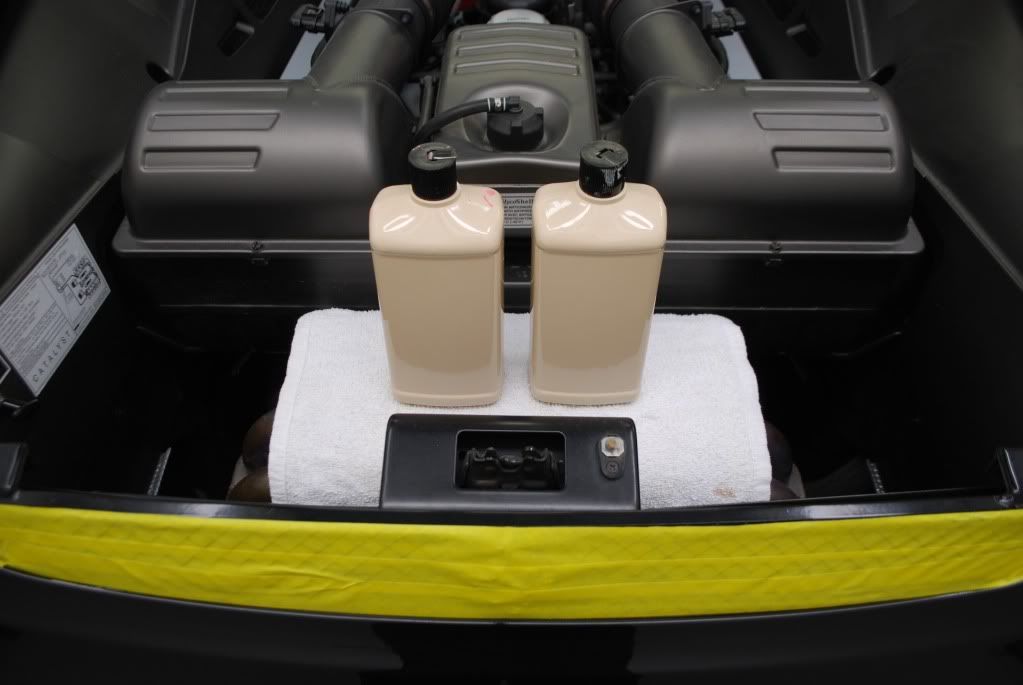
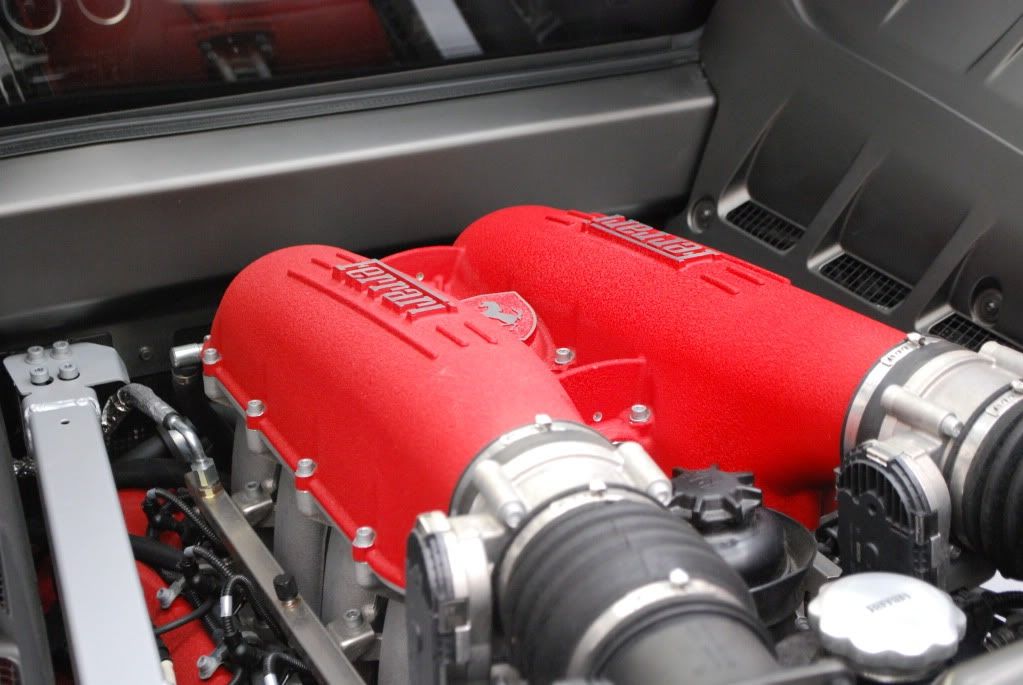
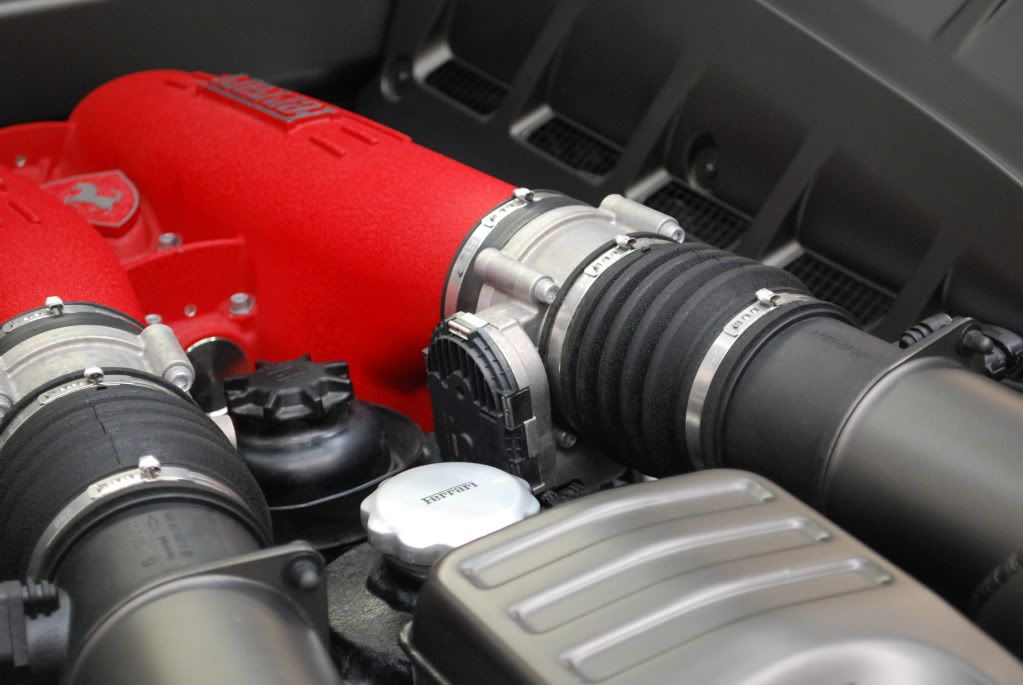
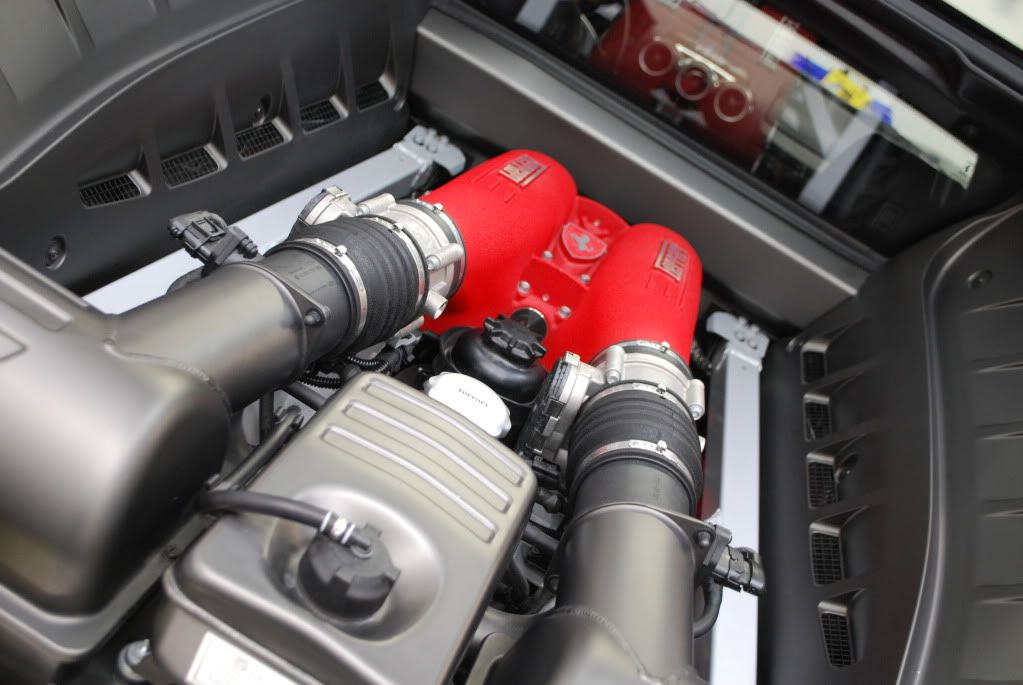
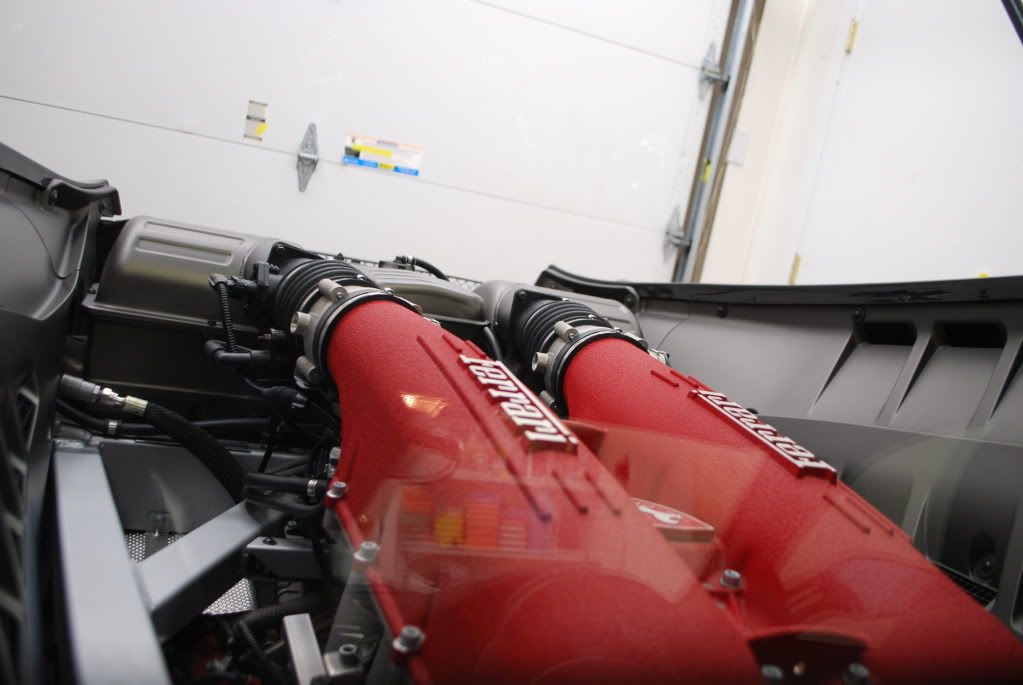
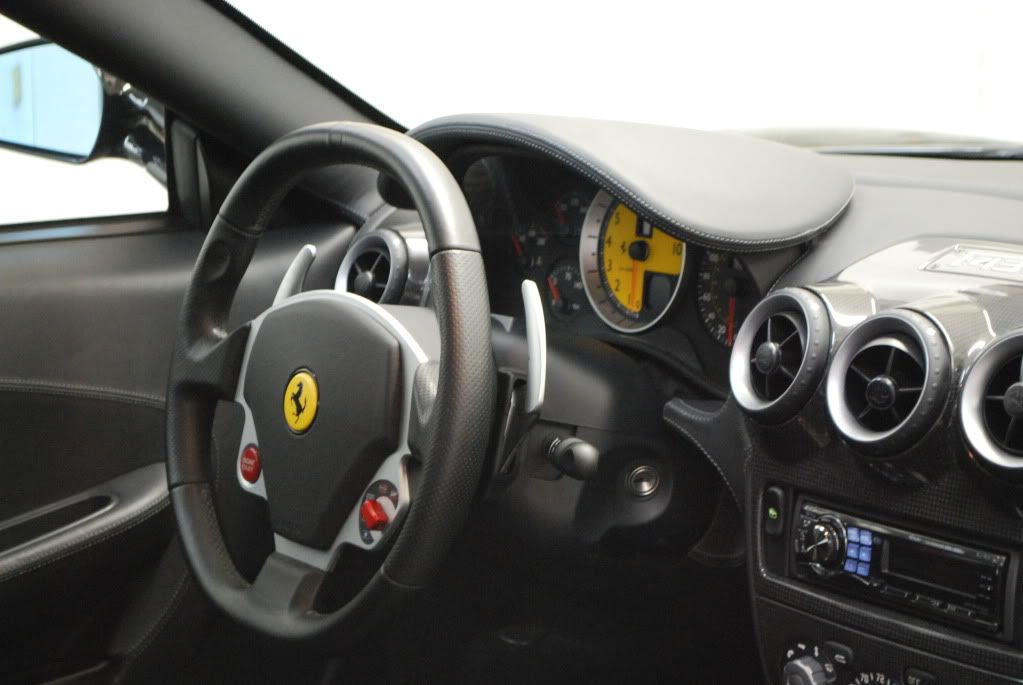
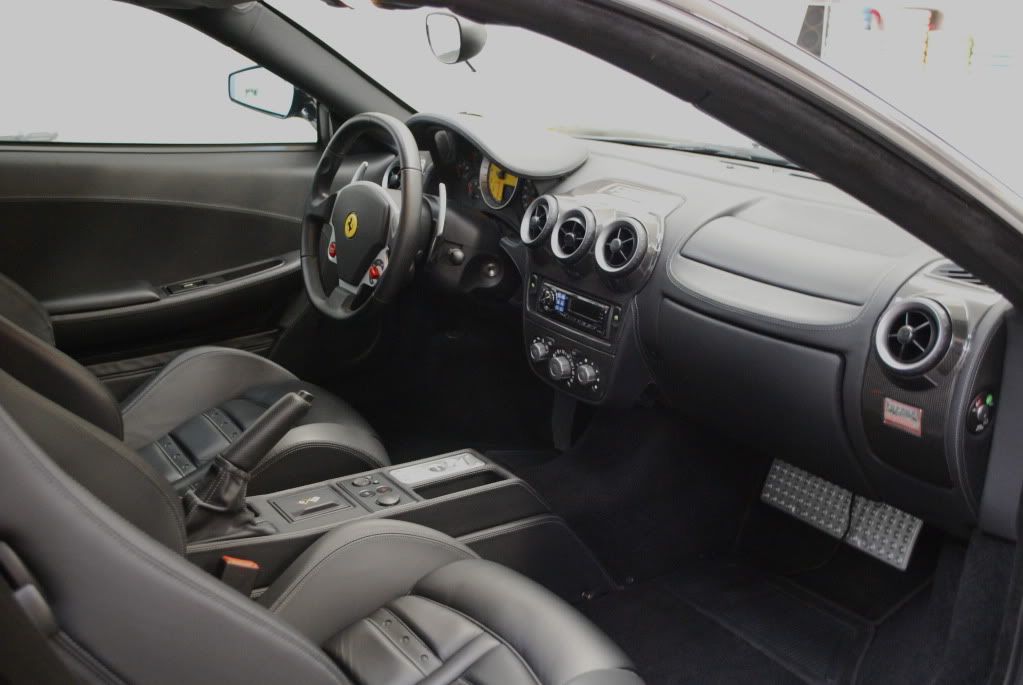
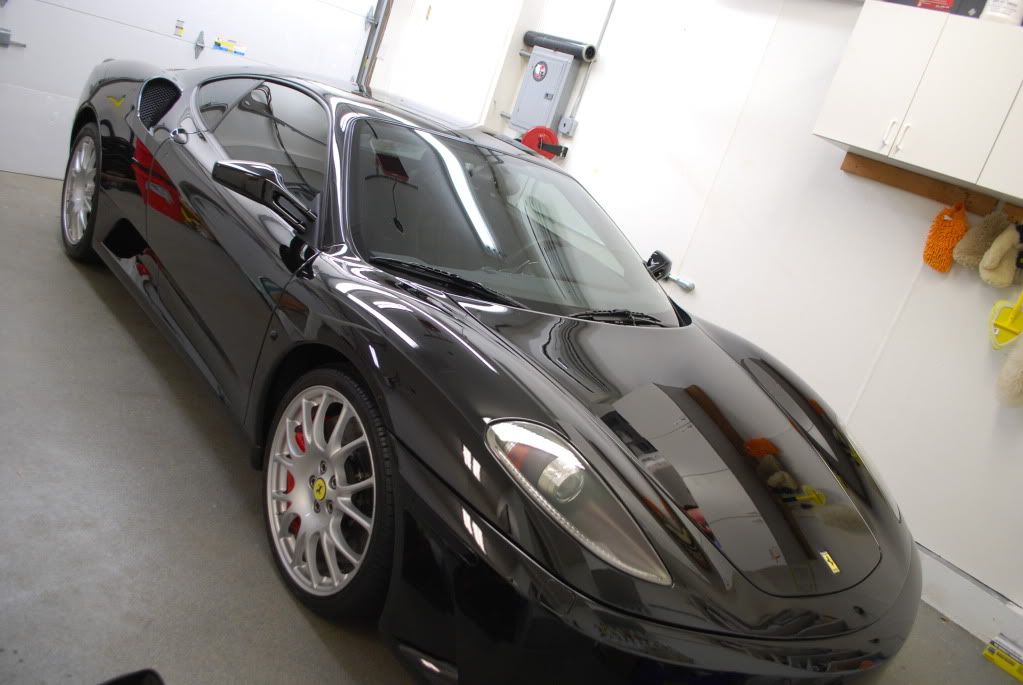
2008 Ferrari 430 in for a 3 day full correction, interior and engine detail.

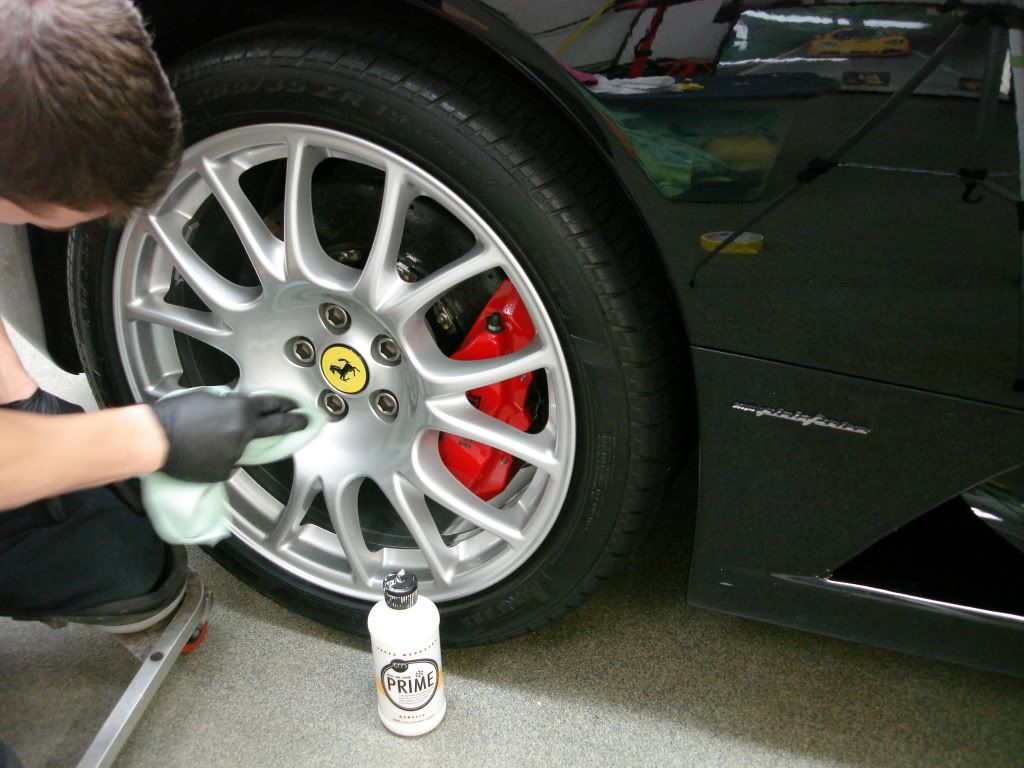
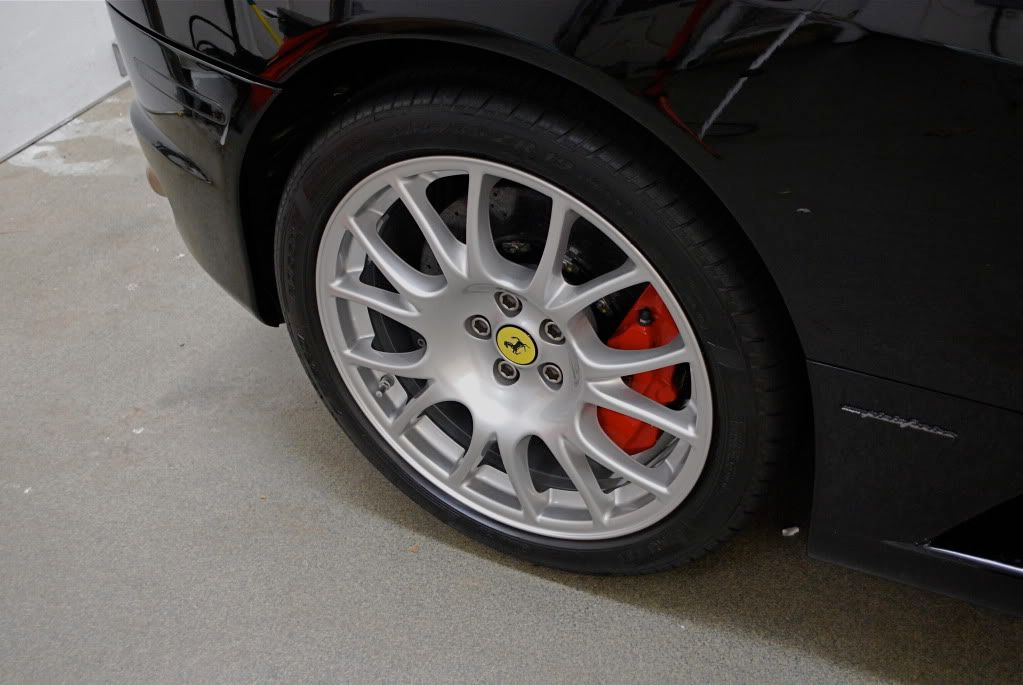
Began with the wheels and tires. Wheels were cleaned using regular soap and water with various brushes due to the carbon ceramic brakes.

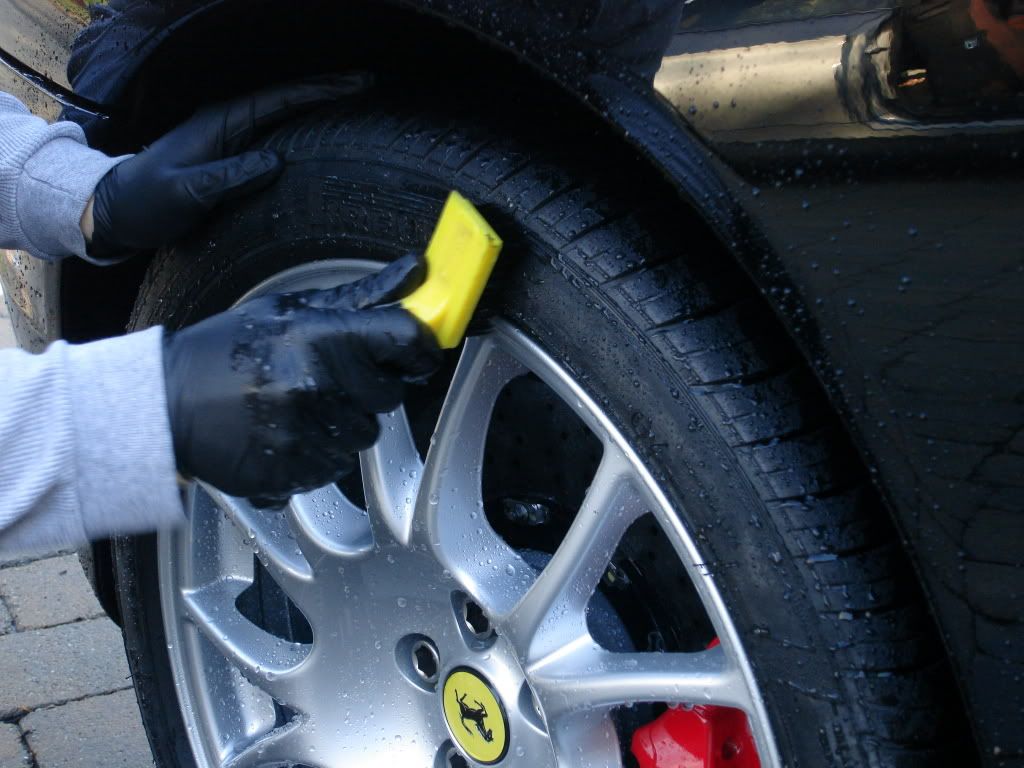
Wash process:
Foam w/ CG maxi suds
Soak w/ Optimum Power Clean 5:1
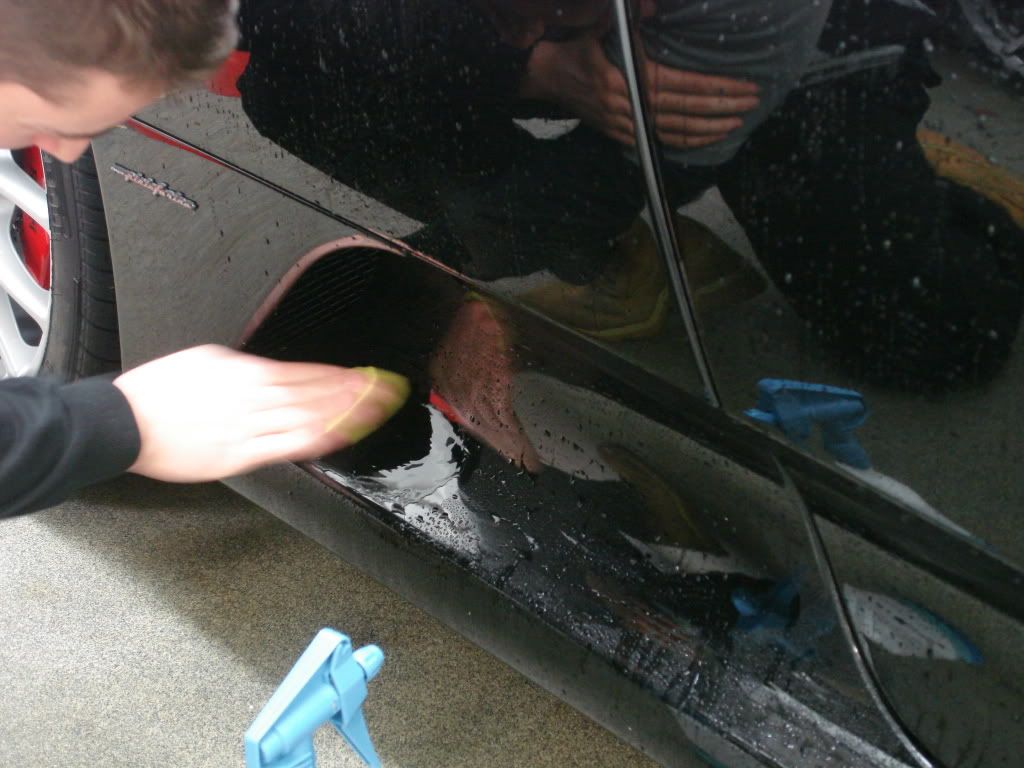
Hand wash using Lusso Oro
Brought inside with the heat on full blast (sub 40degree temps outside now)
Claying using ONR as lube
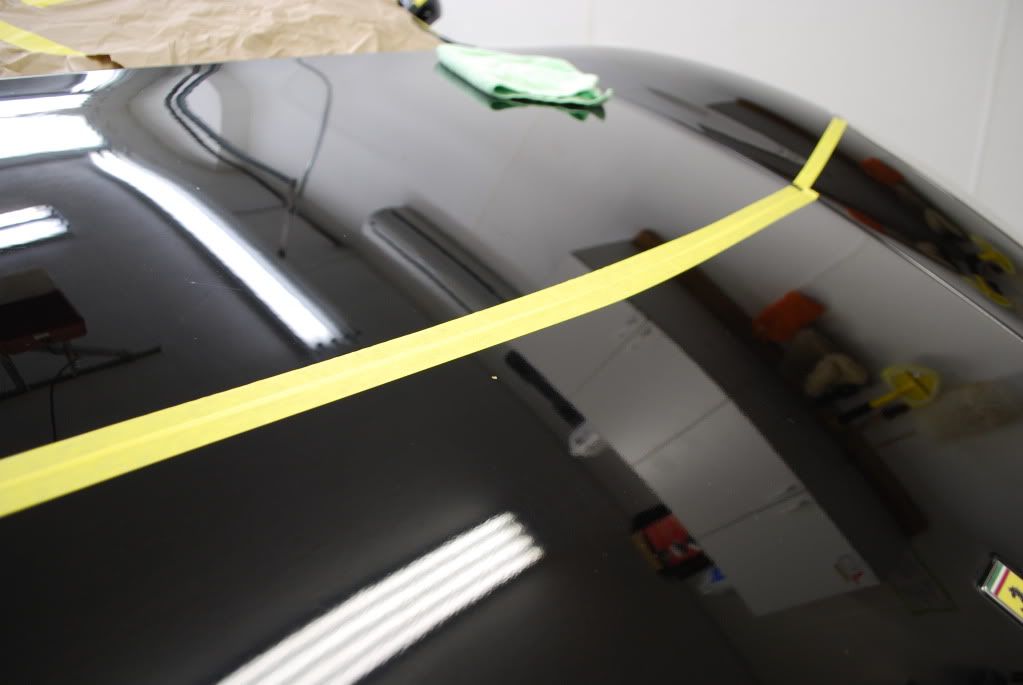
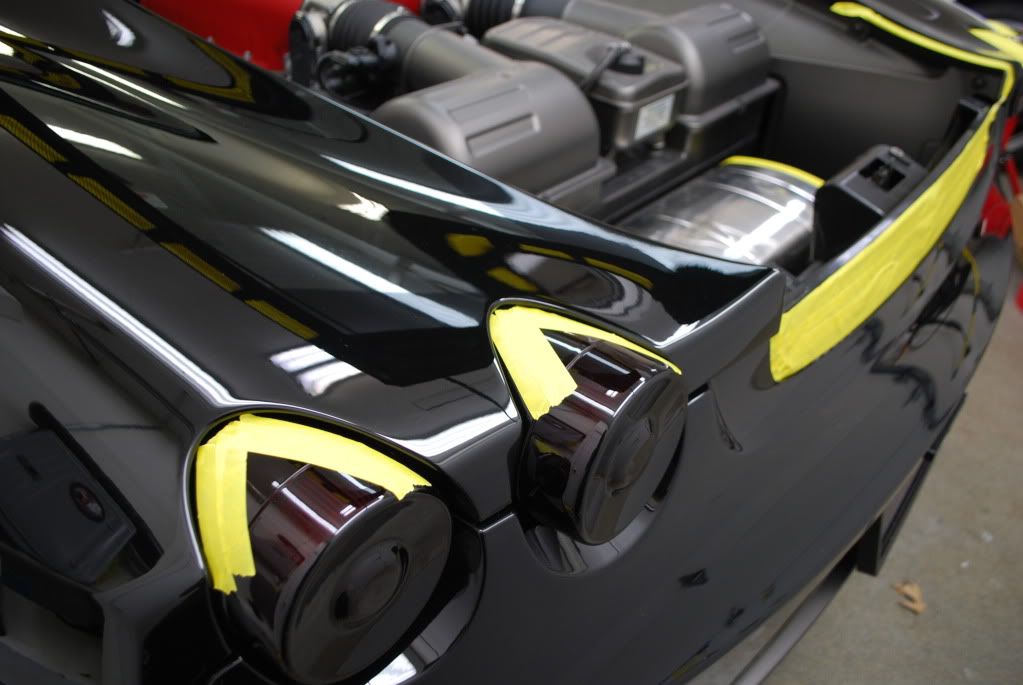
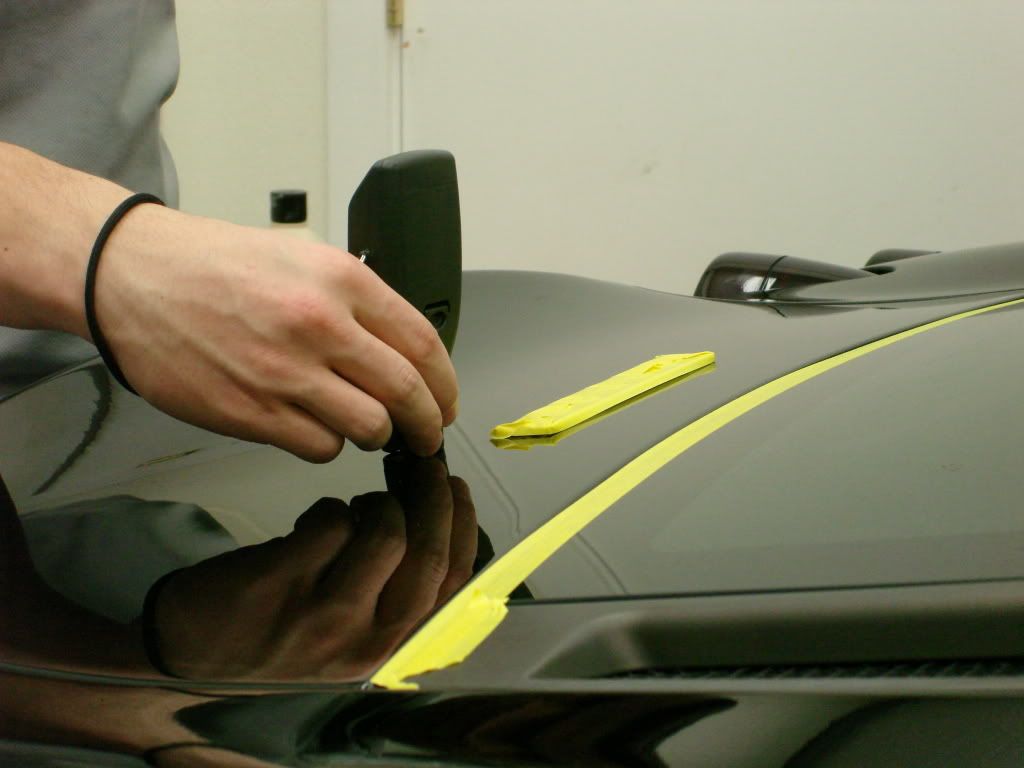
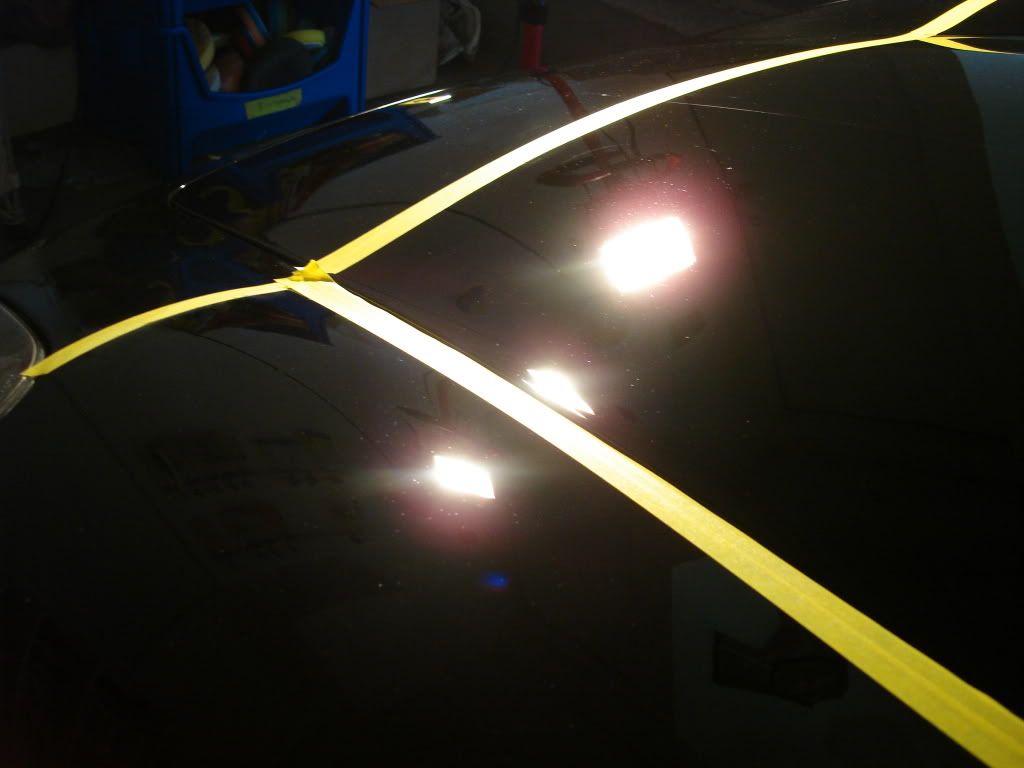
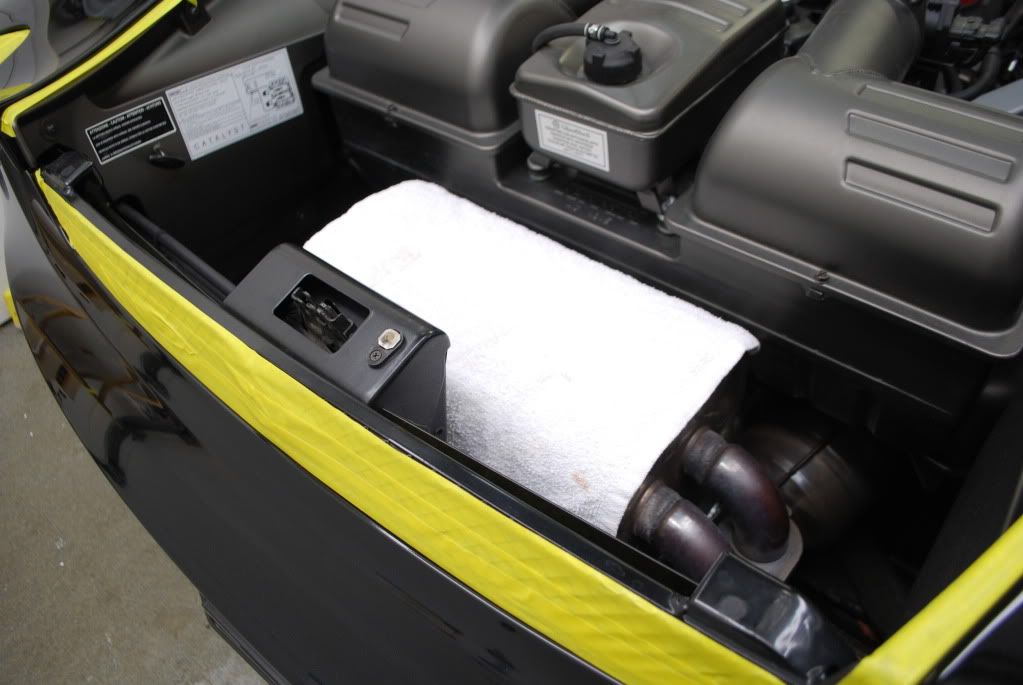
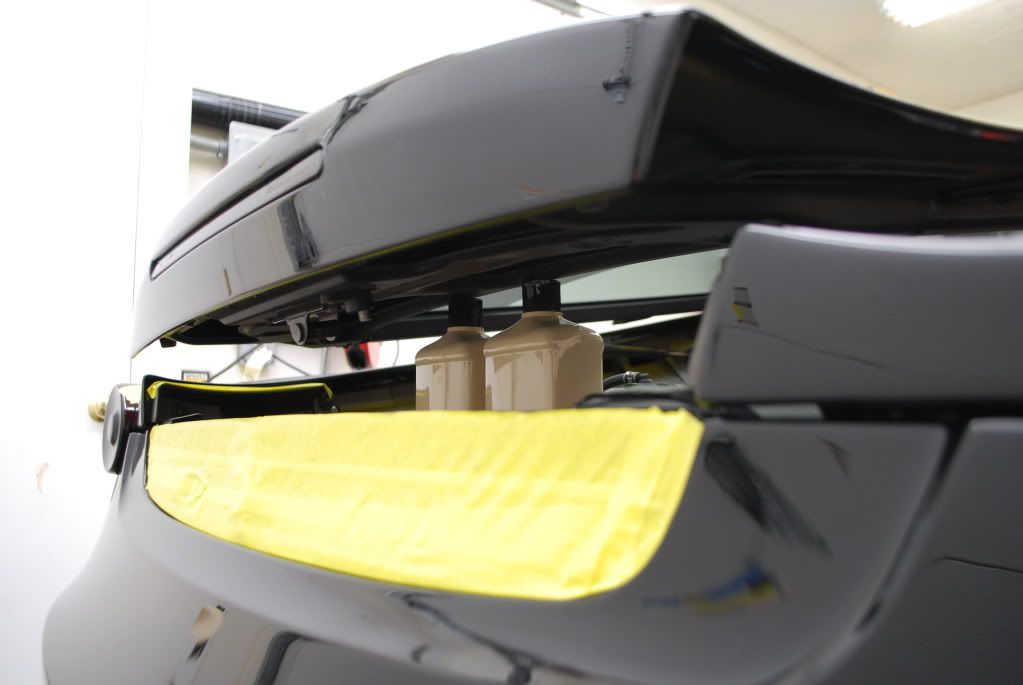
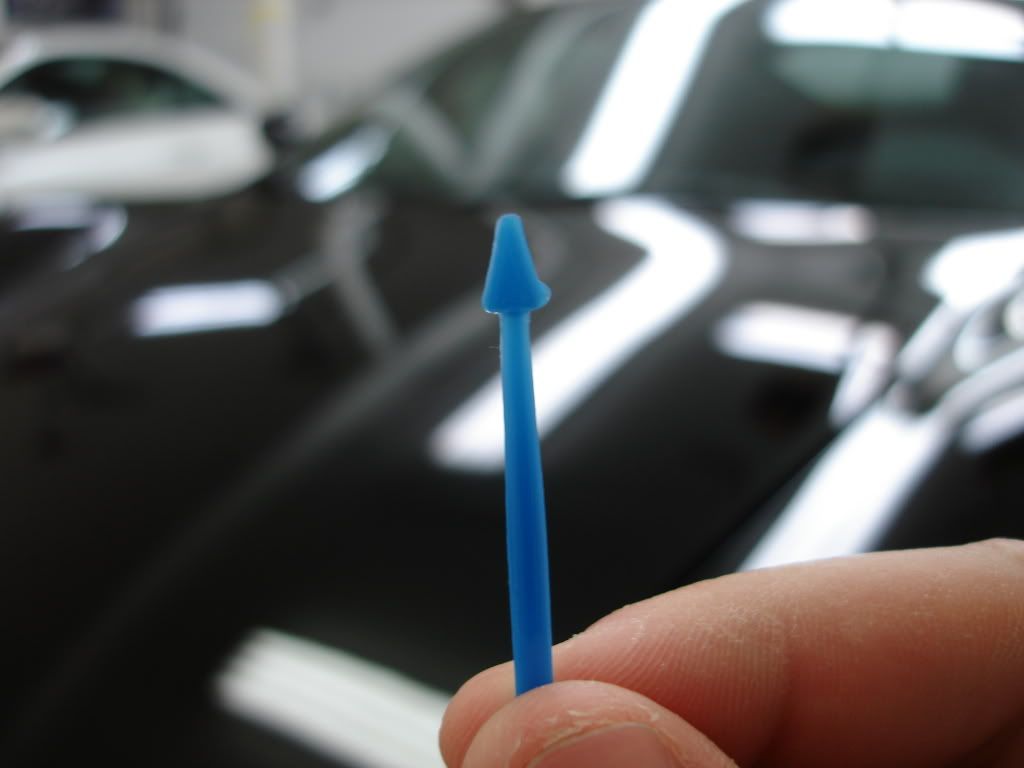
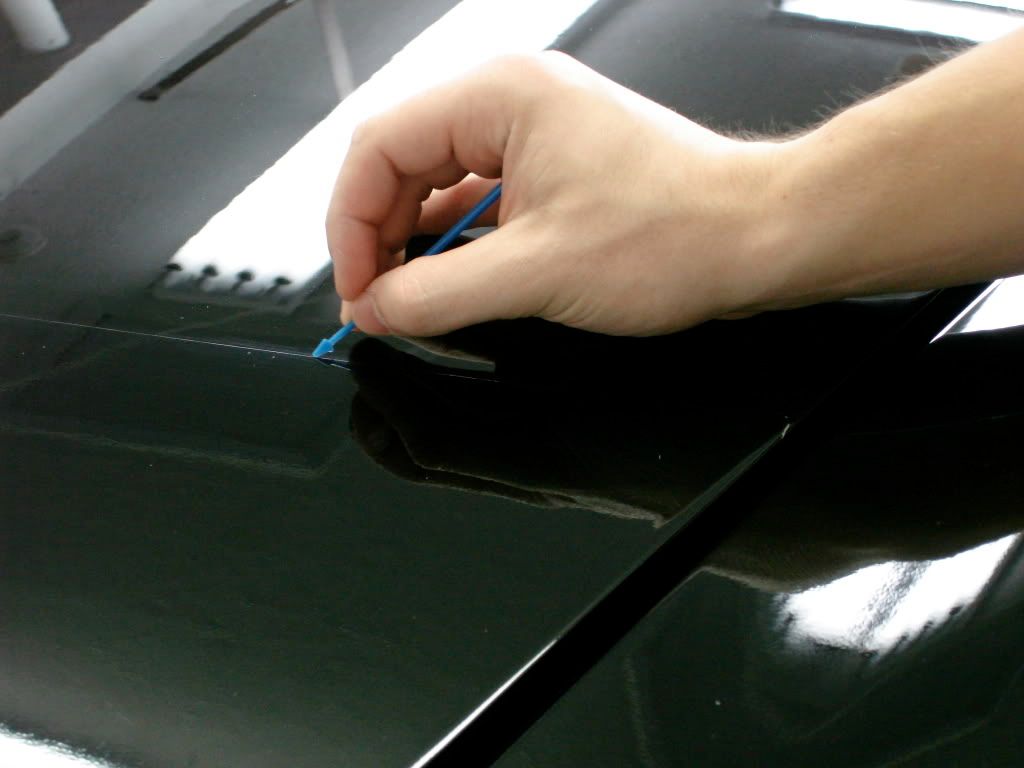
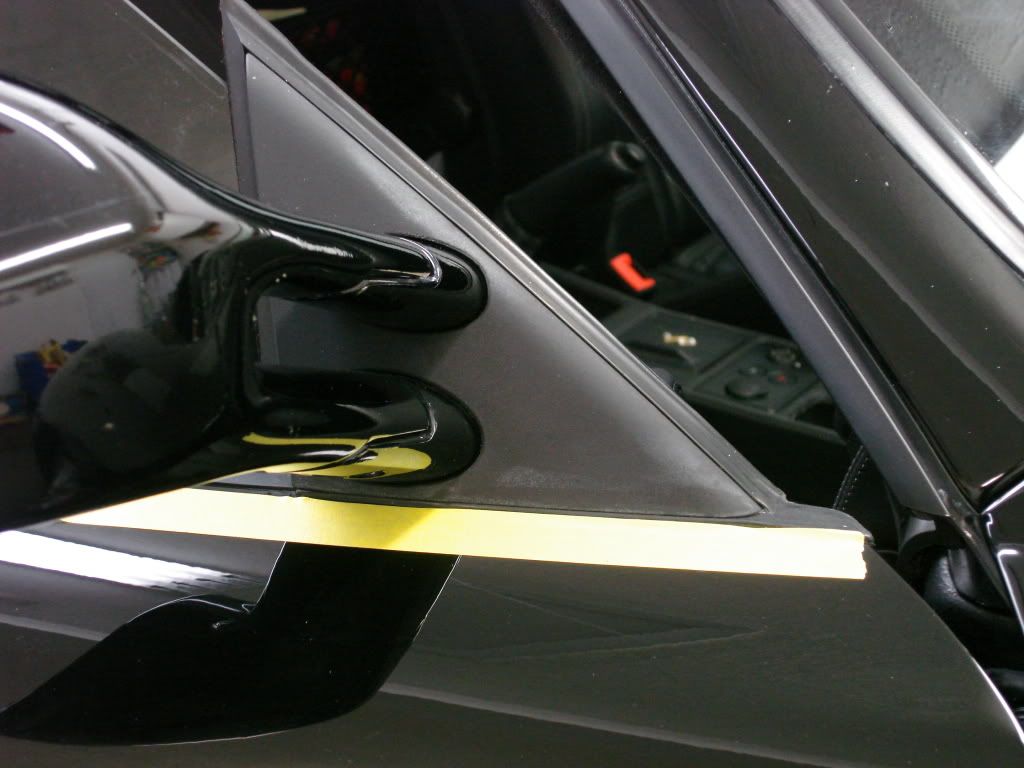
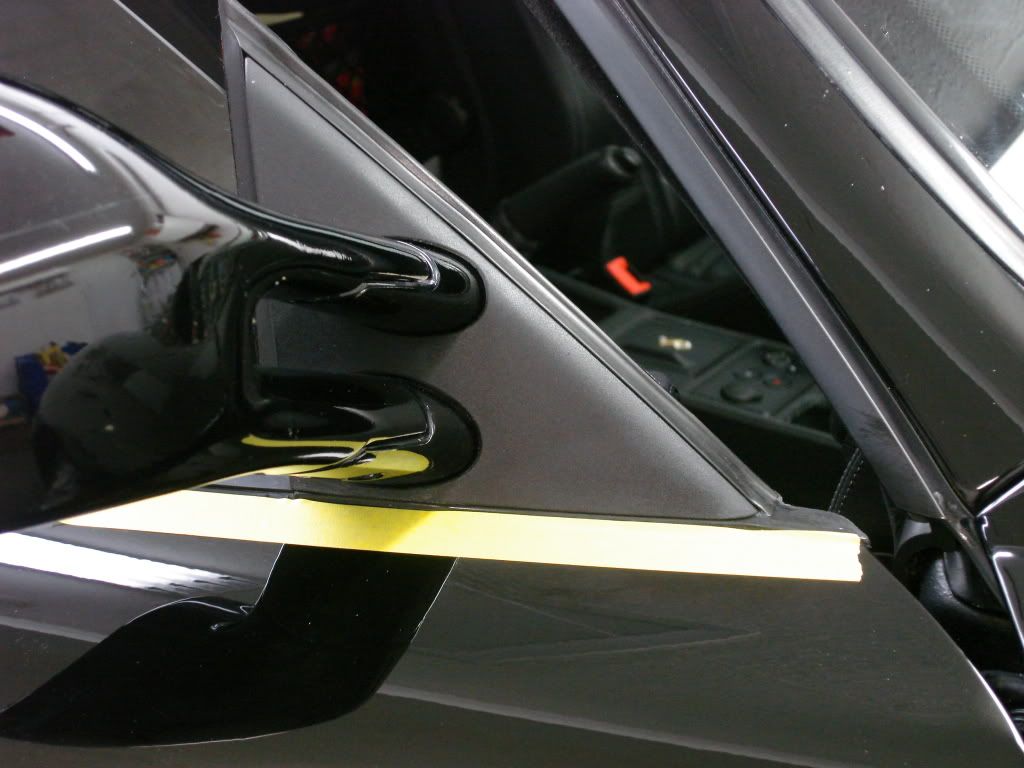
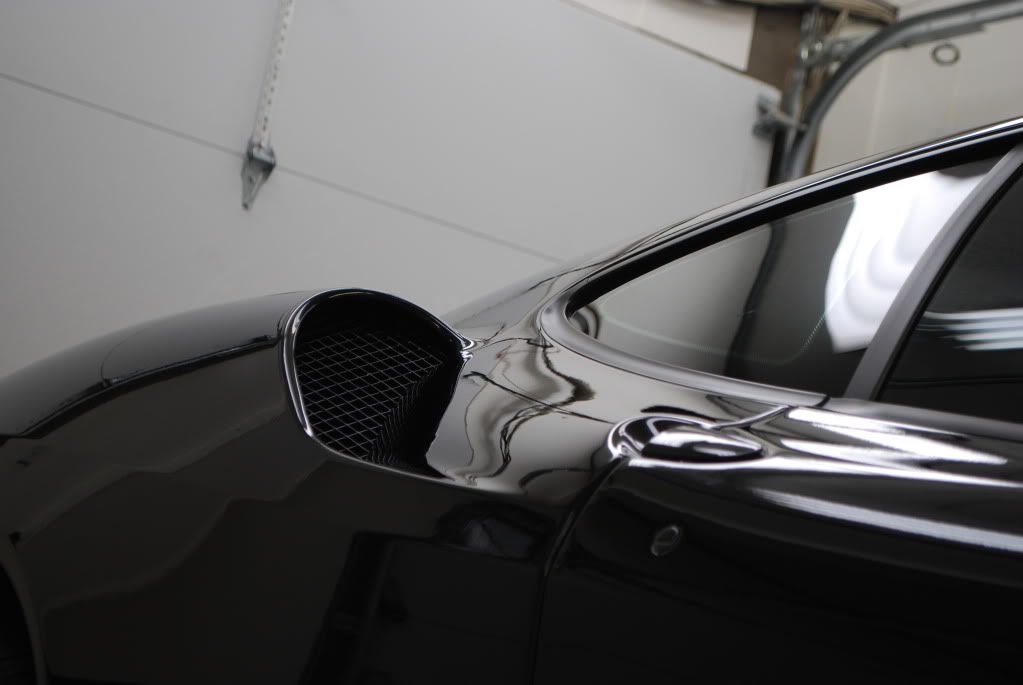
After claying 2 IPA wipedowns were done before taping. I spent a lot of time masking this car to prevent a messy cleanup after correction. Most importantly the clear film edges on the front bumper, nose and by the side air intakes (upper and lower) were masked carefully.
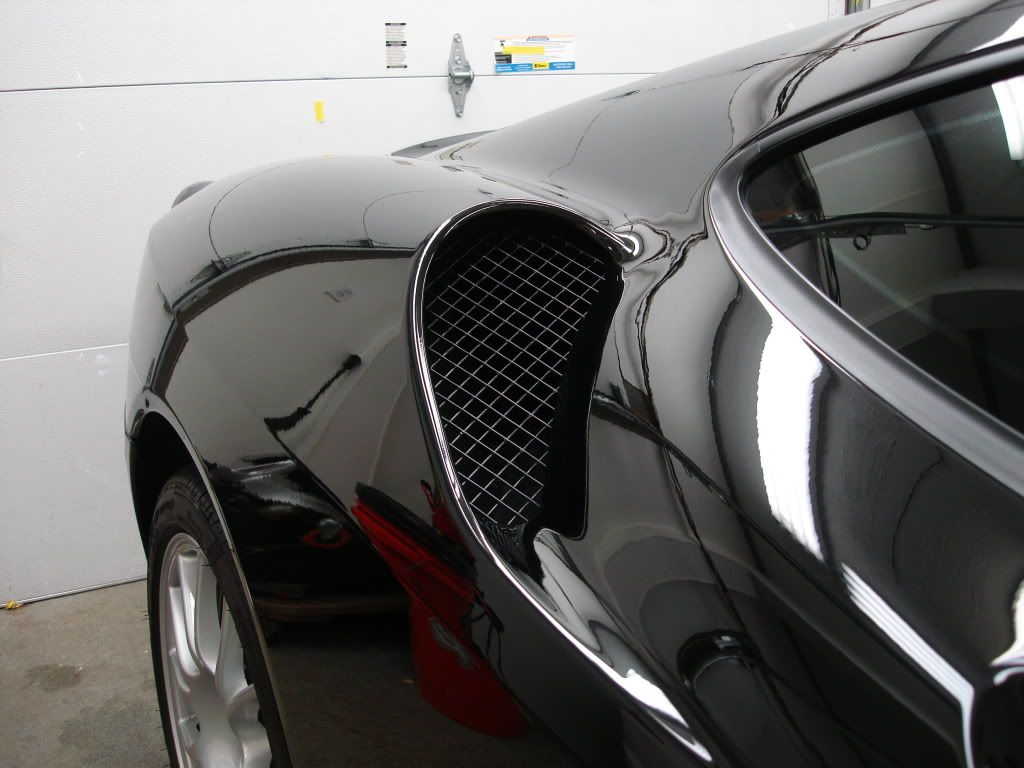

Hood clear bra line taped thick enough so that I can run over it with a buffer and still not be onto the clear film as I was using a rotary for correction on the un-filmed upper half of the nose
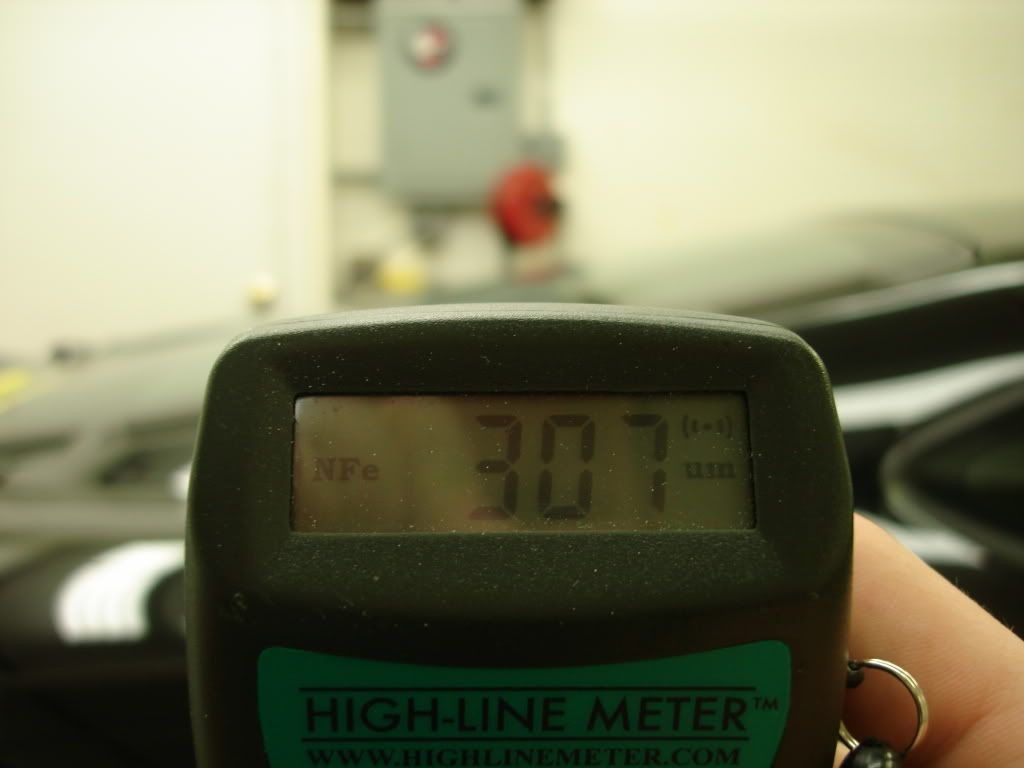
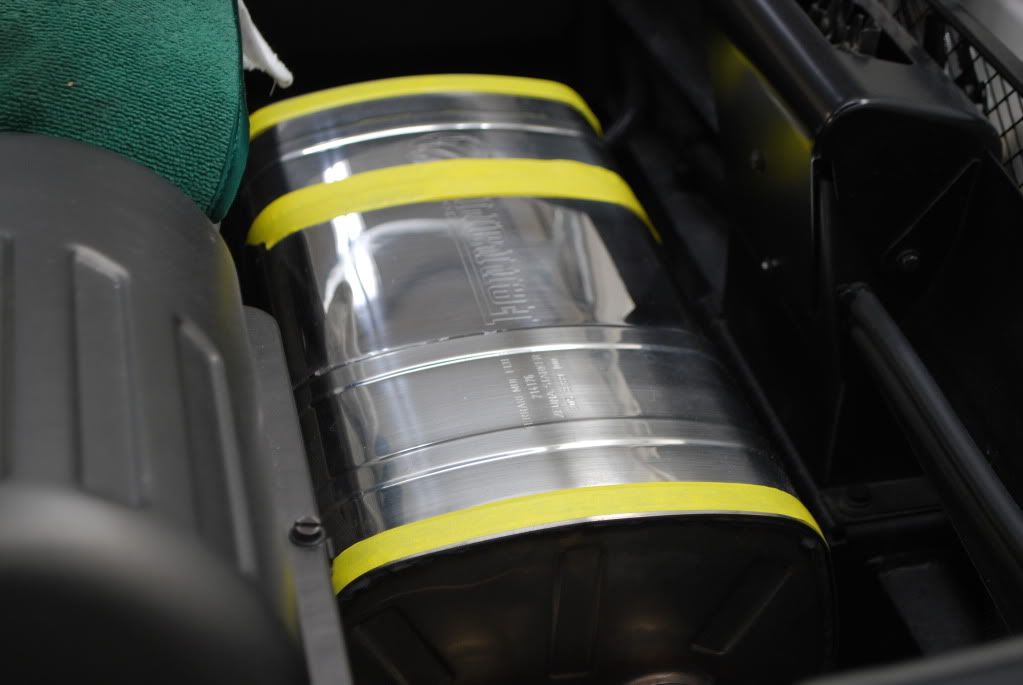
Next I took measurements with the PTG. The rear bumper and engine cover area were repainted a few months ago, I took careful readings and surprisingly they were very close to the factory levels, at most a 40micron difference in thickness. The color match job done was hands down the best I have seen
Factory reading...


Re-sprayed panel
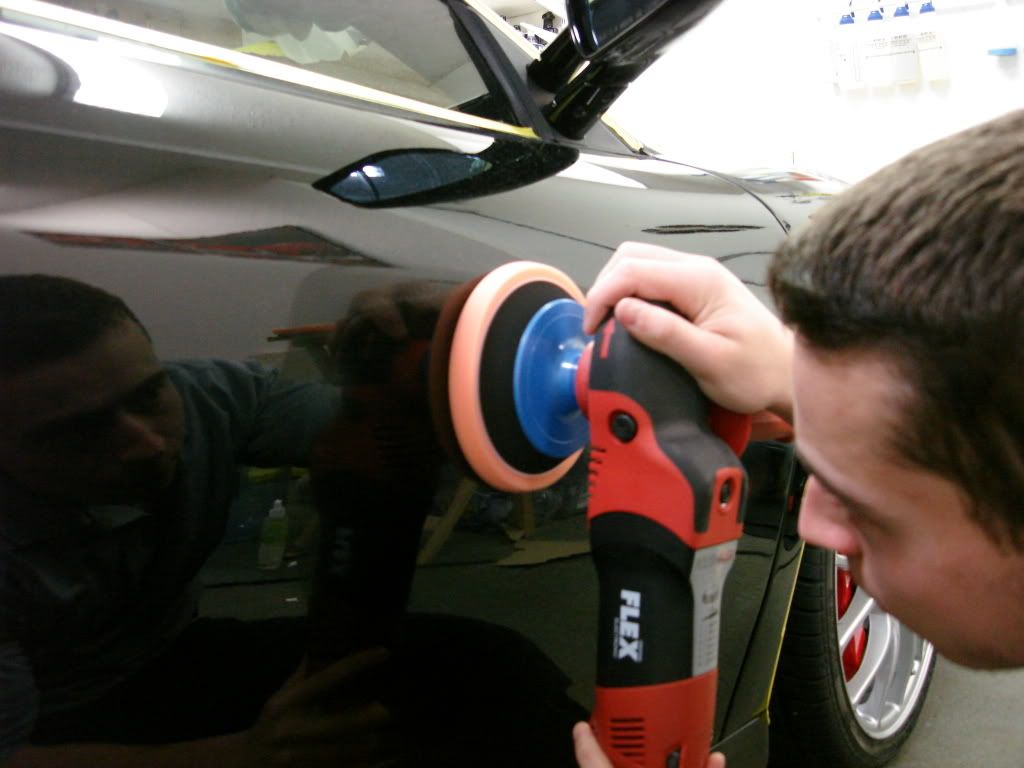
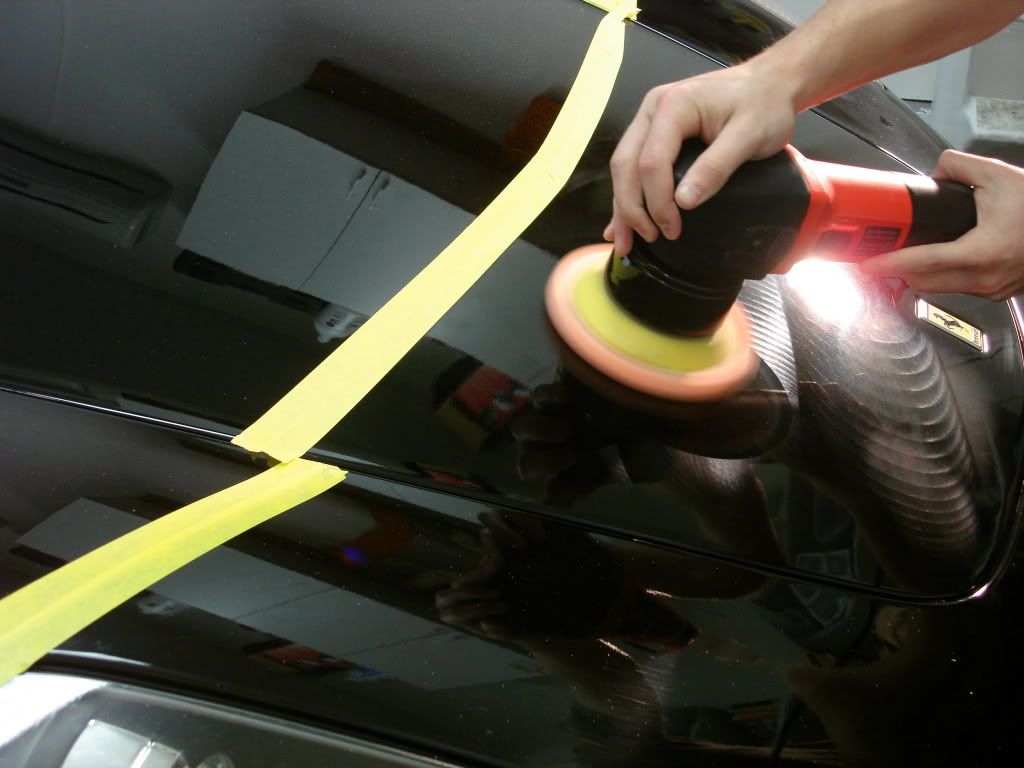
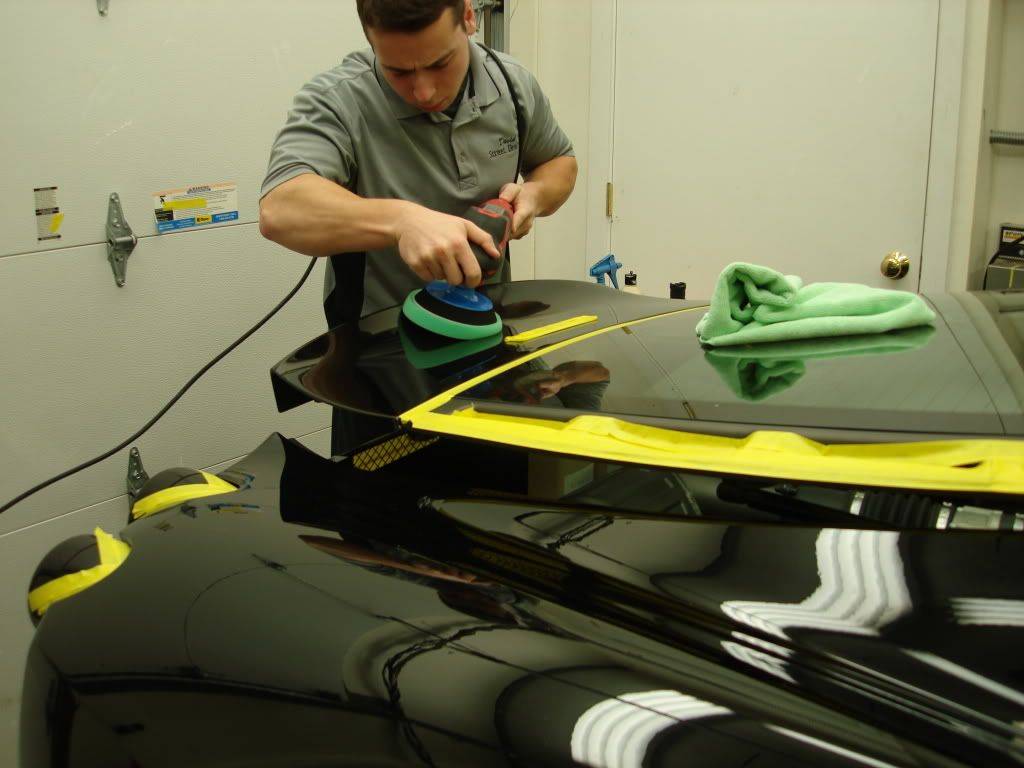
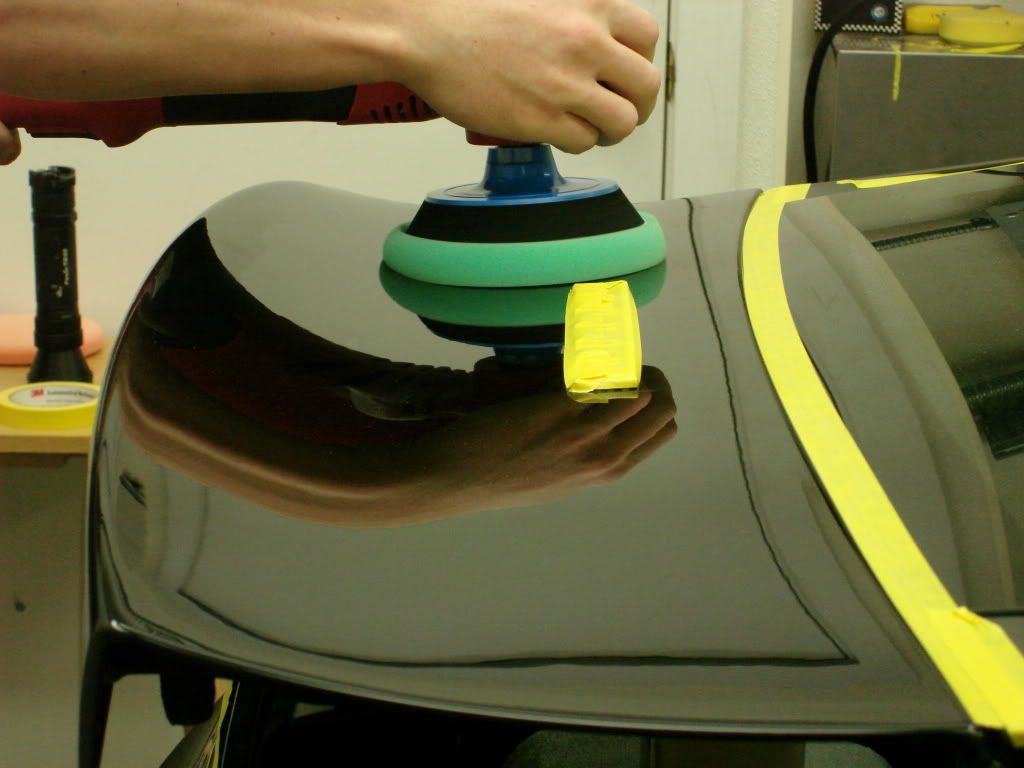
Onto paint correction. I played around with the new Flex PE 14-2 which is quite a cool machine.
Products used... Meguiars M105, Sonax Perfect Finish (both for light cutting and finishing w/ varied pads)

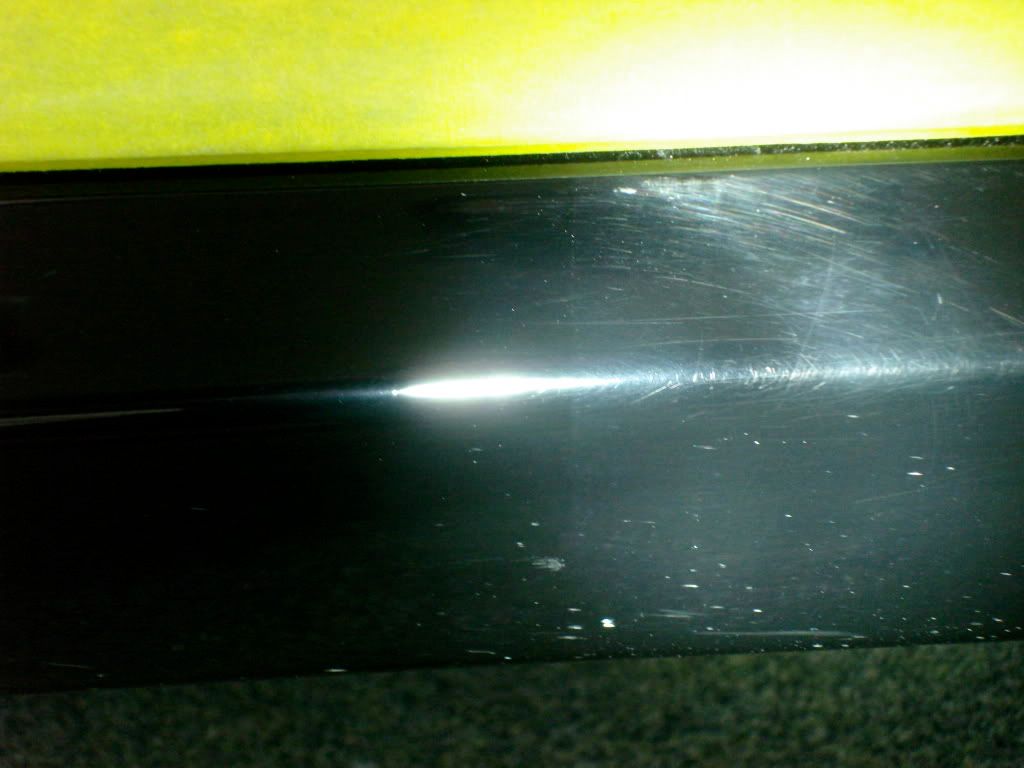
Switched to the Griots DA machine in the side skirts to make for easier polishing, these areas get hit the worst with RIDS and scuffs...

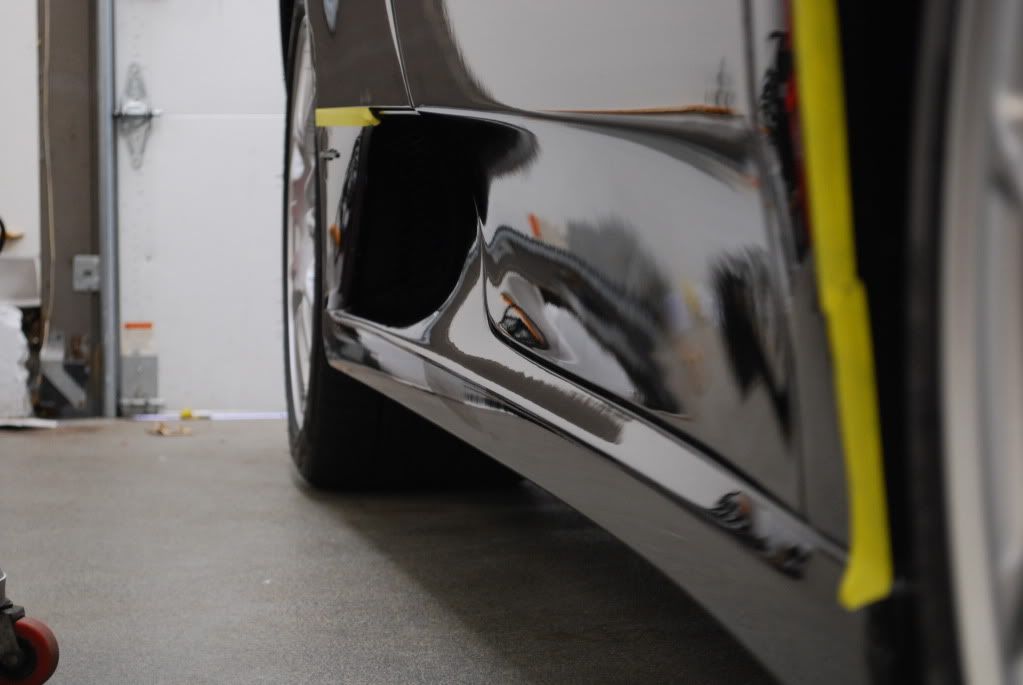
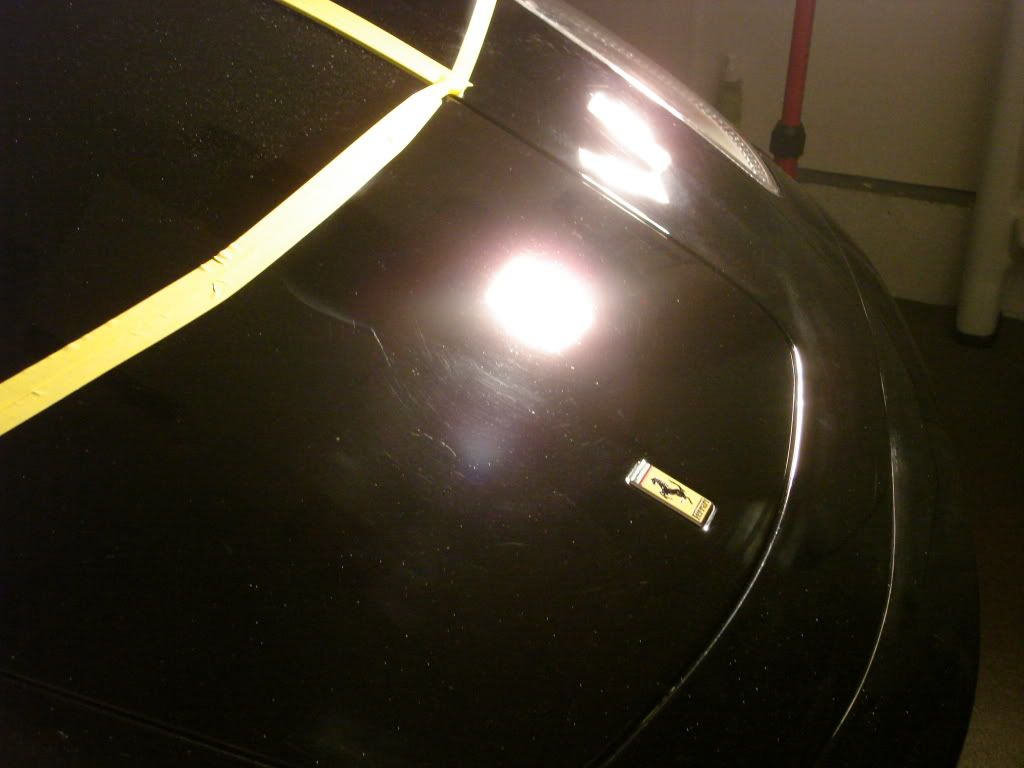
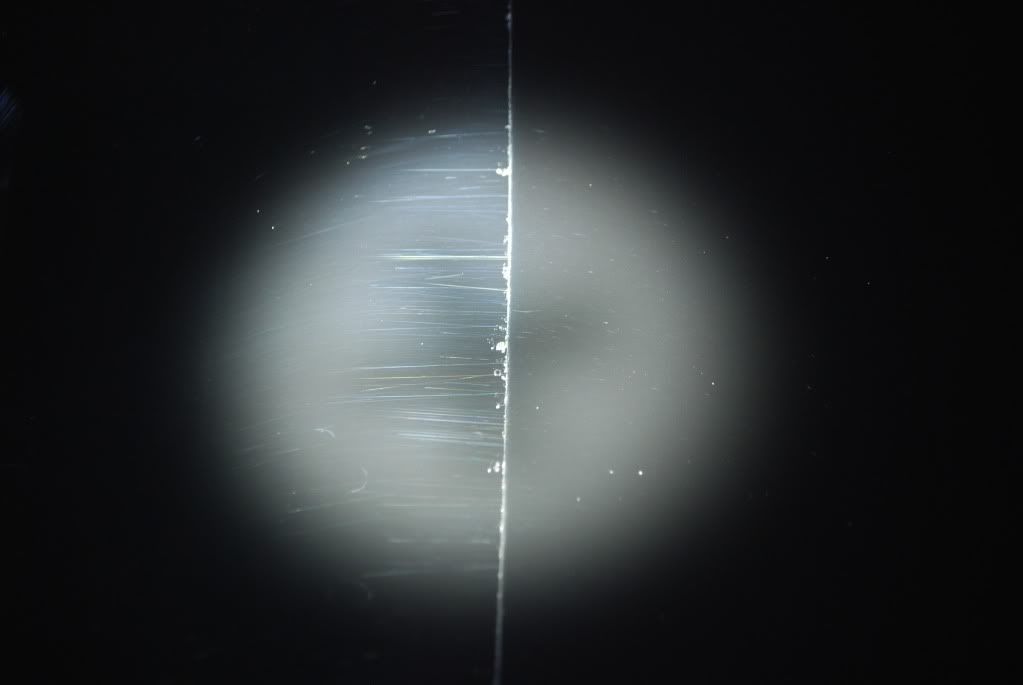
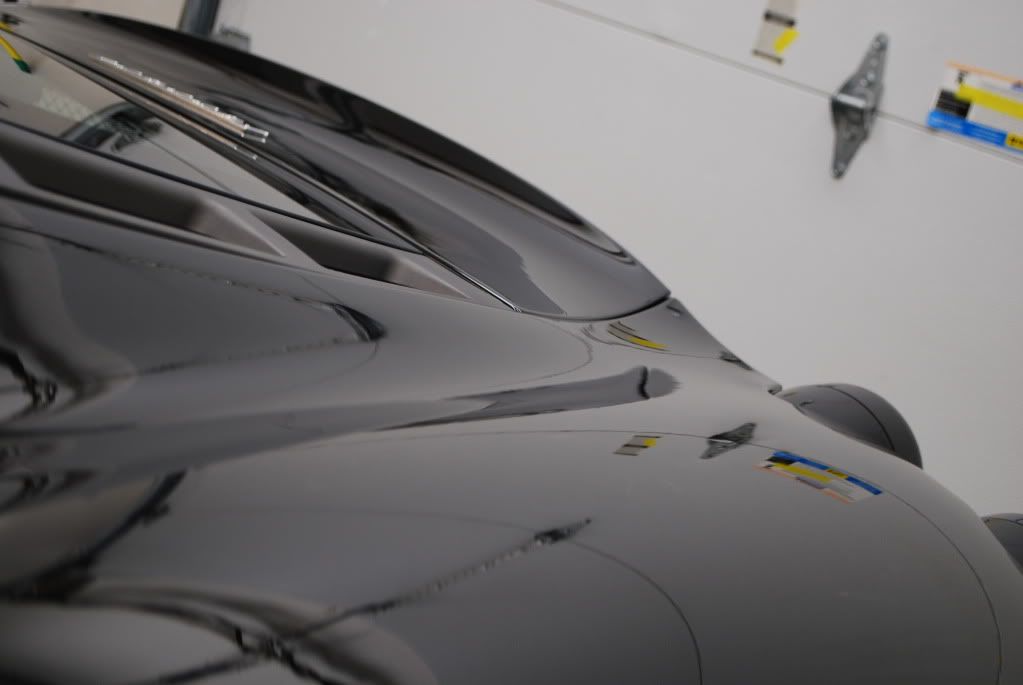
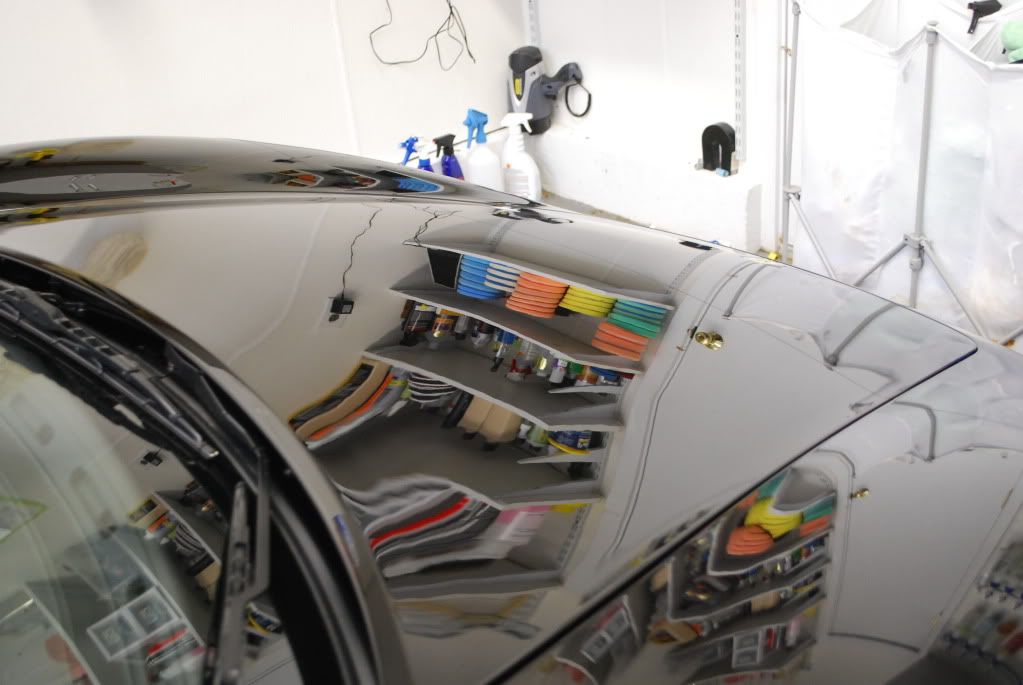
50/50, not every defect was able to be removed but the haze did come out into a nice gloss to match the rest of the car after polihsing
After finishing
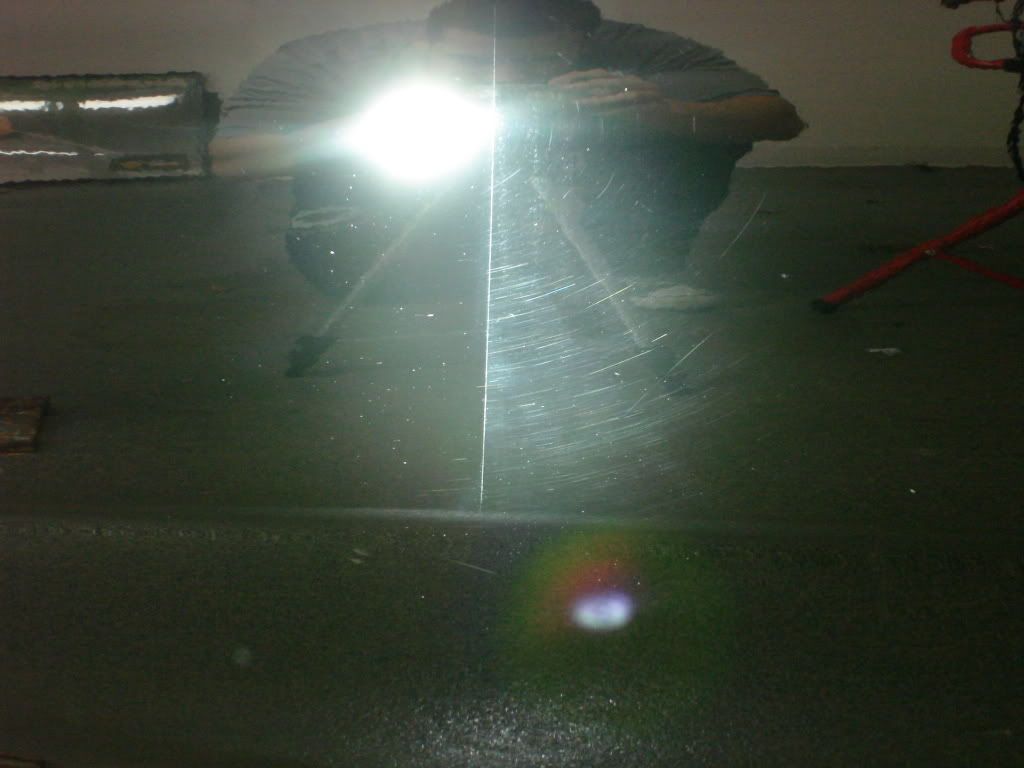
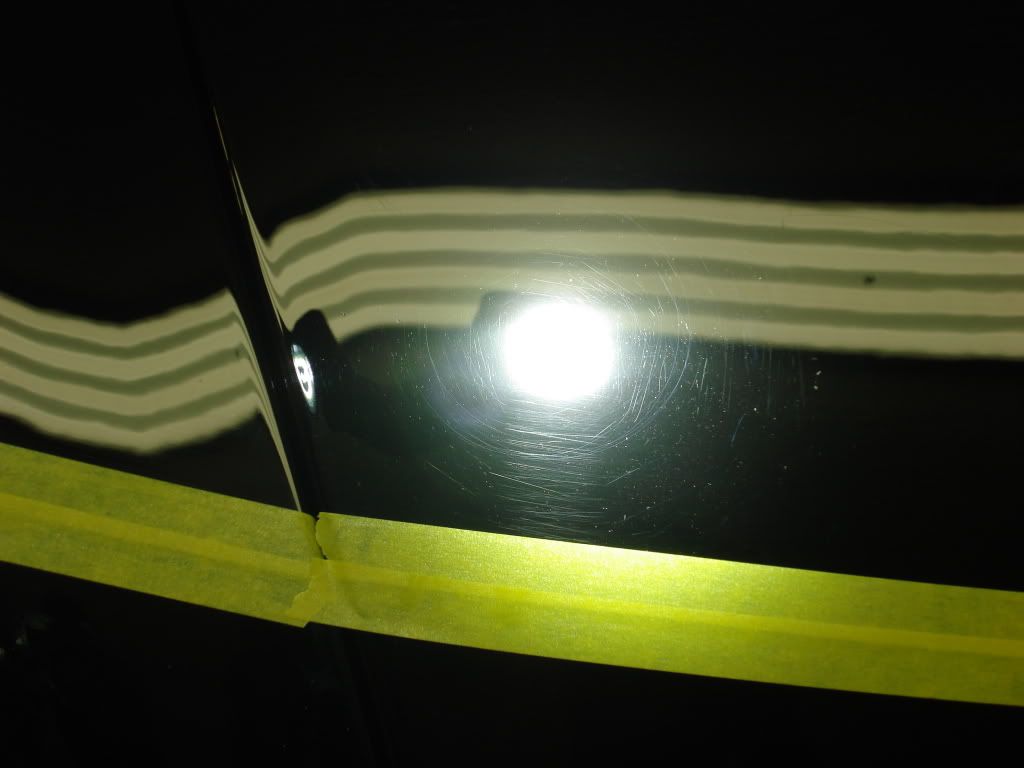
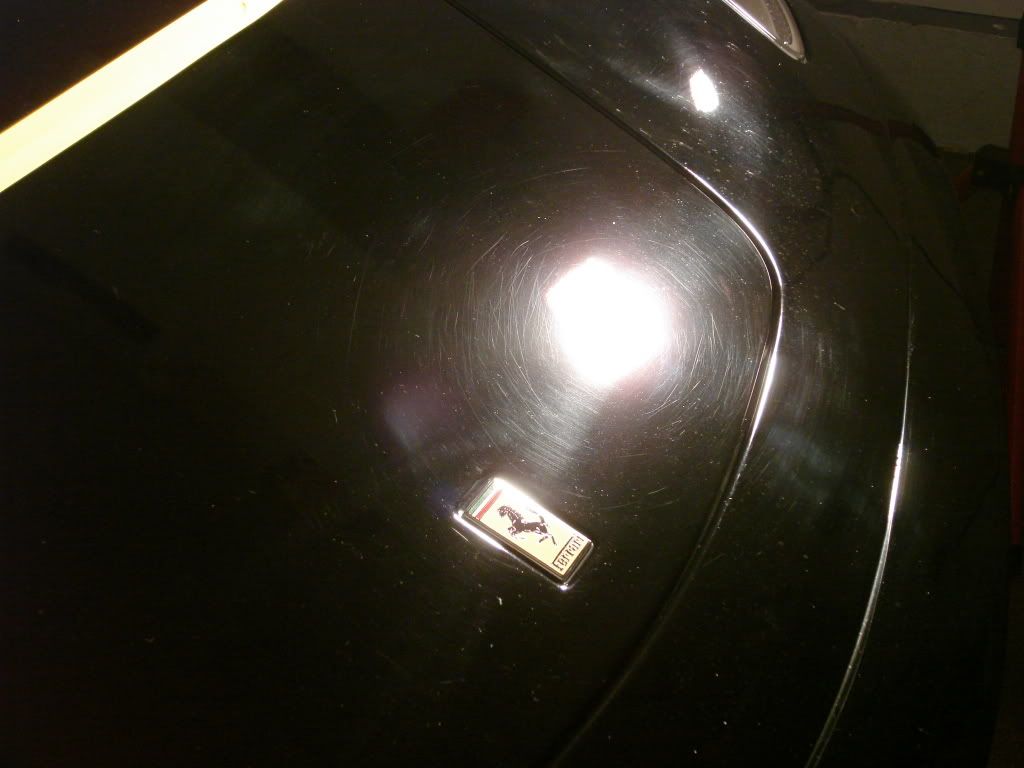
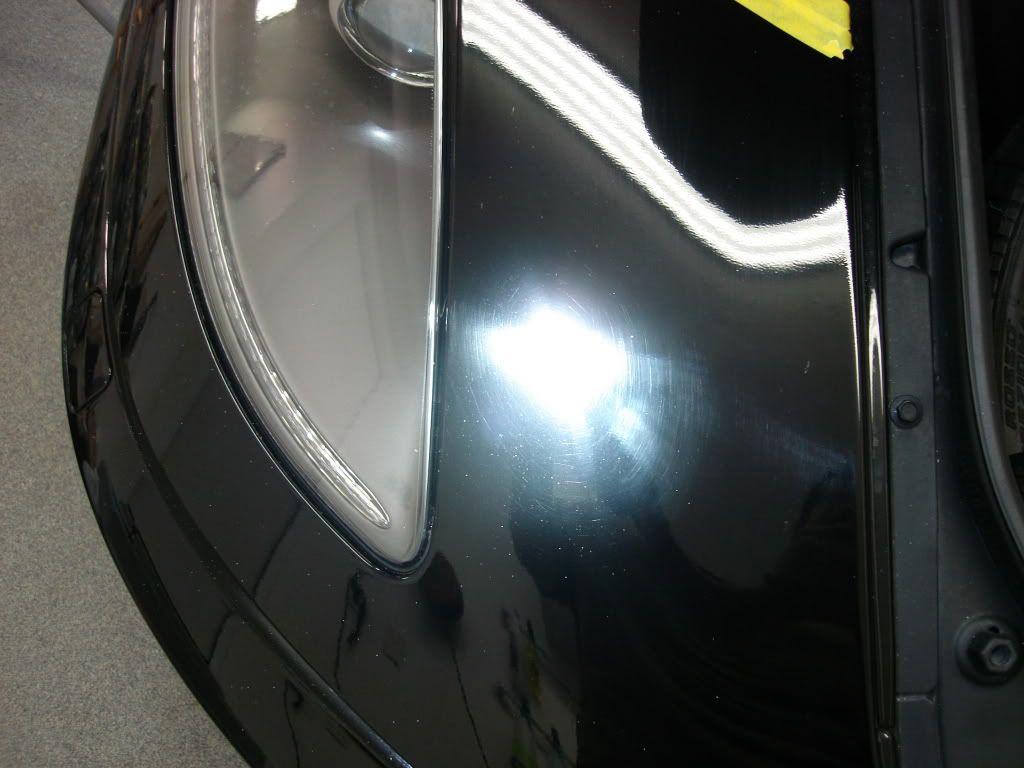
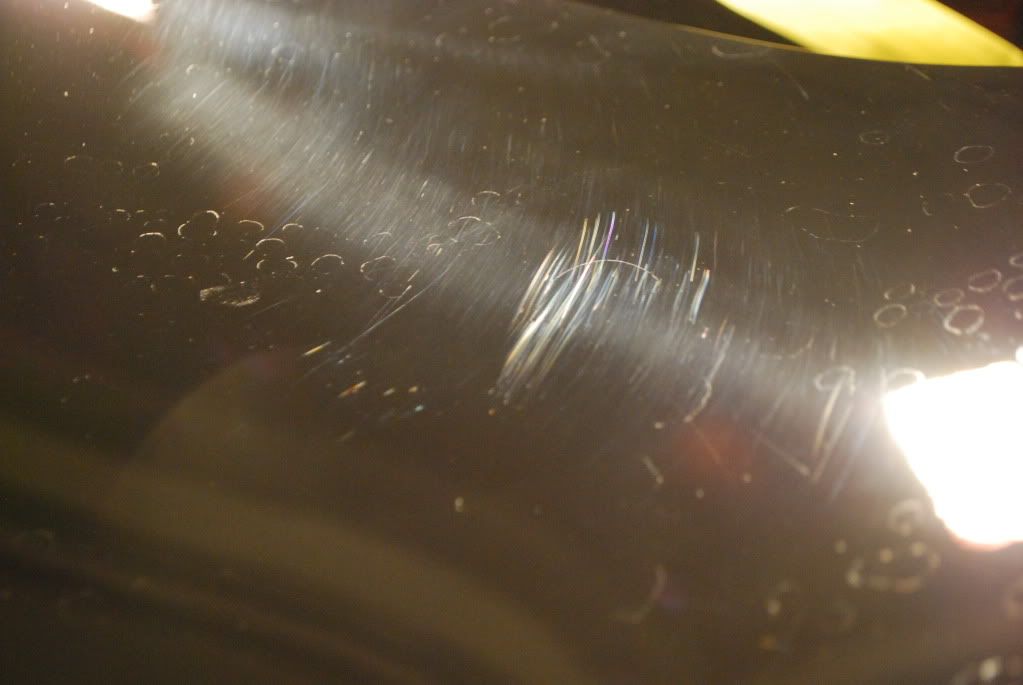
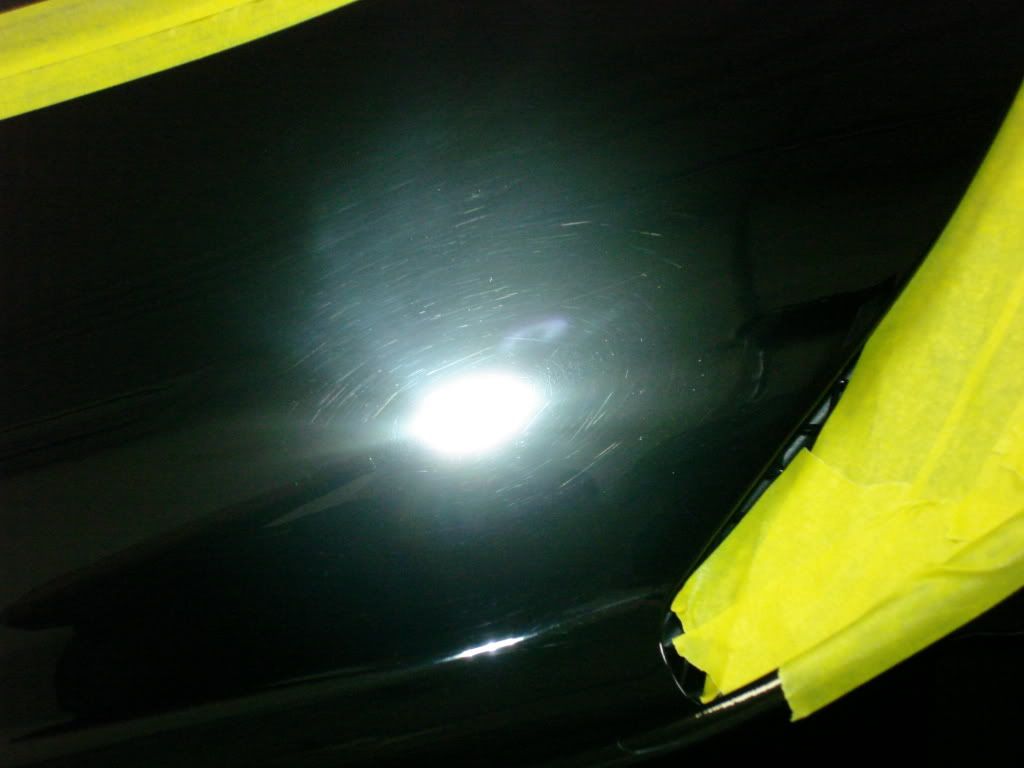
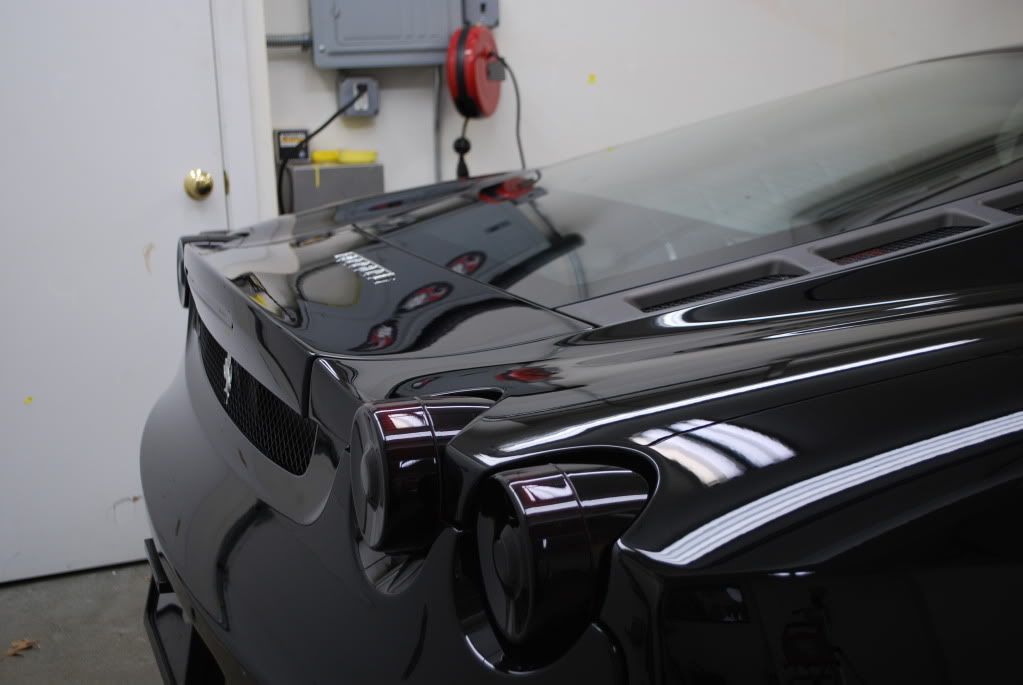
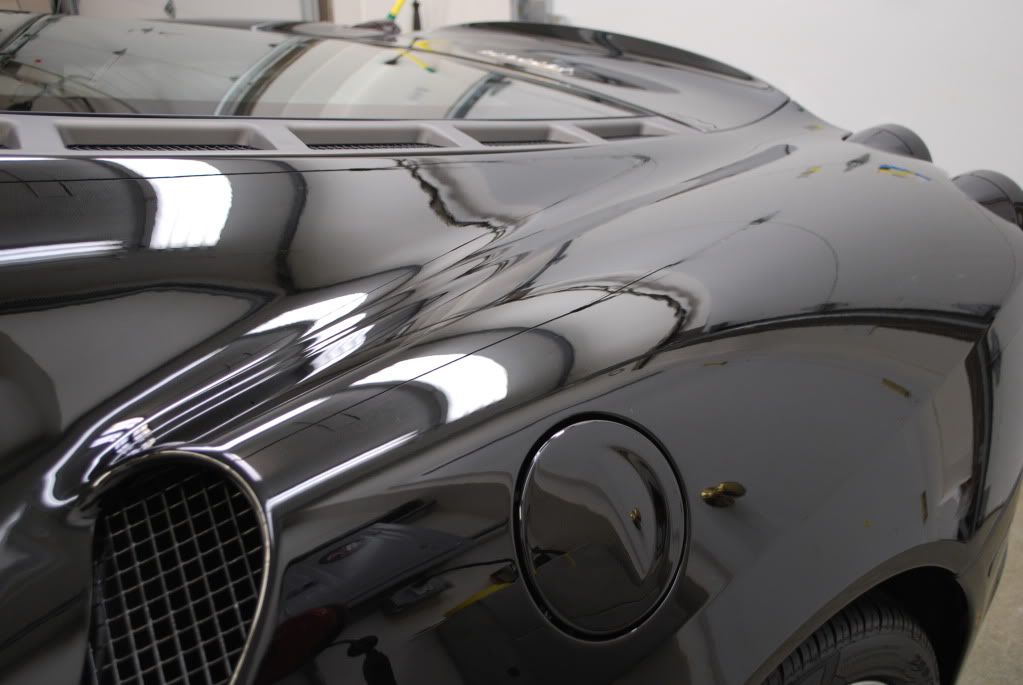
Front nose needed a good bit of work...
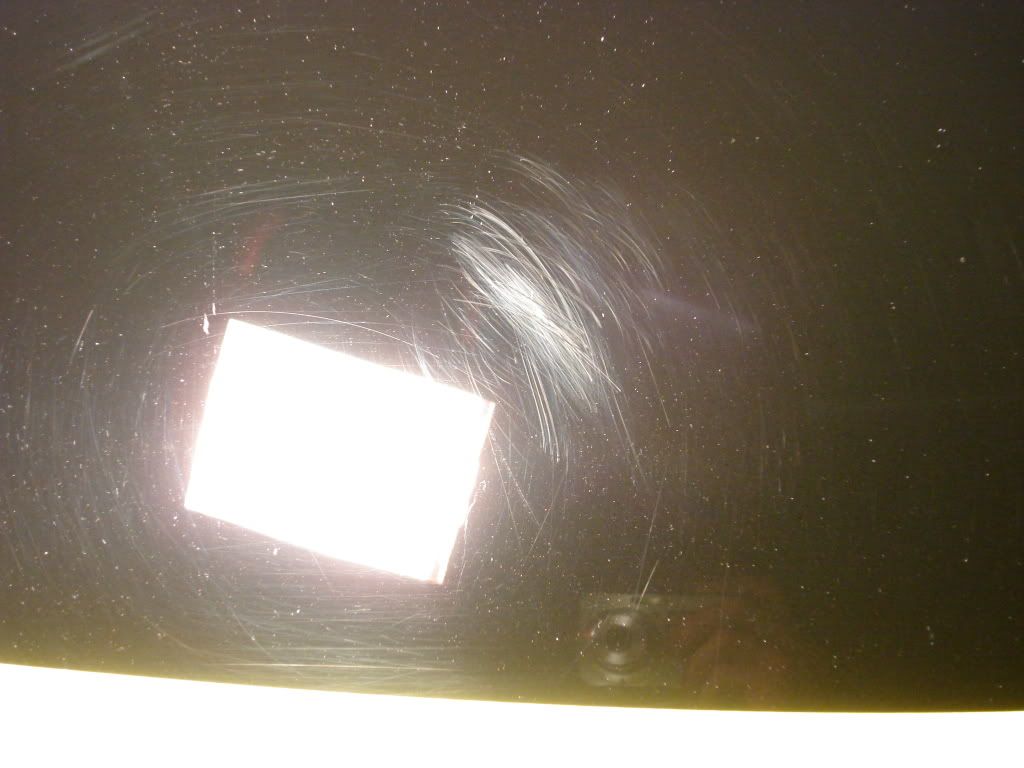
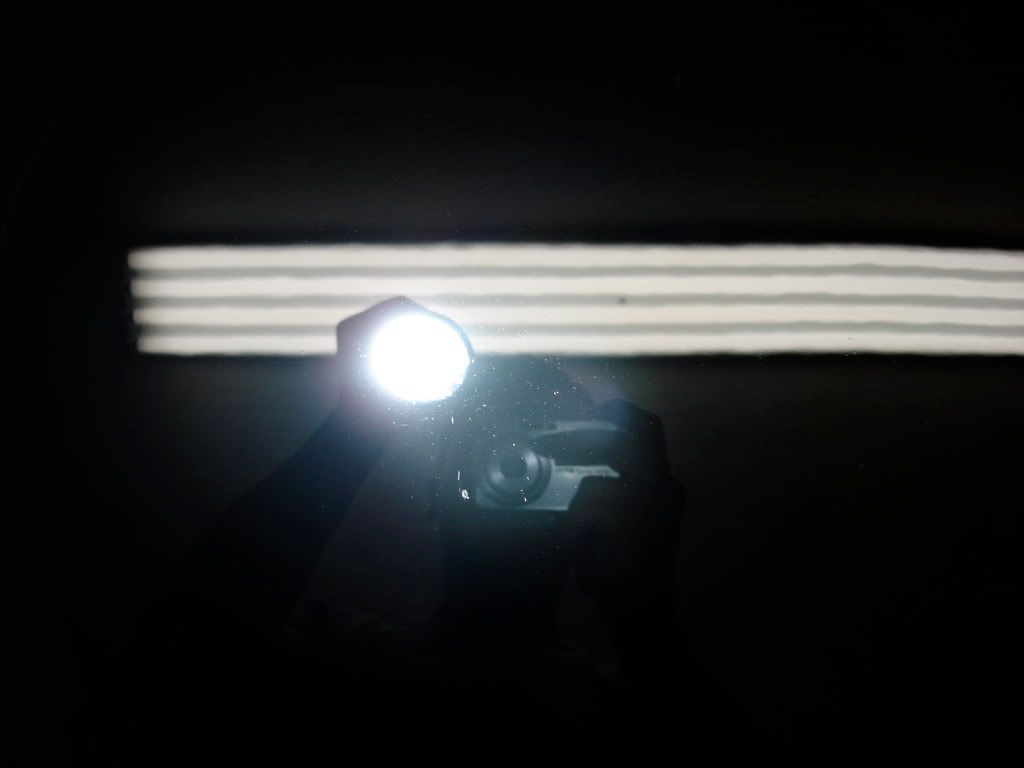
Before
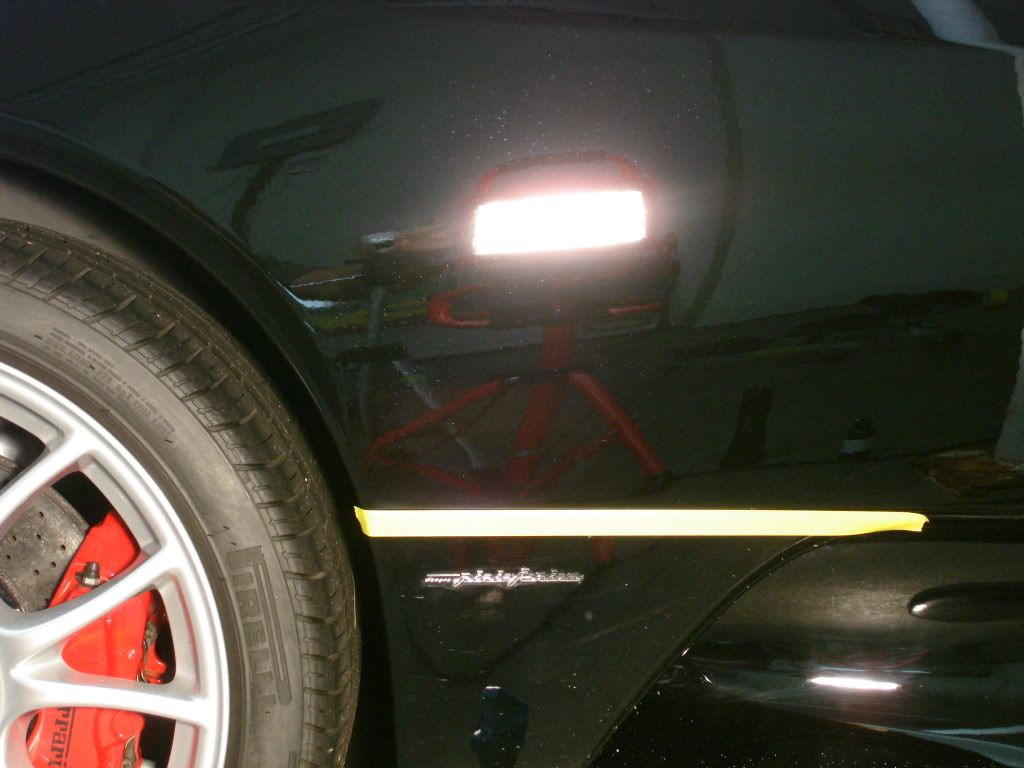
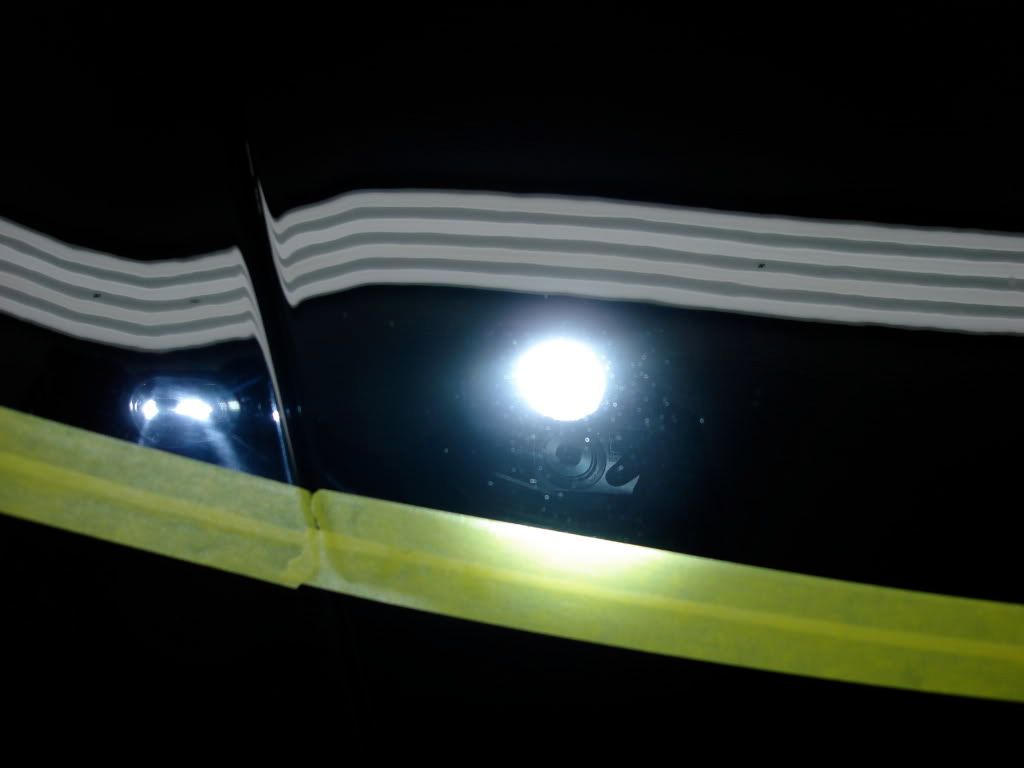
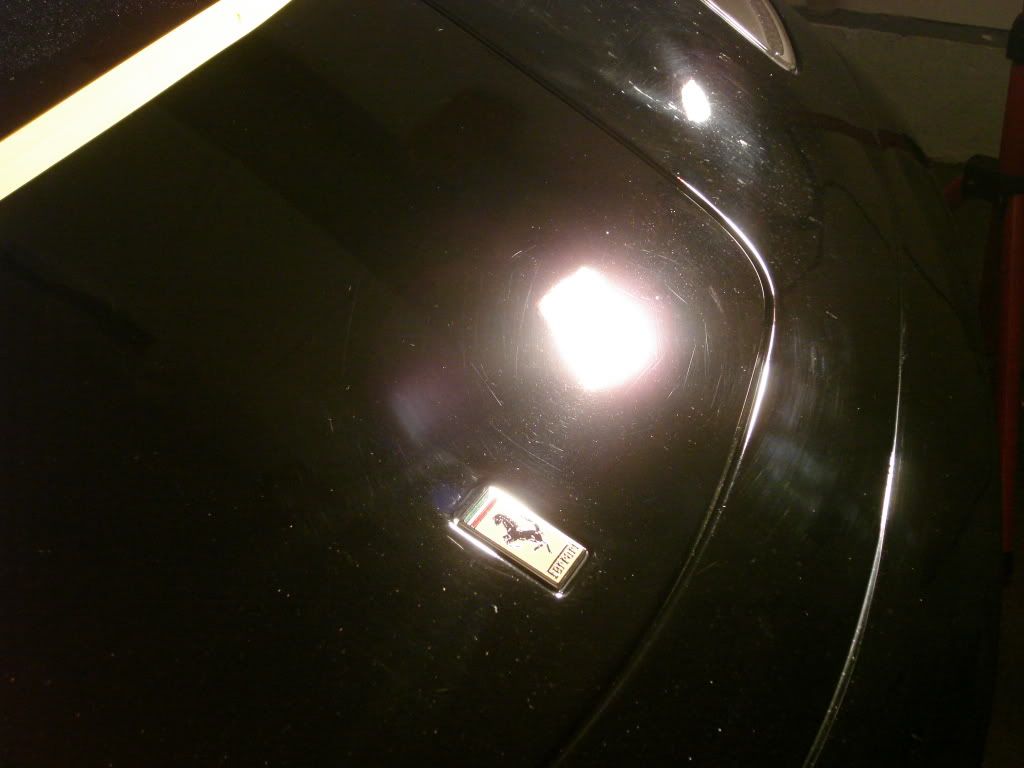
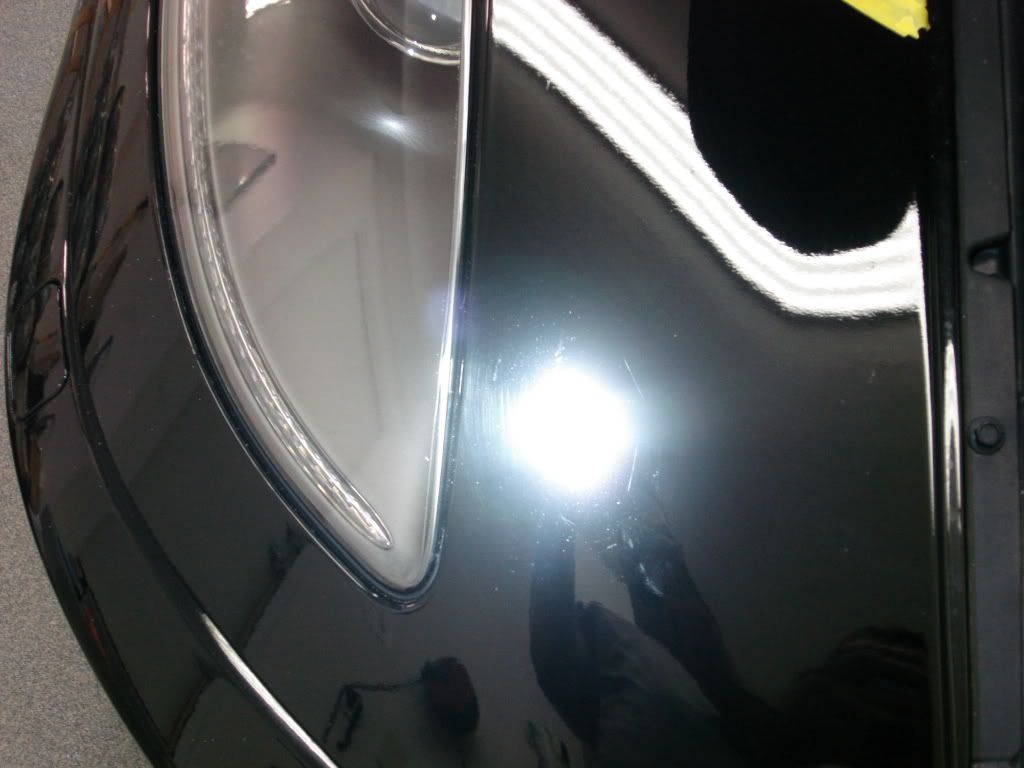
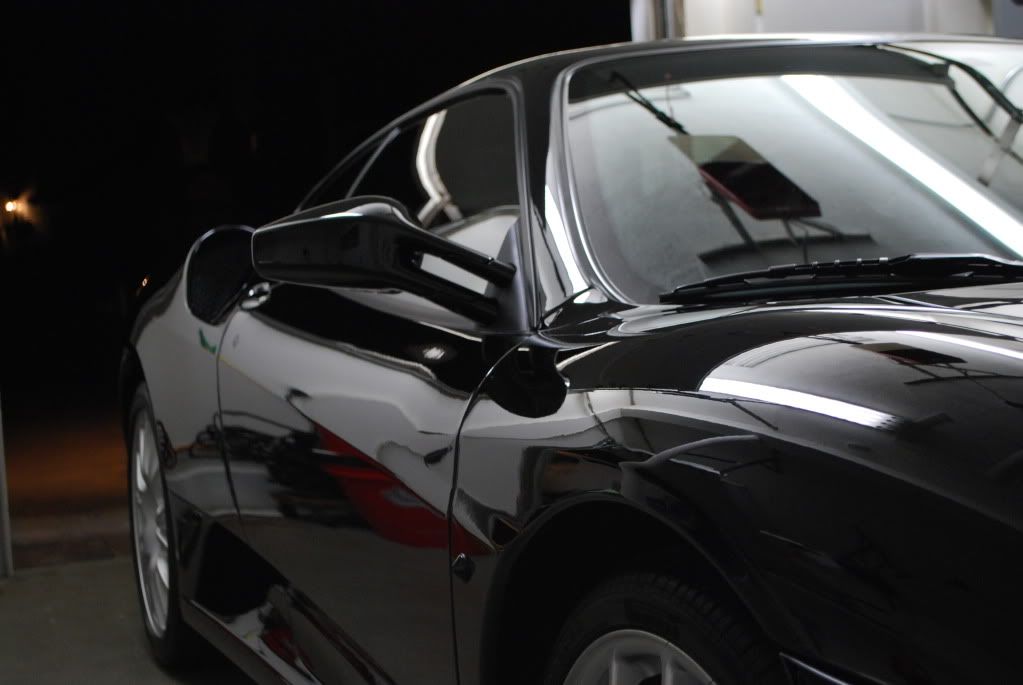
After
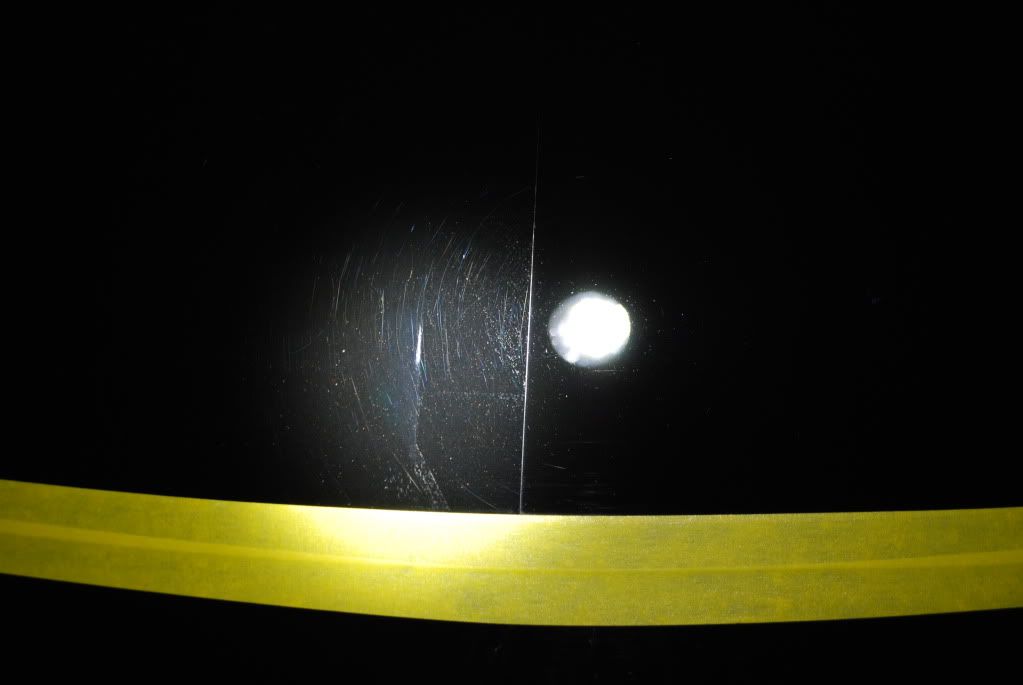

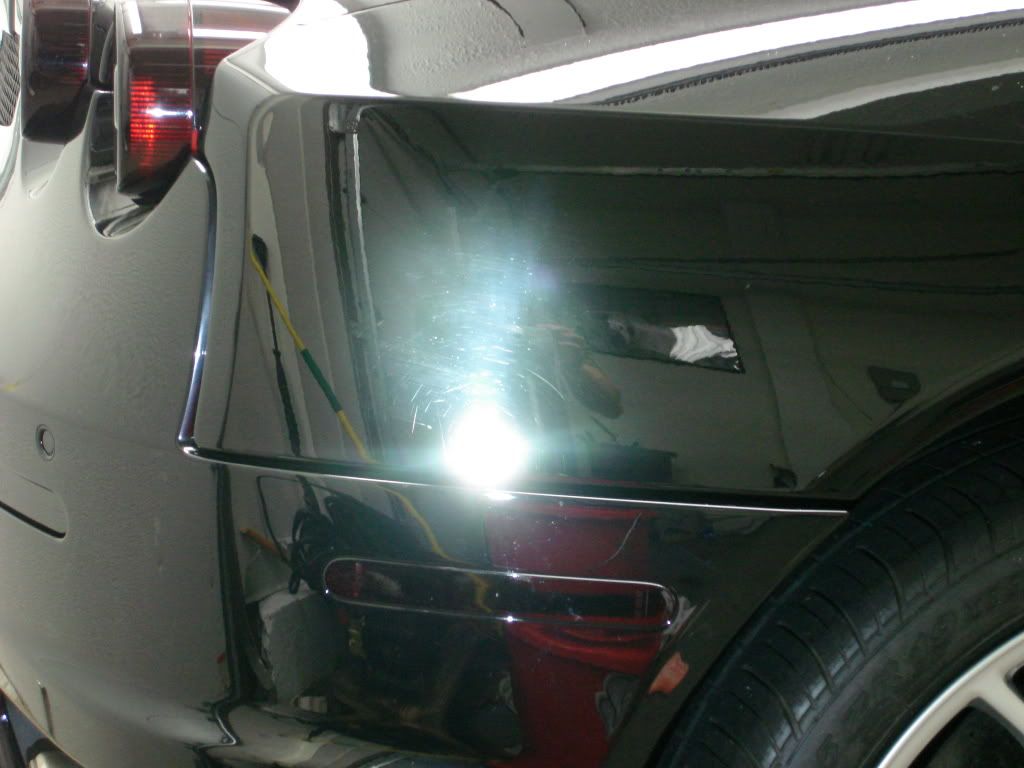
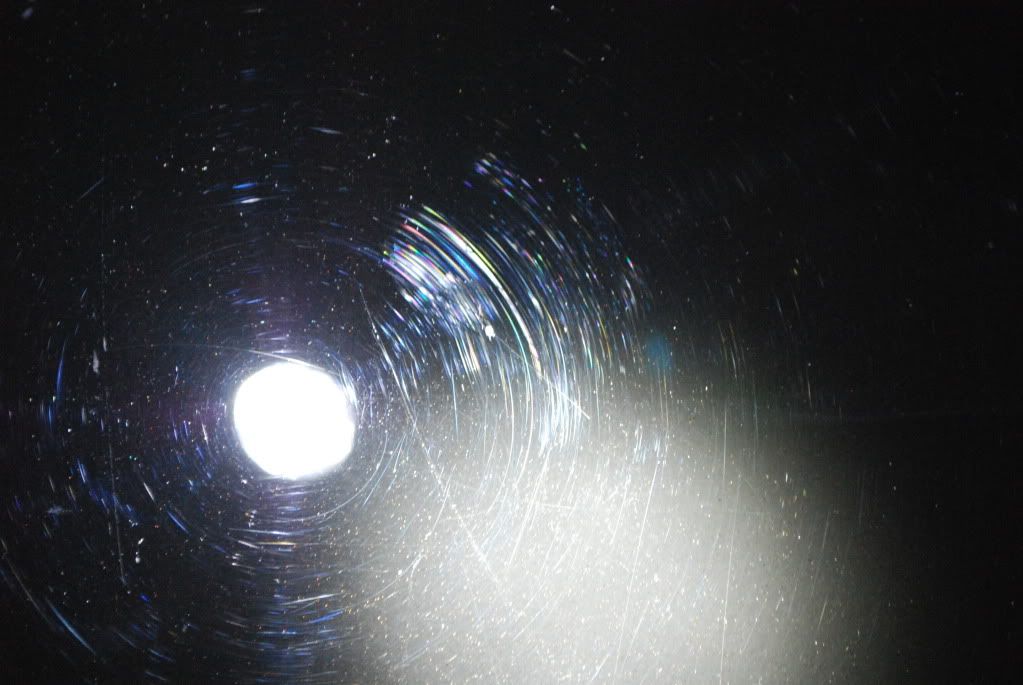
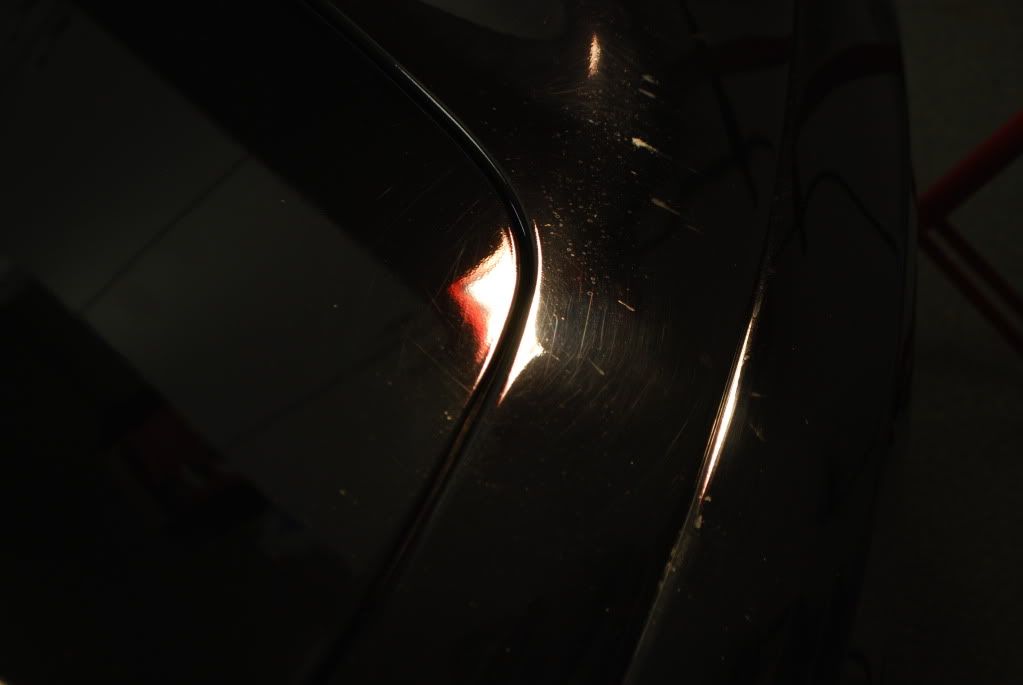
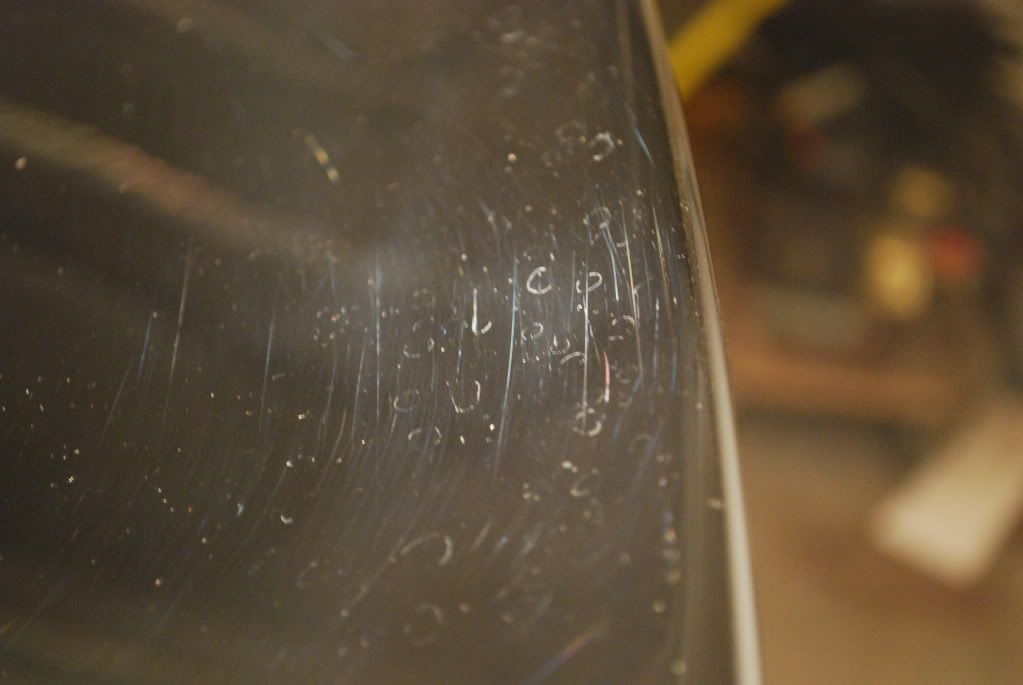
Clear film correction. This was about the worst condition clear film I have dealt with. Far too many RIDS and scracthes to yield very high levels of correction, as usual I swicthed to a DA for the correction process on the film.
After first pass
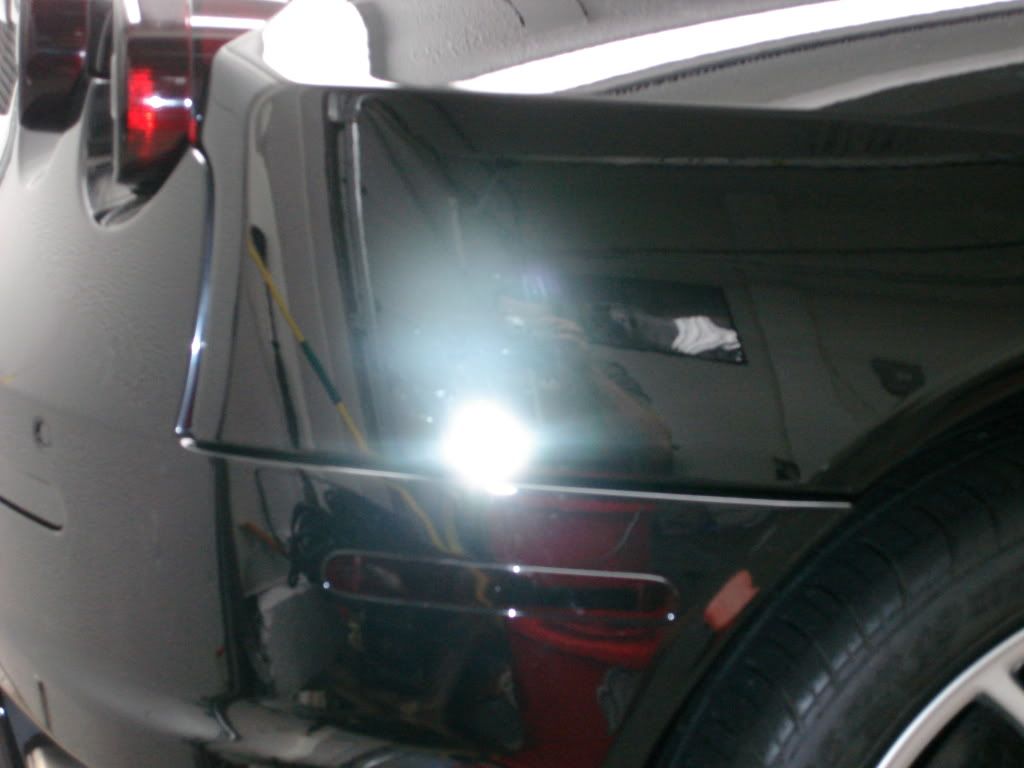
After several more passes using Powerfinish with a tangerine cutting pad
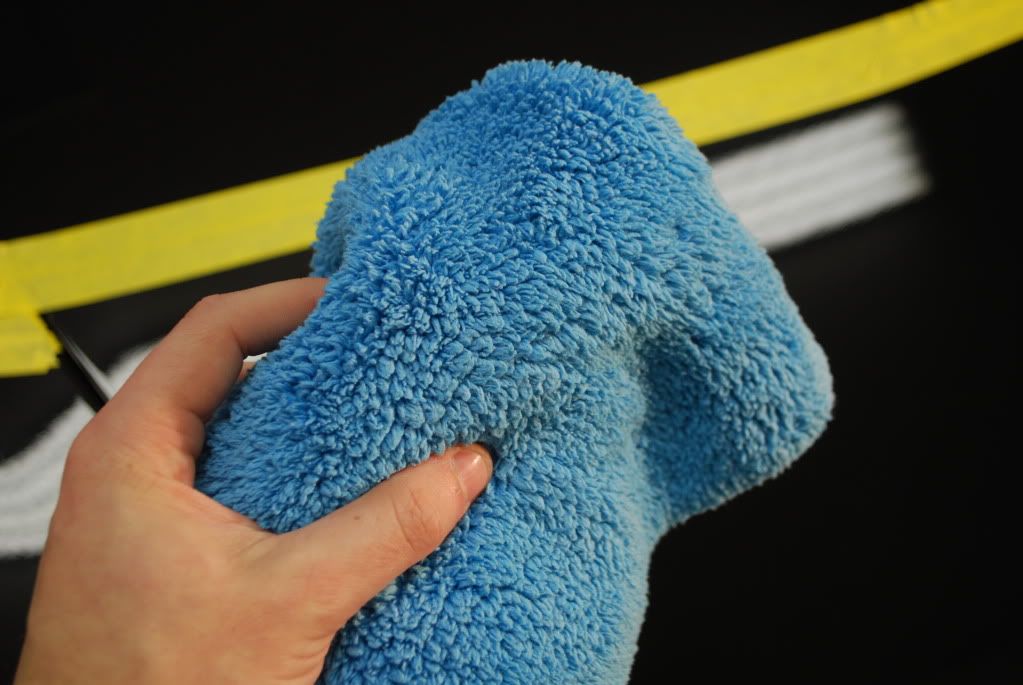
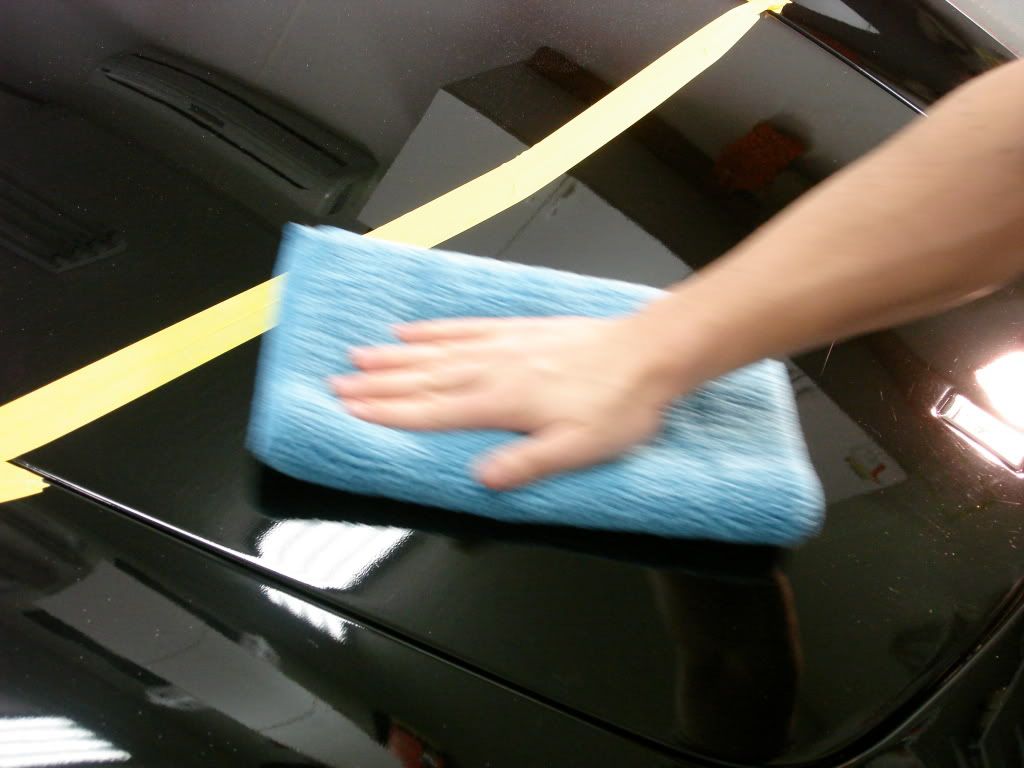
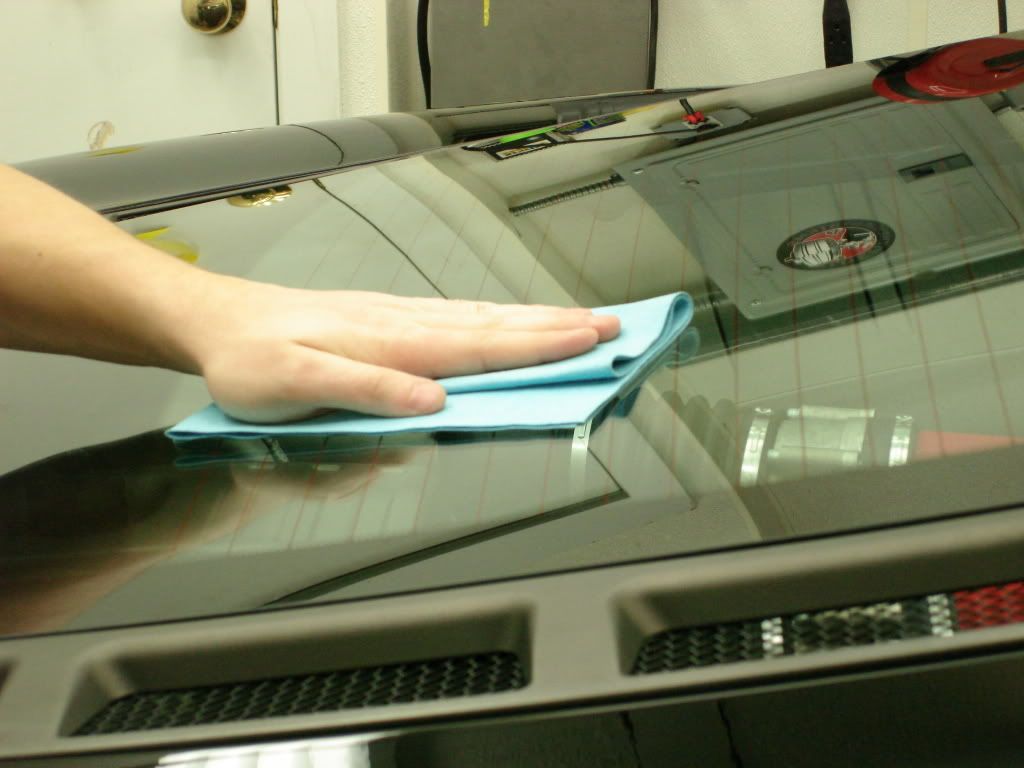
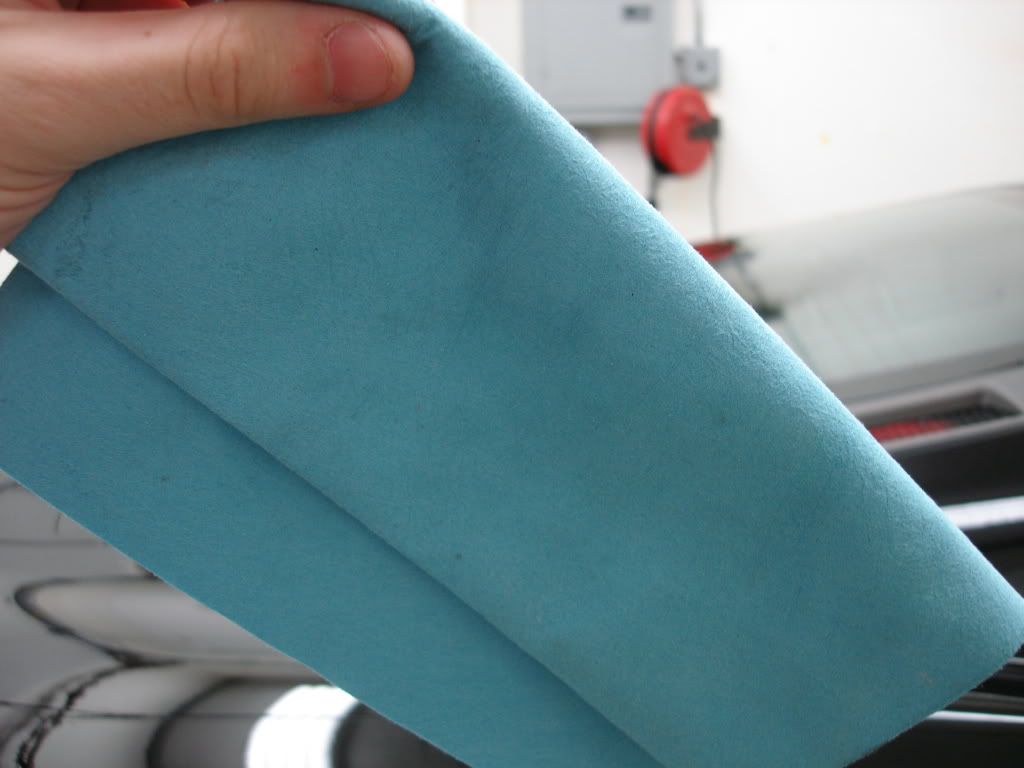
I was having a lot of trouble wiping the film without marring it, I tried several types of microfiber all of which left some light marring behind... mind you I waited until the plastic cooled fully before wiping it.
Began with the wheels and tires. Wheels were cleaned using regular soap and water with various brushes due to the carbon ceramic brakes.
Wash process:
Foam w/ CG maxi suds
Soak w/ Optimum Power Clean 5:1
Hand wash using Lusso Oro
Brought inside with the heat on full blast (sub 40degree temps outside now)
Claying using ONR as lube
After claying 2 IPA wipedowns were done before taping. I spent a lot of time masking this car to prevent a messy cleanup after correction. Most importantly the clear film edges on the front bumper, nose and by the side air intakes (upper and lower) were masked carefully.
Hood clear bra line taped thick enough so that I can run over it with a buffer and still not be onto the clear film as I was using a rotary for correction on the un-filmed upper half of the nose
Next I took measurements with the PTG. The rear bumper and engine cover area were repainted a few months ago, I took careful readings and surprisingly they were very close to the factory levels, at most a 40micron difference in thickness. The color match job done was hands down the best I have seen
Factory reading...
Re-sprayed panel
Onto paint correction. I played around with the new Flex PE 14-2 which is quite a cool machine.
Products used... Meguiars M105, Sonax Perfect Finish (both for light cutting and finishing w/ varied pads)
Switched to the Griots DA machine in the side skirts to make for easier polishing, these areas get hit the worst with RIDS and scuffs...
50/50, not every defect was able to be removed but the haze did come out into a nice gloss to match the rest of the car after polihsing
After finishing
Front nose needed a good bit of work...
Before
After
Clear film correction. This was about the worst condition clear film I have dealt with. Far too many RIDS and scracthes to yield very high levels of correction, as usual I swicthed to a DA for the correction process on the film.
After first pass
After several more passes using Powerfinish with a tangerine cutting pad
I was having a lot of trouble wiping the film without marring it, I tried several types of microfiber all of which left some light marring behind... mind you I waited until the plastic cooled fully before wiping it.


")