Navigation
Install the app
How to install the app on iOS
Follow along with the video below to see how to install our site as a web app on your home screen.
Note: This feature may not be available in some browsers.
More options
Style variation
You are using an out of date browser. It may not display this or other websites correctly.
You should upgrade or use an alternative browser.
You should upgrade or use an alternative browser.
Work in progress: 360 Ferrari Spider
- Thread starter dsl4evr
- Start date
 I'm still waiting for mine... won't have it until Tuesday. Can't wait to use it though, I'm going to clay either tomorrow or Monday.
 Andre'
New member
Did someone say chocolat? 
Todd@RUPES
Just a regular guy
FINAL PICS AND ADDITIONAL BEFORE PICS AT THE TOP OF PAGE 5
This one will be a guest at my house for next couple of weeks. I will work on it when I am in town, during my time off, etc, so I am not sure of the schedule.
Today I started by washing the under body, wheels, tires, wheel arches, and exhaust pipes with Optimum Power Clean.
The tires had a lot of thick silicone dressing build up and required two cleaning with a copper wire brush (and quite honestly need a third).
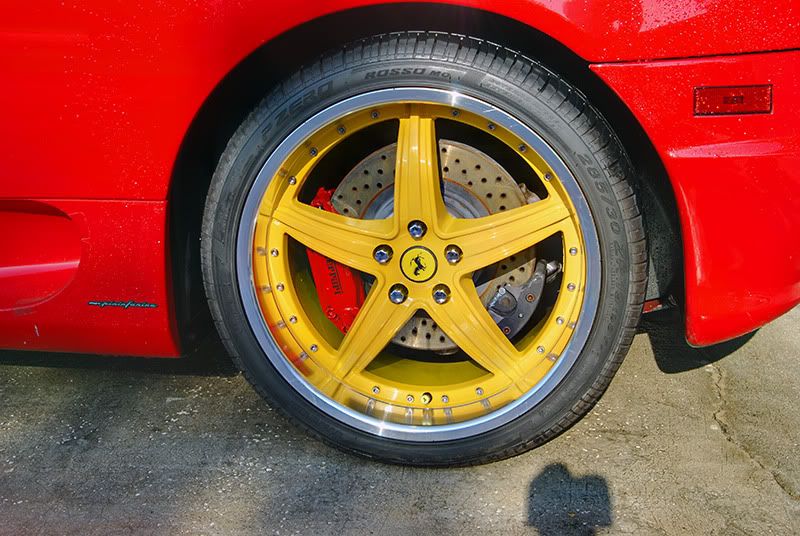
The driver's side rear wheel.
Before...
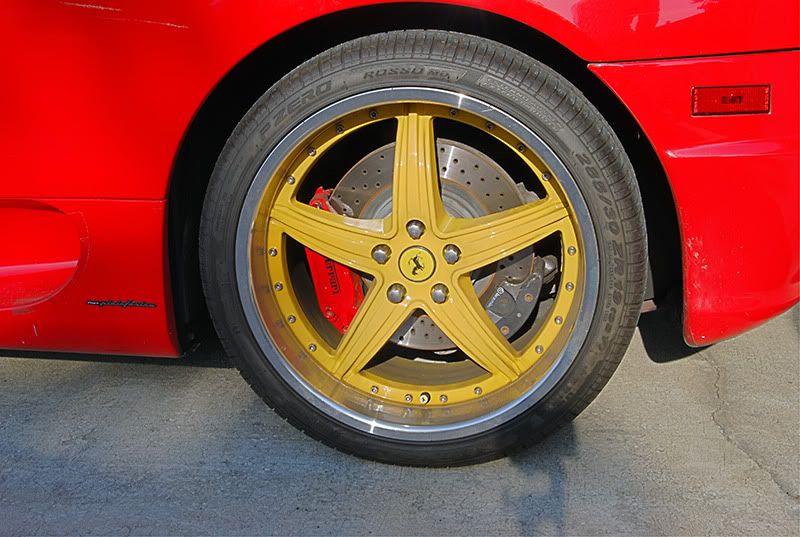
After...
The driver's side front wheel.
Before...
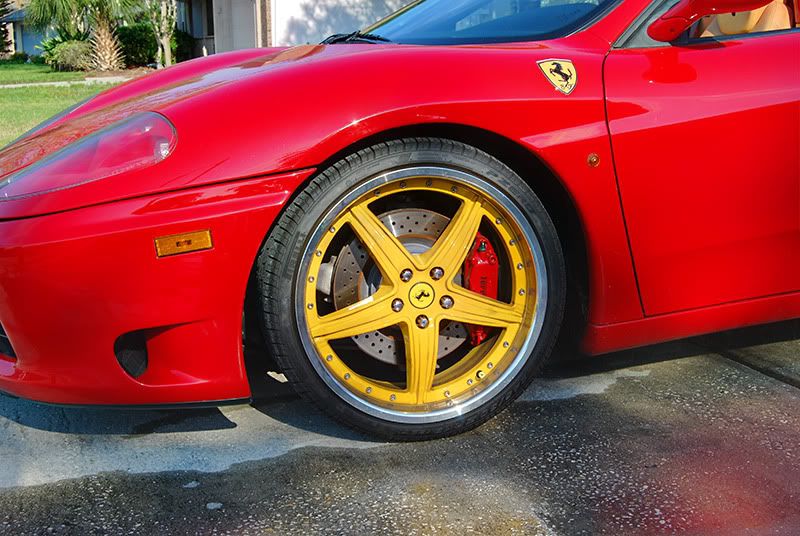
After cleaning...
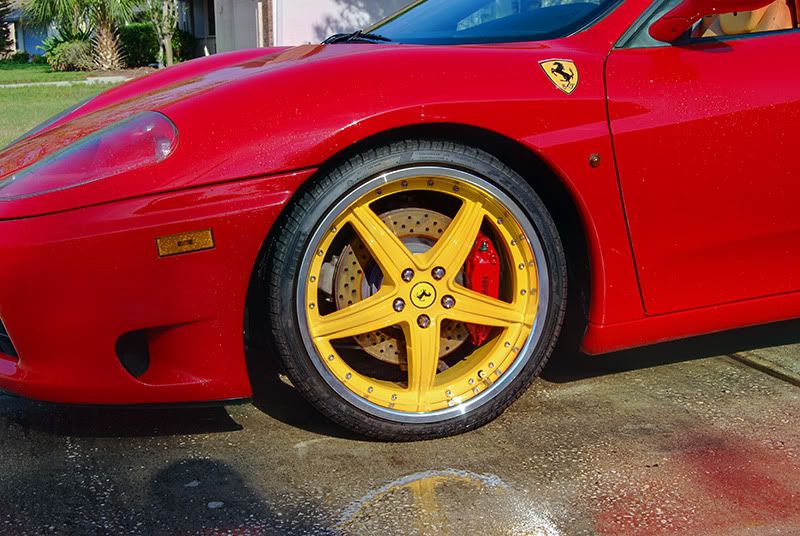
After rinsing all of the wheels clean with my Karcher 1500, I washed the body and exterior glass with Optimum No Rinse.
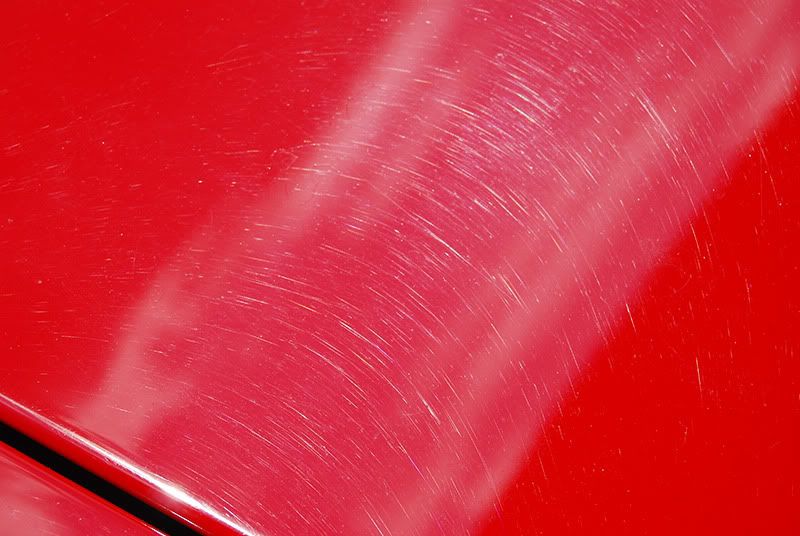
With the paint cleaned I was shocked at the poor condition of the paint and the very rough feel. I will need to spend some time with clay (planning to do this tomorrow) to get this paint truly clean.
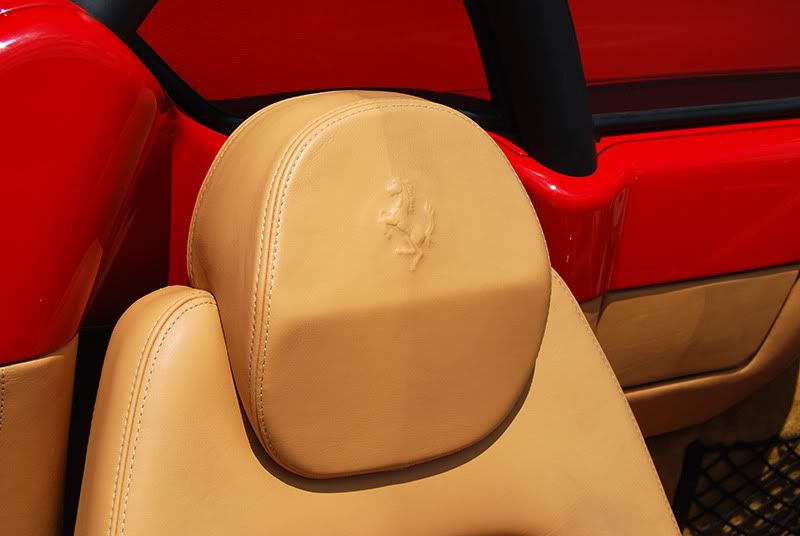
The semi-aniline leather hides that make up the interior of this Ferrari are in pretty rough shape. I snapped a bunch of 50/50 shots of the passenger seat.
So far I am using 3:1 Optimum Power Clean and both a stiff leather brush and a toothbrush to agitate the solution and release the grime. I figure that I will have 2-3 hours in just scrubbing and cleaning the leather.
My plans for this weekend are to finish scrubbing the hides and apply Leatherique Rejuvinator Oil. If all goes well I will have time to extract the carpets as well.
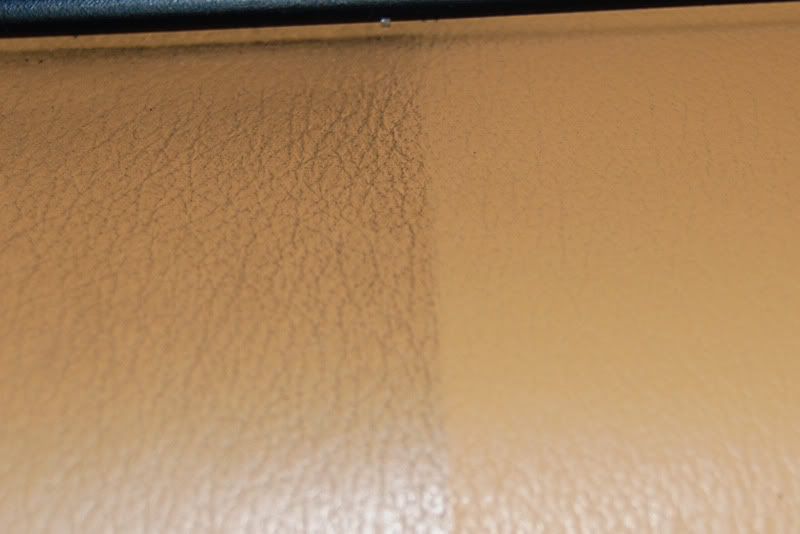
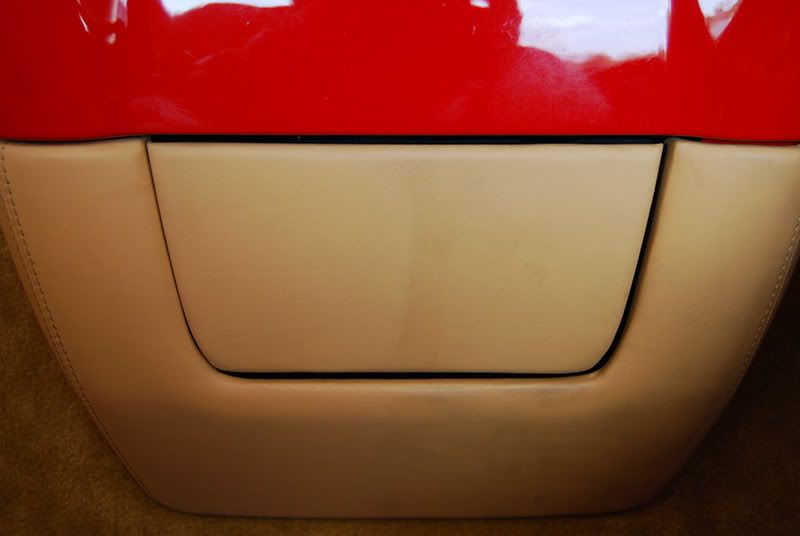
A 50/50 of the upper door panel.
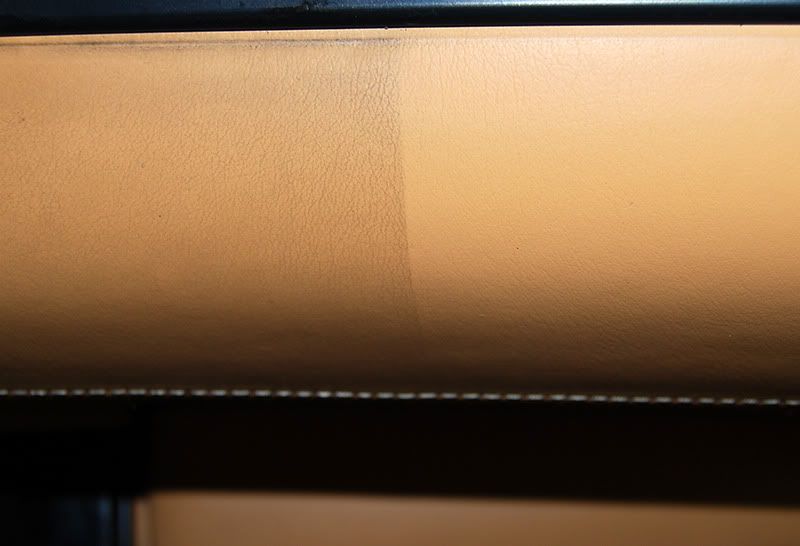
Slightly different view of the same area.
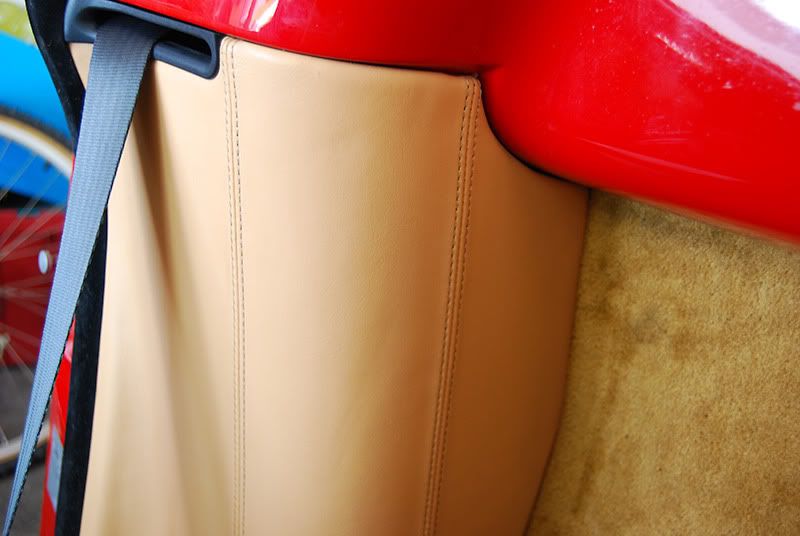
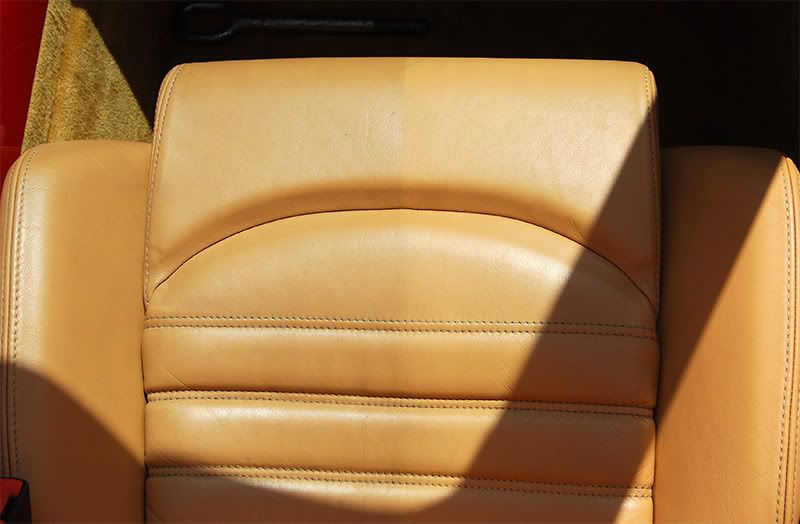
The side bolsters in the rear told the same story.
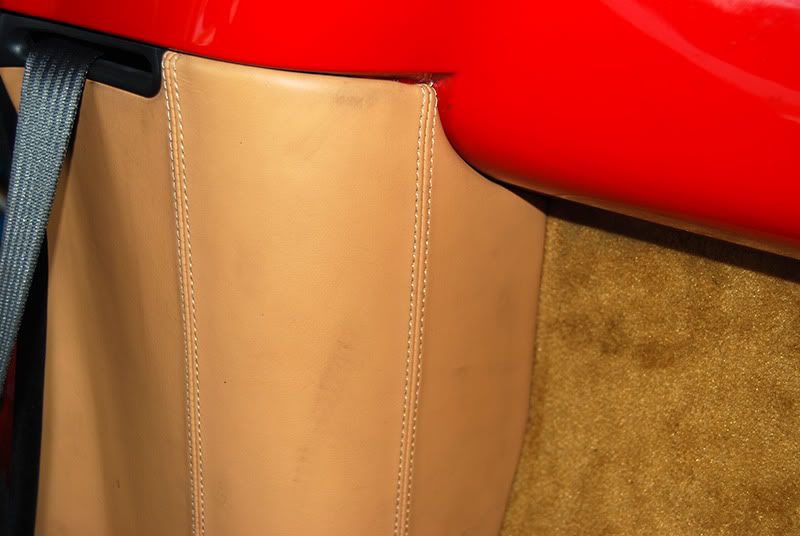
After 15 minutes of cleaning.
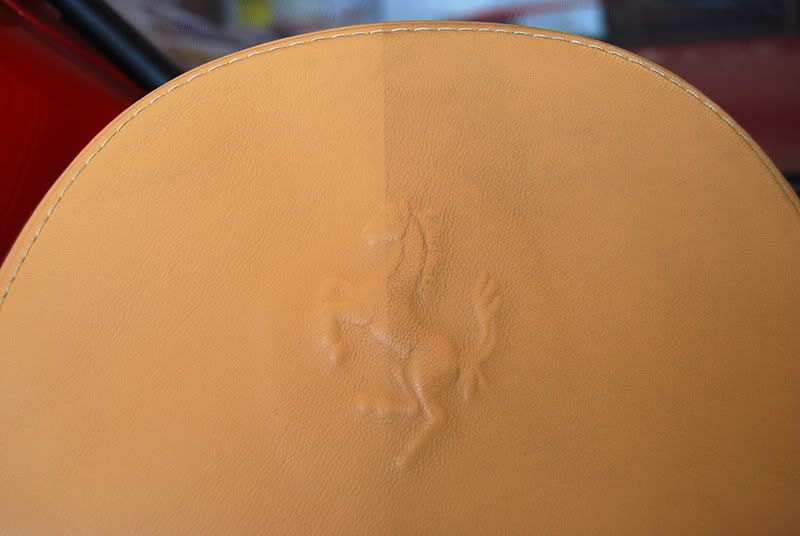
A couple of more pictures in the sunlight.
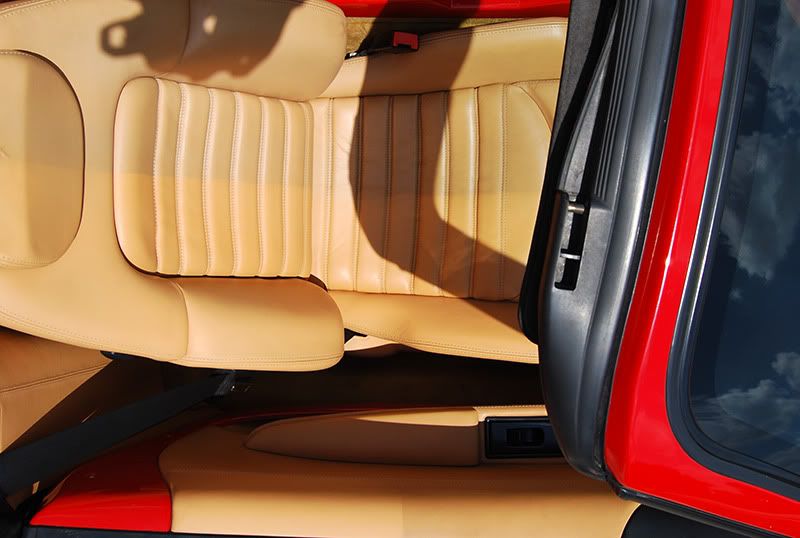
The interior is actually a creamy butterscotch like color called Cuoio.
The paint is even worse then the interior...
This one will be a guest at my house for next couple of weeks. I will work on it when I am in town, during my time off, etc, so I am not sure of the schedule.
Today I started by washing the under body, wheels, tires, wheel arches, and exhaust pipes with Optimum Power Clean.
The tires had a lot of thick silicone dressing build up and required two cleaning with a copper wire brush (and quite honestly need a third).
The driver's side rear wheel.
Before...
After...
The driver's side front wheel.
Before...
After cleaning...
After rinsing all of the wheels clean with my Karcher 1500, I washed the body and exterior glass with Optimum No Rinse.
With the paint cleaned I was shocked at the poor condition of the paint and the very rough feel. I will need to spend some time with clay (planning to do this tomorrow) to get this paint truly clean.
The semi-aniline leather hides that make up the interior of this Ferrari are in pretty rough shape. I snapped a bunch of 50/50 shots of the passenger seat.
So far I am using 3:1 Optimum Power Clean and both a stiff leather brush and a toothbrush to agitate the solution and release the grime. I figure that I will have 2-3 hours in just scrubbing and cleaning the leather.
My plans for this weekend are to finish scrubbing the hides and apply Leatherique Rejuvinator Oil. If all goes well I will have time to extract the carpets as well.
A 50/50 of the upper door panel.
Slightly different view of the same area.
The side bolsters in the rear told the same story.
After 15 minutes of cleaning.
A couple of more pictures in the sunlight.
The interior is actually a creamy butterscotch like color called Cuoio.
The paint is even worse then the interior...
Tuck91
New member
Looks like its coming along great Todd. ")
David Fermani
Forza Auto Salon
Hmmmmm, I thought Hulk Hogan drove a Viper? :biggrin:
Love the 50/50s. :rockon:
What about RMD? :biggrin:
Hmmmmm, I thought Hulk Hogan drove a Viper? :biggrin:
What about RMD? :biggrin:
imported_broker99
New member
Hmmmmm, I thought Hulk Hogan drove a Viper? :biggrin:

yeah I am not really feelin the wheels but hey it is not my car
Street Dreams
New member
Gonna be a good one TH. Just finished a TDF blue one this afternoon:thumbup:
imported_Pats300zx
New member
Subscribed
imported_Luster
New member
Nice work Todd... Can't wait til you get to attack that paint!")
Todd@RUPES
Just a regular guy
Nice work Todd... Can't wait til you get to attack that paint!
The paint??? How about the carpet. The paint is still a LONG way away.
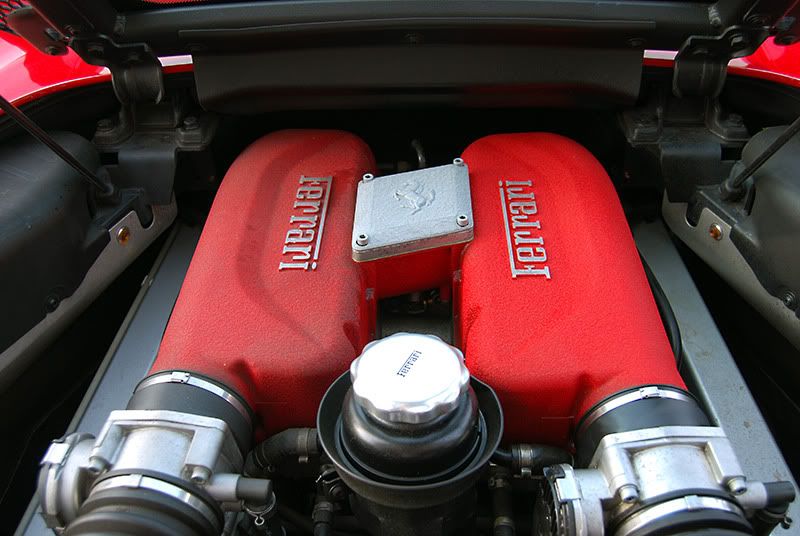
I woke up early this morning, had a coffee, then started on the engine bay...
The engine was bad, and certainly looked worse then the 10,000 miles on the odometer would testify to.
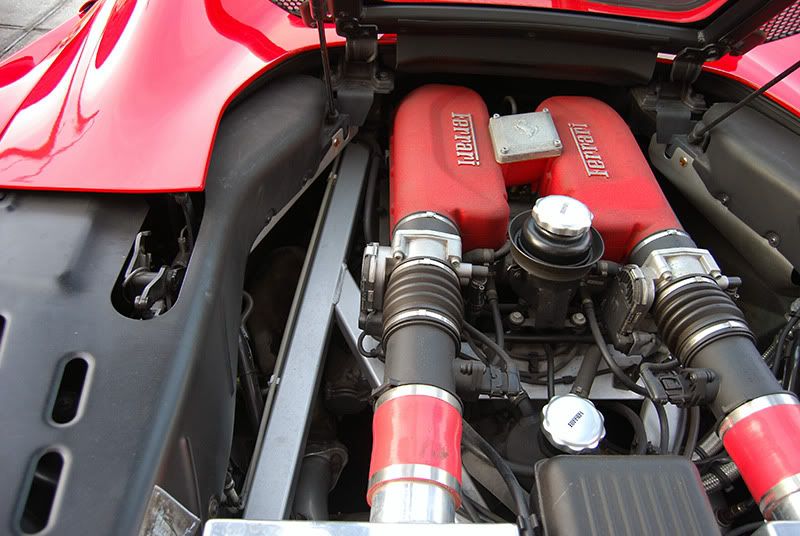
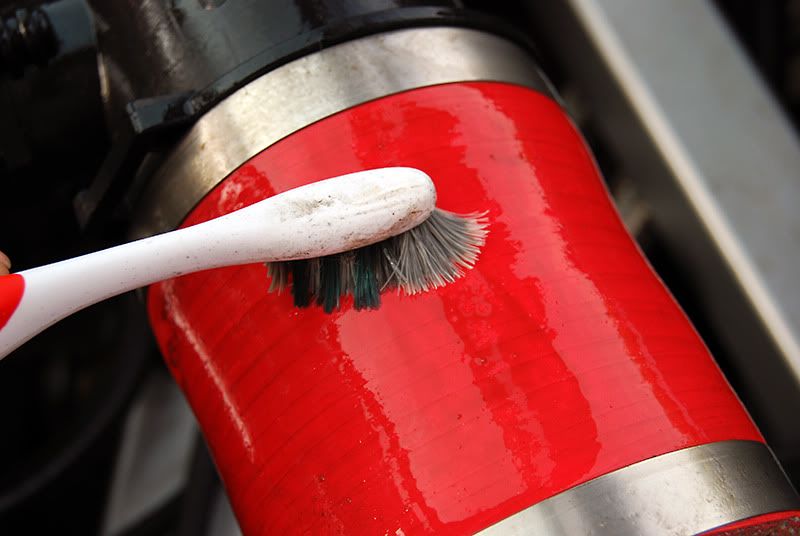
I used a toothbrush and Optimum Power Clean on a small piece of the manifold cover.
That is the color it is supposed to be!

Grime everywhere
I cleaned half of the cover to make a more dramatic statement.
Then it was Optimum Power Clean (1:1), a lot of brushes, including my trusty old toothbrush (maybe this is why my son is losing his teeth?).
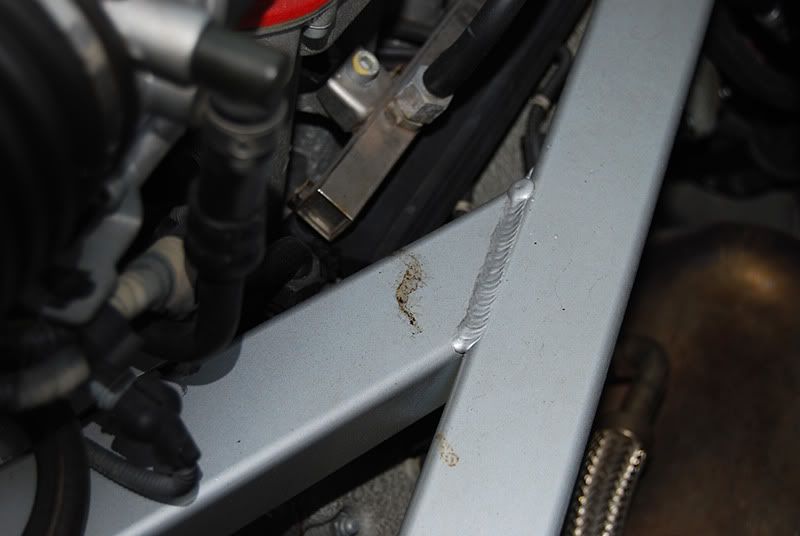
It took about 2 hours to scrub and clean every square inch of the engine, but there is still much to do.
After cleaning the engine and the engine cover (including the glass window with Eimann Fabrick Clear Vision II) I snapped it shut. There is still a lot of detail work to be done, including polishing the drip rails alongside the engine bay; that is one of the goals for this week should time permit.
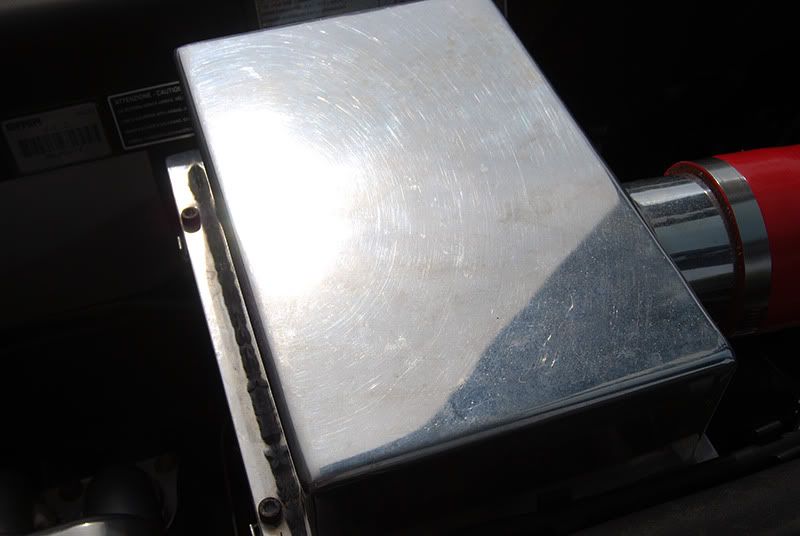
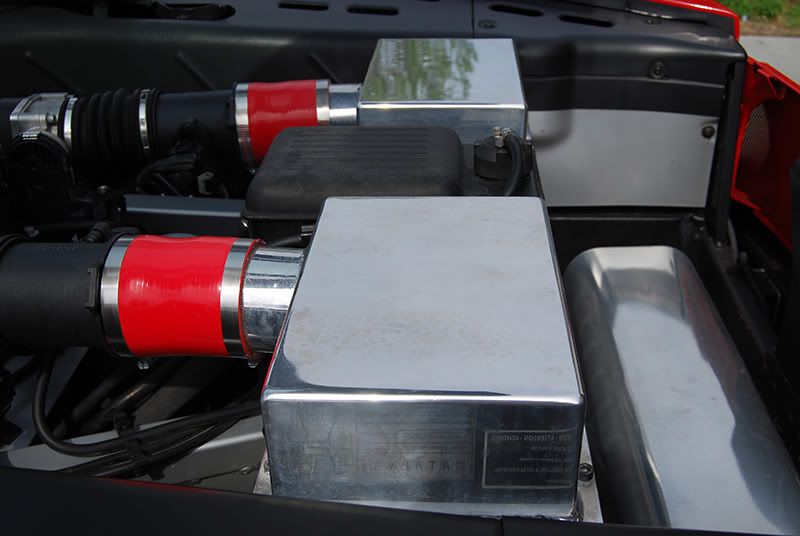
I did have an opportunity to polish the airbox covers. Optimum Metal Polish, a 4 inch white CCS Hi-Gloss Pad, and my Flex 603 made pretty quick work of them.
The driver's side, scratched, dull and hazy.
The passenger side, after polishing. Mostly scratch free, although the sun washed out its reflection.
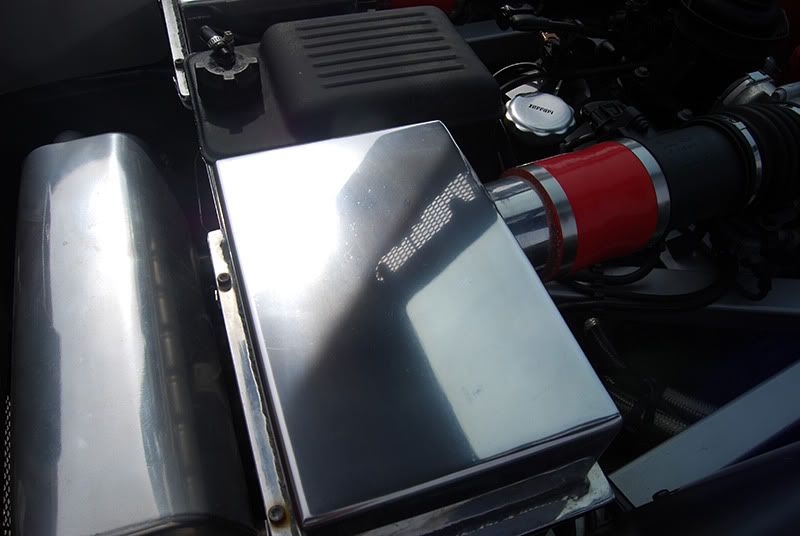
Unpolished near, polished farside...
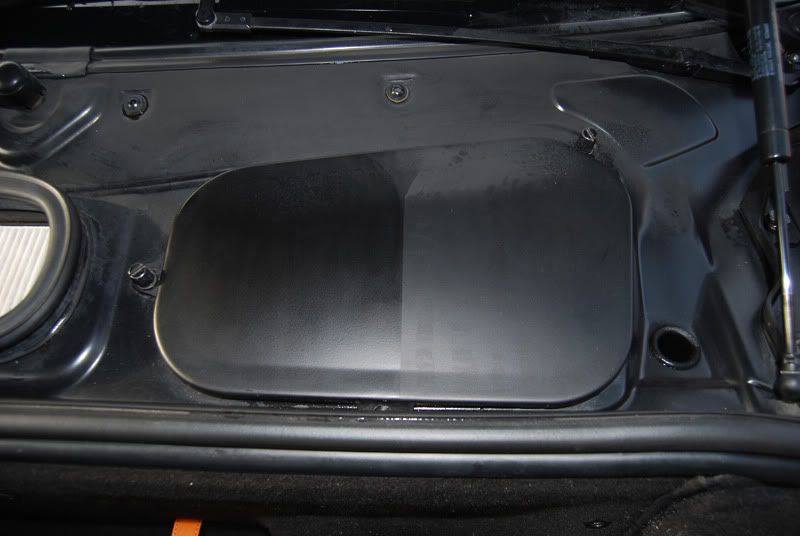
With engine cleaned up I moved to the trunk. Ferrari's have very short, very fuzzy nap in the trunk that holds everything. I removed the tool cases (leather) and will apply leatherique to those when I apply it to the interior. (Hopefully tomorrow).

The black moulding surrounding the trunk was pretty faded though. Klasse AIO, a terry towel, and patience brough the pieces back to life.
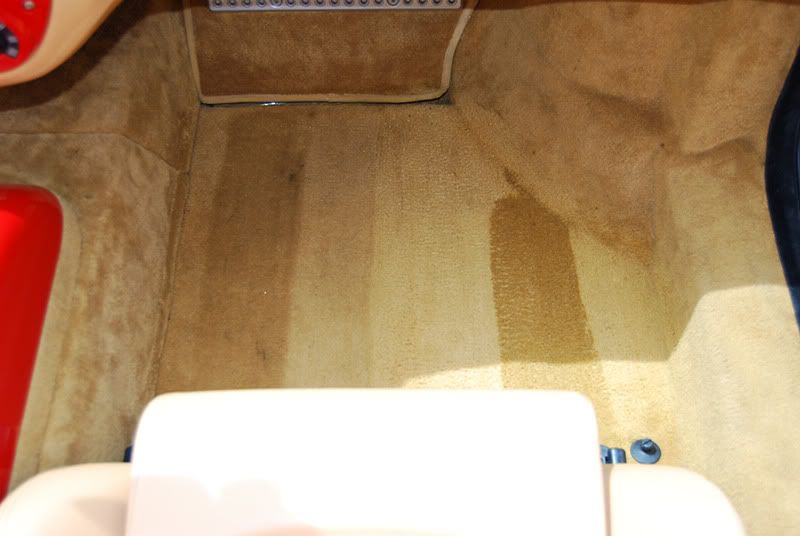
Finally I got started on the carpets. I have never seen a 50/50 of shampooed carpet next to dirty carpet so I got out the tape and went to work.
The carpets are as bad as the paint and leather and engine and trunk and trim.
I used Meguiar's APC 4:1, a brush, elbow grease, clean water, a towel, and a wet-dry vac.
First I wet the carpet with a couple mists of water then saturated it with APC. A Meguiar's Carpet Brush and a lot of scrubbing produced a thick, gray, dirty foam. This was extracted with a shop vac. Then I sprayed more water on to the area, scrubbed again to remove any remaining solution, then vacc'ed until nearly dry.
Only the right side of the floor has been done.
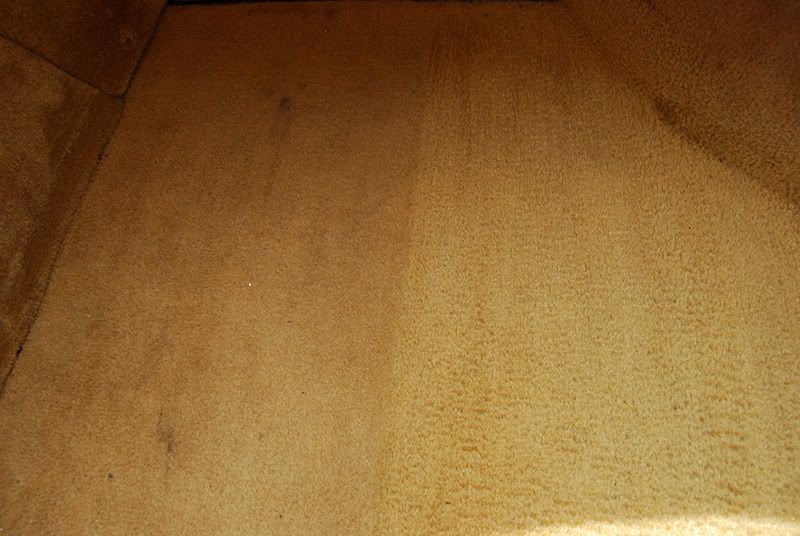
A view from slightly further away.
I had brushed the carpet in the same direction prior to taking the photos so the difference would only be the dirt removal. I know somebody may think the carpet nap was brush in opposite directions to make the difference more dramatic, so I brushed a line on each side in the opposite direction to show the difference.
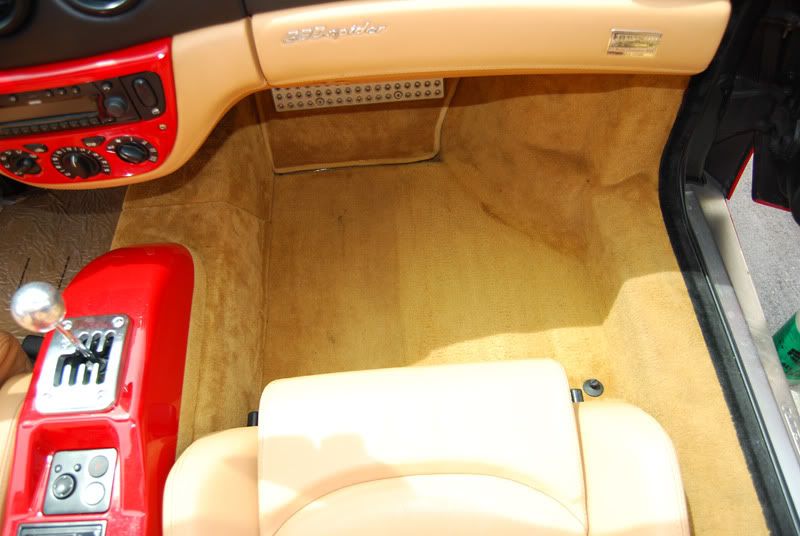
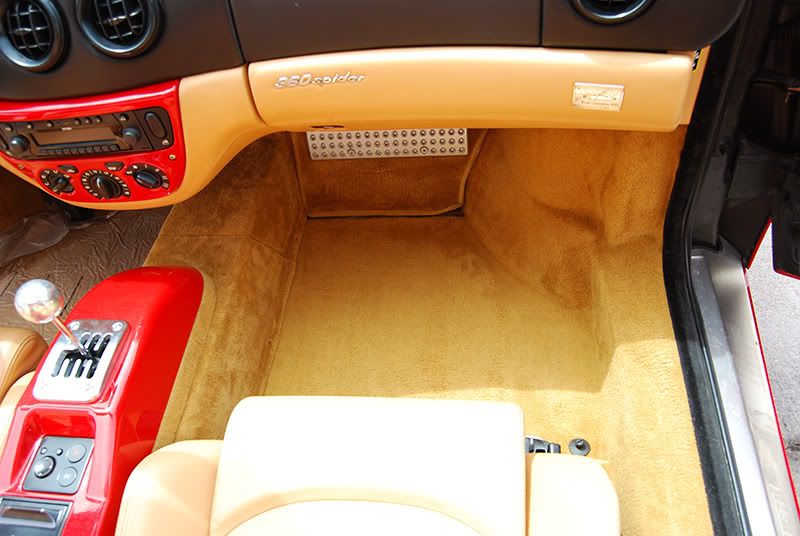
And finally the passenger side floor and kick panel after shampooing. I still haven't done the center console. Hopefully I will finish with the carpets today and let them dry tonight.
imported_Luster
New member
The paint??? How about the carpet. The paint is still a LONG way away.
Saving the best til last....
ancing Dot: Yeah, I learned a long time ago, get the interior done first!:biggrin:bmw5541
New member
So far, so good Todd. Looks great. I can't wait to see it all finishedancing Dot:
ancing Dot:imported_jgh1987
New member
Some amazing 50/50's of the interior Todd!