ULTIMATE DETAIL – 2003 Carbon Black E46 M3

itskrees

New member
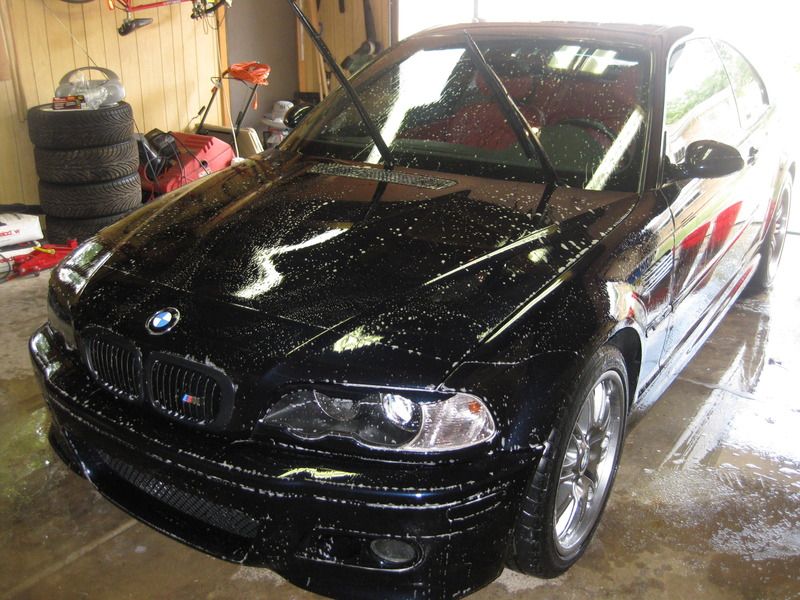
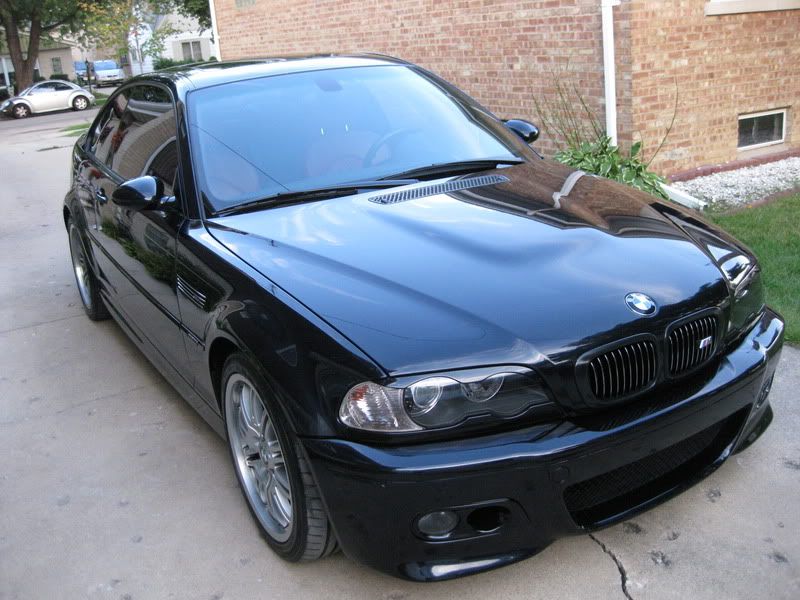
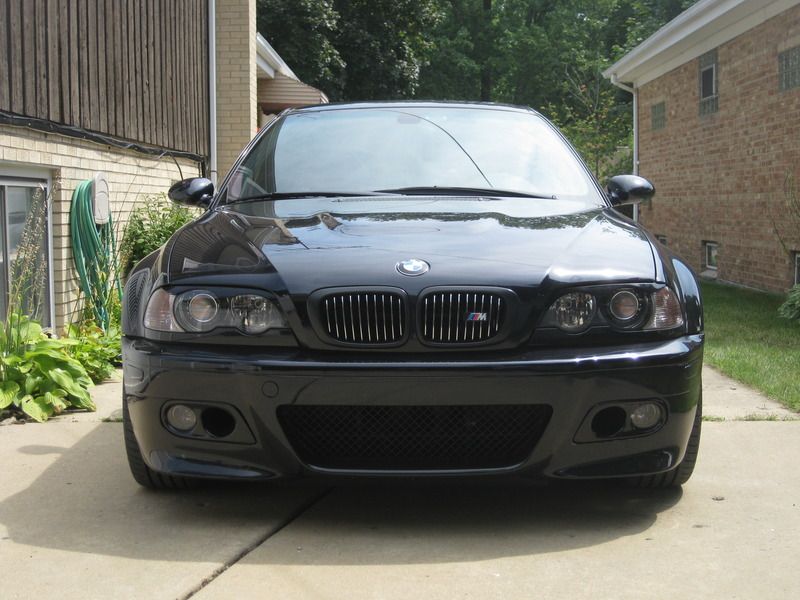
The owner of this BEAUTIFUL carbon black M3 was referred to me last July by another member that has seen several of my other extensive threads. The car is his summer-only vehicle, and he left me a voicemail message stating that he had gotten his car “detailed” THREE times prior to contacting me. Unfortunately for him, the so-called “detailers” not only failed to correct his paint, but induced even more damage onto the paints surface while they were at it. The poor owner was so embarrassed of the car’s looks that he didn’t even want take his beloved summer vehicle out. Desperate for a solution, the owner realized hed give it one last shot and get it done right once and for all. After scheduling an appointment to asses the condition of the paint, we decided to go forth with the package where I took as much time as possible to get the car perfected, with his only request that the wheels stay on. Two weeks later, the car was in my garage and I assured him that his M3 was finally in good hands. Needless to say, the owner was completely satisfied in the car’s outcome and felt as though the M3’s carbon black paint was finally restored back to how it should be.


zIMG_1798.jpg


DAY ONE – Vehicle Inspection and In-Depth Decontamination

-Car dropped off at 12:30PM

-Deep clean engine bay using Meguiar’s All Purpose Cleaner (4:1), Meguiar’s Slide Lock Brush, Q-Tips, and clean microfibers.

-Dress/Protect Engine Bay with Chemical Guy’s Silk Shine Protectant

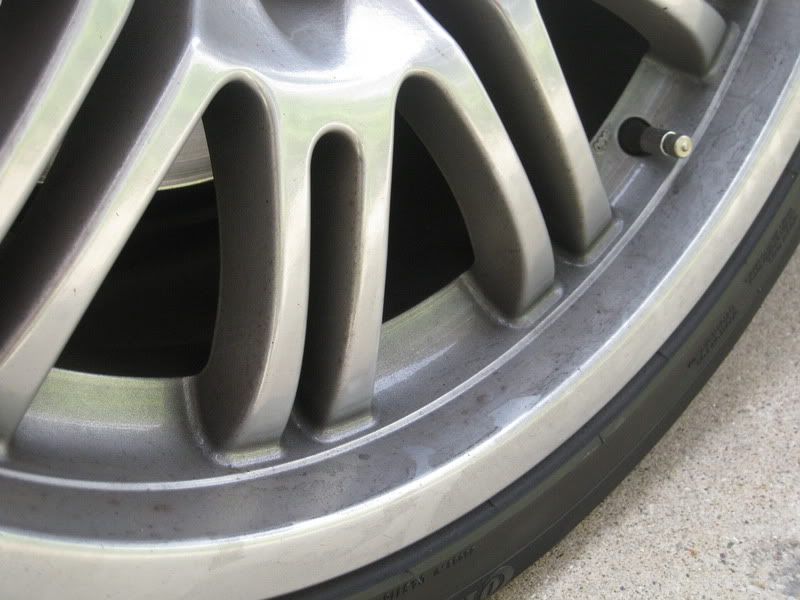
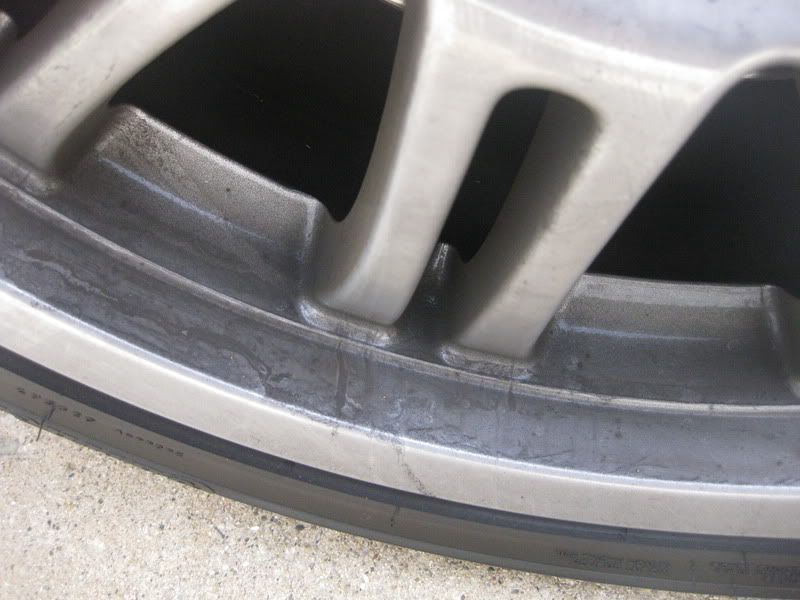
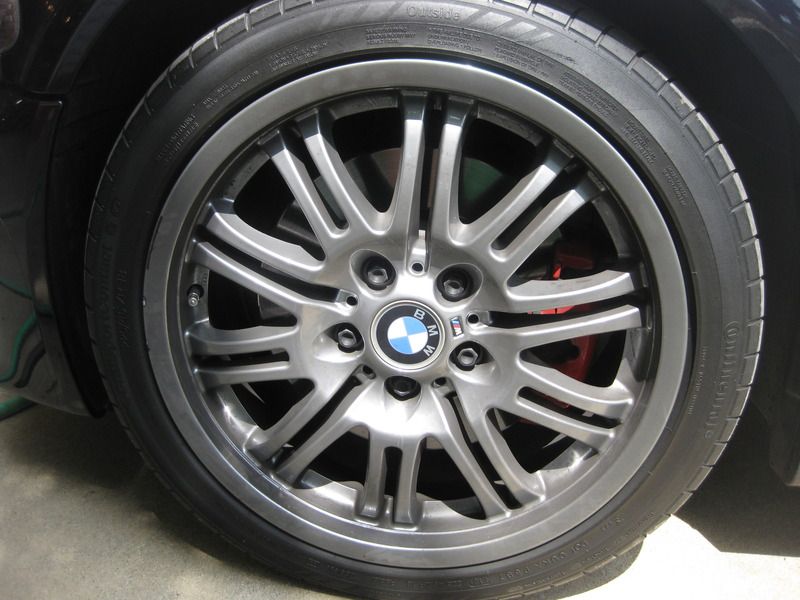
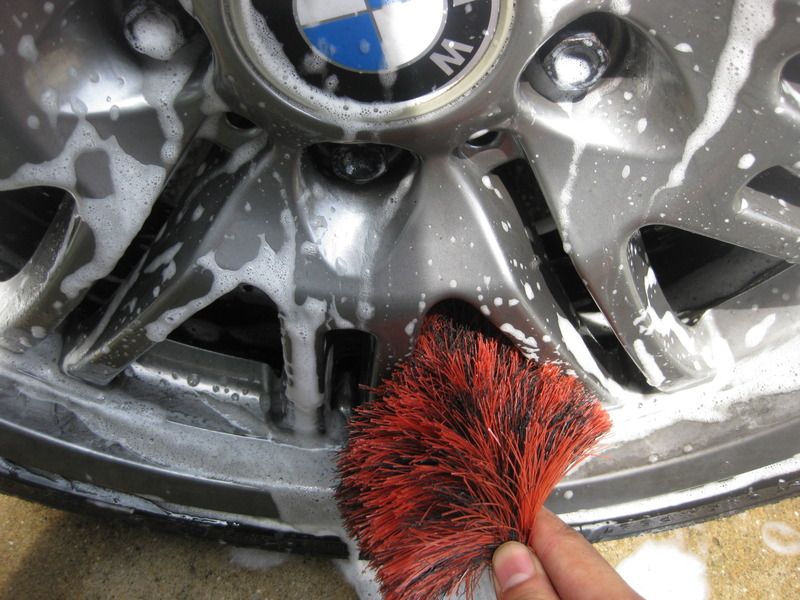
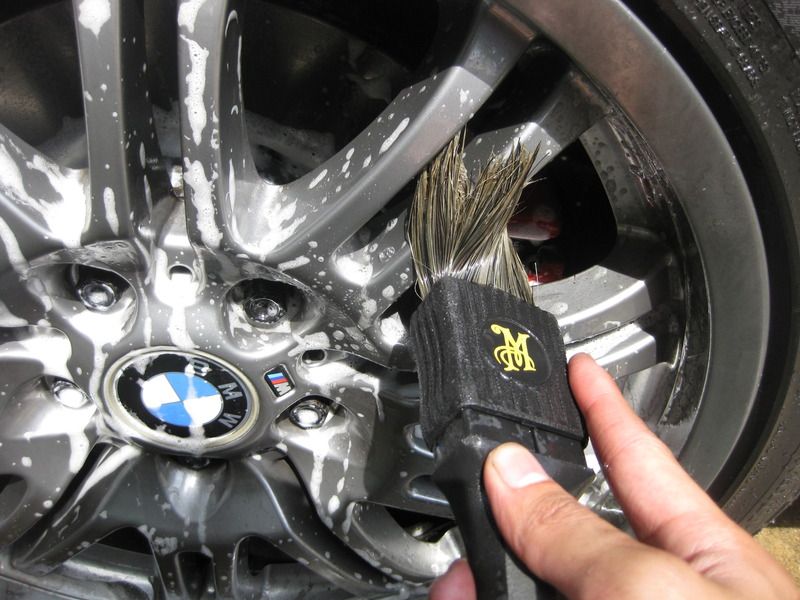
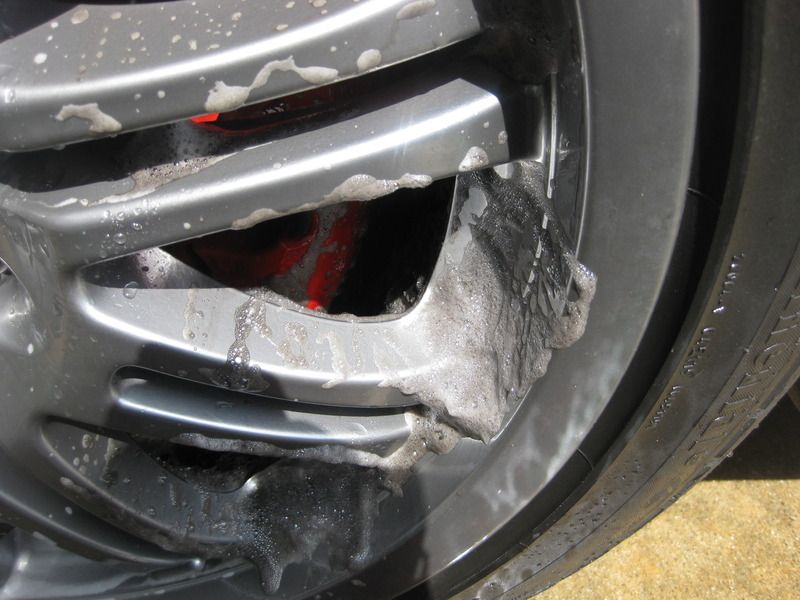
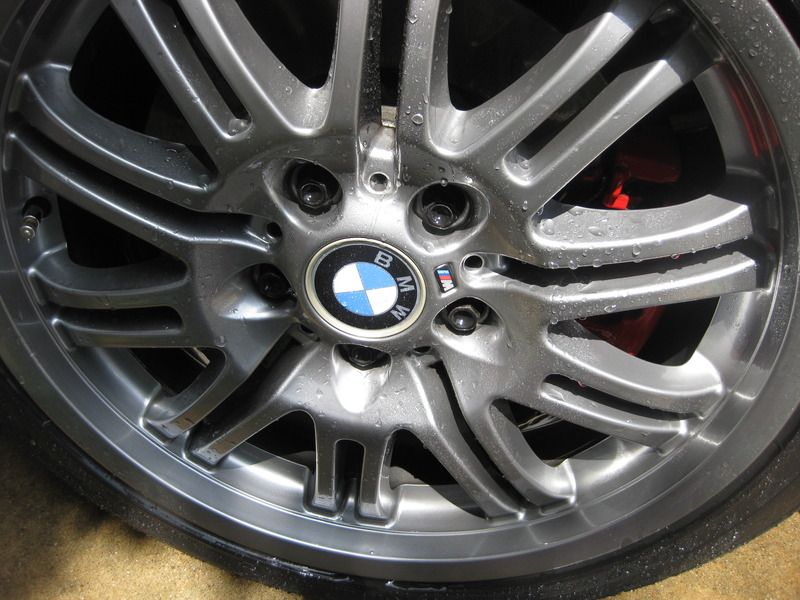
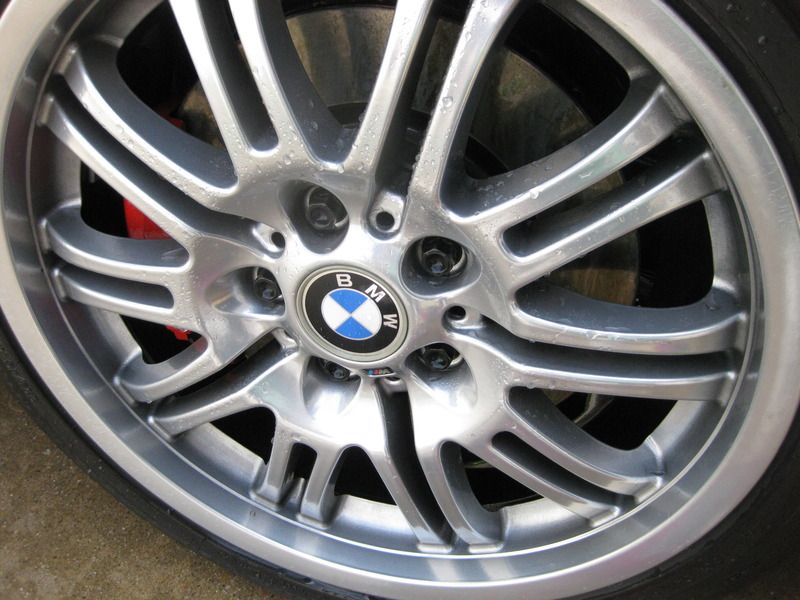
-Wheels and tires cleaned with Meguiar’s Hot Rims All Wheel Cleaner, EZ-Detail Brush, Bleche-Wite Tire Cleaner, and tire brush.

-Wheel wells cleaned using Meguiar’s Super Degreaser (4:1) and EZ-Detail Brush

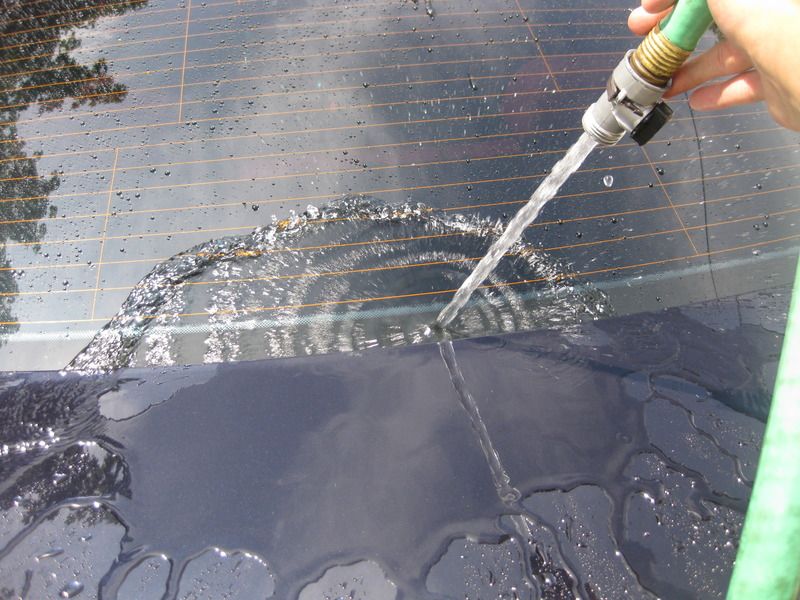
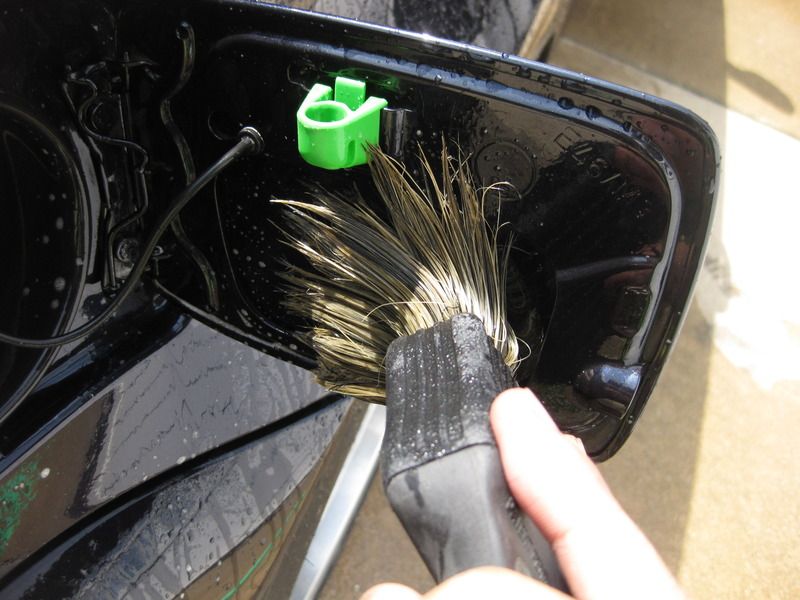
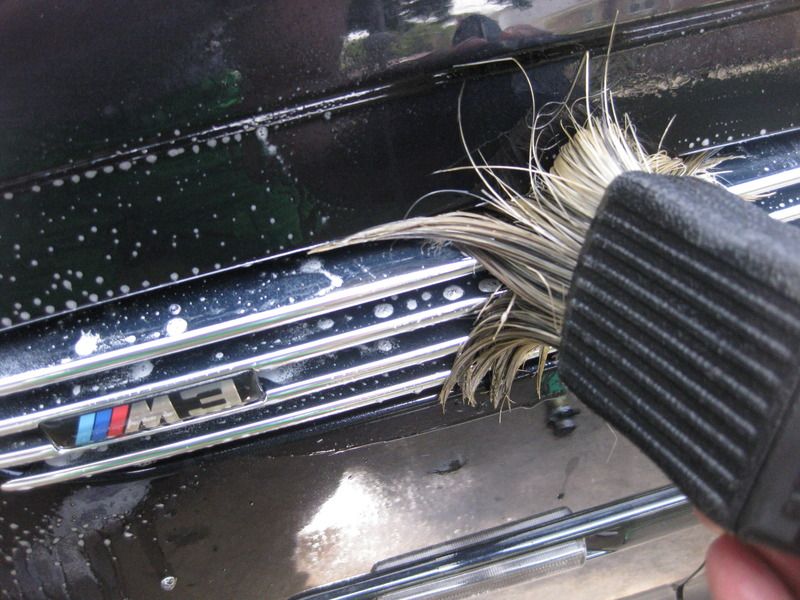
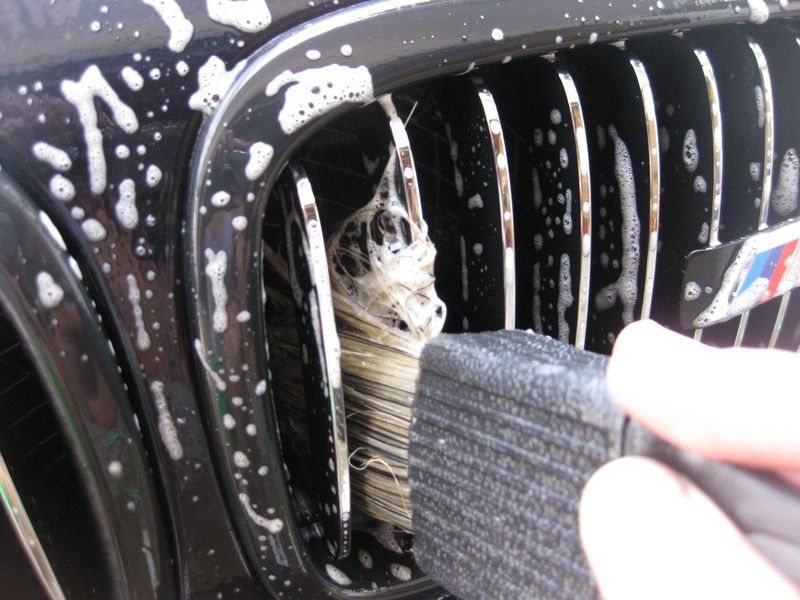
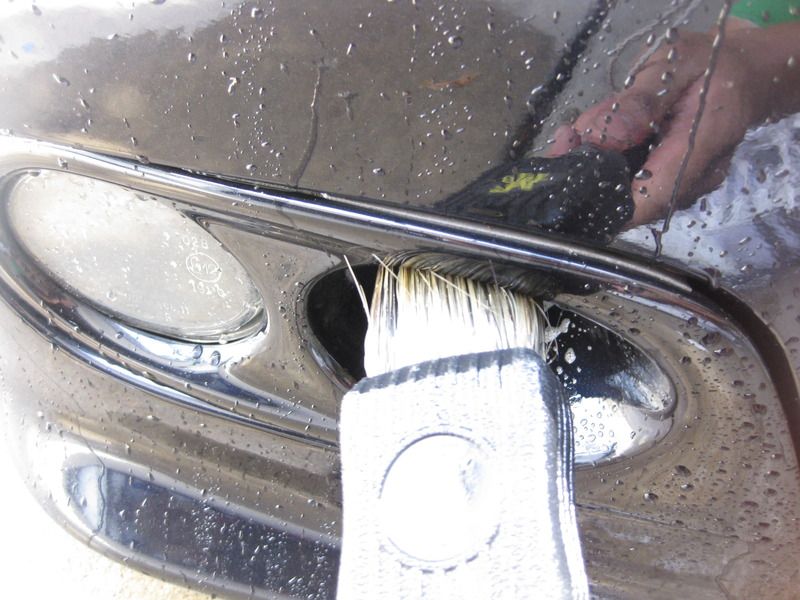
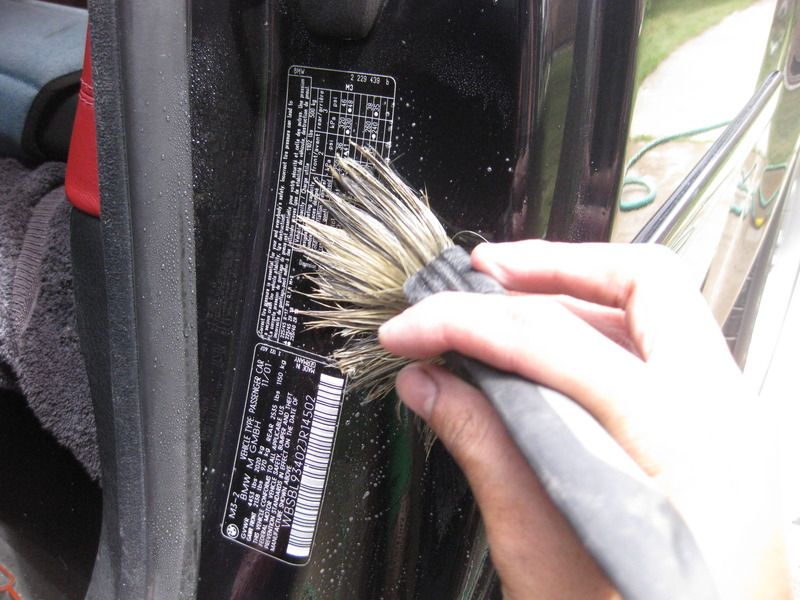
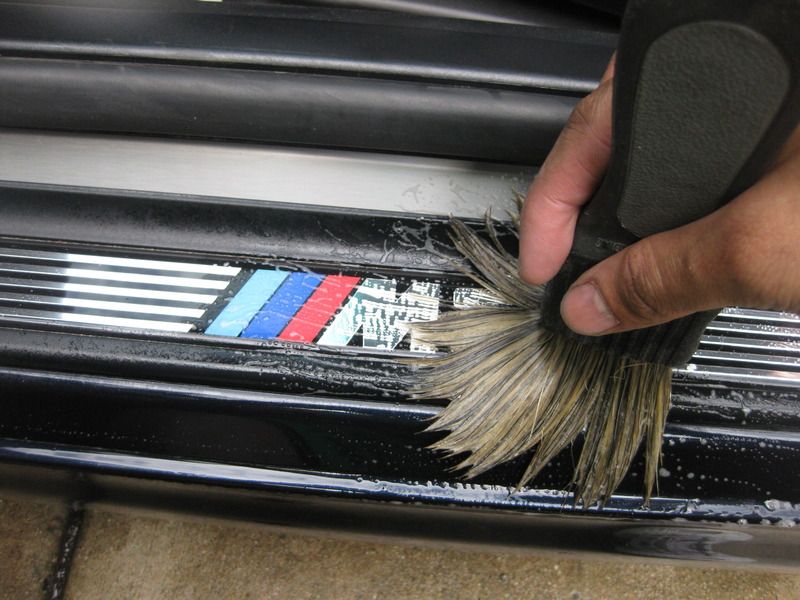
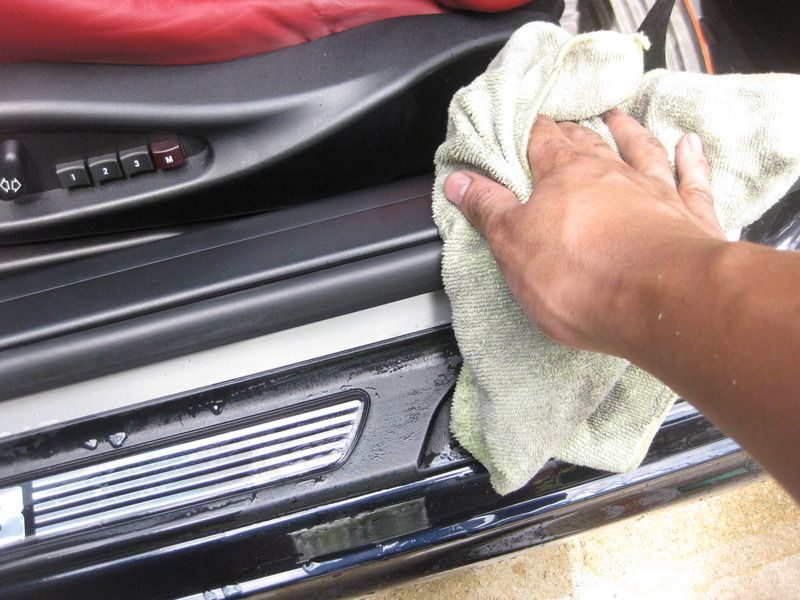
-Rinse down small areas around the car, presoak with Meguiar’s APC+ (20:1) and agitate lightly with Meguiar’s Slidelock brush or Q-Tip.

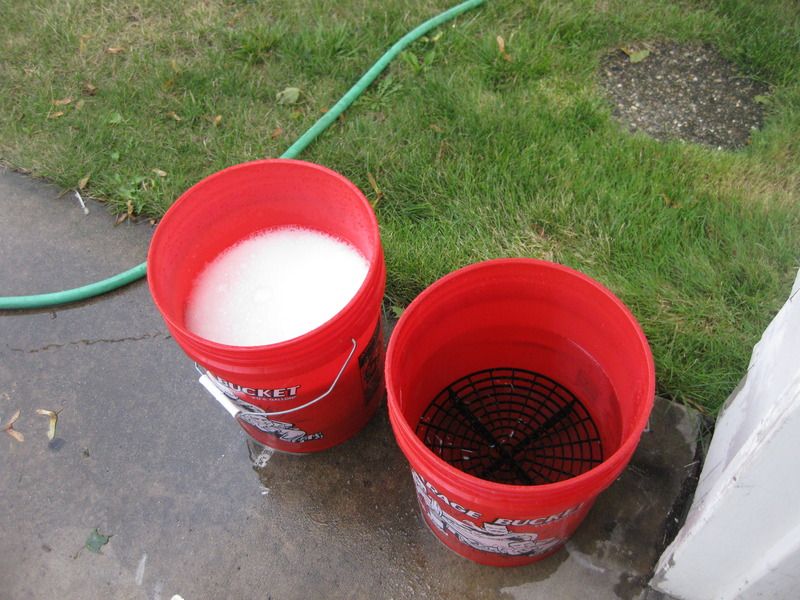
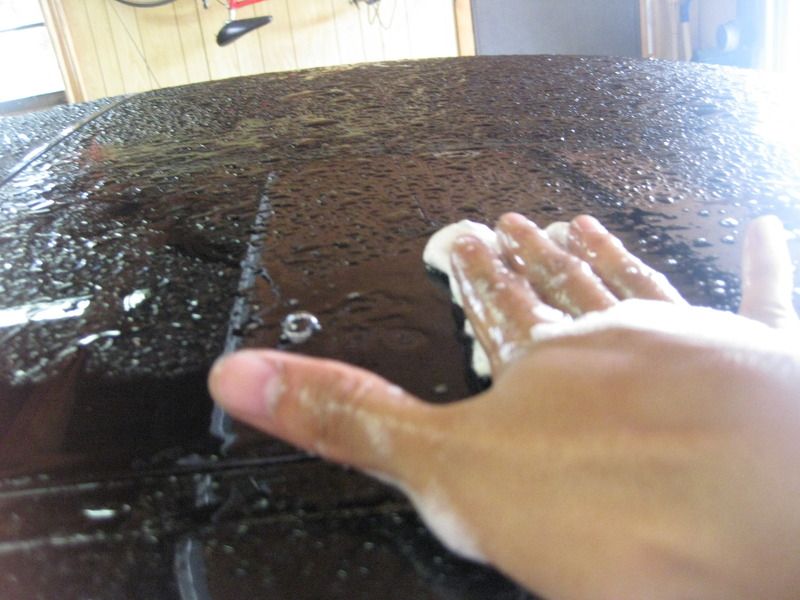
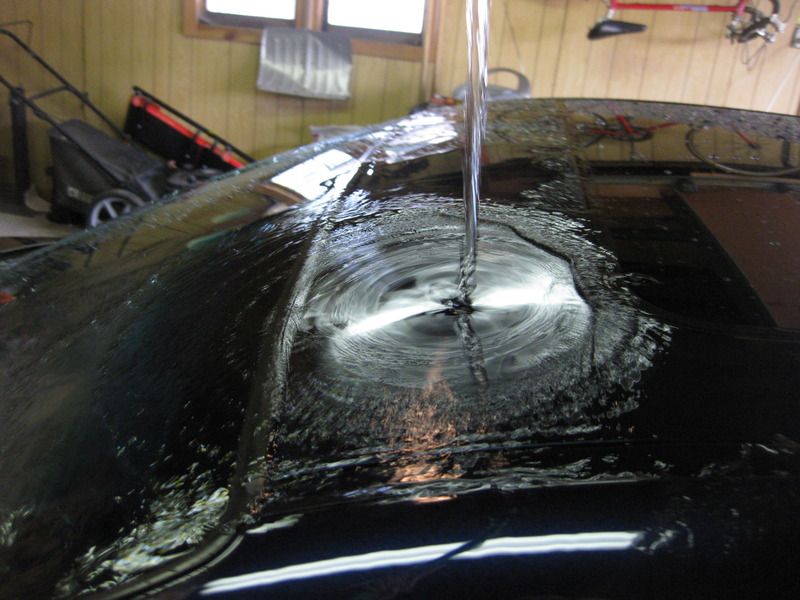
-Wash car using 2-bucket method w/ grit guards, Dawn, and 2 sheepskin wash mitts

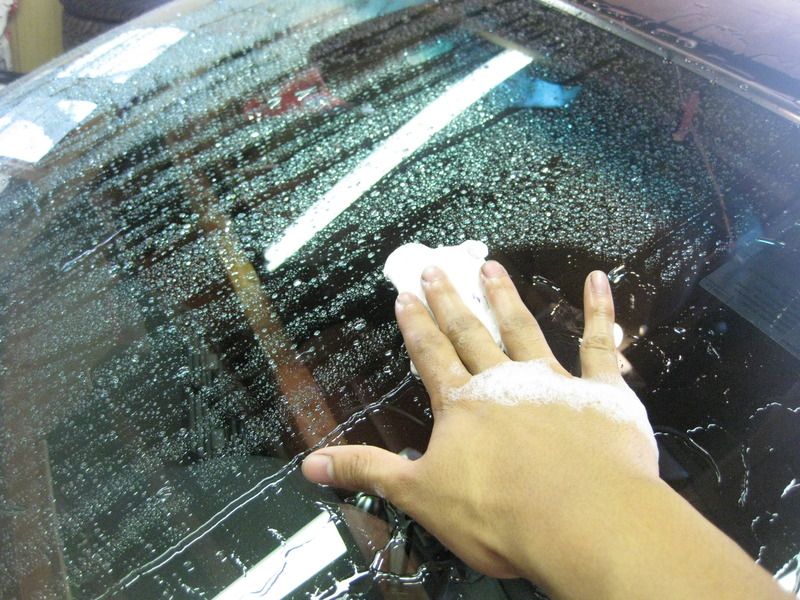
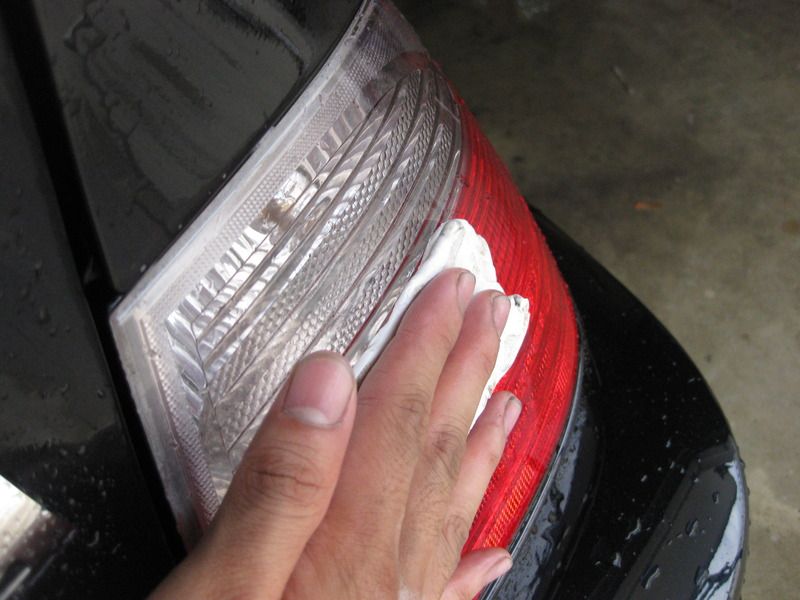
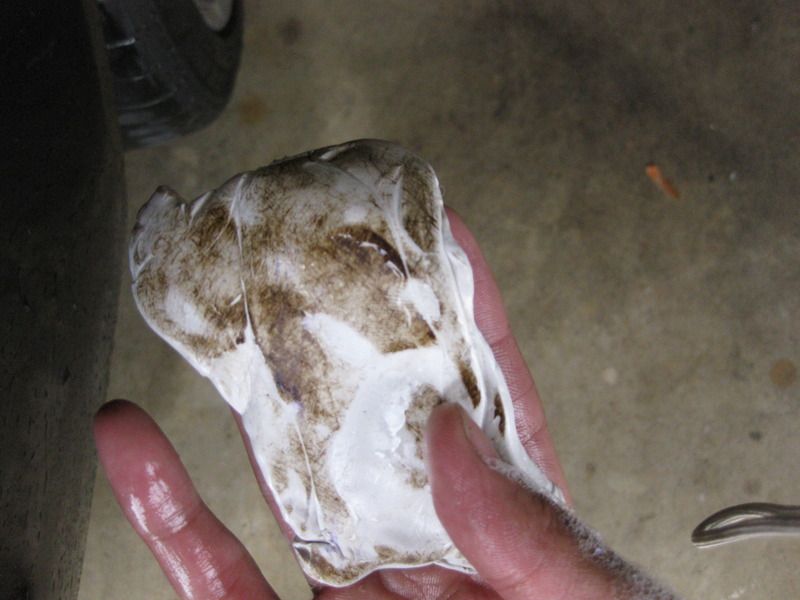
-Claybar car using Meguiar’s Claybar and distilled water mixed with a splash of Meguiar’s #00 Hi-Tech Wash for lubrication.

-Bring car inside garage and blow dry

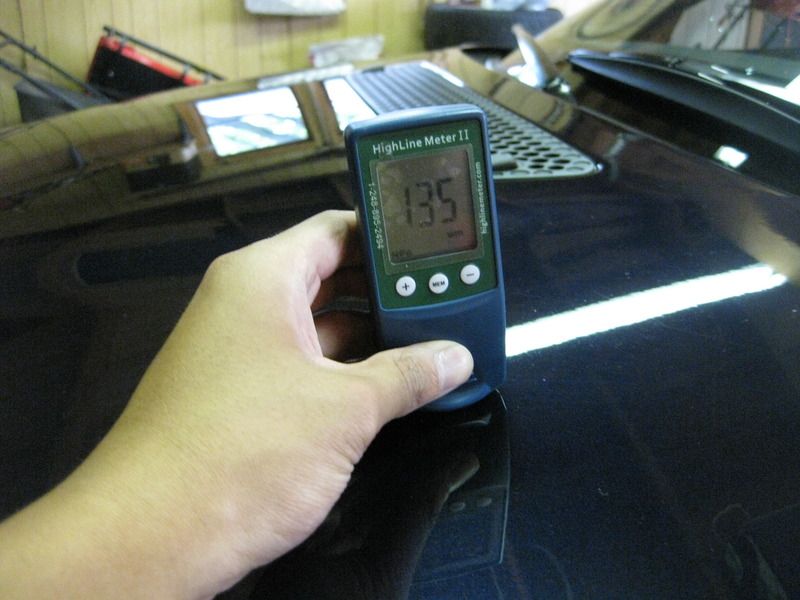
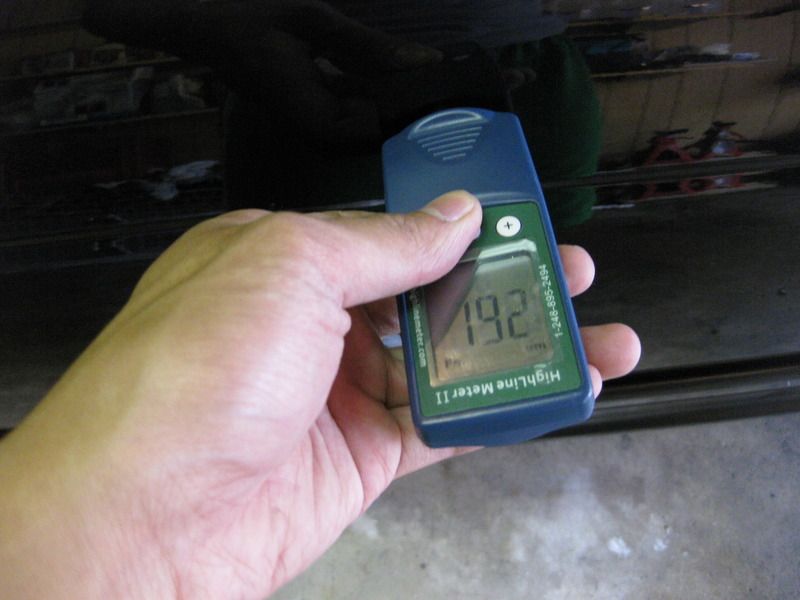
-Measure Paint, tape off the entire vehicle


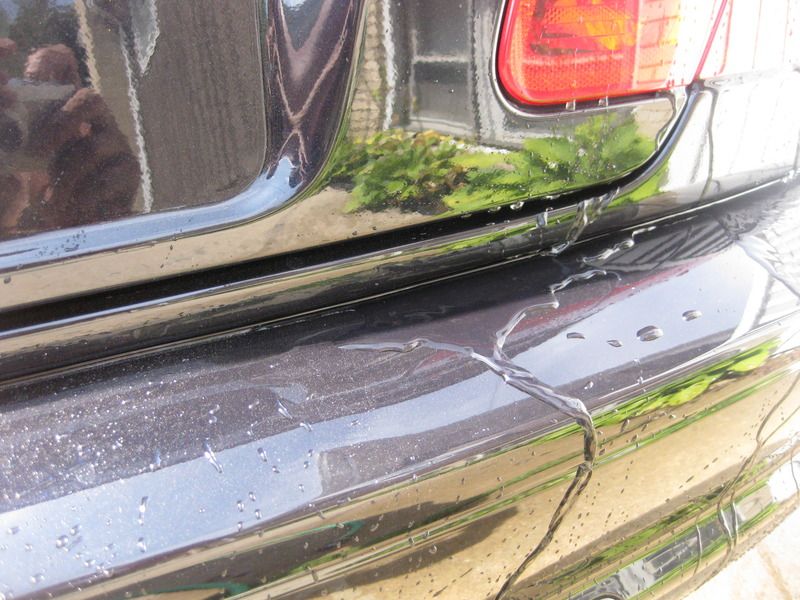
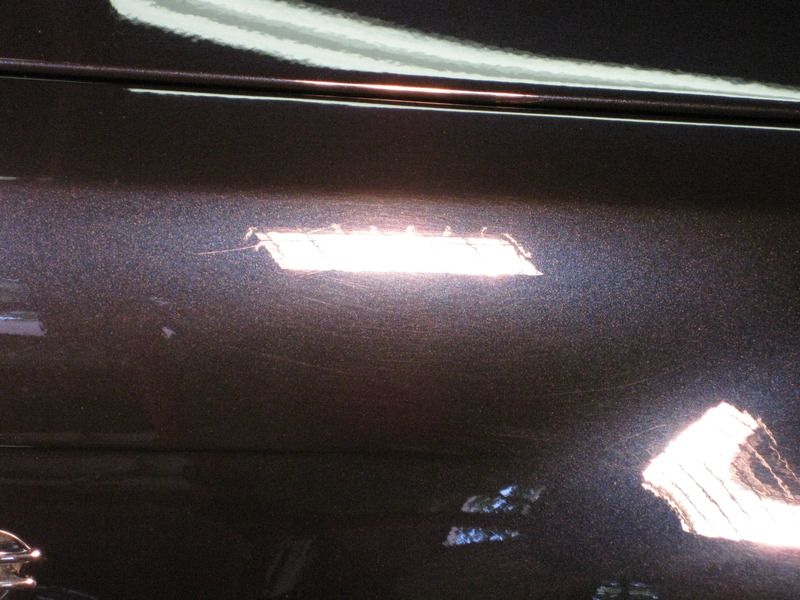
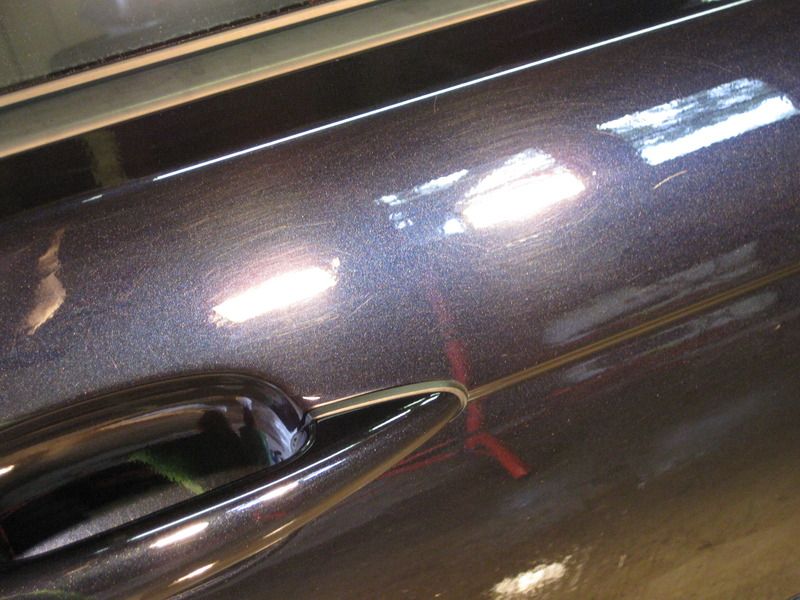
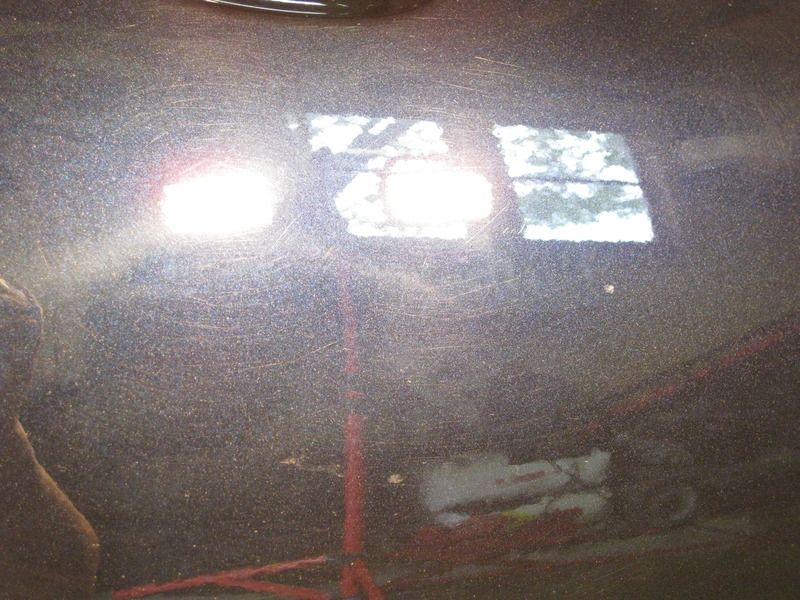
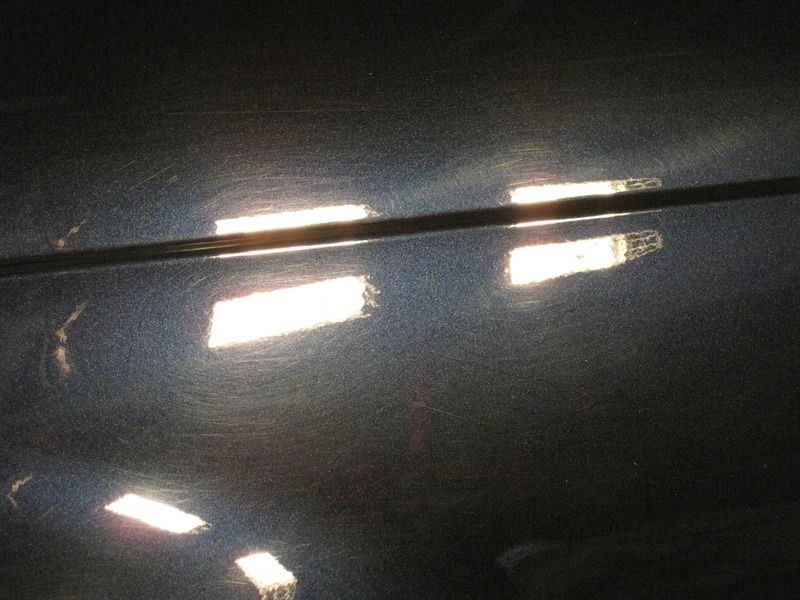
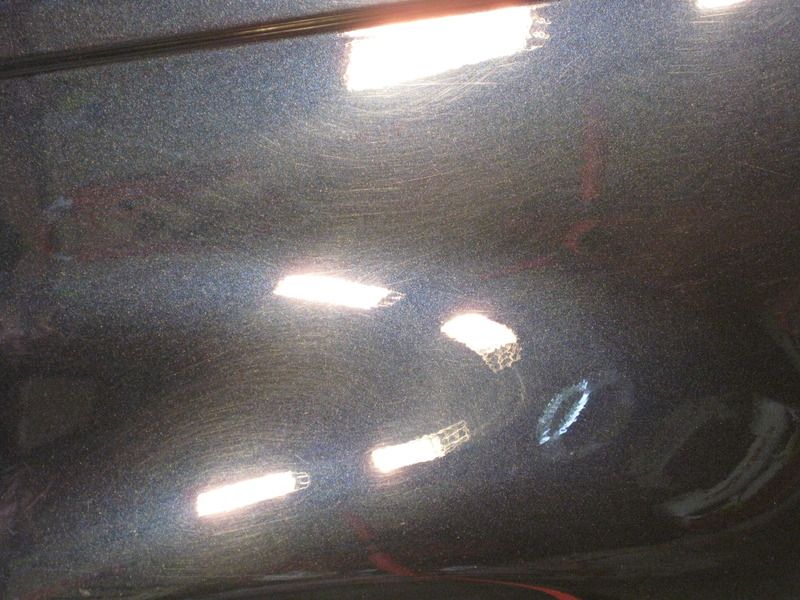
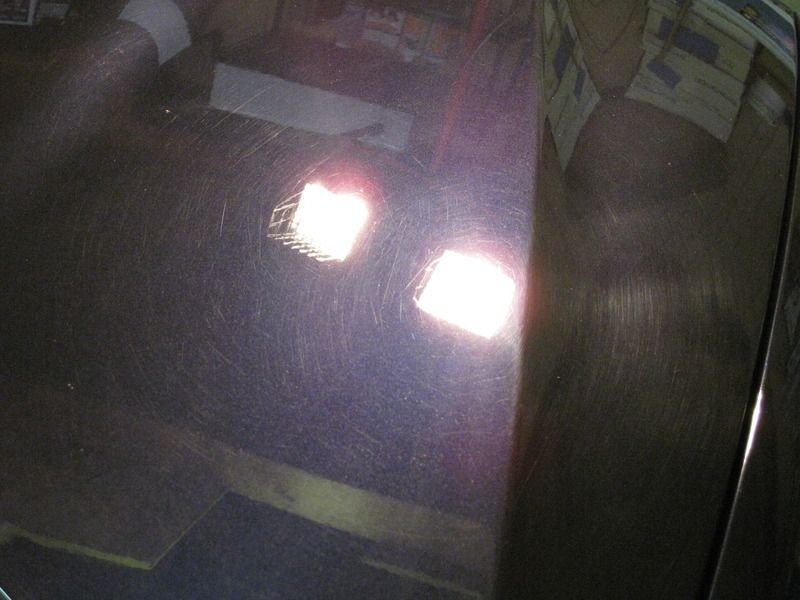
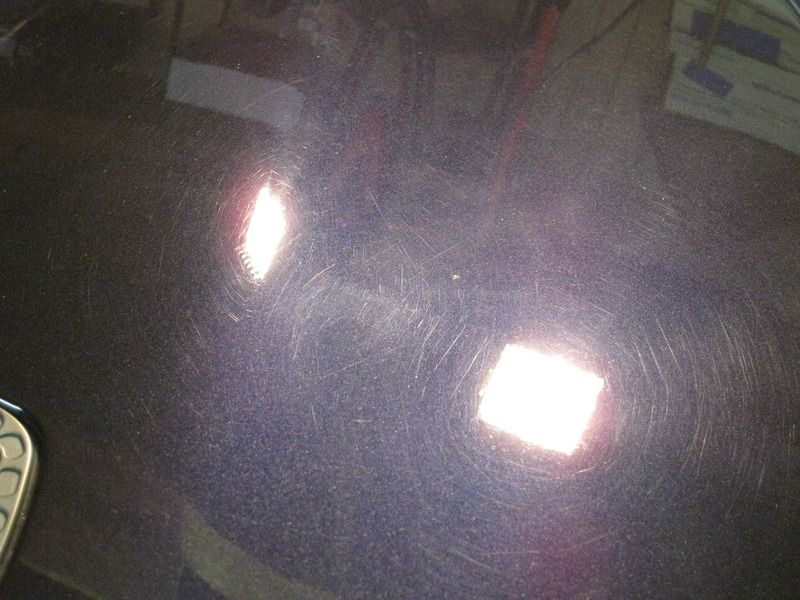
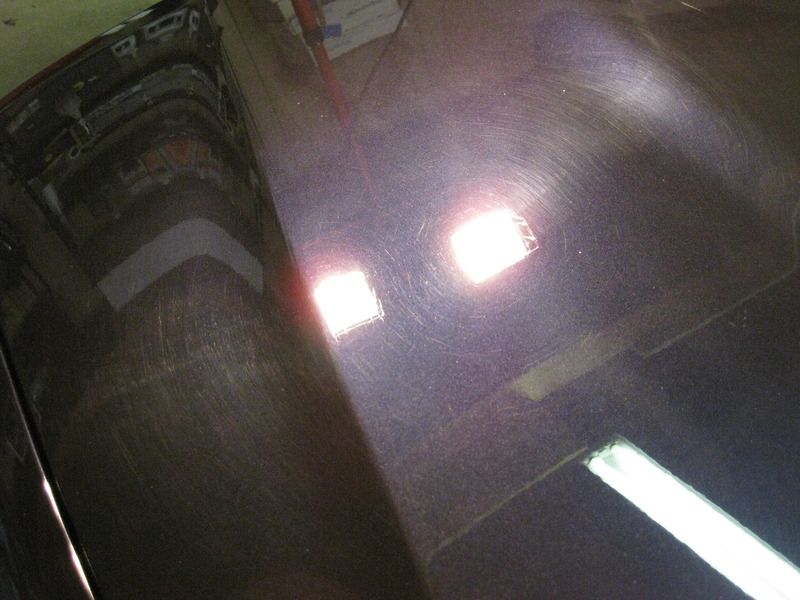
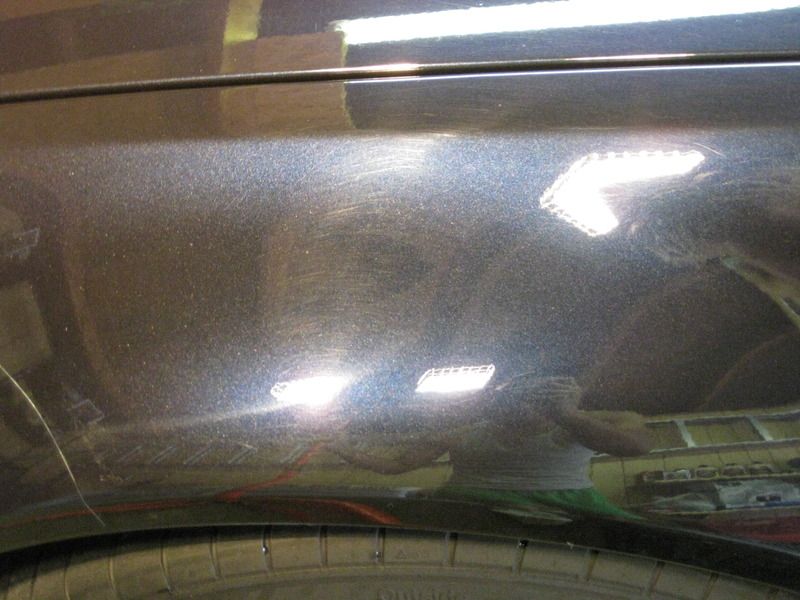
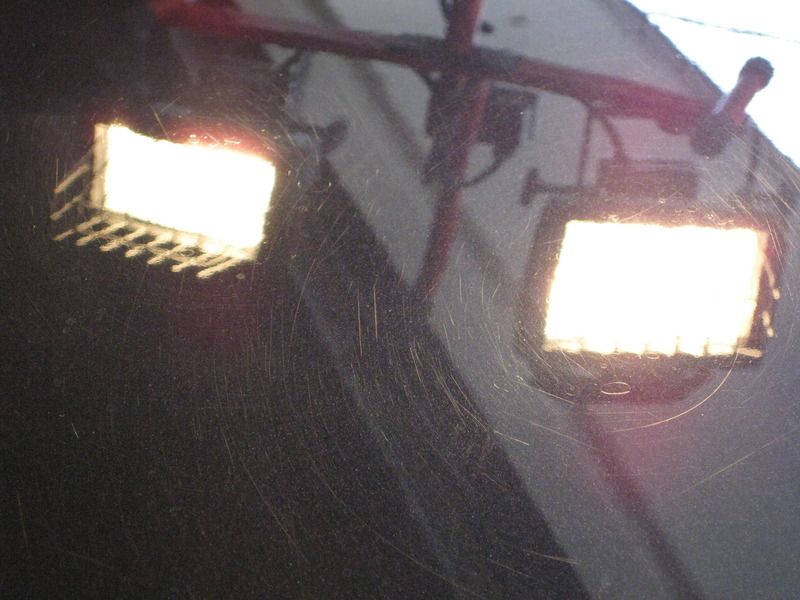
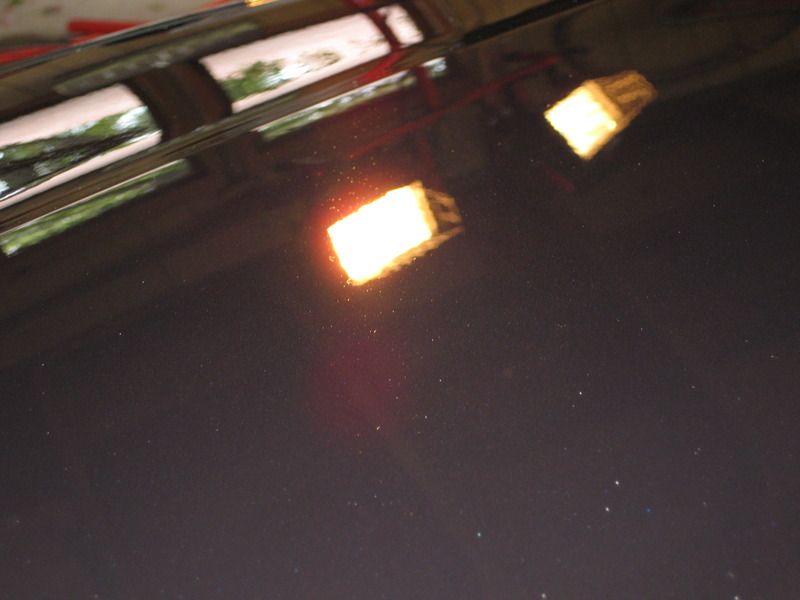
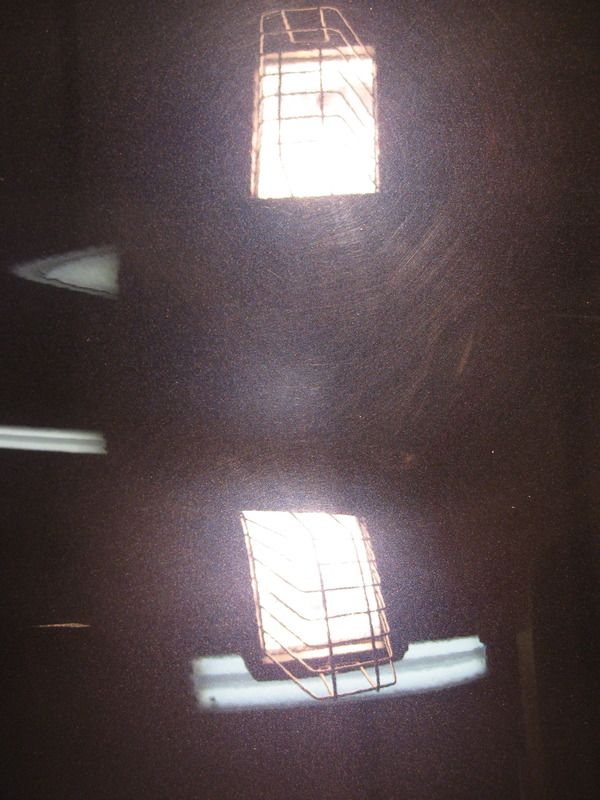
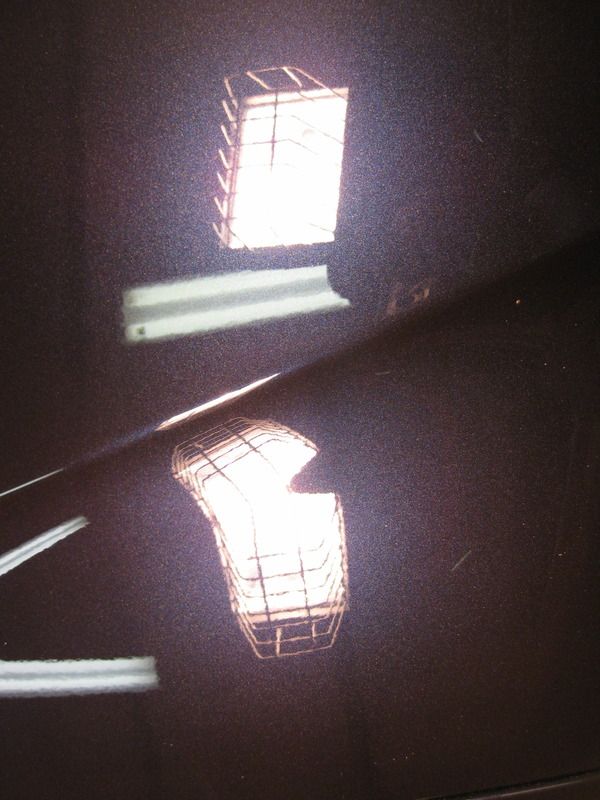
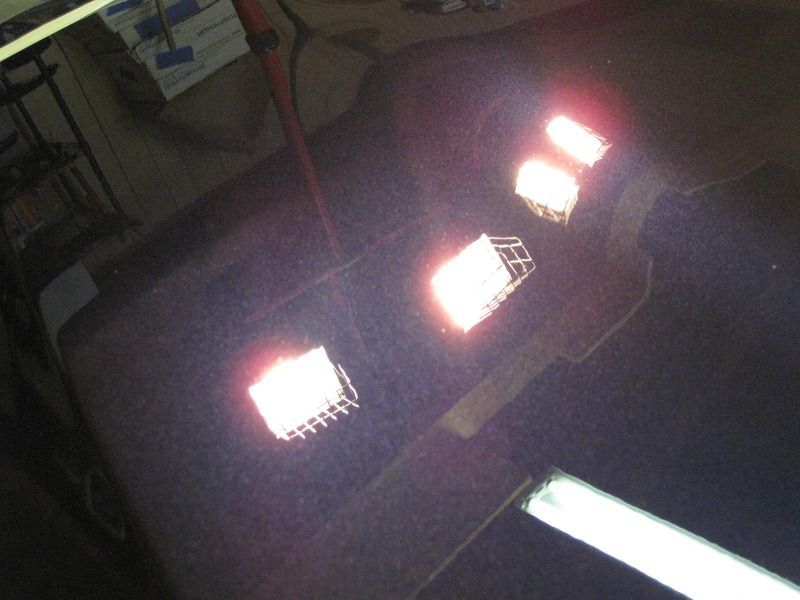
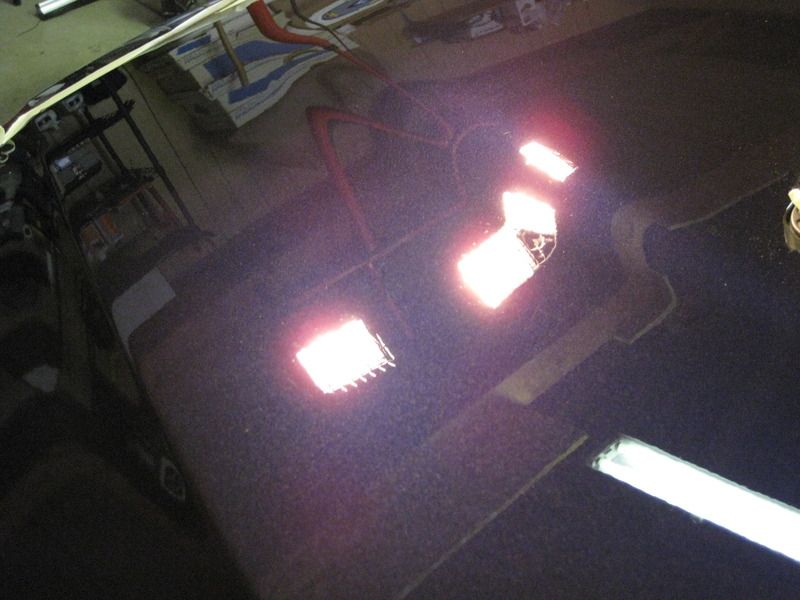
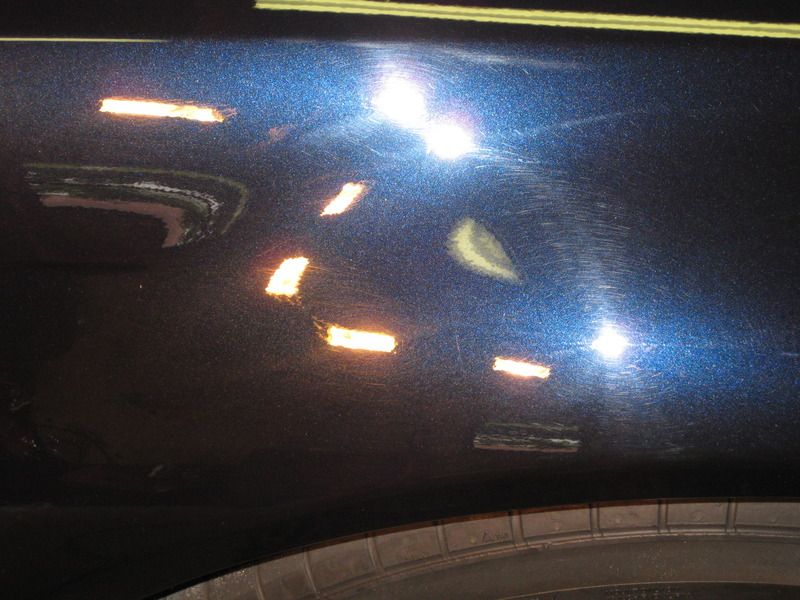
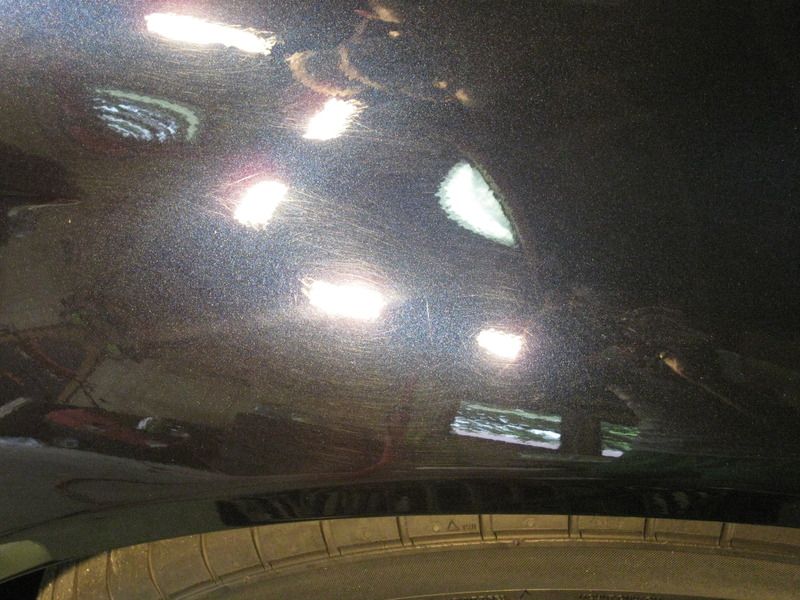
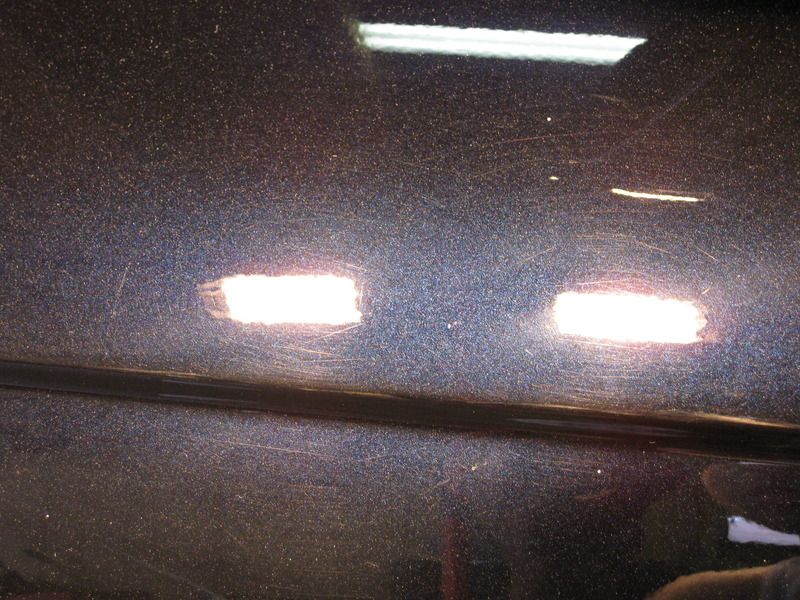
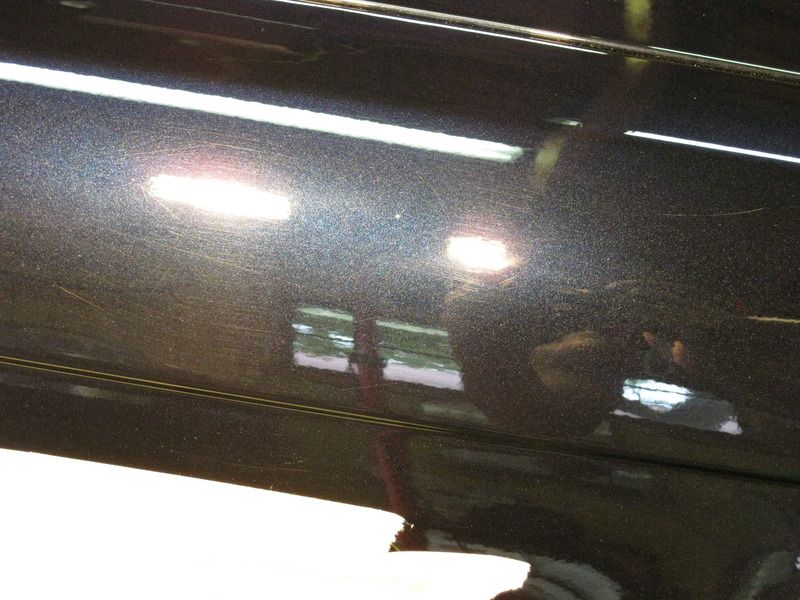
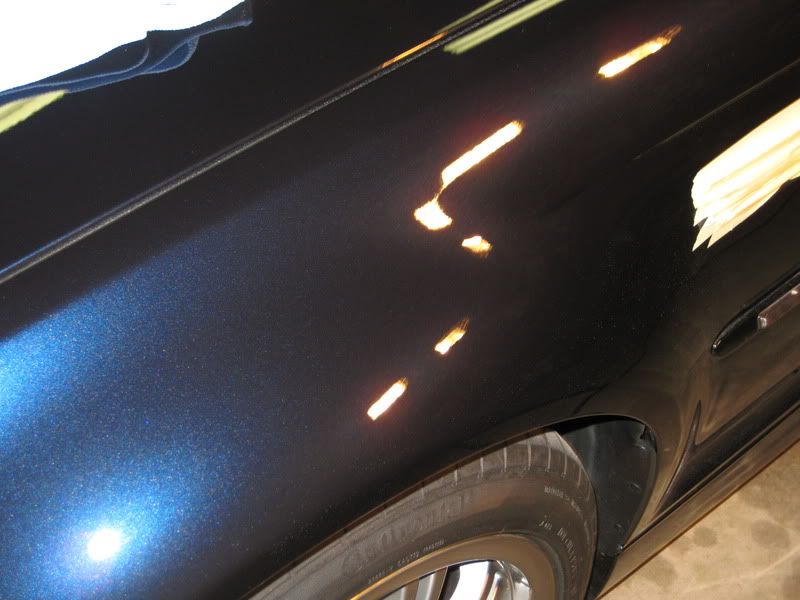
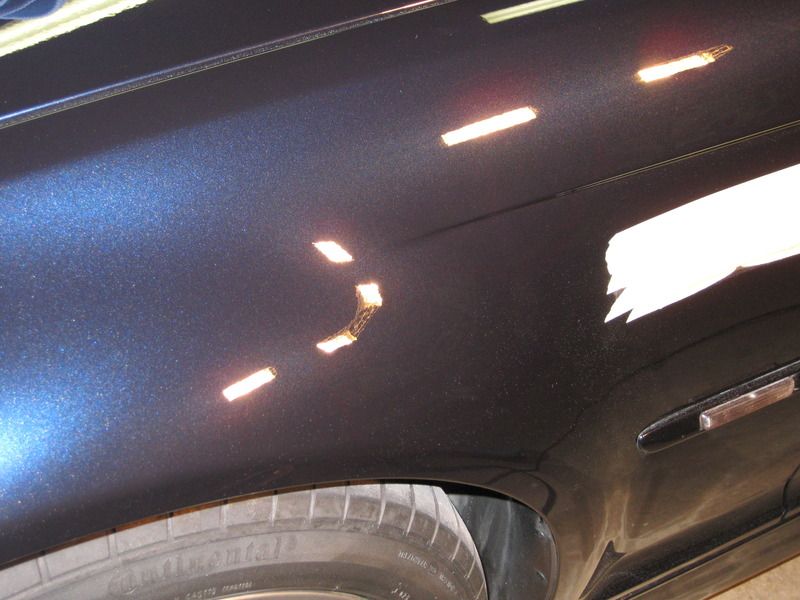
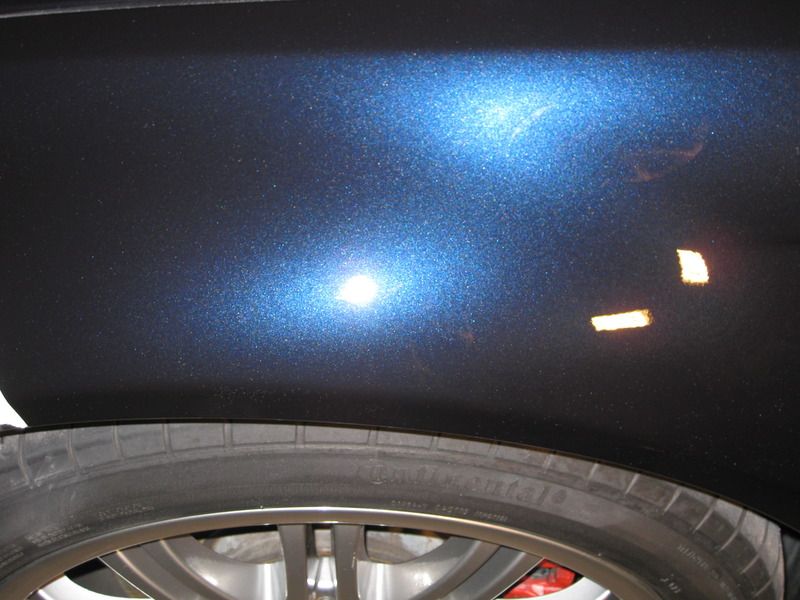
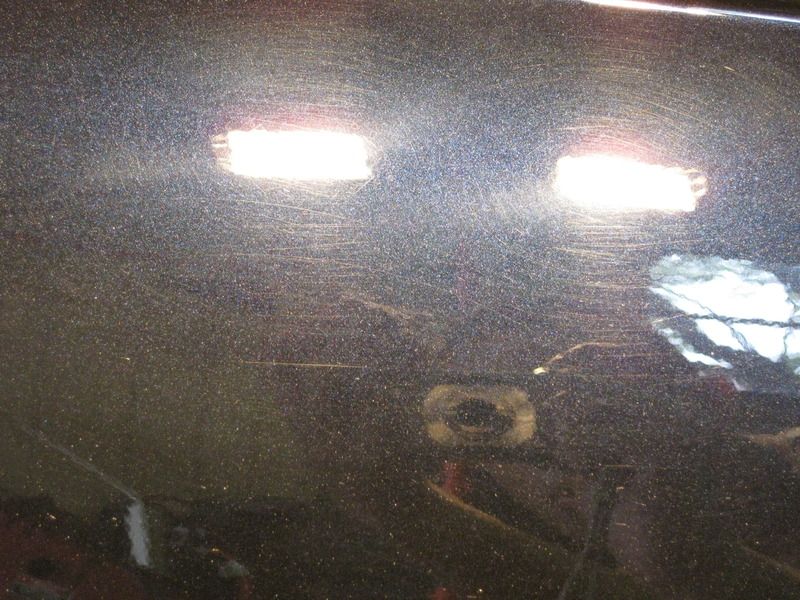
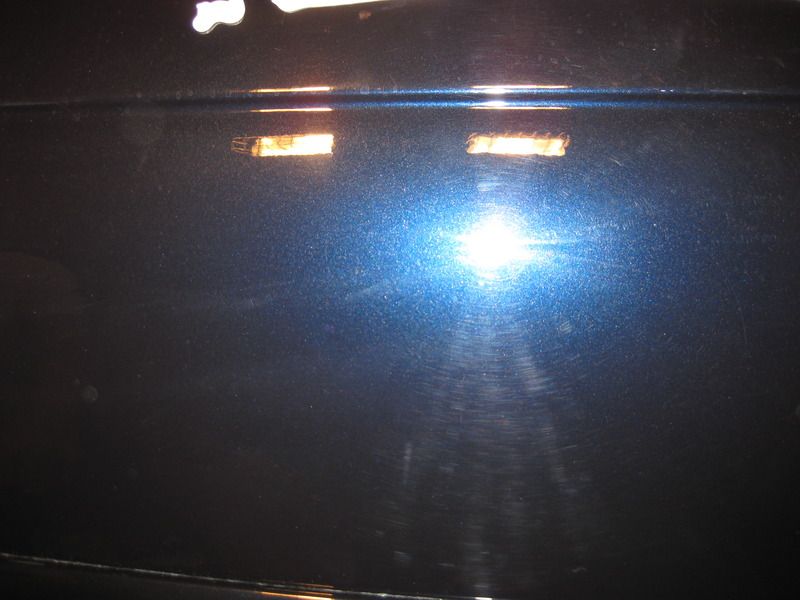
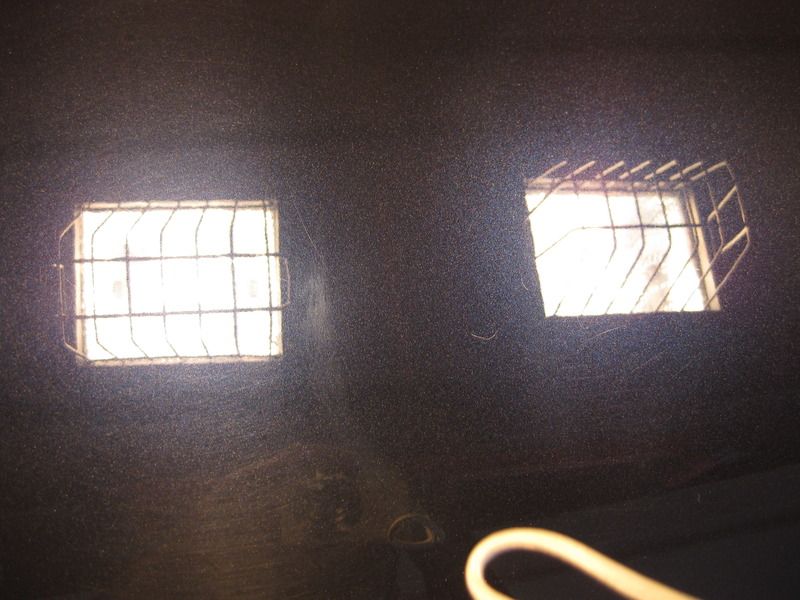
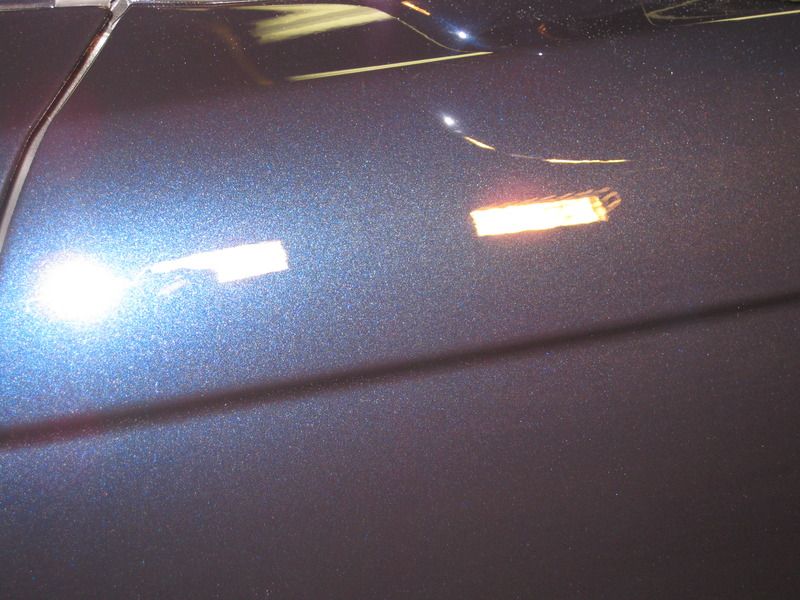
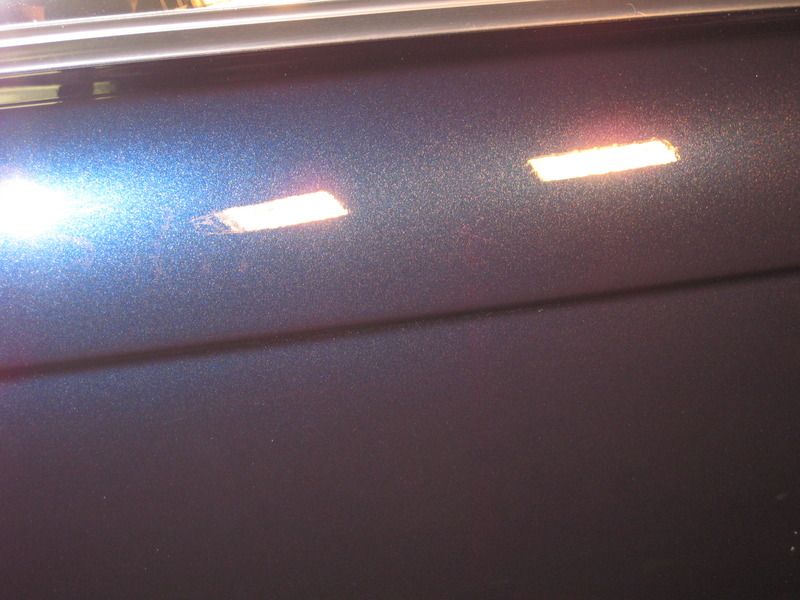
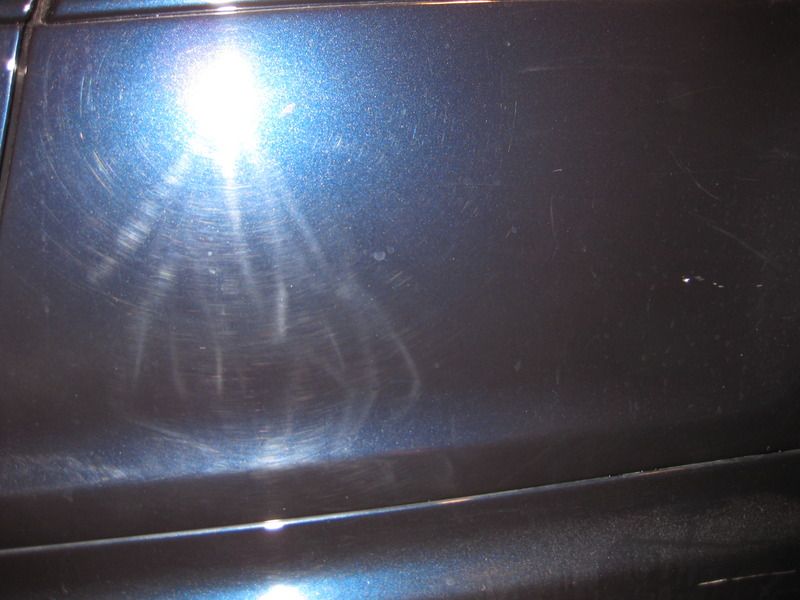
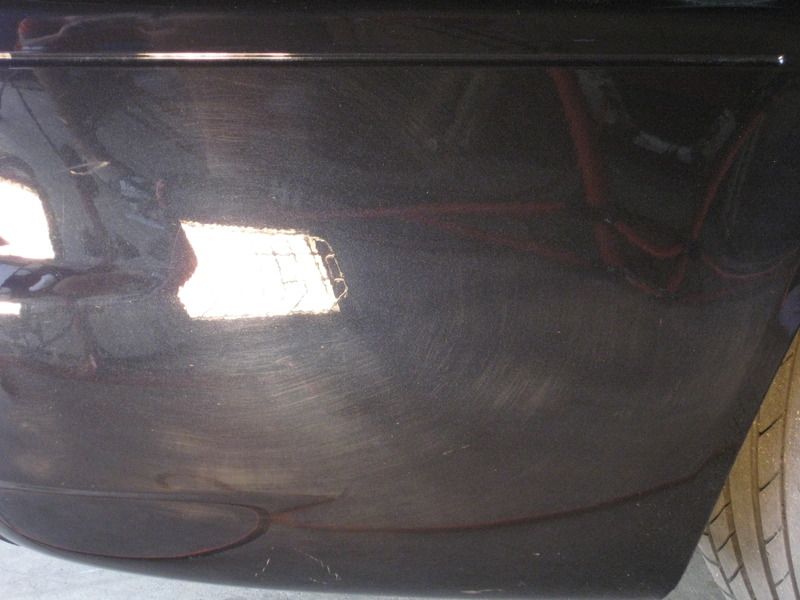
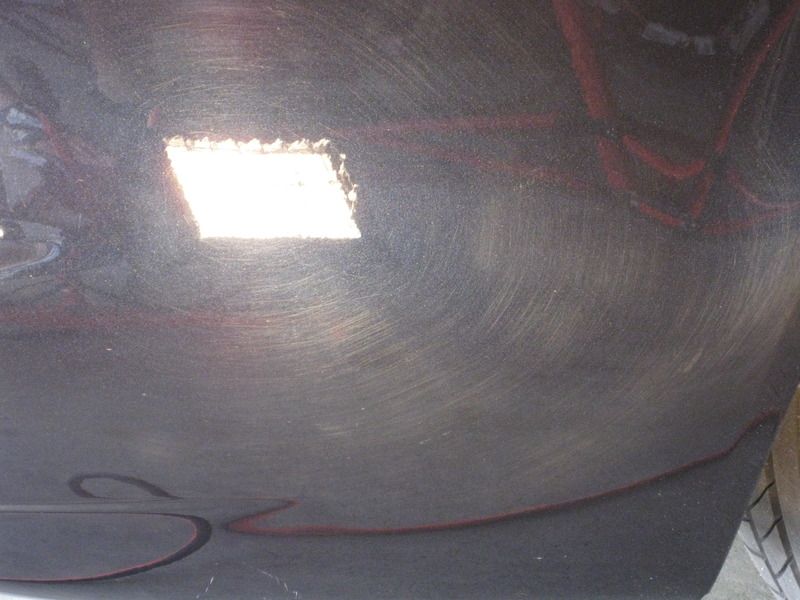
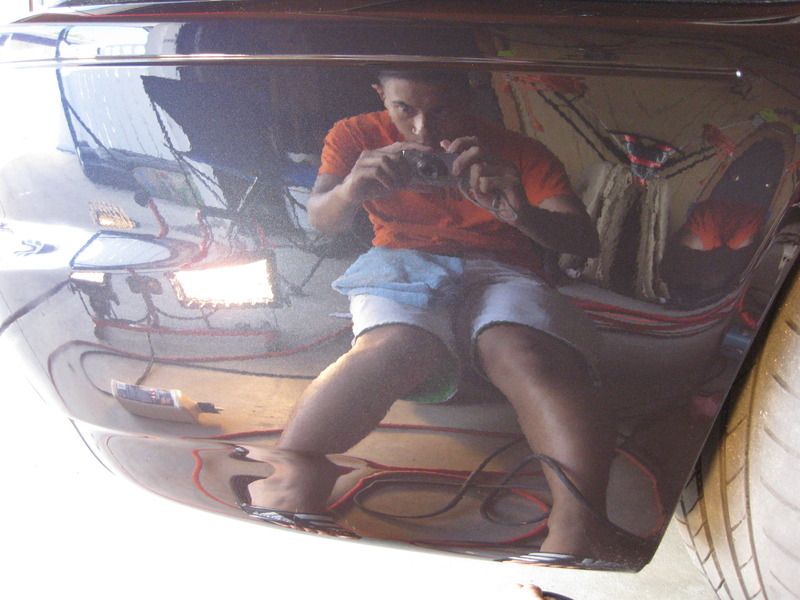
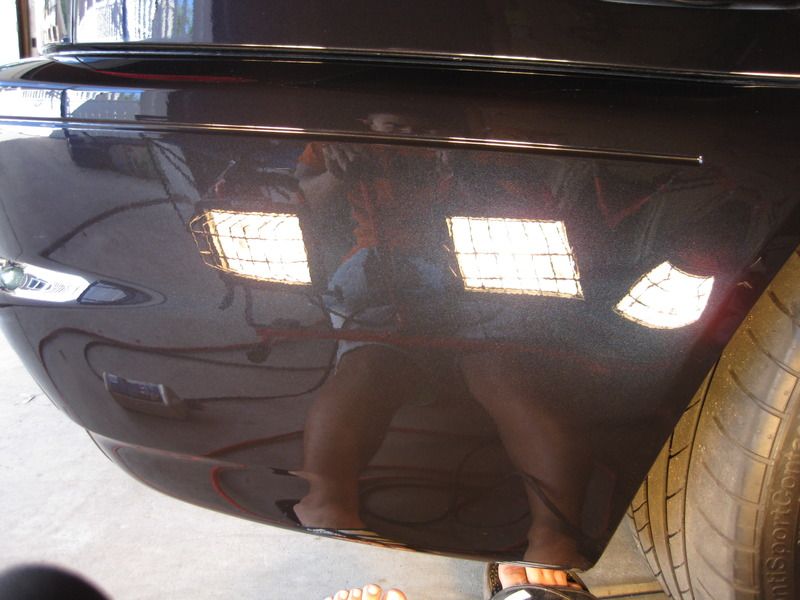
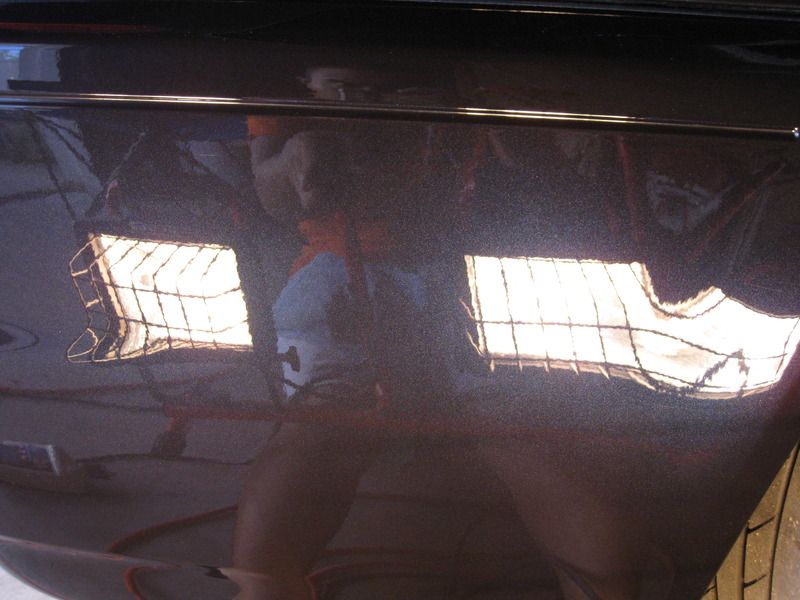
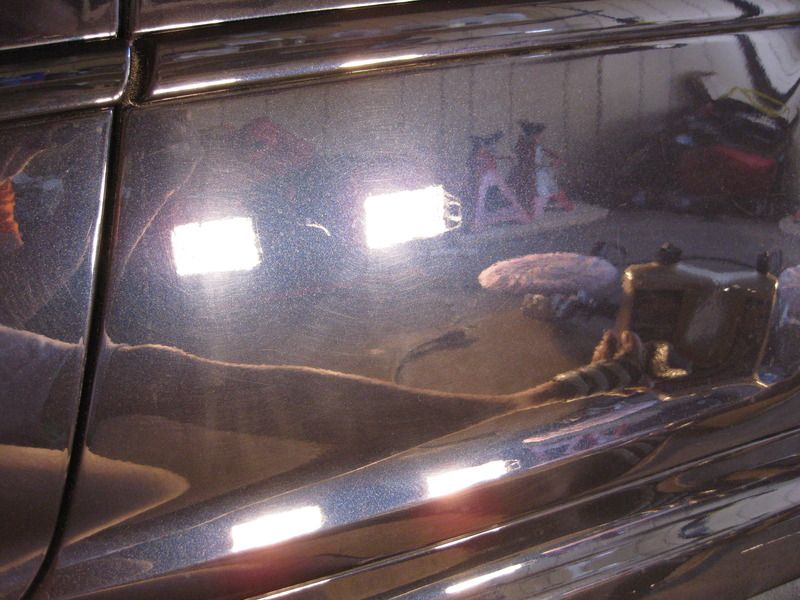
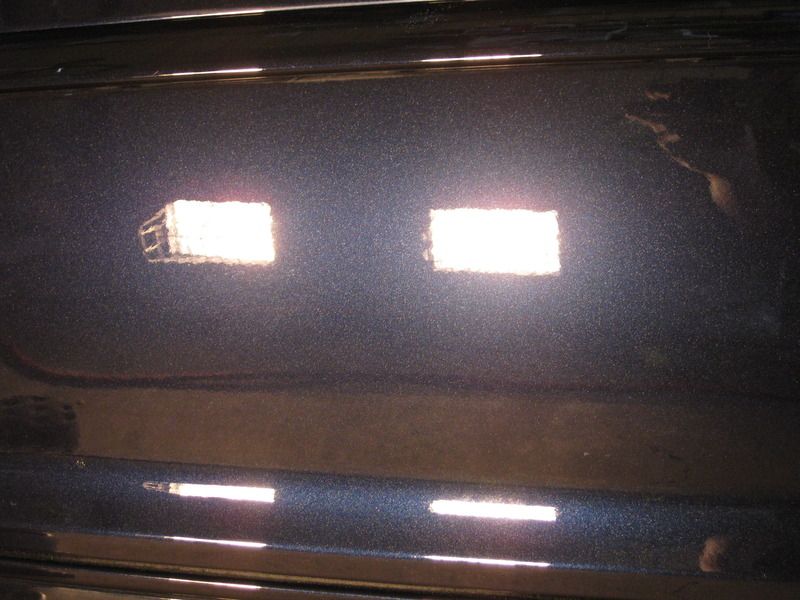
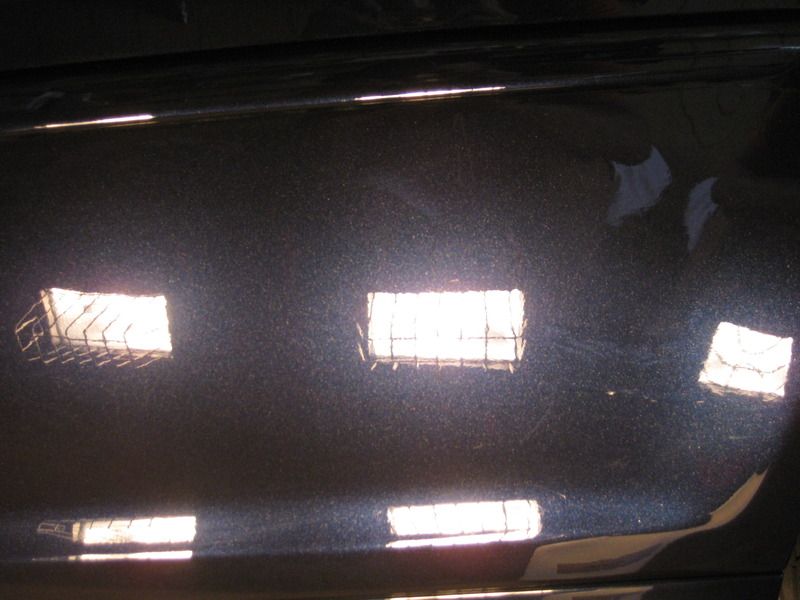
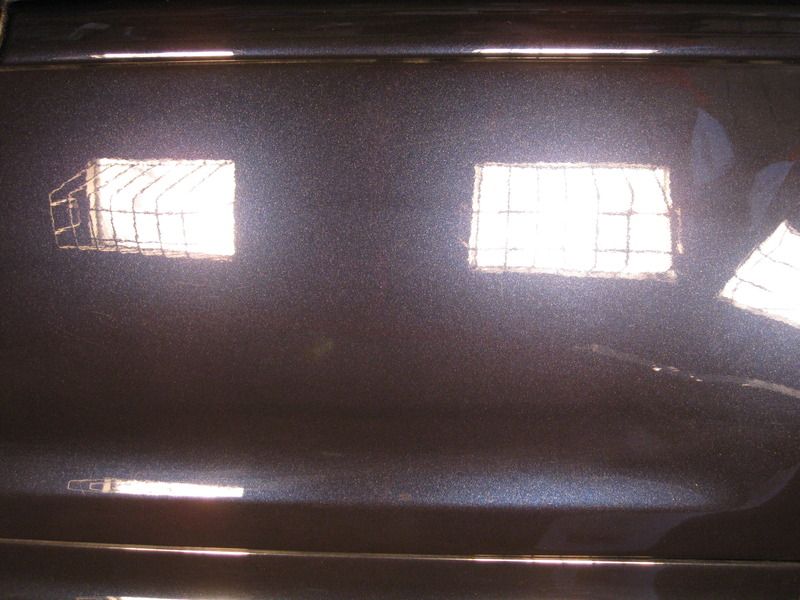
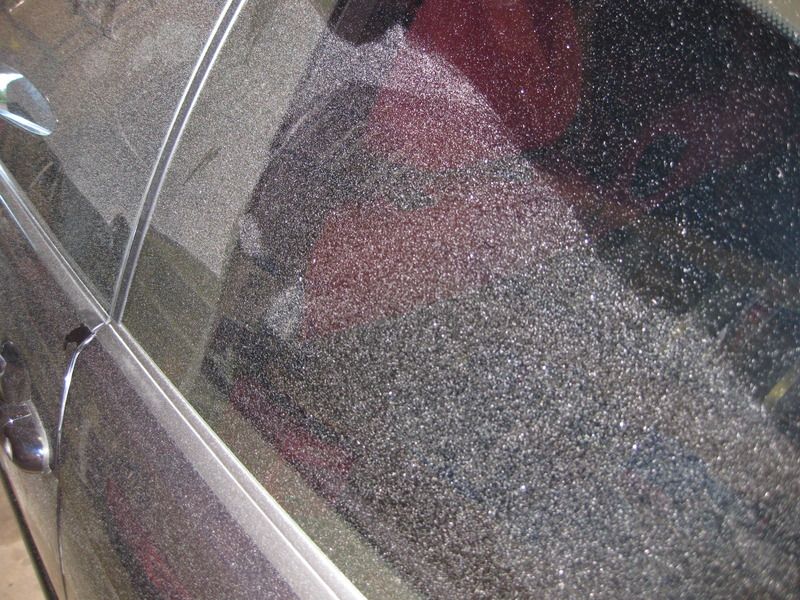
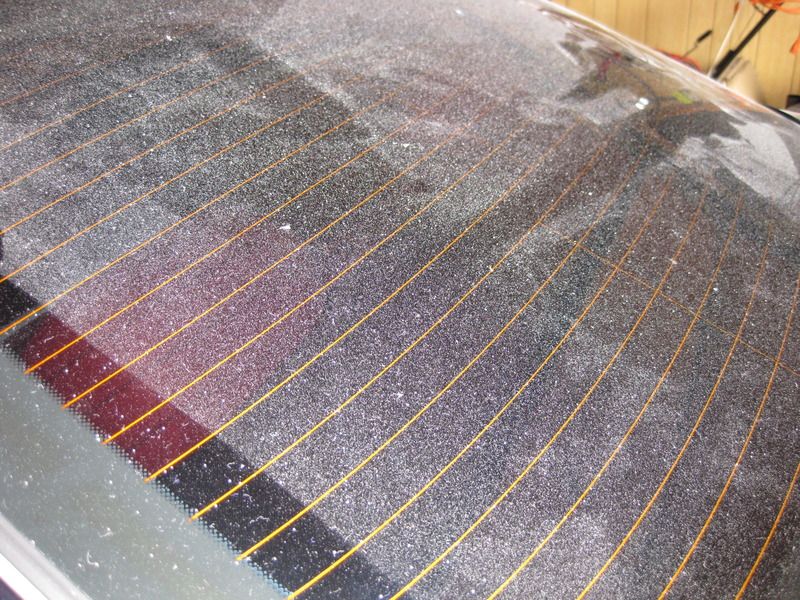
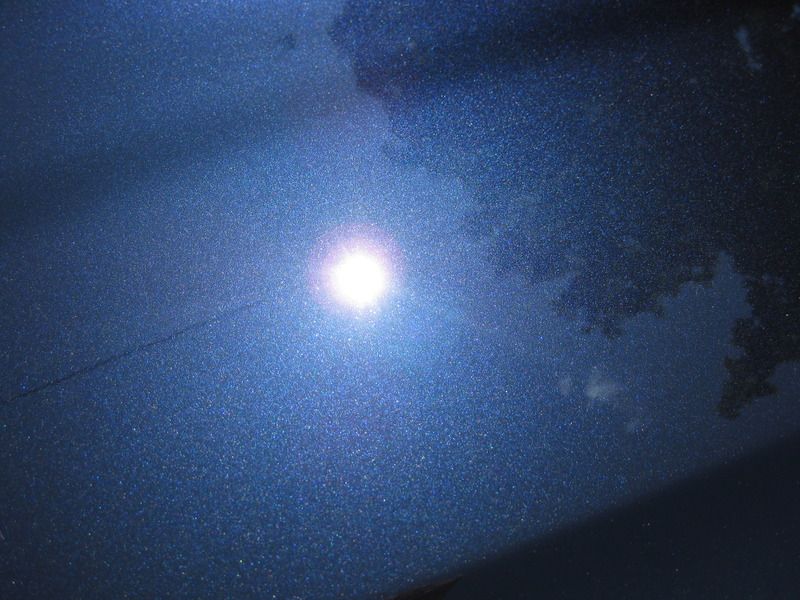
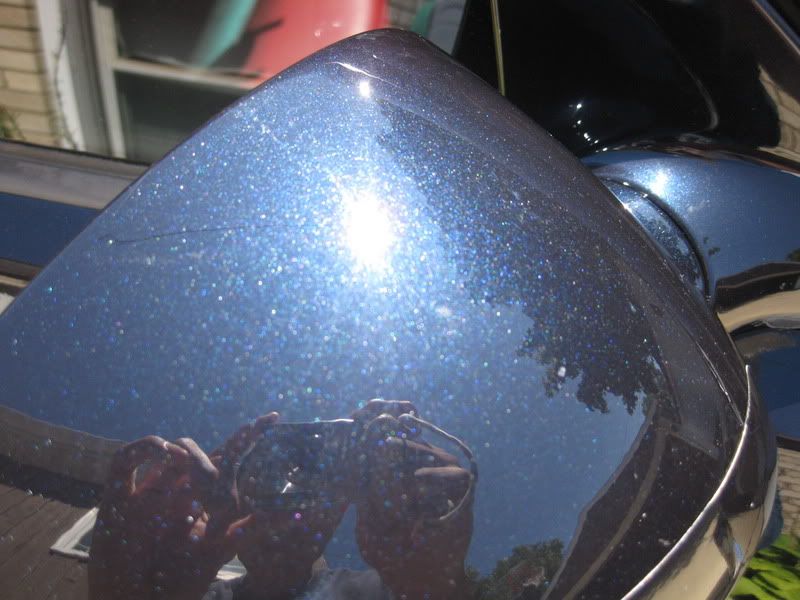
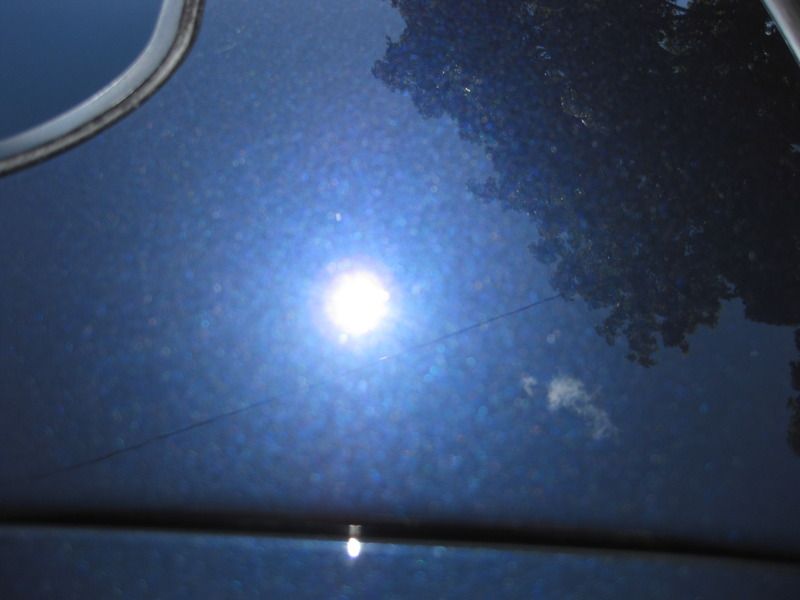
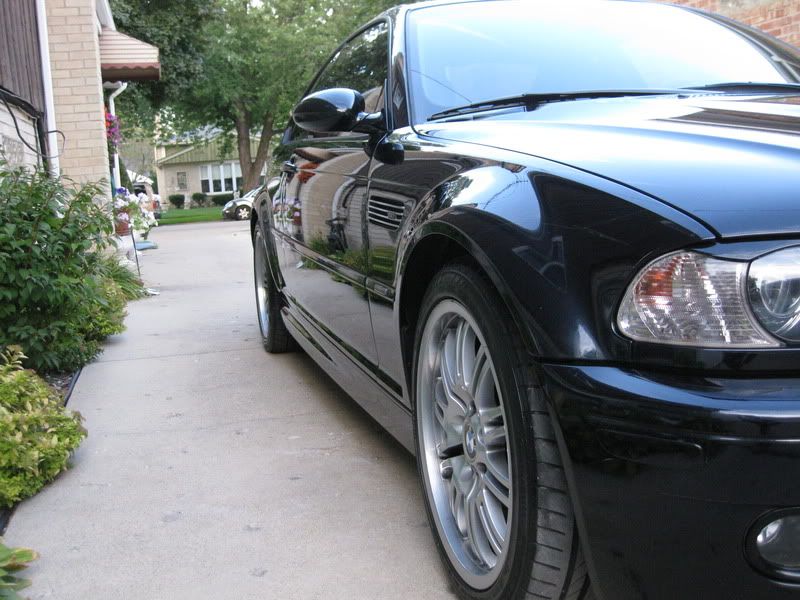
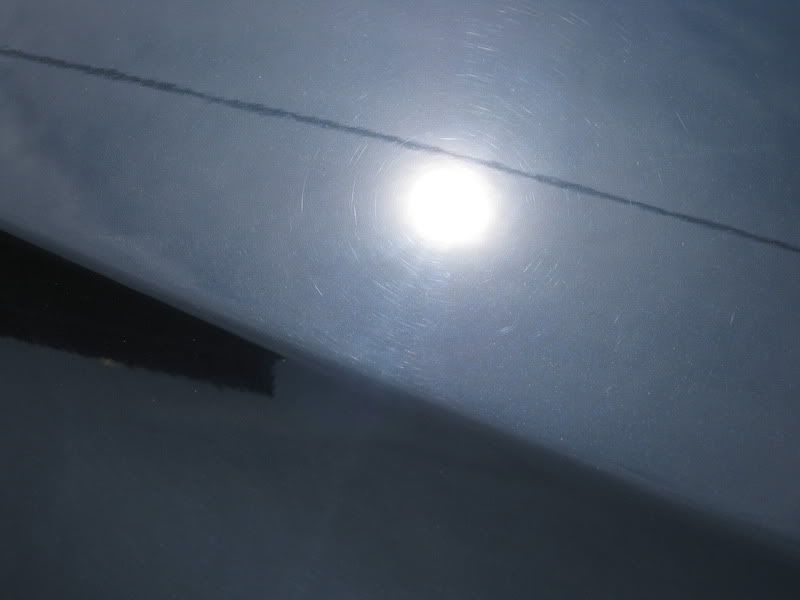
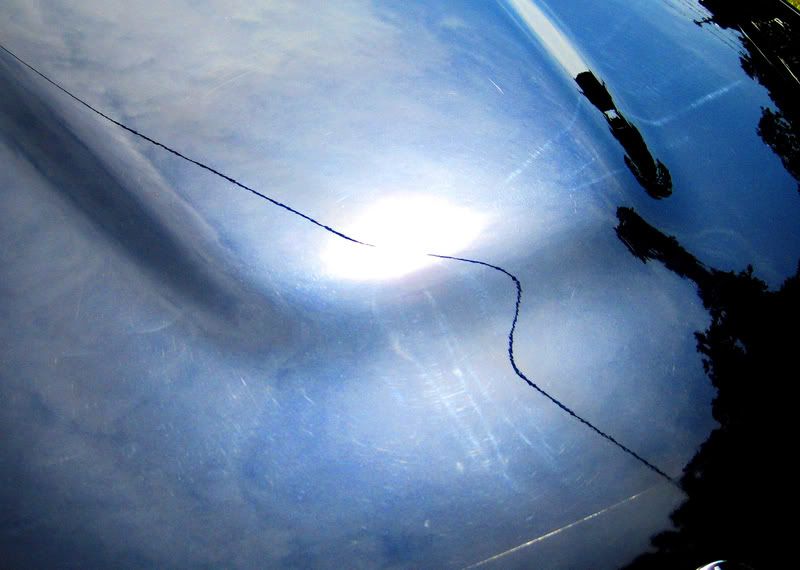
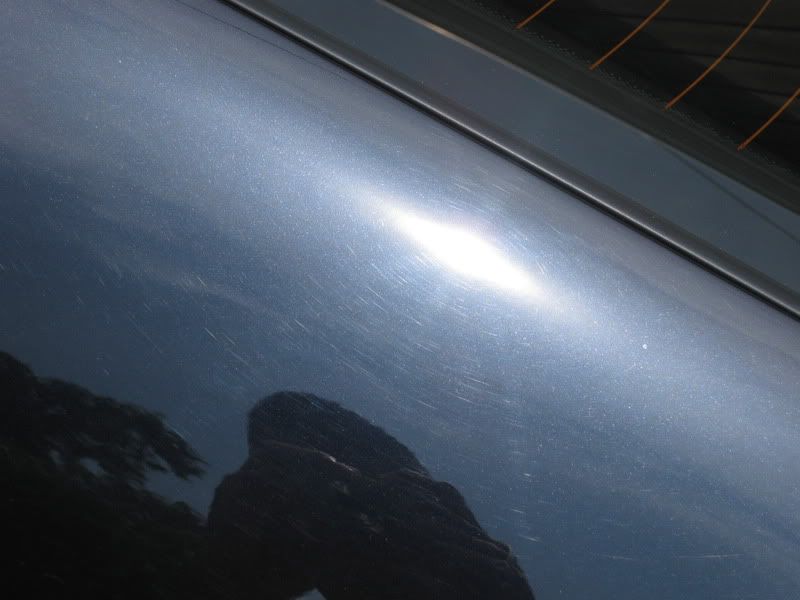
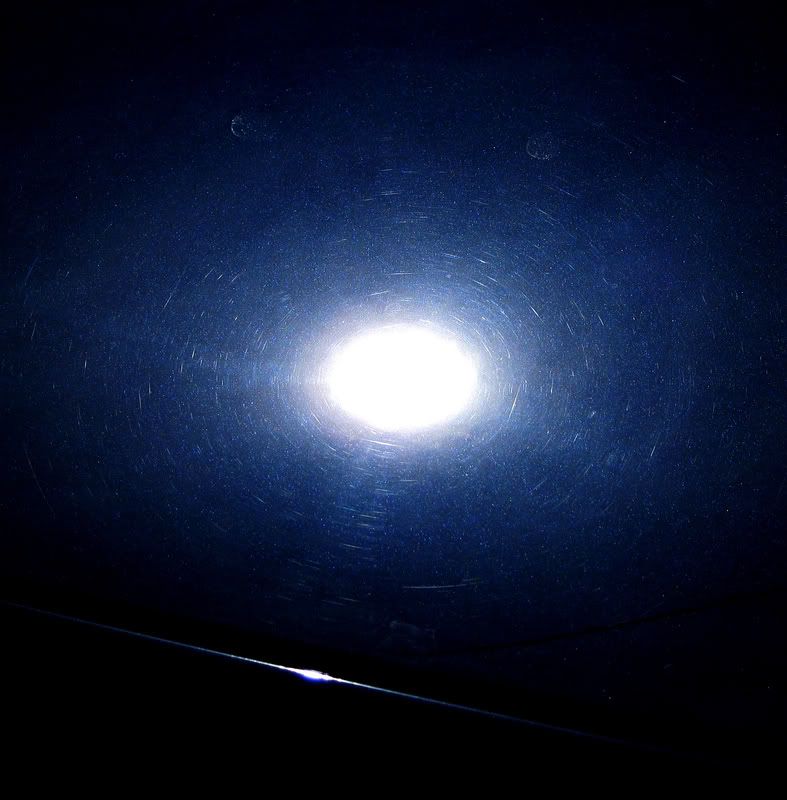
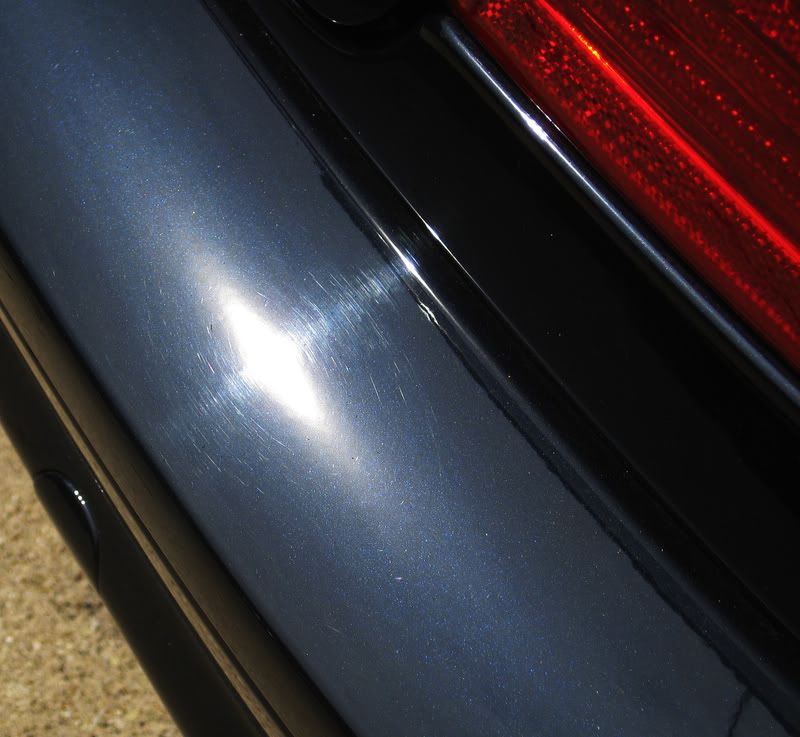
Upon arrival, the car was covered in buffer-induced swirl marks and hologramming.


IMG_1799.jpg


IMG_1800.jpg


zIMG_18012.jpg


zIMG_18032.jpg


IMG_1804.jpg


zIMG_18062.jpg


zIMG_18072.jpg


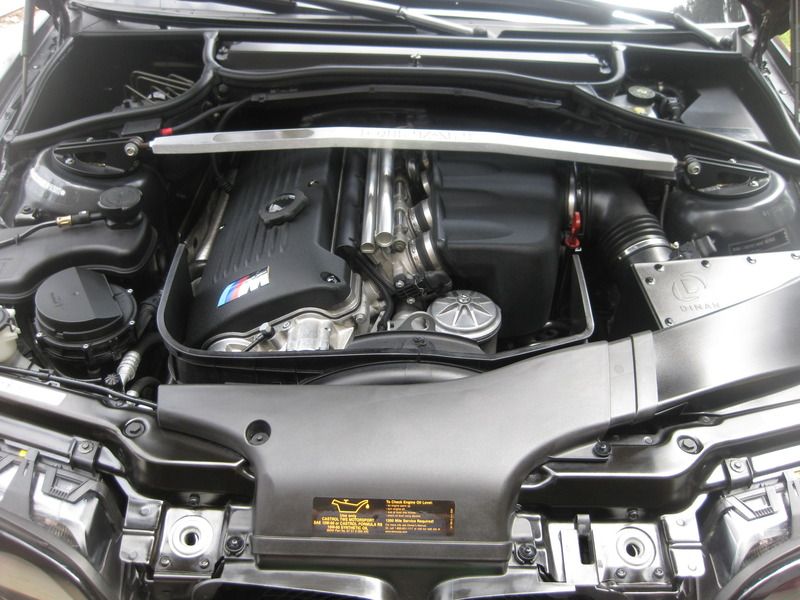
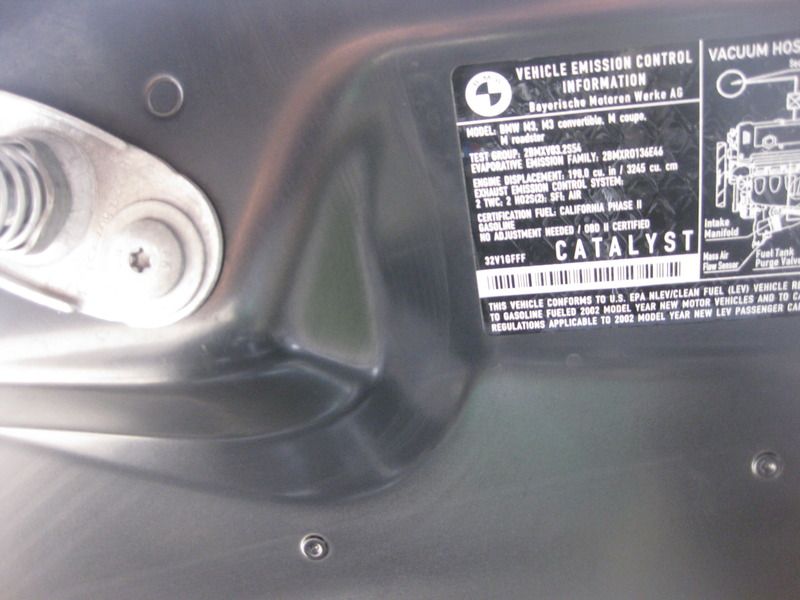
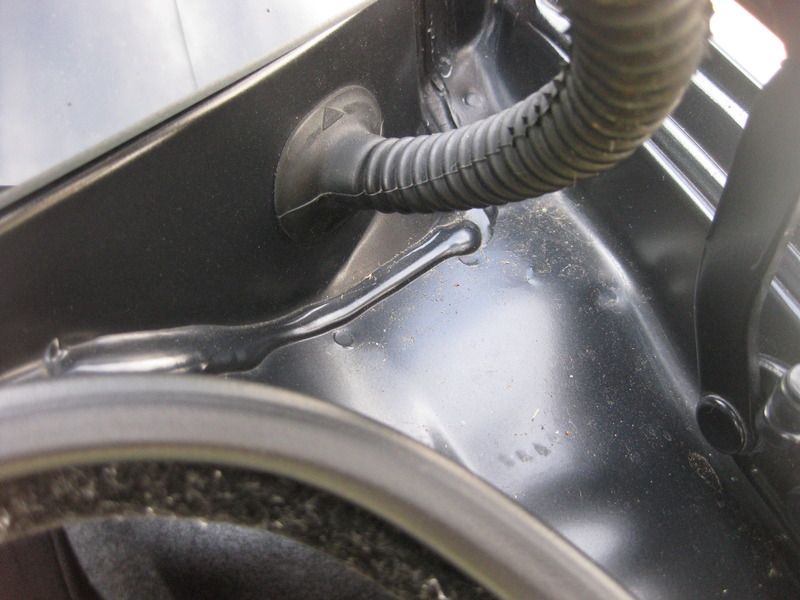
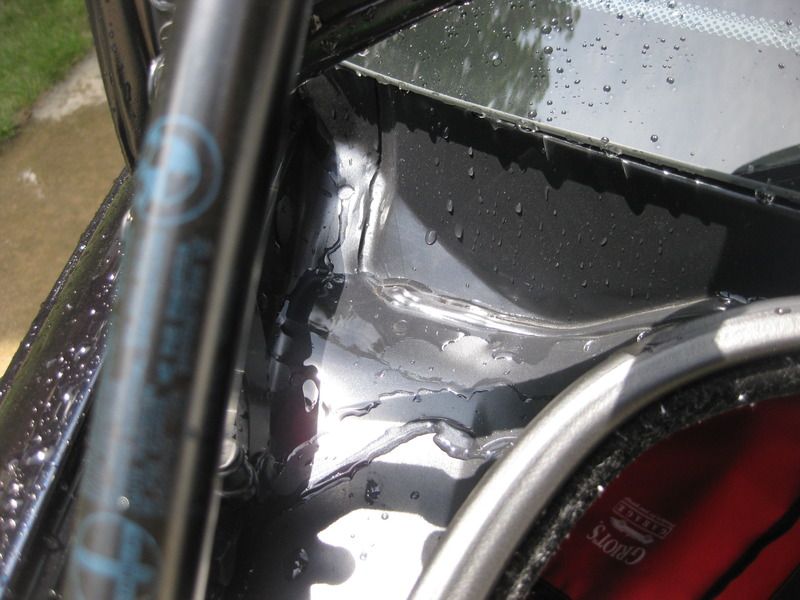
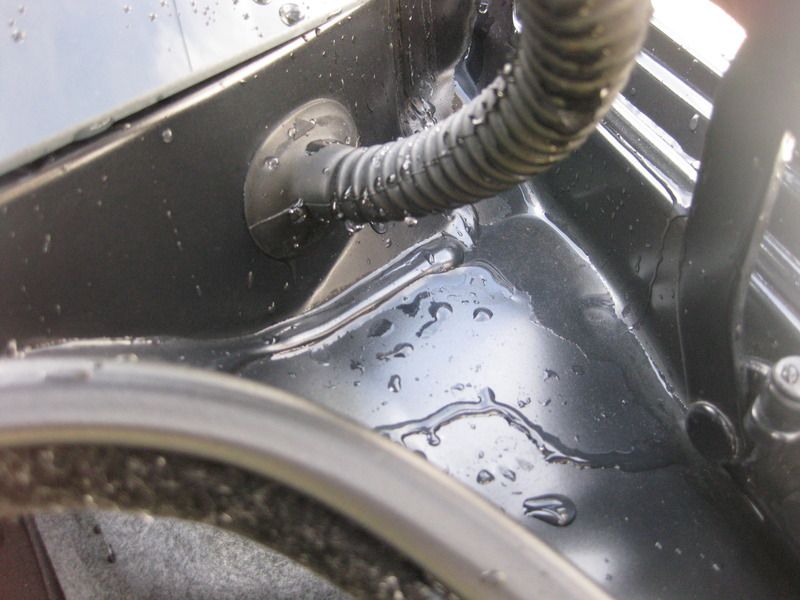
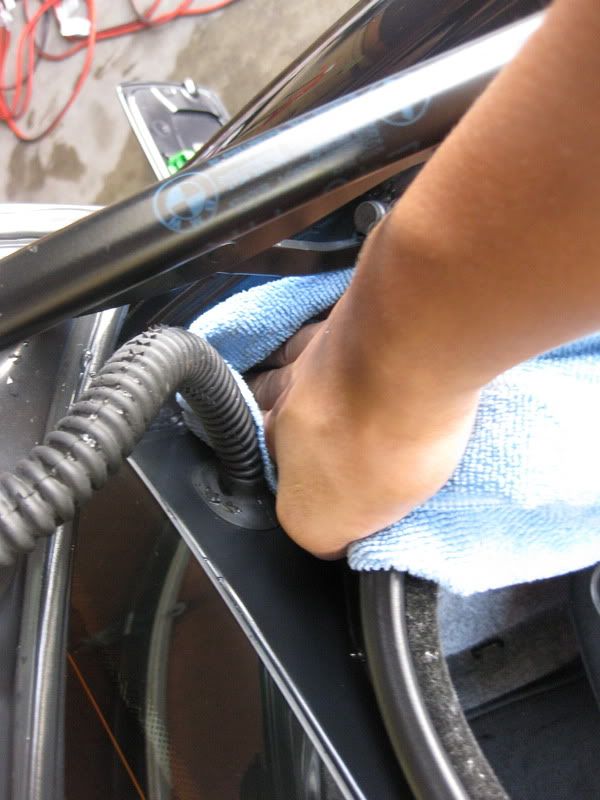
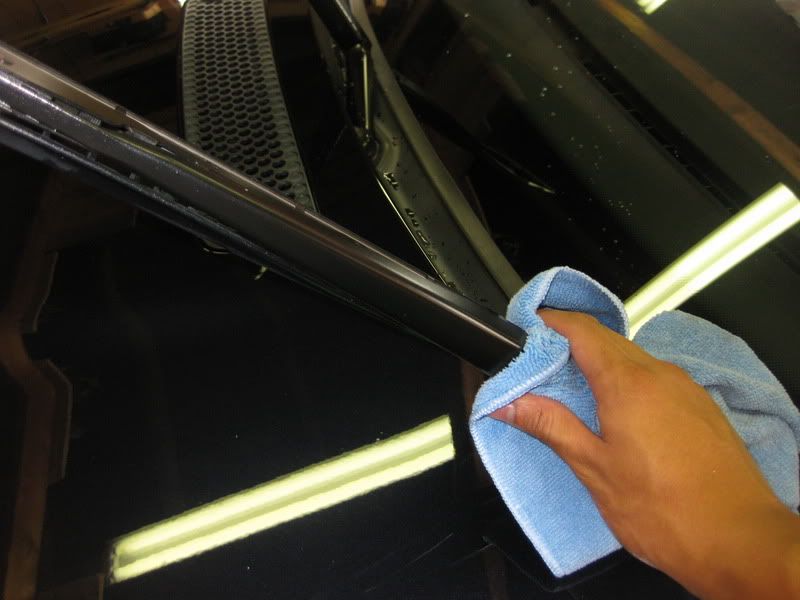
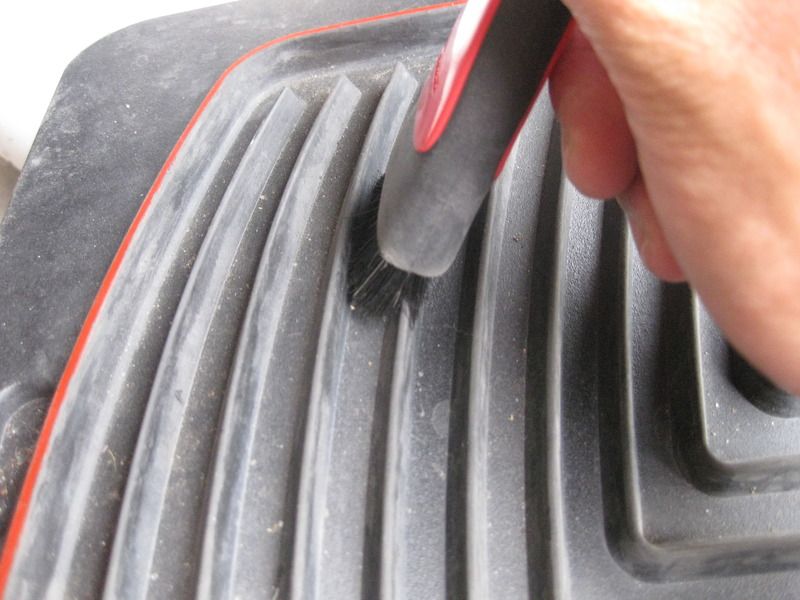
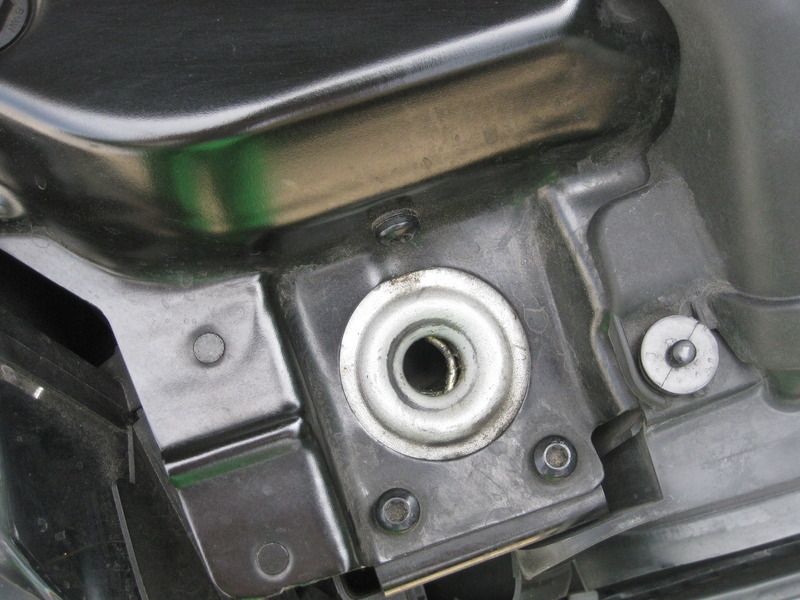
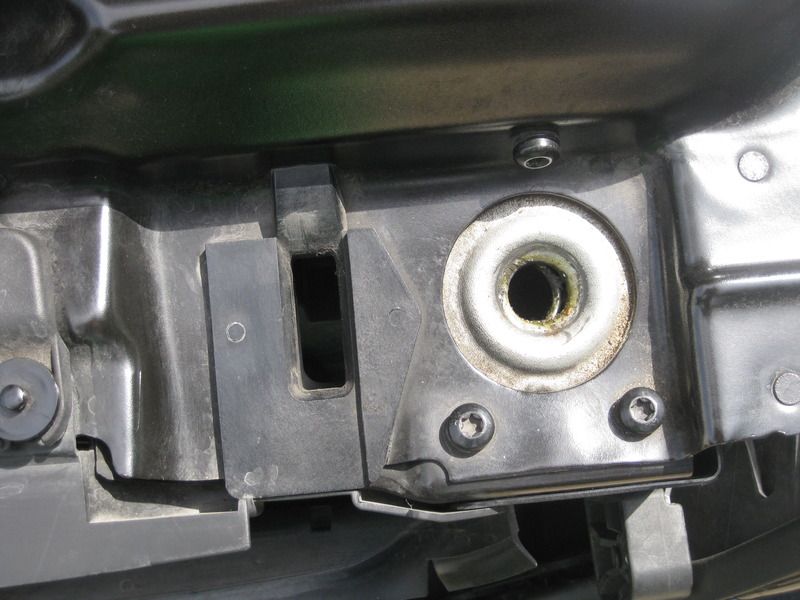
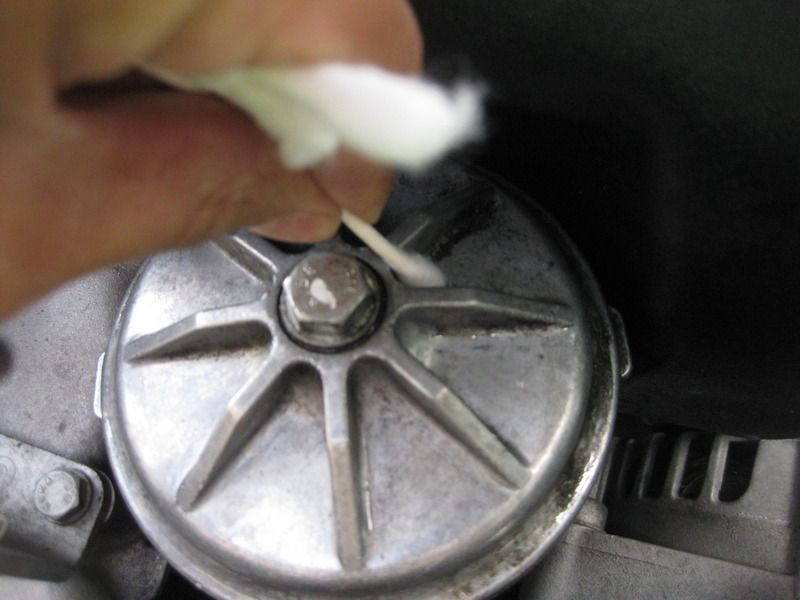
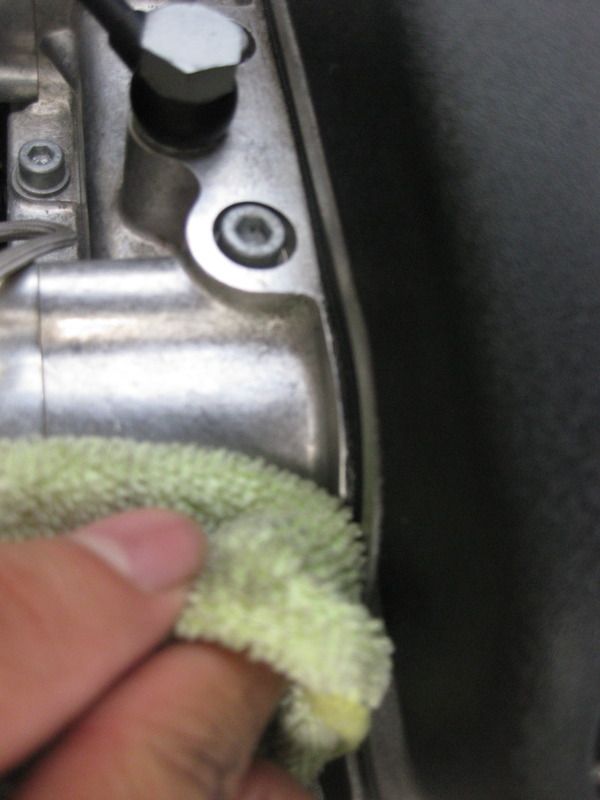
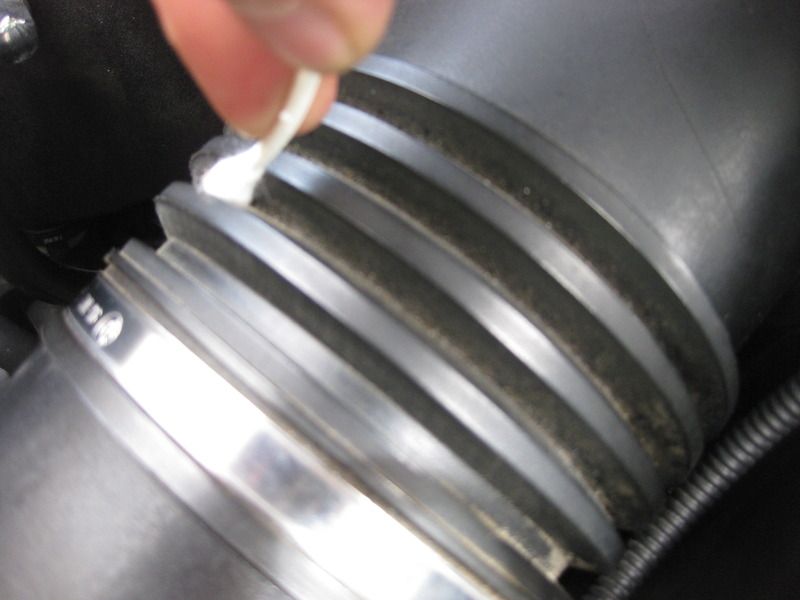
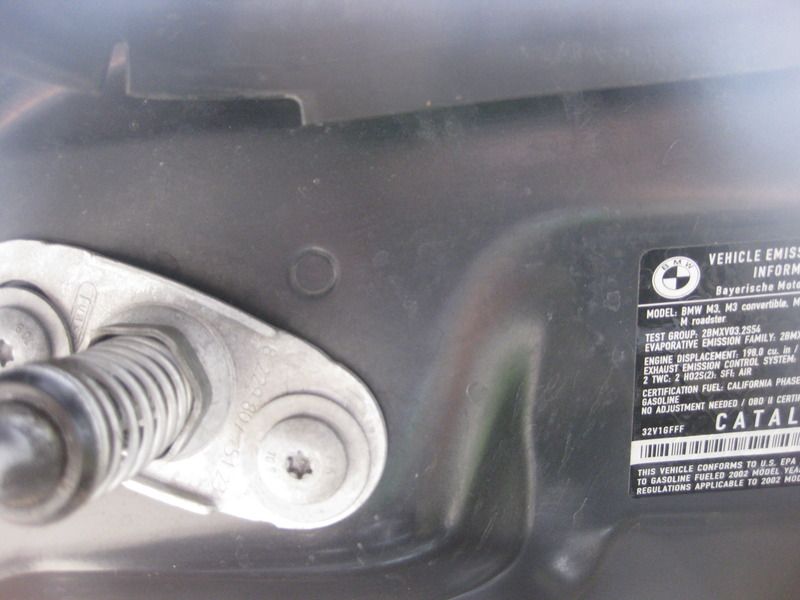
I started out by deep cleansing the engine bay using a combination of Meguiar’s APC+ 4:1, Meguiar’s slide lock brush, microfibers, and some Q-Tips.


zIMG_1813.jpg


zIMG_1814.jpg


zIMG_1815.jpg


zIMG_1816.jpg


zIMG_1817.jpg


zIMG_1818.jpg


zIMG_1819.jpg


zIMG_1820.jpg


zIMG_1821.jpg


zIMG_1822.jpg


zIMG_1825.jpg


zIMG_1826.jpg


zIMG_1828.jpg


zIMG_1829.jpg


zIMG_1831.jpg


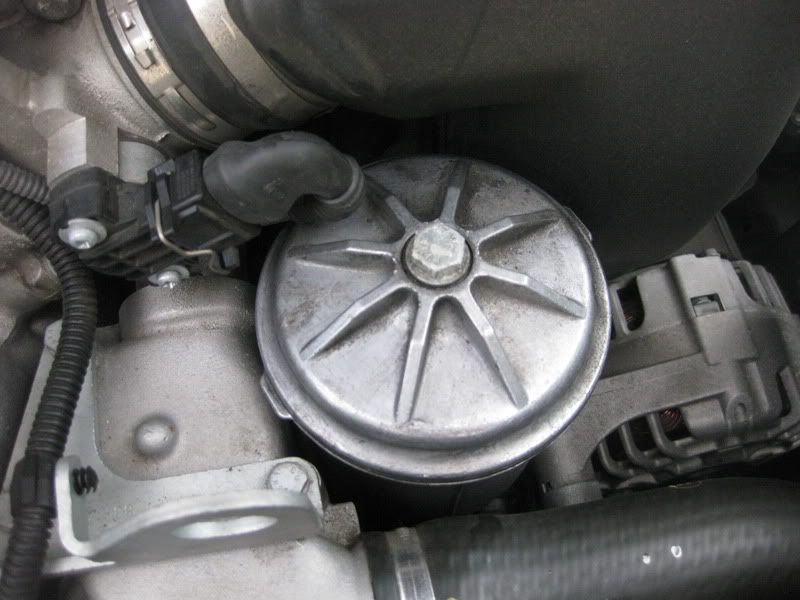
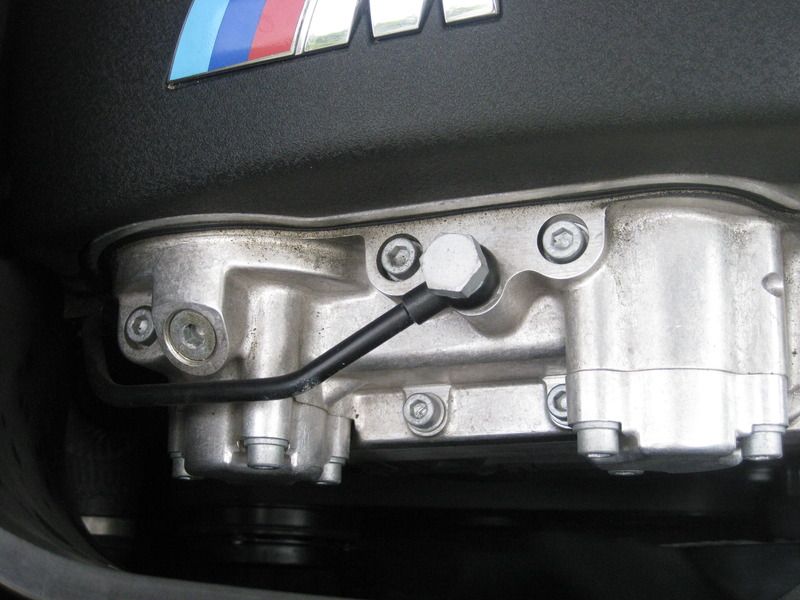
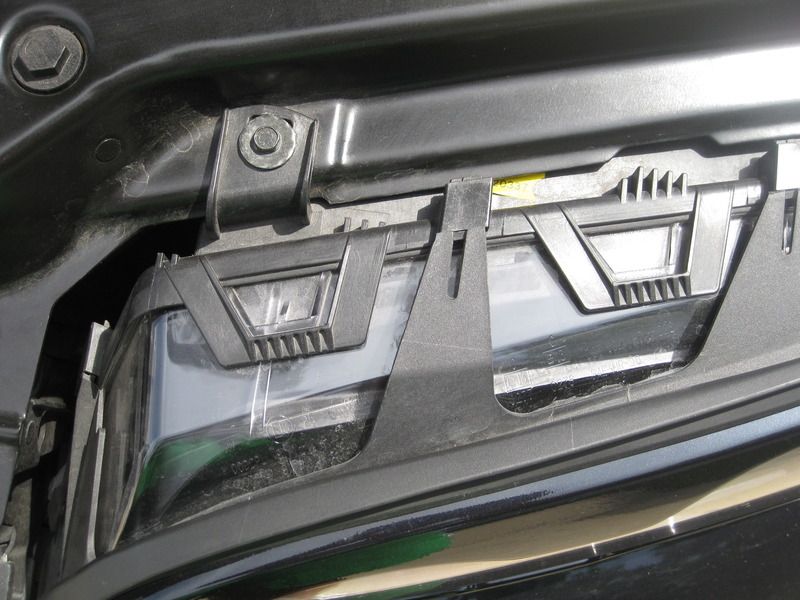
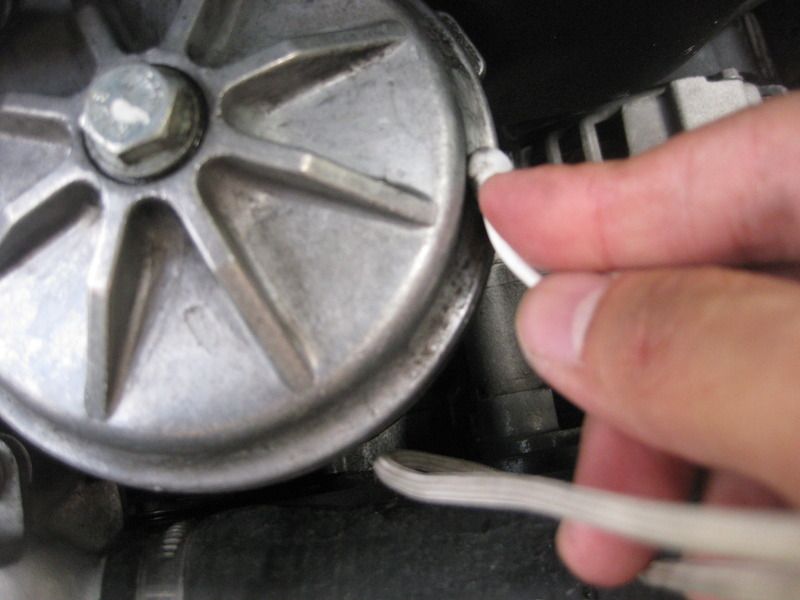
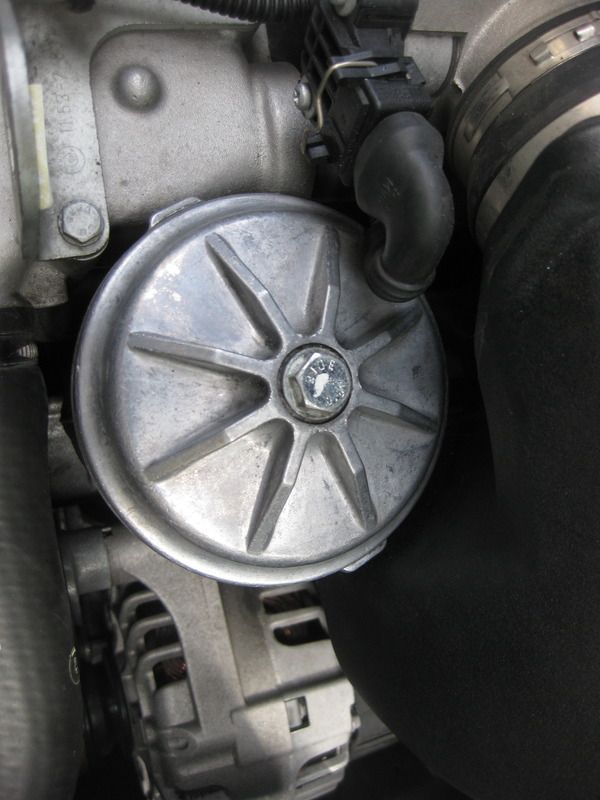
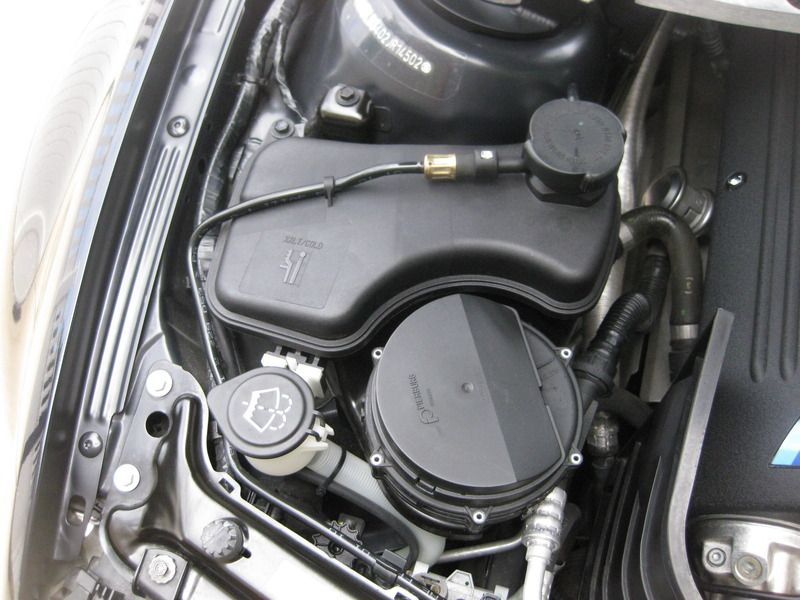
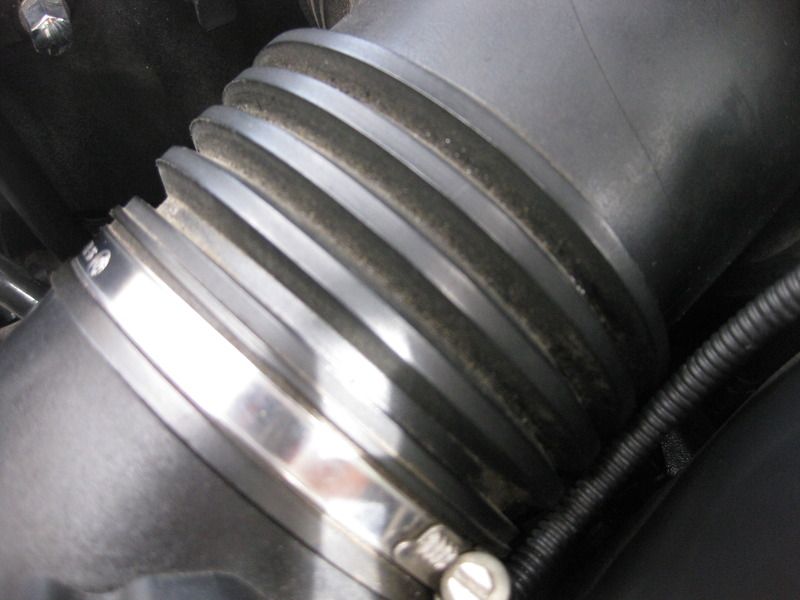
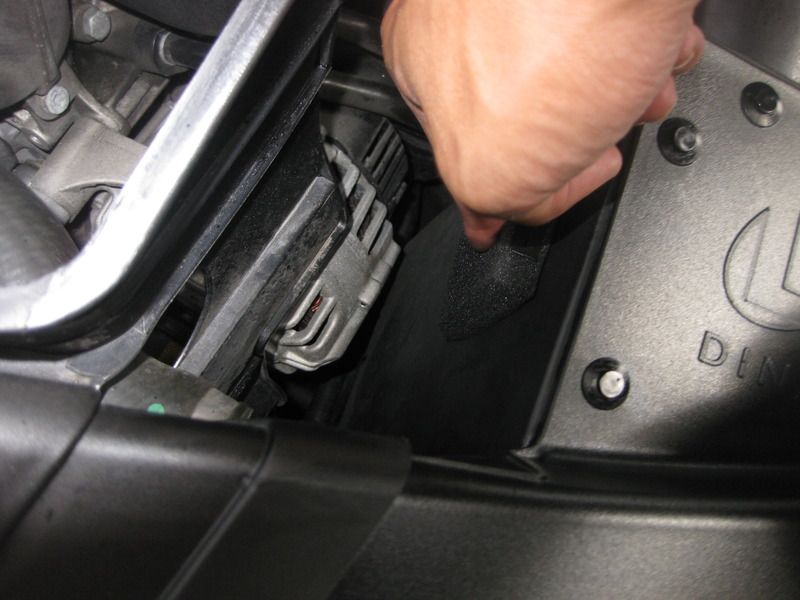
Areas on the intake were also cleaned.


zIMG_1837.jpg


zIMG_1838.jpg


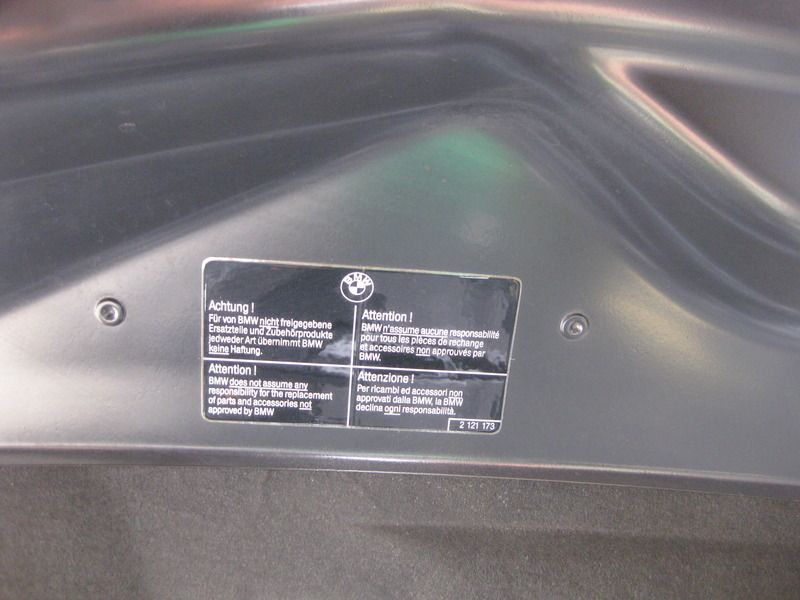
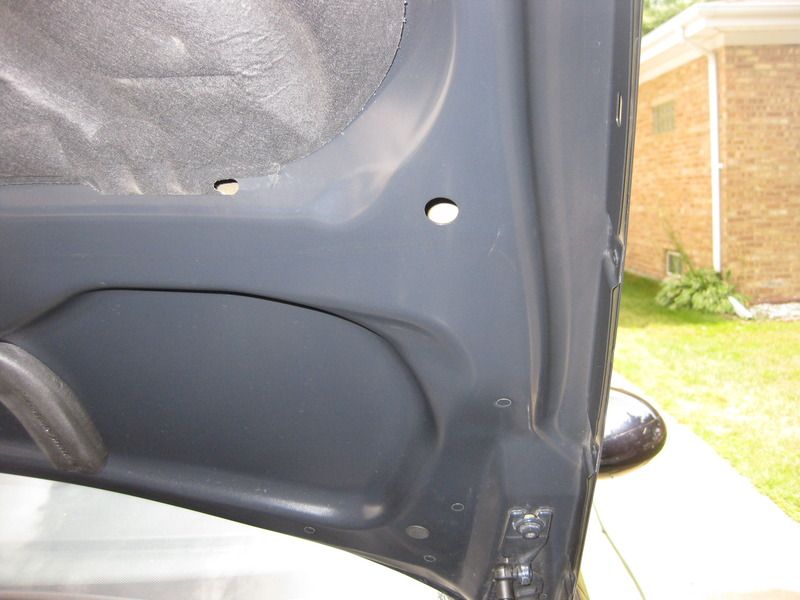
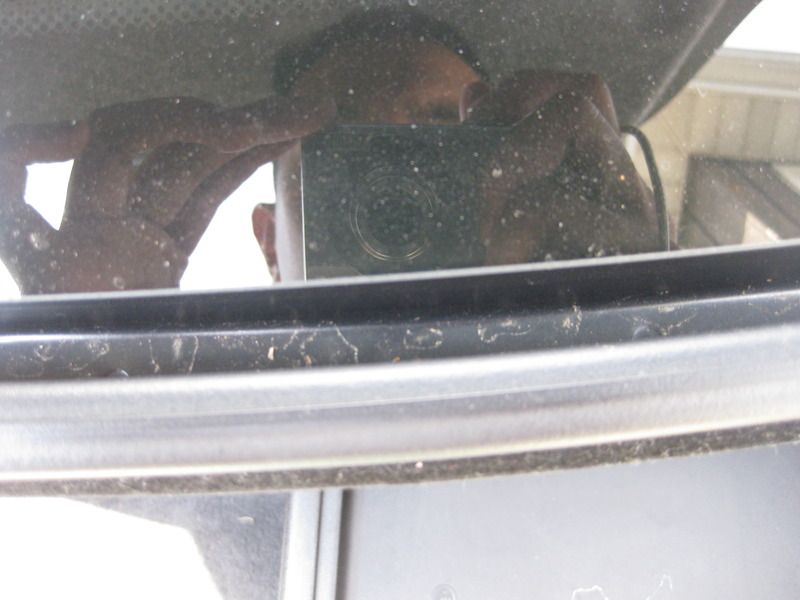
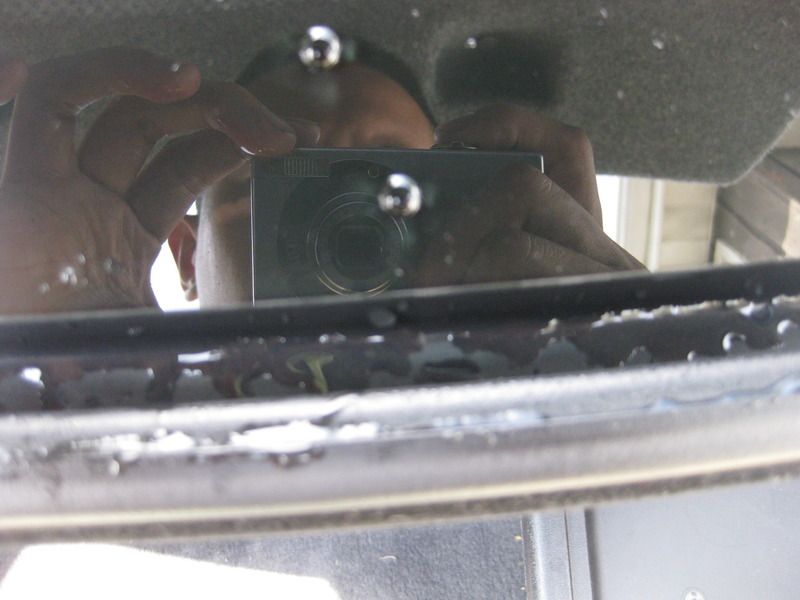
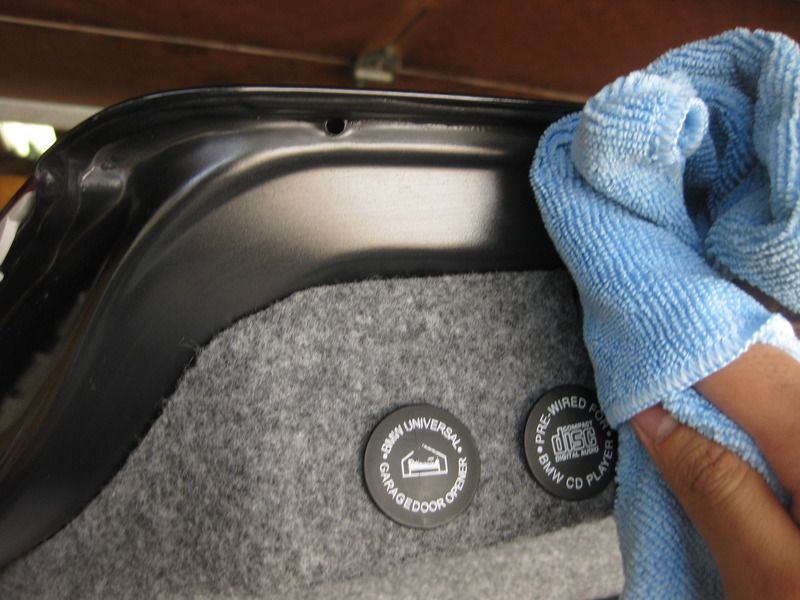
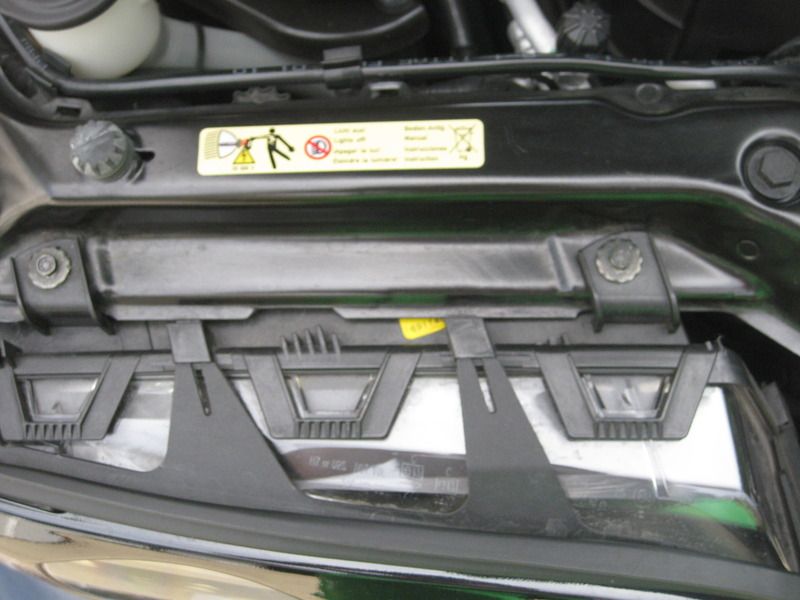
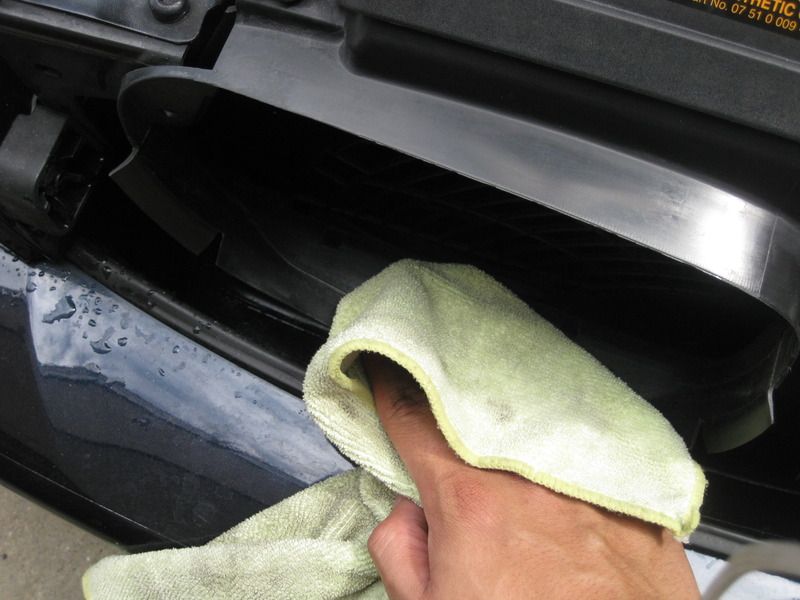
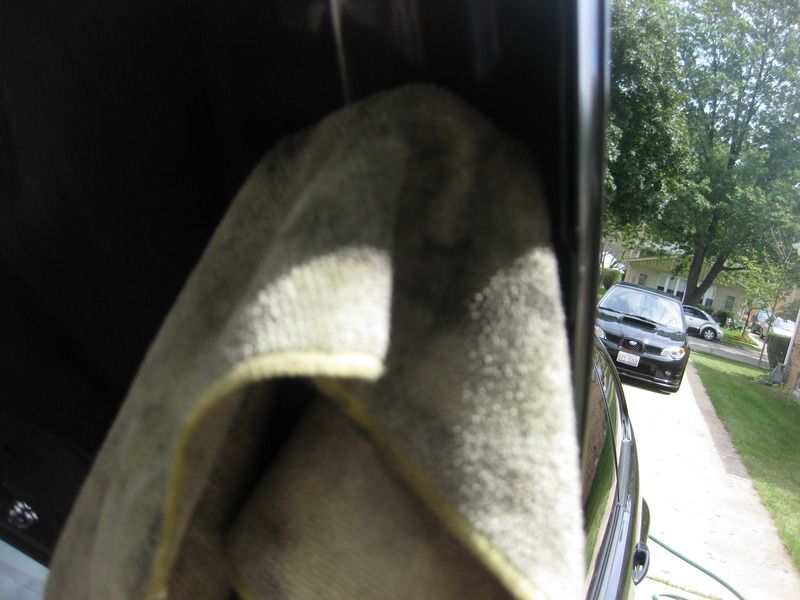
As always, the underside of the hood was not forgotten.


zIMG_1861.jpg


zIMG_1862.jpg


zIMG_1865.jpg


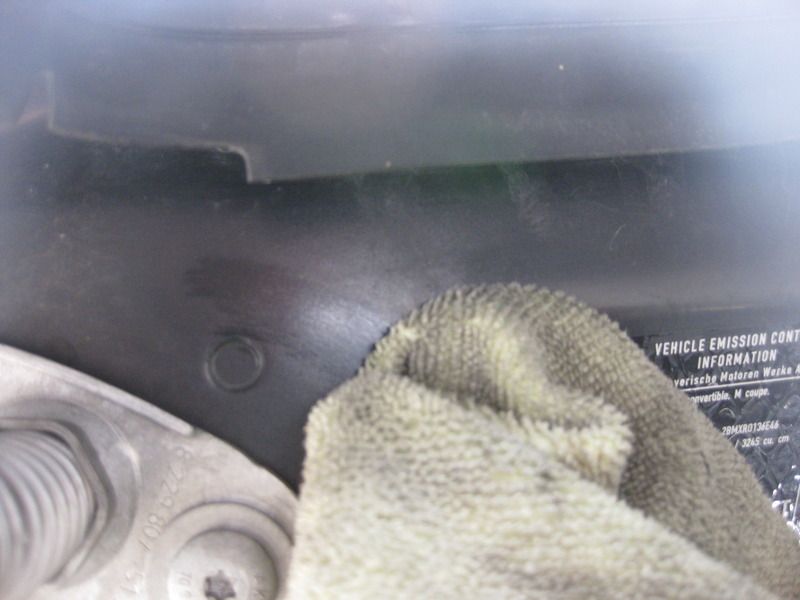
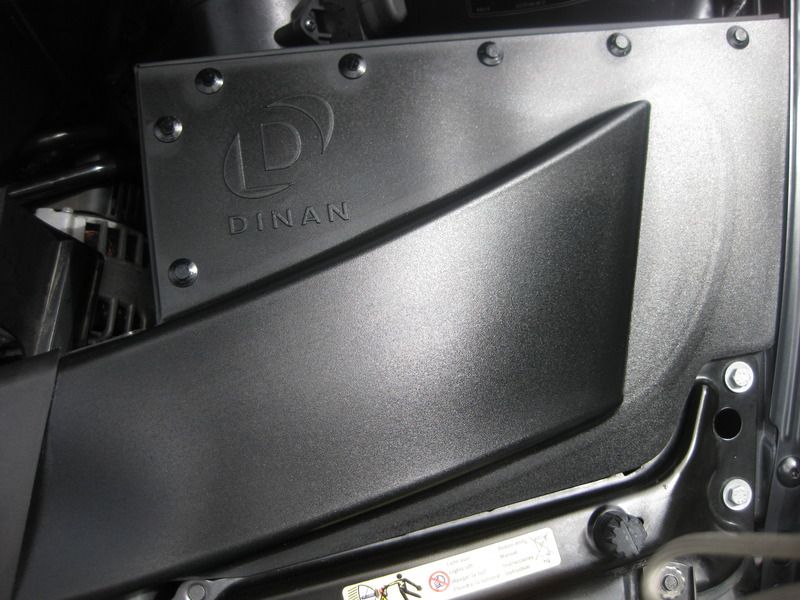
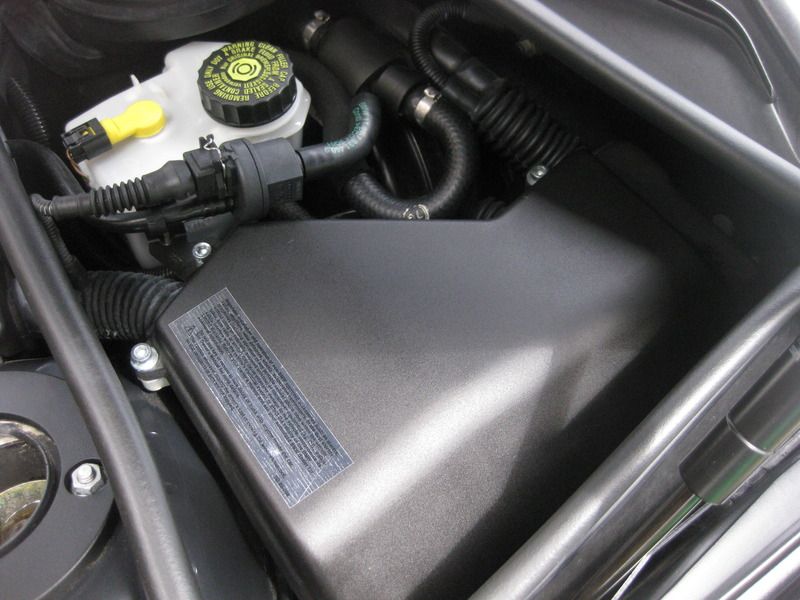
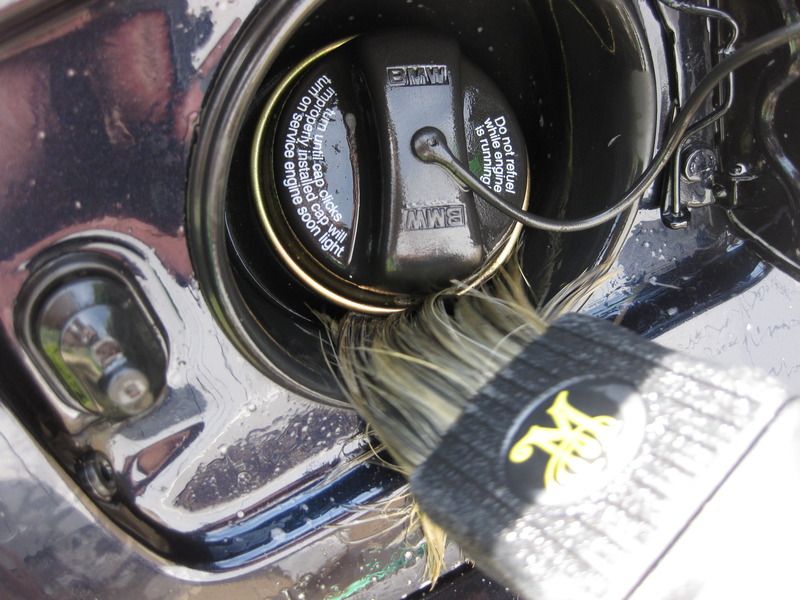
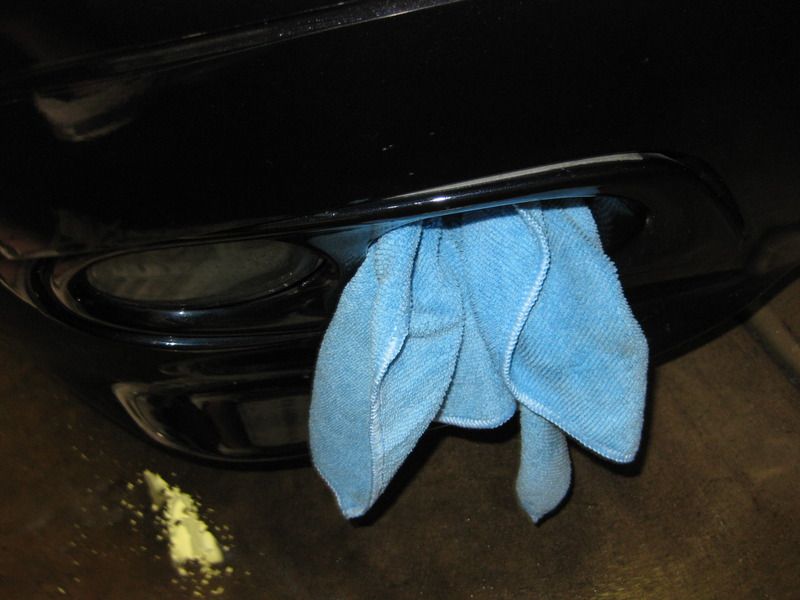
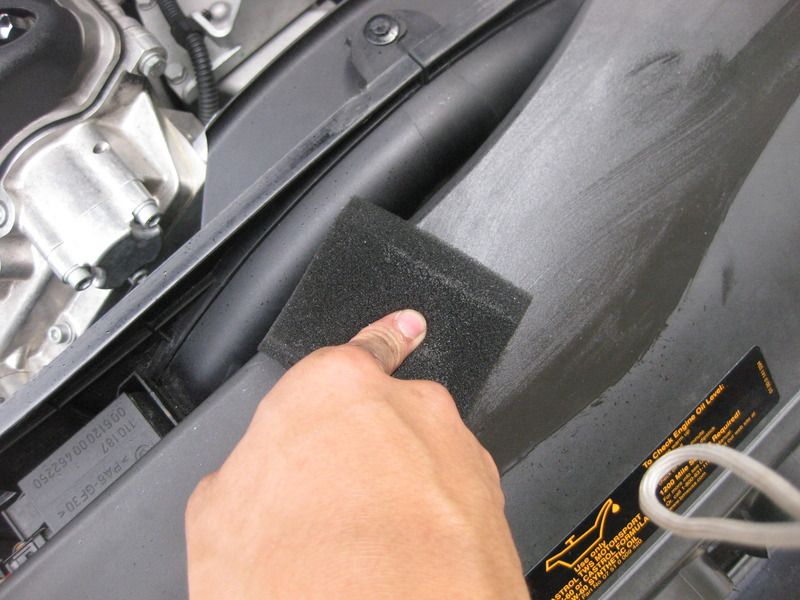
Once the engine bay was pristine, I dressed the plastic with Chemical Guy’s Trim Shine and Protectant to give the pieces a silky finish.


zIMG_1840.jpg


zIMG_1840.jpg


zIMG_1843.jpg
 
Engine bay complete

zIMG_1844.jpg


zIMG_1845.jpg


zIMG_1847.jpg


zIMG_1849.jpg


zIMG_1868.jpg


zIMG_1871.jpg


zIMG_1873.jpg


Next, I went ahead and got to work on the wheels, which were pretty caked with brake dust. It was still no match for the power combo of Bleche-Wite Tire cleaner and Meguiar’s All Wheel Cleaner, however ;-).


zIMG_1809.jpg


zIMG_1811.jpg


zIMG_1876.jpg


zIMG_1877.jpg


zIMG_1878.jpg


zIMG_1882.jpg


zIMG_1883.jpg


zIMG_1893.jpg


I also cleaned the wheel wells using Meguiar’s Super Degreaser diluted 4:1 and another dedicated EZ-Wheel Brush.


zIMG_1884.jpg


Once all the wheels and wheel wells were thoroughly cleaned, I proceeded to use Meguiar’s APC+ diluted 10:1 on various small areas on the car, such as the grills, gas tank, and door jambs. I find it important to touch on these areas first as they often lack attention when going straight to the larger panels on the car.


Befores:


zIMG_1812-1.jpg


zIMG_1897.jpg


zIMG_1898.jpg


zIMG_1899.jpg


As far as the trunk jambs went, I found that a quick way to knock out excess dust was to just run a steady stream of water down the back window of the trunk and let the car’s drainage system take care of the rest.


zIMG_1902.jpg


zIMG_1903.jpg


zIMG_1904.jpg


zIMG_1905.jpg


zIMG_1906.jpg


With all the excess dust particles washed away, all I simply needed to do was give it a nice wipedown with a clean microfiber.
 
The remaining small panels:


zIMG_1895.jpg


zIMG_1896.jpg


zIMG_1908.jpg


zIMG_1910.jpg


zIMG_1912.jpg


zIMG_1913.jpg


zIMG_1921.jpg


zIMG_1922.jpg


zIMG_1923.jpg


zIMG_1924.jpg


zIMG_1925.jpg


zIMG_1926.jpg


zIMG_1927.jpg


After feeling confident that the smaller areas around the car were clean, I went ahead to wash and claybar the entire car. The two bucket method w/ grit guards were used, with Dawn as the wax stripping medium. Since it was sunny outside, I brought the car inside the garage to prevent any premature drying during the wash.


zIMG_1928.jpg


zIMG_1930.jpg


zIMG_1931.jpg


Windows and taillights are never forgotten..


zIMG_1933.jpg


zIMG_1934.jpg


The claybar was NASTY!


zIMG_1937.jpg


After washing and claying the car while wet, I ran a steady stream of water down the entire car as a way to help with the drying.


zIMG_1939.jpg


In addition, a leaf blower was used to prevent inducing excess scratches into the already swirled paint. Only one microfiber was needed to dry the remaining parts of the car.


zIMG_1942.jpg


IMG_1944.jpg


IMG_1945.jpg


zIMG_1946.jpg


Before performing any paint correction, I made sure that the M3 had enough clear left to withstand the correction needed on various parts of the car.


zIMG_1972.jpg


IMG_1977.jpg


zIMG_1979.jpg
 
DAY TWO – Paint Correction

-After developing a system, begin to compound using M105 on an 6.5” Lake Country Orange Pad for the first pass around the vehicle followed by M205 on a 6.5” Lake Country Blue Pad.

After performing a wipedown with denatured alcohol to ensure that the paints surface was free of all waxes and oils, I whipped out my trusty machines 


zIMG_1981.jpg


Couple before shots around the M3..


zIMG_1953.jpg


zIMG_1959.jpg


zIMG_1960.jpg


zIMG_1961.jpg


zIMG_1962.jpg


zIMG_1965.jpg


zIMG_1966.jpg


zIMG_1967.jpg


zIMG_1969.jpg


zIMG_1970.jpg


After doing a test spot of the hood using M205 on orange, M205 on Blue:


zIMG_1982.jpg


50:50

zIMG_1985.jpg


Complete:


zIMG_1986.jpg


zIMG_1987.jpg


zIMG_1988.jpg


Front Fender before:


zIMG_1990.jpg


zIMG_1991.jpg


zIMG_1993.jpg


zIMG_1992.jpg


Front fender after:


zIMG_2017.jpg


zIMG_2018.jpg


zIMG_2019.jpg


Door before:


zIMG_1994.jpg


zIMG_1993.jpg


zIMG_2011.jpg


50:50


zIMG_2005.jpg


After:


zIMG_2013.jpg


zIMG_2016.jpg


zIMG_2020.jpg


Rear fender before:


zIMG_2022.jpg


After:


zIMG_2023.jpg
 
Rear bumper before:


zIMG_2029.jpg


zIMG_2030.jpg


After:


zIMG_2031.jpg


zIMG_2032.jpg


zIMG_2033.jpg


Lower panels before:


zIMG_2034.jpg


zIMG_2035.jpg


After:


zIMG_2036.jpg


zIMG_2037.jpg


zIMG_2038.jpg


DAY THREE – Final Rinsedown, LSP Application, and Complete Interior Detail

-Vacuum interior and trunk, Clean metal and wooden surfaces, Dress interior with Chemical guy’s silk shine and protectant

-Polish Exhausts using Meguiar’s NXT All Metal Polish and #0000 Grit Steel Wool

-Bring car outside, rinse off polishing dust, bring back inside, and blow dry.

-Ensure all crevices are free of leftover polish residue using a Q-Tip and Microfiber Towel

-Denatured alcohol wipedown to ensure complete removal of any fillers.

-Wax using Wolfgang’s Fuzion on a Meguiar’s Yellow Foam Applicator Pad

-Remove wax using Meguiar’s Ultimate Quick Detailer with a clean microfiber towel

-Clean windows using Stoner’s Invisible glass and a clean microfiber towel


Once the exterior was completely corrected, I went on to work on the interior. The allseason floormats were taken out, dusted, washed, and dried. Additionally, I completely vacuumed all surfaces throughout the interior of the vehicle as well as the trunk. The pedals were polished as well.


zIMG_2039.jpg


zIMG_2040.jpg


zIMG_2041.jpg


zIMG_2042.jpg


zIMG_2044.jpg


zIMG_2045.jpg


There was this annoying little strand sticking out of one of the floormats…my OCD got to me on that one.


zIMG_2049.jpg


Dusting and vacuuming the ashtray:


zIMG_2051.jpg


zIMG_2052.jpg


Pedals Before:

IMG_2053.jpg


After:


zIMG_2054.jpg


Before performing my final rinse, I made sure the exhausts were also polished up to a factory shine. #0000 Grit steel wool with Meguiar’s NXT All-Metal Polish made good work out of it.


zIMG_1947.jpg


zIMG_1952.jpg


Finished:


zIMG_2078.jpg


zIMG_2077.jpg


As usual..look at all the dust left behind!


zIMG_2058.jpg


zIMG_2056.jpg


AND…finally.. the afters!


Under the sun:


zIMG_2067.jpg


IMG_2068.jpg


zIMG_2069.jpg


zIMG_2070.jpg
 
very nice, when I received my e46 m3, I decided to buff it.


M105, and for some reason, didn't even dent the paint at all?


I since have then gotten m205, I guess I'lll try again with an oragne LC which I also recieved.

What brush is it that you are using to clean out the gas tank area and in between the grills?

Does it mar/scratch the paint at all? Thanks alot!
 
Back
Top