Todd@RUPES
Just a regular guy
Tips and Tricks: Vacuuming Your Vehicle.
Vacuuming carpet, upholstery, and interior is one of the most tedious and often least enjoyed aspects of auto detailing, and it can be the most frustrating. Over the years I have had the honor and pleasure of working with some of the best detailers in the country and have learned many techniques and processes applicable to all aspects of detailing. Vacuuming is one of those areas where patience is key. There is no short cut to doing a great job.
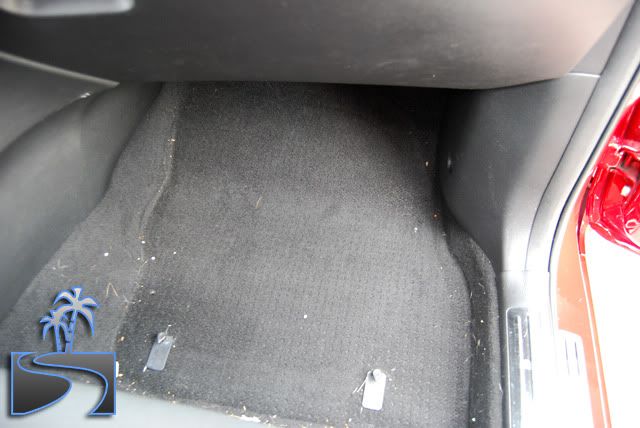
My poor car!
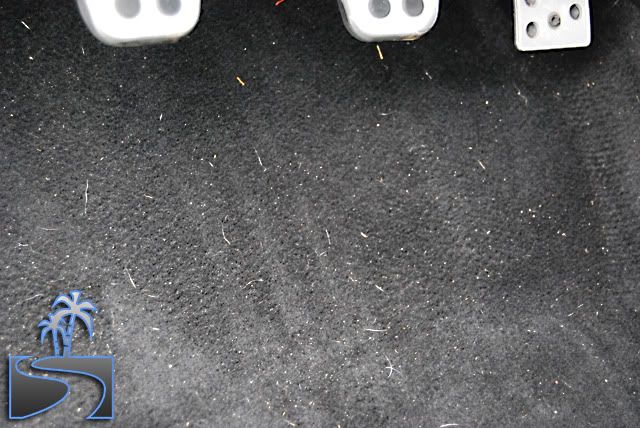
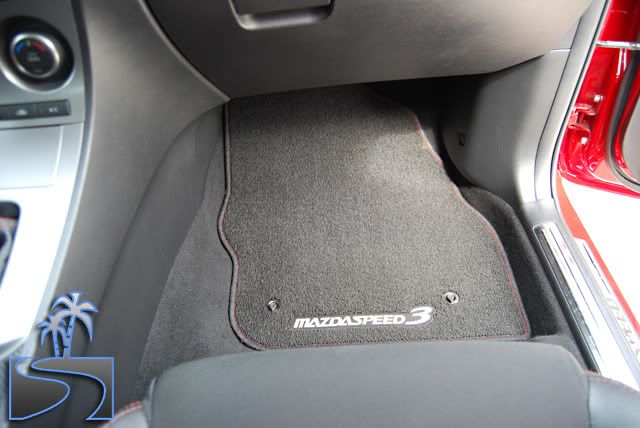
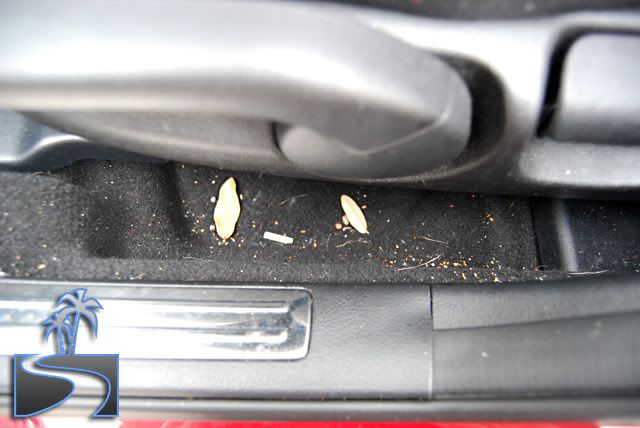
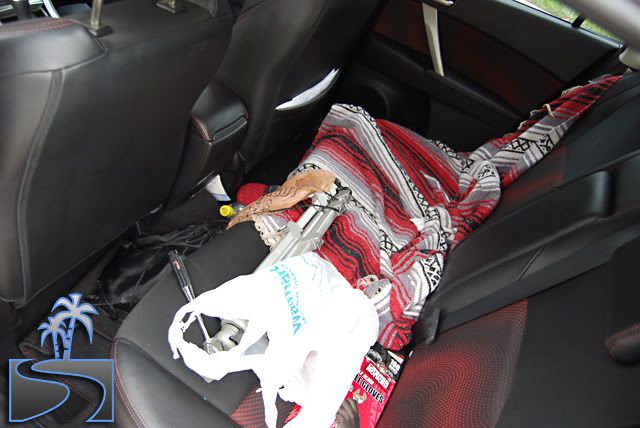
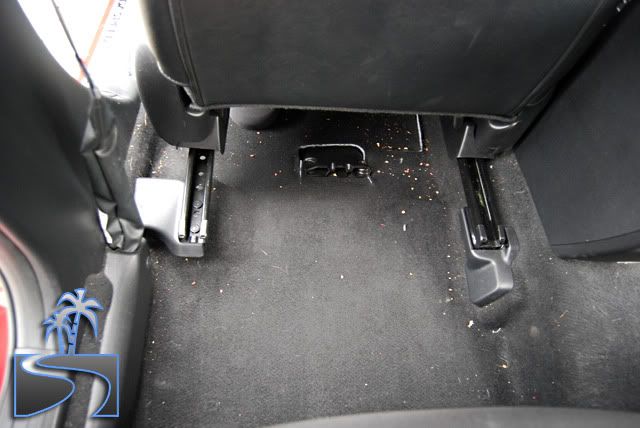
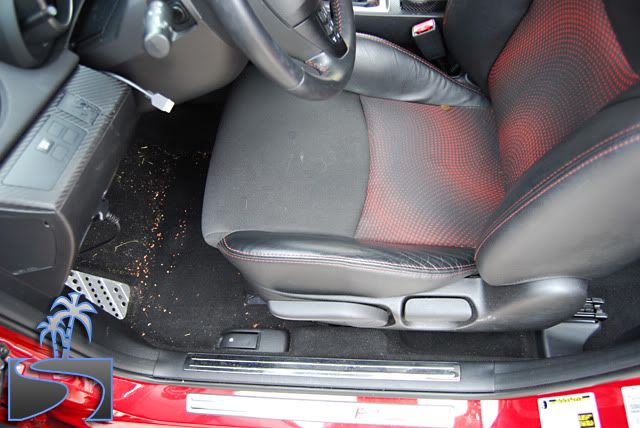
The most challenging aspect of this write-up, for me, was allowing my car to get this dirty. No cleaning for over a month! Here is the condition of my Mazdaspeed 3 prior to starting.
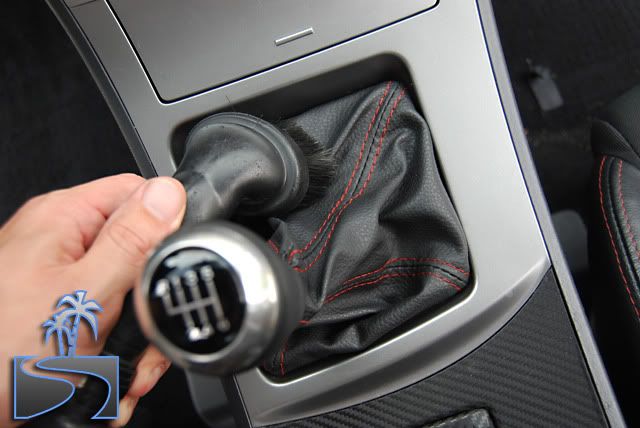
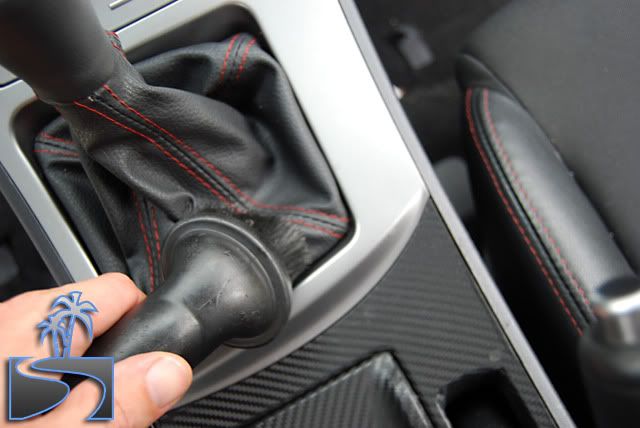
Tip 1: Clean all the trash and put it in a garbage bag for easy disposal.
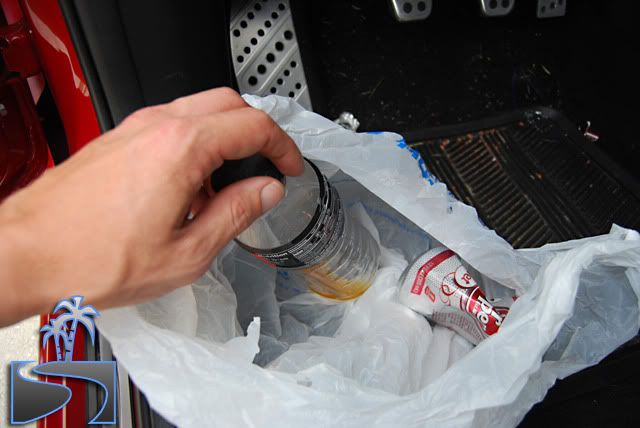
Clean the interior (door pockets, holders, and floor) of large items and waste and place them in a bag to toss. This will make a huge difference, immediately, in the condition of the interior.
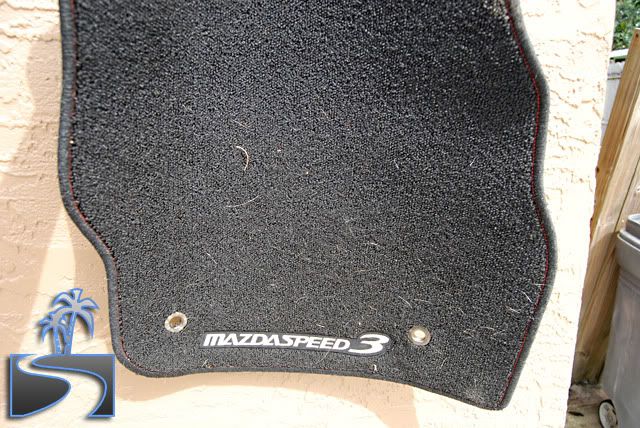
Tip 2: Remove the floor mats.
Remove the floor mats from the car (don't try to vacuum around them). This will make it easier to vacuum them and the floor more thoroughly.
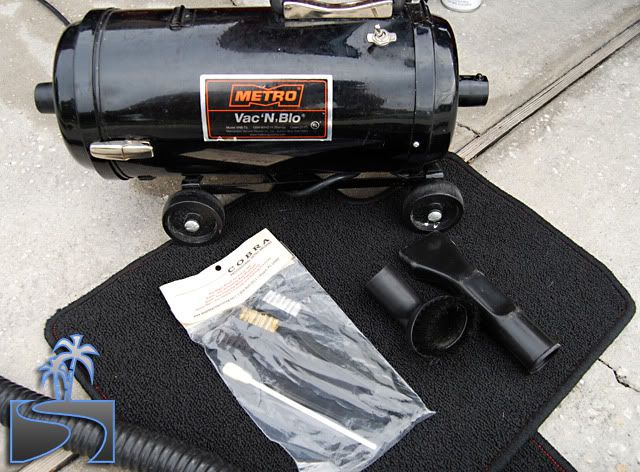
Tip 3: Use the right tools for the job.
You will need a high powered vacuum at a minimum. An assortment of brushes (with different bristles) will allow you to do a more thorough job. I am using a Metro-Vac n' Blow with a Cobra Brush Kit.
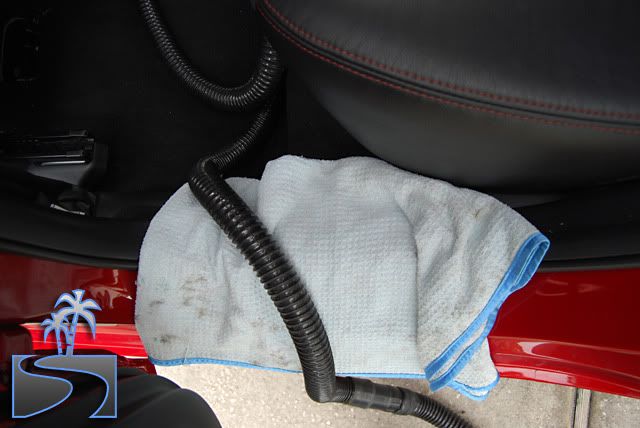
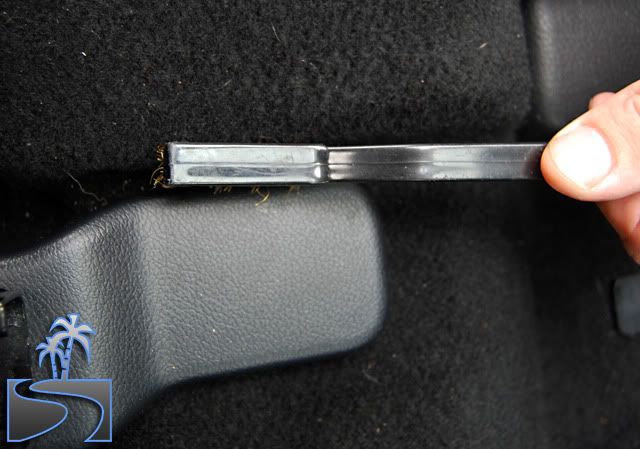
Tip 4: Lay a soft towel down over the door jambs to prevent scuffing/scratching.
Use an old microfiber towel and lay it over the lip of the door jamb to prevent your hose from scratching the paint. High powered vacuums like the Metro-Vac will cause the hose to recoil as it sucks which can leave some nasty marks on delicate paint.
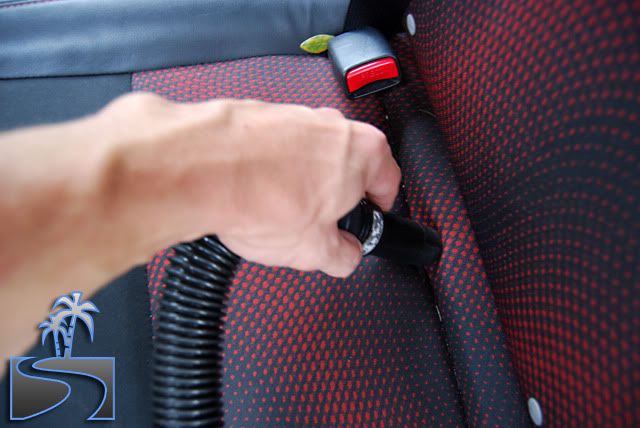
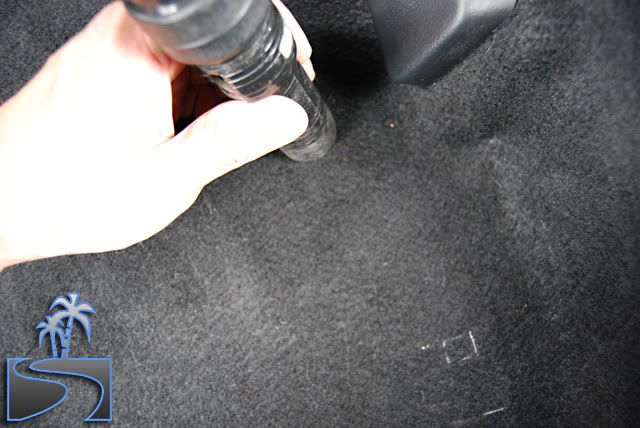
Tip 5: Start by vacuuming up all of the lose grime.
Start with out any attachments on the vacuum and work dillegently, removing as much loose grime and dirt. Vacuum the carpets, the seats, the folds of the seats, and any nooks you can fit the hose into.
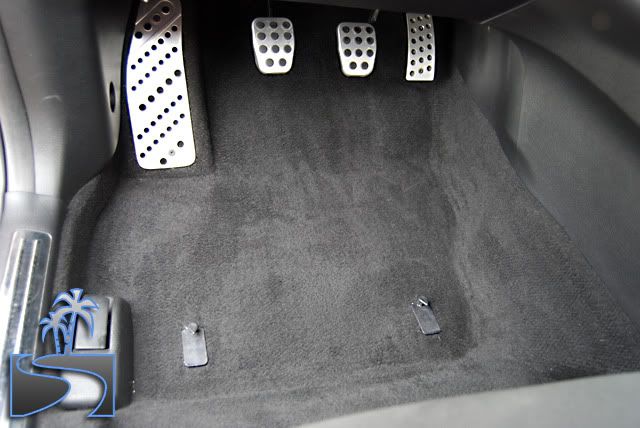
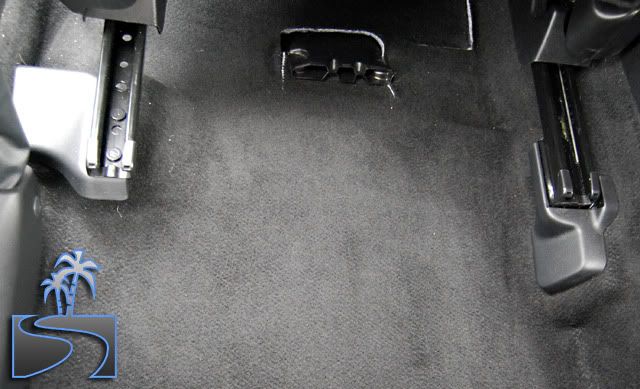
The carpet looks clean after vacuuming all of the lose grime.
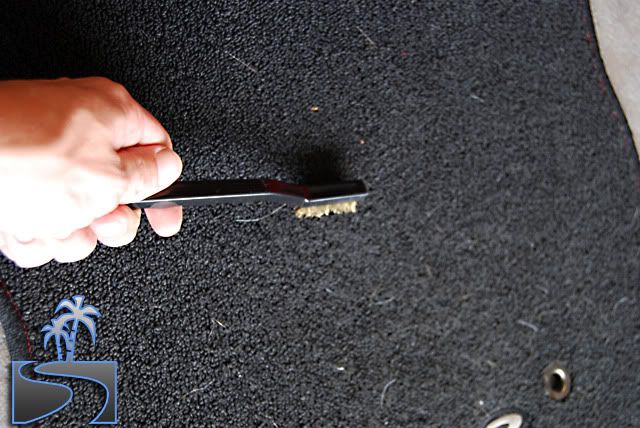
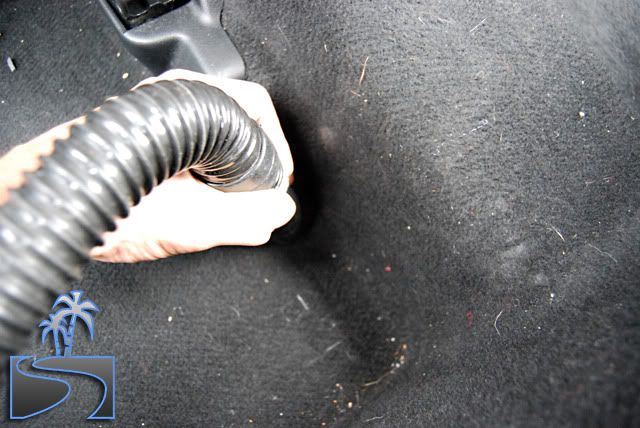
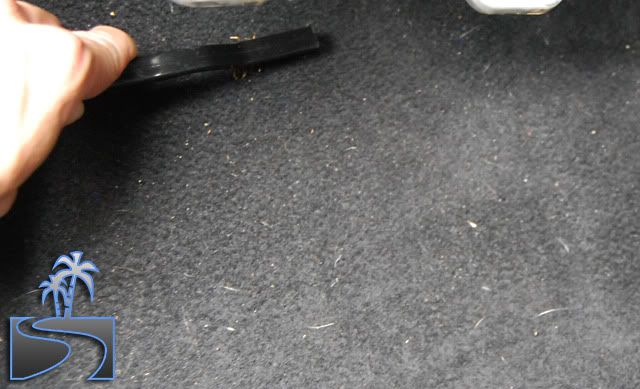
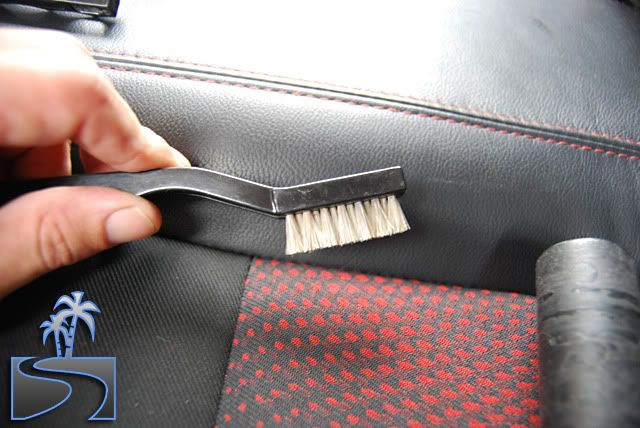
Tip 6: Brush and re-vacuum your way to a clean interior!
While the carpet may look clean after a thorough vacuuming it often is not. Most the dirt and grit is worked into the nap of the carpet over time and becomes trapped in the fibers. Using a stiff brush will help work the trapped grit from the depths of the fibers and bring them to the surface where they can be vacuumed. I like to use a fine brass brush from the Cobra Brush kit, although it is recommended to test an inconspicous spot first. If you notice the brush removing carpet fiber, switch to a stiff carpet brush.
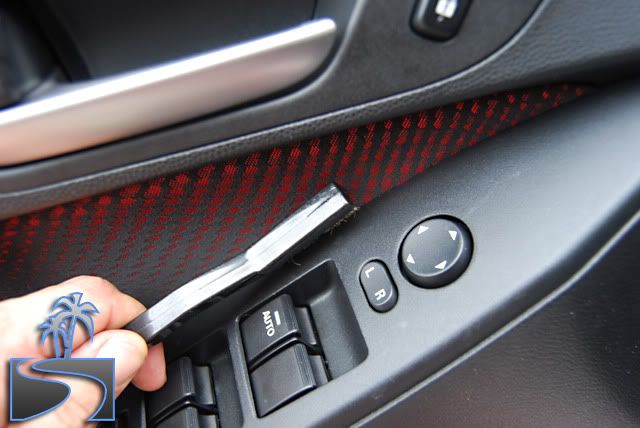
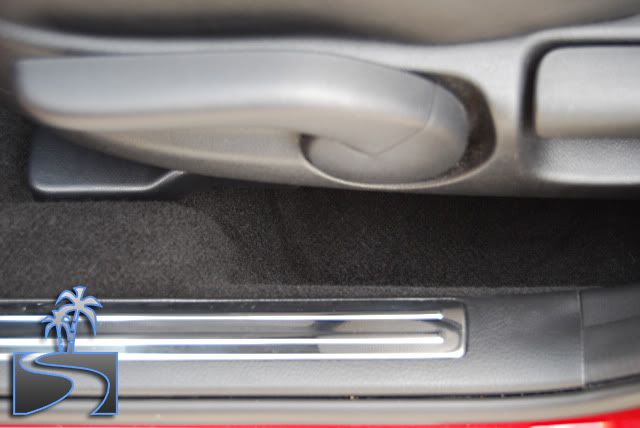
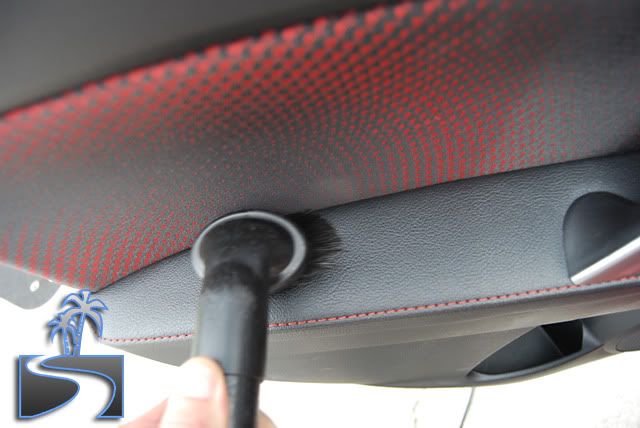
Use a softer brush to whisk dust from tight panel seems, vents, and various nooks, as well as around tight areas where the vacuum cannot reach.
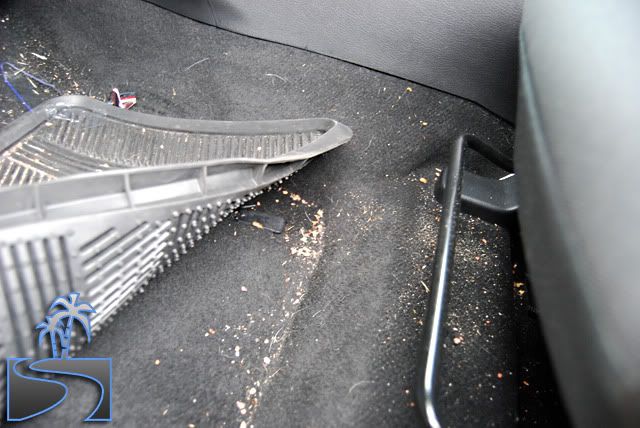
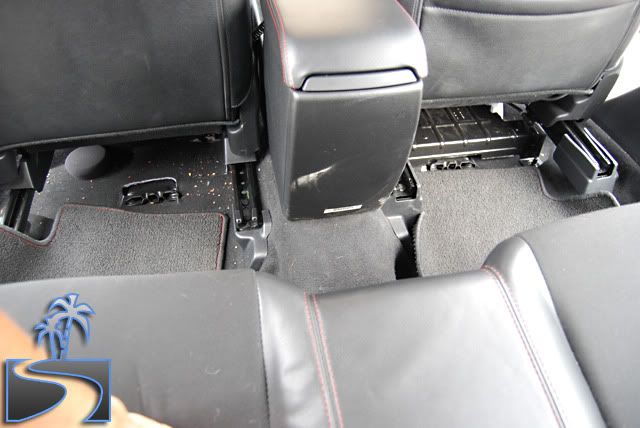
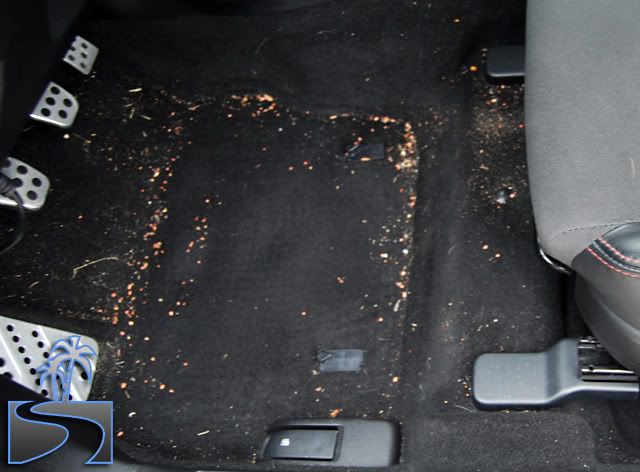
While it is hard to capture in this photograph of the rear driver's side, a considerable amount of dirt has been released by brushing.
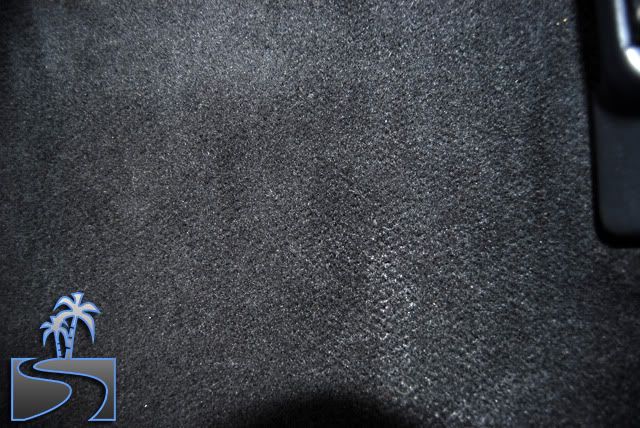
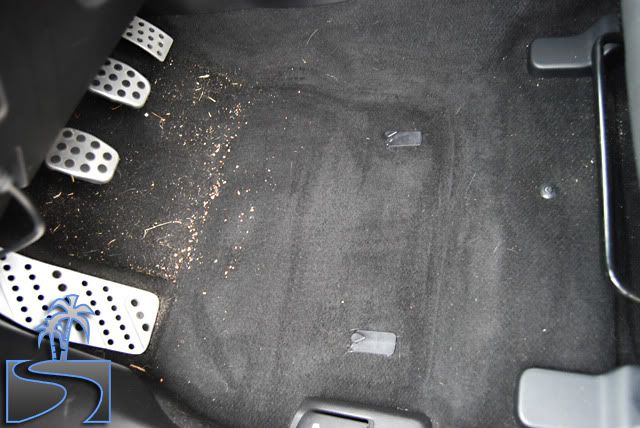
Vacuum the lose dirt up. On areas of heavy traffic you will see a more dramatic difference.
Use the finer bristle Cobra Brush to whisk dust and dirt from folds in the seats, panel seems, and hard to reach nooks.
Tip 7: Go over the area one more time!
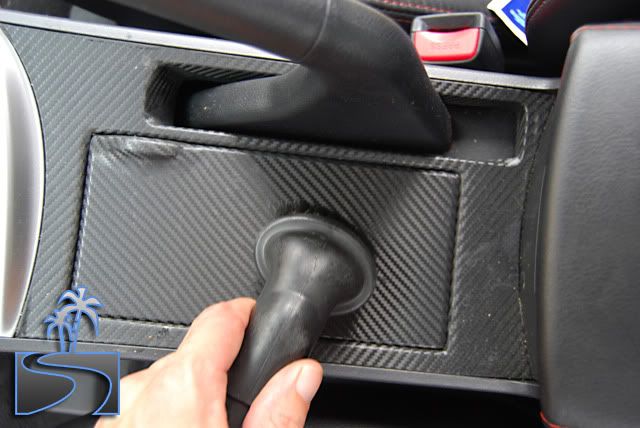
Finally use various attachments such as a soft bristle brush head and a low profile head to vacuum up any lose grime and dirt.
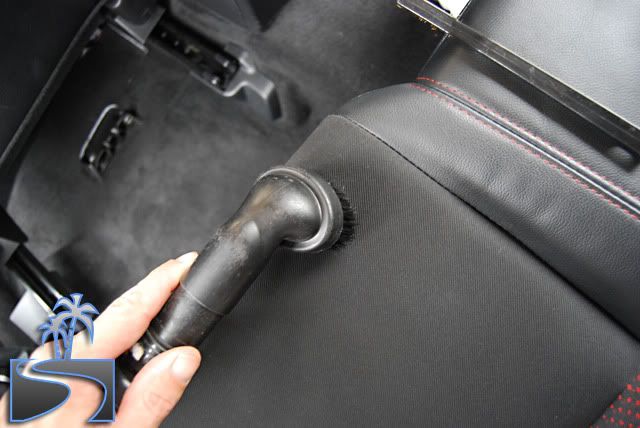
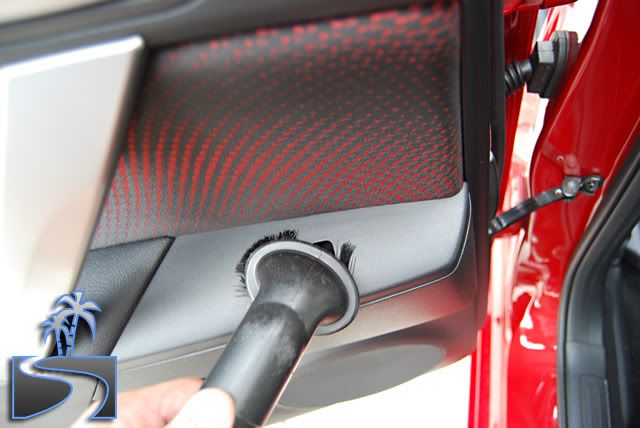
Work the bristles into the tight seams where dust hides.
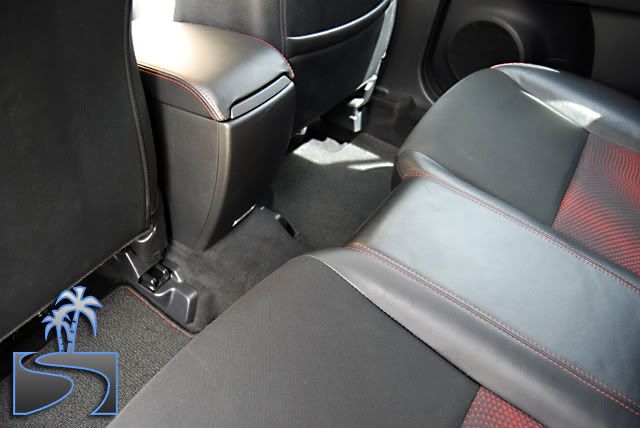
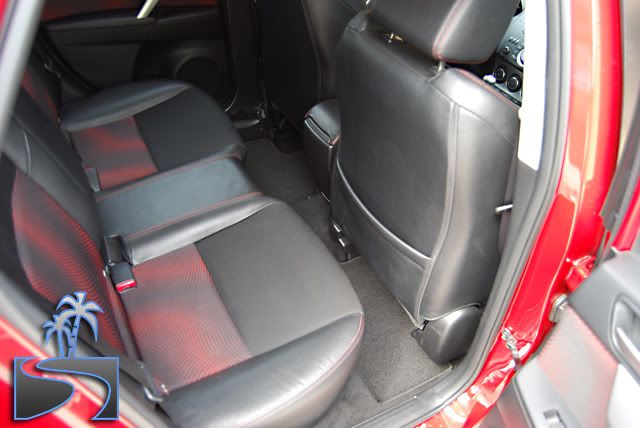
The results of the back area.

Tip 8: Move the seats!
The seats move, move them! When working on the rear of the interior move the seats to the most forward position for easier access. When working on the front of the interior move the seats to their rear most position.
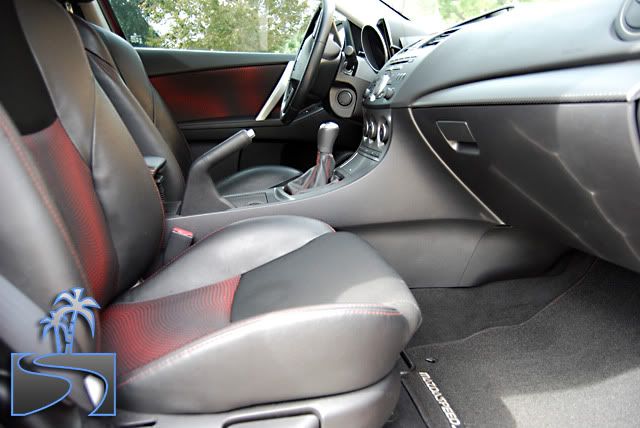
With the front seat forward access is limited.
Moving it backwards moves vacuuming the most hidden areas much easier.
Tip 9: Do a section at a time.
I find it easier to work a section at a time, cleaning and vacuuming it thoroughly before moving to the next section. If your goal is just a light vacuuming then this makes sense as you simply work around the vehicle. If you are doing a more thorough vacuuming, as in this write-up, it makes sense to tackle the interior in logical sections. For a four seat car, start with one seat area, complete all the steps, then move on to the next section.
With back area done, I moved the seat rearward and repeated the steps on the driver's side area.
First I started by vacuuming all of the lose grime and dirt.
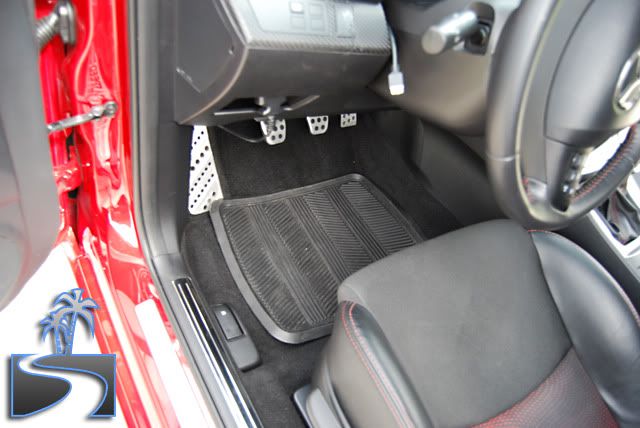
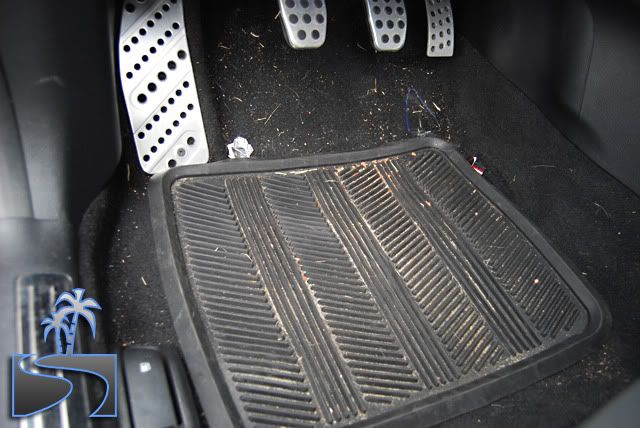
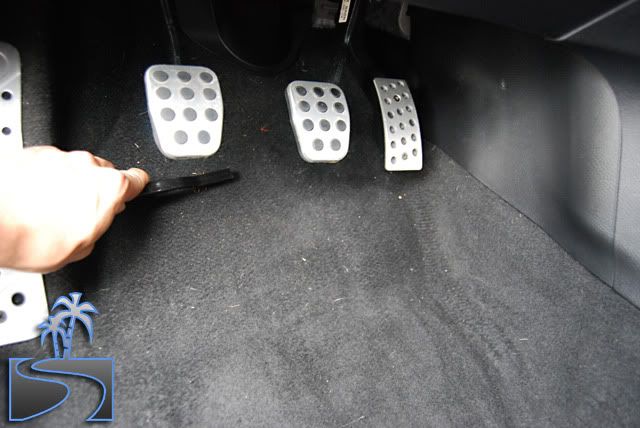
Using various attachments allows access to hard-to-reach areas such as under the pedals.

Then the carpet was brushed with a stiff brush to loosen the embedded dirt.
Use a whisking motion to loosen the grit.
Vacuuming carpet, upholstery, and interior is one of the most tedious and often least enjoyed aspects of auto detailing, and it can be the most frustrating. Over the years I have had the honor and pleasure of working with some of the best detailers in the country and have learned many techniques and processes applicable to all aspects of detailing. Vacuuming is one of those areas where patience is key. There is no short cut to doing a great job.
My poor car!
The most challenging aspect of this write-up, for me, was allowing my car to get this dirty. No cleaning for over a month! Here is the condition of my Mazdaspeed 3 prior to starting.
Tip 1: Clean all the trash and put it in a garbage bag for easy disposal.
Clean the interior (door pockets, holders, and floor) of large items and waste and place them in a bag to toss. This will make a huge difference, immediately, in the condition of the interior.
Tip 2: Remove the floor mats.
Remove the floor mats from the car (don't try to vacuum around them). This will make it easier to vacuum them and the floor more thoroughly.
Tip 3: Use the right tools for the job.
You will need a high powered vacuum at a minimum. An assortment of brushes (with different bristles) will allow you to do a more thorough job. I am using a Metro-Vac n' Blow with a Cobra Brush Kit.
Tip 4: Lay a soft towel down over the door jambs to prevent scuffing/scratching.
Use an old microfiber towel and lay it over the lip of the door jamb to prevent your hose from scratching the paint. High powered vacuums like the Metro-Vac will cause the hose to recoil as it sucks which can leave some nasty marks on delicate paint.
Tip 5: Start by vacuuming up all of the lose grime.
Start with out any attachments on the vacuum and work dillegently, removing as much loose grime and dirt. Vacuum the carpets, the seats, the folds of the seats, and any nooks you can fit the hose into.
The carpet looks clean after vacuuming all of the lose grime.
Tip 6: Brush and re-vacuum your way to a clean interior!
While the carpet may look clean after a thorough vacuuming it often is not. Most the dirt and grit is worked into the nap of the carpet over time and becomes trapped in the fibers. Using a stiff brush will help work the trapped grit from the depths of the fibers and bring them to the surface where they can be vacuumed. I like to use a fine brass brush from the Cobra Brush kit, although it is recommended to test an inconspicous spot first. If you notice the brush removing carpet fiber, switch to a stiff carpet brush.
Use a softer brush to whisk dust from tight panel seems, vents, and various nooks, as well as around tight areas where the vacuum cannot reach.
While it is hard to capture in this photograph of the rear driver's side, a considerable amount of dirt has been released by brushing.
Vacuum the lose dirt up. On areas of heavy traffic you will see a more dramatic difference.
Use the finer bristle Cobra Brush to whisk dust and dirt from folds in the seats, panel seems, and hard to reach nooks.
Tip 7: Go over the area one more time!
Finally use various attachments such as a soft bristle brush head and a low profile head to vacuum up any lose grime and dirt.
Work the bristles into the tight seams where dust hides.
The results of the back area.
Tip 8: Move the seats!
The seats move, move them! When working on the rear of the interior move the seats to the most forward position for easier access. When working on the front of the interior move the seats to their rear most position.
With the front seat forward access is limited.
Moving it backwards moves vacuuming the most hidden areas much easier.
Tip 9: Do a section at a time.
I find it easier to work a section at a time, cleaning and vacuuming it thoroughly before moving to the next section. If your goal is just a light vacuuming then this makes sense as you simply work around the vehicle. If you are doing a more thorough vacuuming, as in this write-up, it makes sense to tackle the interior in logical sections. For a four seat car, start with one seat area, complete all the steps, then move on to the next section.
With back area done, I moved the seat rearward and repeated the steps on the driver's side area.
First I started by vacuuming all of the lose grime and dirt.
Using various attachments allows access to hard-to-reach areas such as under the pedals.
Then the carpet was brushed with a stiff brush to loosen the embedded dirt.
Use a whisking motion to loosen the grit.