Street Dreams: Lamborghini Murcielago Roadster

  • Thread starter Thread starter Guest
  • Start date Start date
G

Guest

Guest
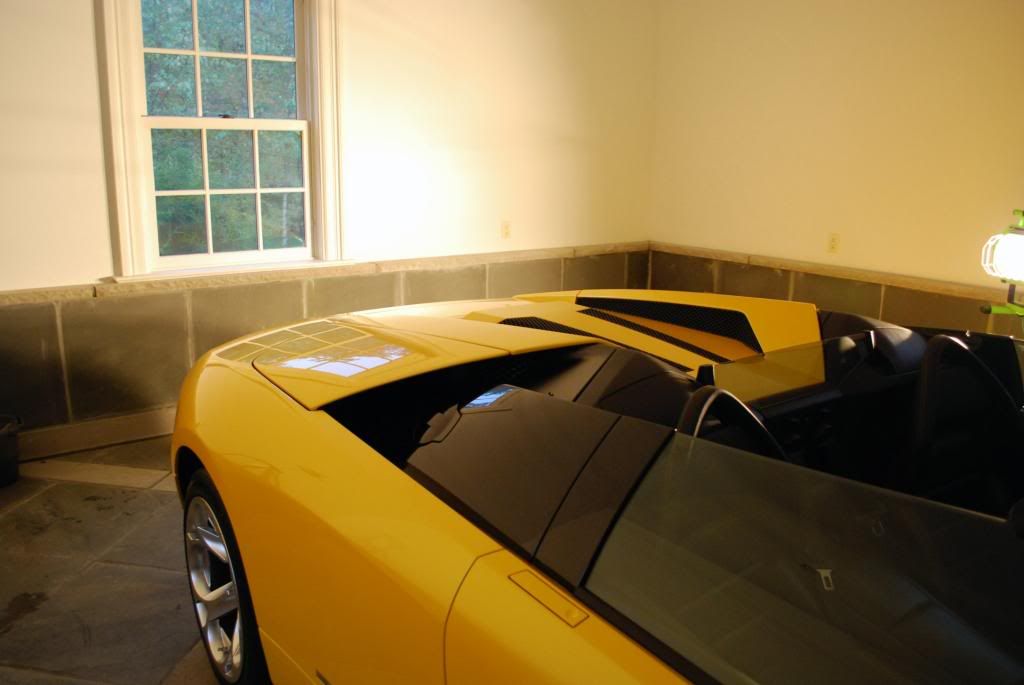
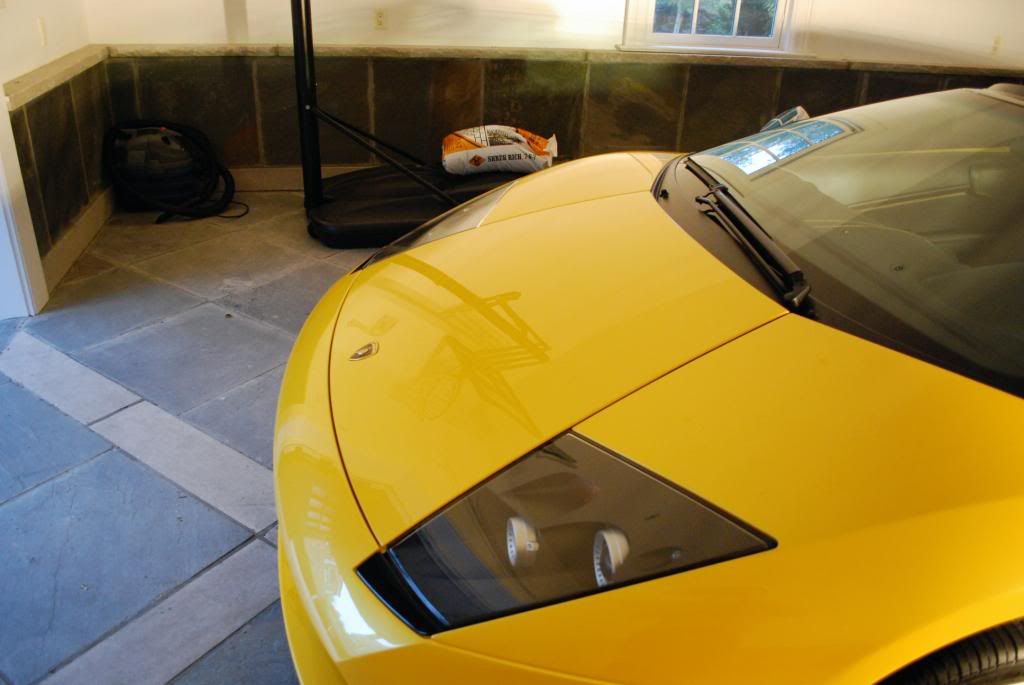
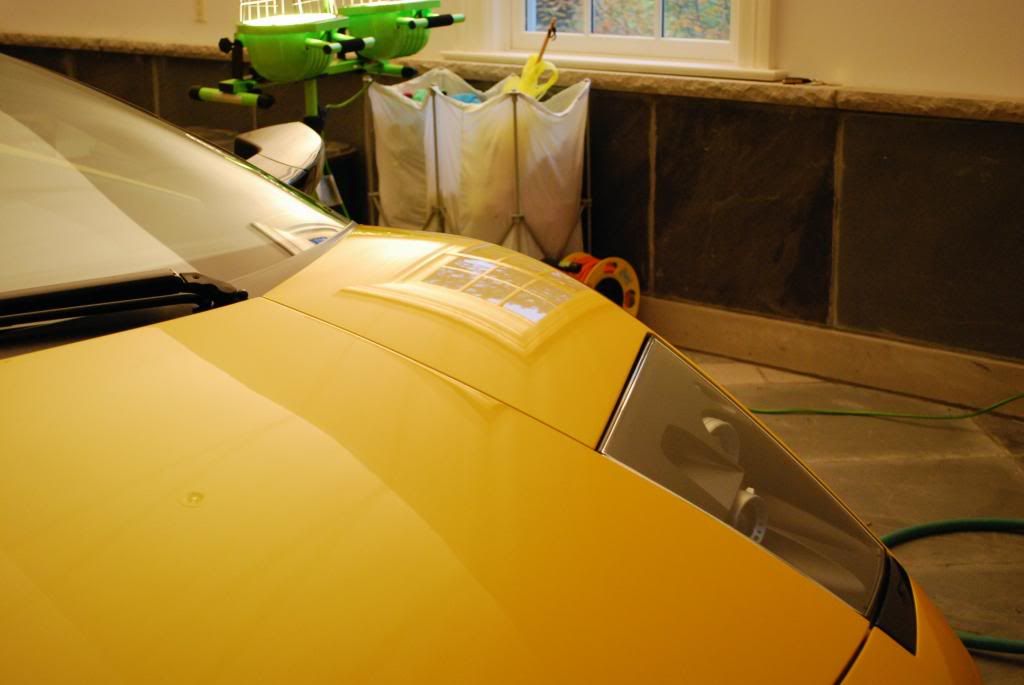
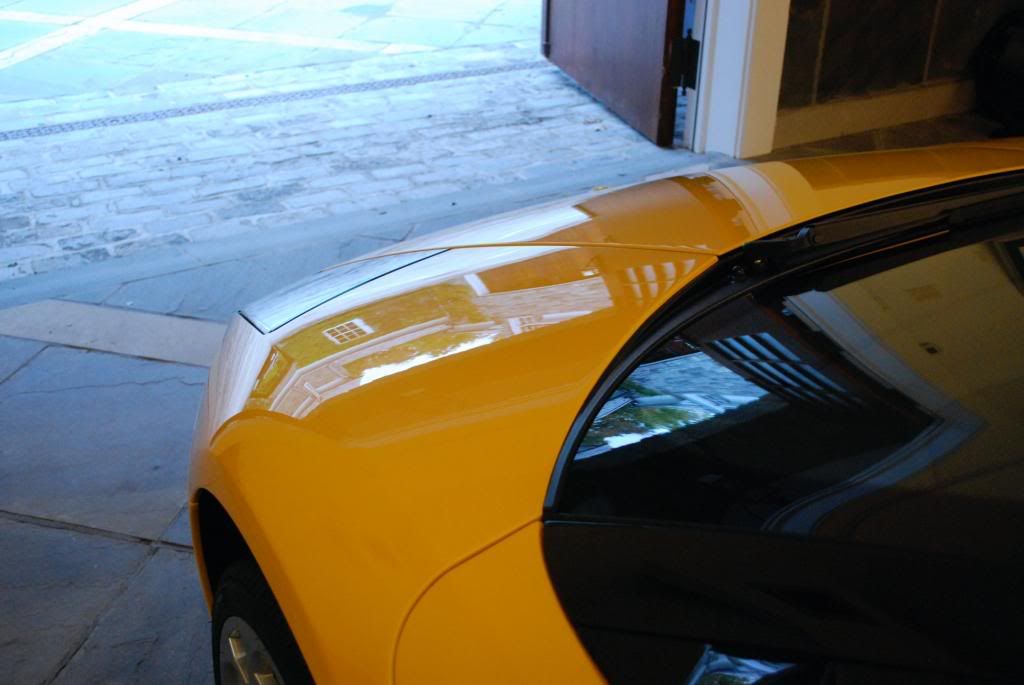
Yesterday I foolishly spilled some nasty liquid (long story, don't ask!) on my car while in the garage - I quickly backed the car out and hosed it off - then proceeded to hose out the garage - I did not dry off my car and naturally I find this morning that it is covered with a zillion water spots - I didn't have time to wash it - so I grabbed my Meguiar's QD and wiped it down - this removed about 80% of the spots - but not all - I couldn't even get all of them off my windshield using Stoner's Invisible Glass which I recently picked up - is there a general rule of thumb as to how long the spots can remain on your car before they are permanent? thanks...
 
What kind of wax and/or Sealant do you use on your car? Id say if your car sits out in the sun all day then get them get them off within a few days or so.
 
RH is right with the vinegar that removes most water spots. On the tougher areas I go over it with 3M Finesse It II. Polished those few stubborn water marks right out of the hood of the 99 Corolla I detailed, along with 90% or so of the swirl marks, of course I used a PC with a yellow cutting pad.
 
Thanks guys for your replies -


I tried removing the water spots from my rear windshield with the Stoner's Invisible Glass - this did not cut it - I then used the vinegar/distilled water solution - worked great - I have not washed my car since this happened but will do so in a day or so - if the water spots are still there I'm going to try the 3M IHG - does this sound like a good idea? thanks again...my car has been Blitzed a few times (3) on the roof, trunk lid and hood and once on the sides...
 
Does the IHG have any abrasive properties? I think its used for filling in swirl marks rather than cleaning the paint, therefore it probably will do very little for your water spots if it does not have some abrasiveness to it.

If you choose to apply it, it would say do it in reverse order (IHG, Blitz), as Blitz should be the top layer on your car.
 
will do the trick. Two weeks ago, the water sprinklers at my job got my car bad and tried quick detailer and no luck, then I used the vinegar and "poof", spots all gone. Vinegar will remove your wax, so I Klassed it and then topped it off with blitz!
 
Due to inclement weather and the Lamborghini not having its top on (it actually has never had the top leave the trunk) this car was done entirely inside the owners garage. Perfect work space with AC and heating.

Started with the wheels, P&S brake buster with various brushes. Tires scrubbed with APC 4:1 as well as the wheel wells. The arches were de-tarred using Tardis on a MF pad.

DSC_0040.jpg


DSC07014.jpg


After cleaning, wheels yet to be polished and sealed.

DSC_0043.jpg


All the wheels were blowed dried, I didnt use my CR spotless so I didnt want the water to spot

DSC_0053.jpg


The finish was was alread protected with Zaino, so I gave the car a quick pre-soak with a biodegradeable APC (5:1) and rinsed it off before begining the wash which was done with ONR.

With the pre-soak all trim and honeycomb grills were cleaned as well

DSC07021.jpg


DSC07018.jpg


DSC07019.jpg


The finish was clayed with Sonus green clay using diluted last touch as lube

Little tar strip, some tarminator on a MF did the trick

DSC_0052.jpg


Rest of the car clayed

DSC07020.jpg


The finish was in pretty good shape, the biggest problem area was the hood. Something was dragged across it and left a small cluster of RIDS

DSC_0056.jpg


After a few combos, I settled on using M105 with a LC orange pad (primed) with the new porter cable. This was an extremely hard clear so I worked slower passes with more pressure

DSC07023.jpg


M105 all broken down

DSC_0060.jpg


After

DSC_0055.jpg


I unfortunately could not get a completely dark garage under my halogens as the windows did not have blinds but using the recessed lighting above you can see the haziness and swirls

Before, light refracted in all directions

DSC_0062.jpg


After 3 stages of correction (M105, 106FA and 85rd). Swirls removed, clarity brought back

DSC_0065.jpg


Some shots during correction

Working 106FA, took this up to about 1900rpm with moderate pressure due to the hard paint. Got 106FA to finish down just about perfect before moving onto jeweling

DSC07024.jpg


Jeweling

DSC07026.jpg


Final polishing video with the new 5.5 inch high gloss pads (love these)

 
The rest of the finish did not need as extensive correction. Menzerna powerfinish with a white polishing pad via the DA followed by 85rd on the rotary sorted everything out.

Some halogen shots

DSC_0162.jpg


DSC_0147.jpg


DSC_0154.jpg


After correction I gave the car a final IPA wipedown to prep the finish for LSP. Started off with a pure acrylic glaze machine on with the DA and buffed off right away then went back with Blackfire Wet Diamond for 2 coats

Applying the glaze

DSC07028.jpg


While I waited for the LSP to cure I started with the interior which actually had some dirt in it (kids and soccer pratice with a lambo means trouble)

DSC07030.jpg


Before

DSC_0080.jpg


After

DSC_0085.jpg


Before

DSC_0082.jpg


After

DSC_0086.jpg


All the leather was then conditioned with Vital

DSC_0097.jpg


Doorjambs were hand polished with CG wet mirror and sealed with Werkstat, buffing off the wet mirror finish

DSC_0102.jpg


DSC_0103.jpg


Front cowl already has a semigloss finish to it, just a quick coat of dressing to top it off (smears is the sealant still curing on the finish btw)

DSC_0104.jpg


Tailpipes polished with white diamond, this is actully a very decent metal polish BUT you need to let it haze before buffing off. If you polish and buff off right away it will haze and leave a dull finish. Wait 10mins and go back and buff it off with an old MF

DSC_0083.jpg


DSC_0106.jpg


Rear honeycomb grills dressed with the "jungle juice"... this is one secret I am not revealing

DSC_0110.jpg


Some old wax residue was left in the vents atop the engine cover, foam stick with some jungle juice got it back to the natural look

DSC07031.jpg


After

DSC_0113.jpg
 
The floormats were very unique, one of a kind Keith Collins design. The owner had Keith do custom mats for most of his cars.

Scrubbed with a light mist of folex then vacuumed down

DSC_0119.jpg


Back in the car, brightens up the interior a bit, no?

DSC_0125.jpg


Wheels polished with CG wet mirror and sealed with Rejex

DSC07029.jpg


Finished product

DSC_0142.jpg


Final shots ...

DSC_0131.jpg


DSC_0133.jpg


DSC_0134.jpg


DSC_0137.jpg


DSC_0140.jpg


DSC_0141.jpg


DSC_0159.jpg


I heard something loud outside, probably an angry flock of pigeons

DSC_0138.jpg


DSC_0156.jpg


DSC_0153.jpg


DSC_0146.jpg


DSC_0166.jpg


DSC_0169.jpg


DSC_0157.jpg


It was still cloudy but I was happy to finally get the car outside

DSC_0175.jpg


DSC_0177.jpg


DSC_0181.jpg


DSC_0178.jpg


Thanks for looking
 
You guys are so lucky that you get to work on cars like that. Doesn't look like the recession has caught up with that guy. His garage is like this inside of most peoples homes. The house looks like it is off the chart. Is the other car in the pictures a Maserati? I can't remember the model but I think it is basicly an Enzo but a bit faster.

Nice job and great write up.
 
SICK, SICK, SICK Dave!! :notworthy:

Great work on another fine automobile!!

If I ever retire from detailing, I'm going to have you detail my vehicles... :smile:
 
I'm lost for words Dave..........just awesome the work you put in it. I use to make my own Jungle Juice overseas. I still can't remember what happen at that period with me.
 
wow!!! do all you detail guys have ocd. i notice you all have a penchant for being very very attentive to the little things. nice work, nice car, da bomb crib..
 
I really enjoyed this write up. Great work and great documentation. I love it that his MC-12 is his "rainy day" car. :biggrin: Not sure what part of the world you live in, but his little corner of it looks...impressive.

The shot of the kid's shoe print on the Lambo dash is priceless. :banghead:
 
Great work David! The engine cover on these cars is beyond impossible to work on, I feel your pain. Great job!
 
DSC_0142.jpg
Those wheels are a work of art in themselves. Great job on the detail. Honeycomb is never fun.

DLB
 
Back
Top