CEE DOG
New member
Review: CarPro Eraser
Introduction:
I first heard about this product a few months ago and as someone who has applied CQuartz more than a few times I was happy to hear a product was coming that would aid in cleansing and prepping the surface before CQuartz. I was particularly excited I would no longer have to jump through any hoops to prep the paint before application of a coating. I’ve now been testing Eraser for a while and have used it on more than a few different vehicles. In the following review I will take you through my experiences with the product but will condense and funnel the majority of my observations towards one vehicle in particular.
Product Claims:
CarPro Eraser is an intense cleaner designed to dissolve oil particles and remove polish residue to prepare the paintwork for Cquartz. Eraser attracts polish residue and dust better, cleans better than IPA, and aids in keeping the finish dust free while you apply Cquartz.
Details:
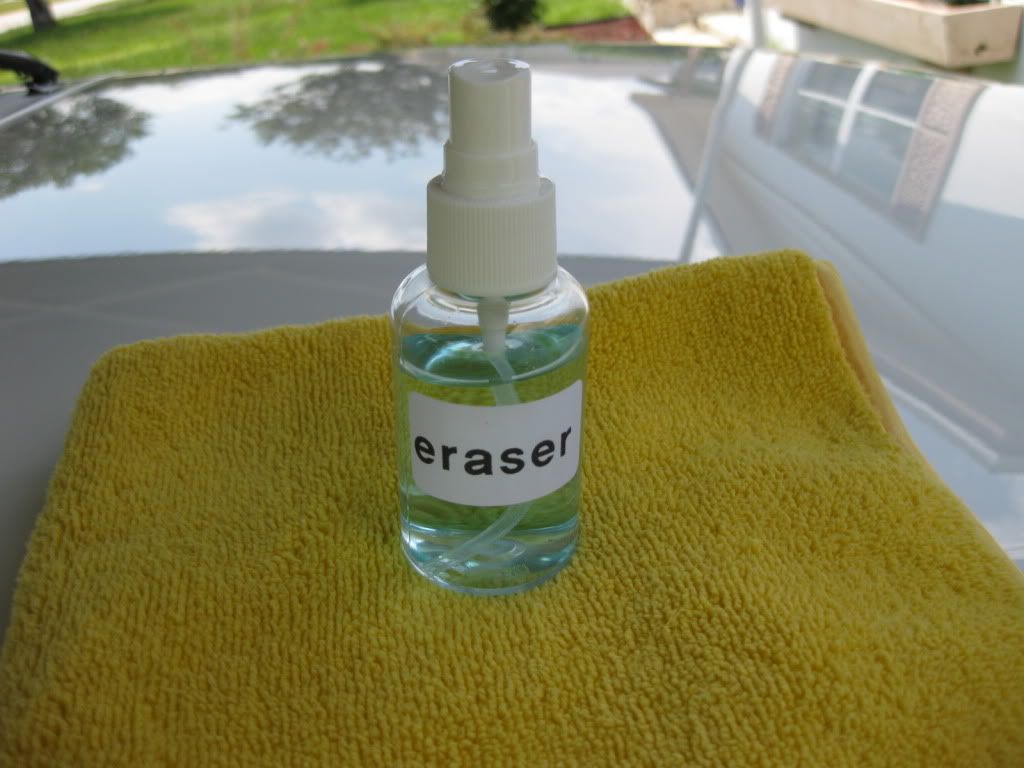
1.- Packaging: Plastic bottle / Cool label
2.- Directions: Simple
3.- Viscosity: Thin
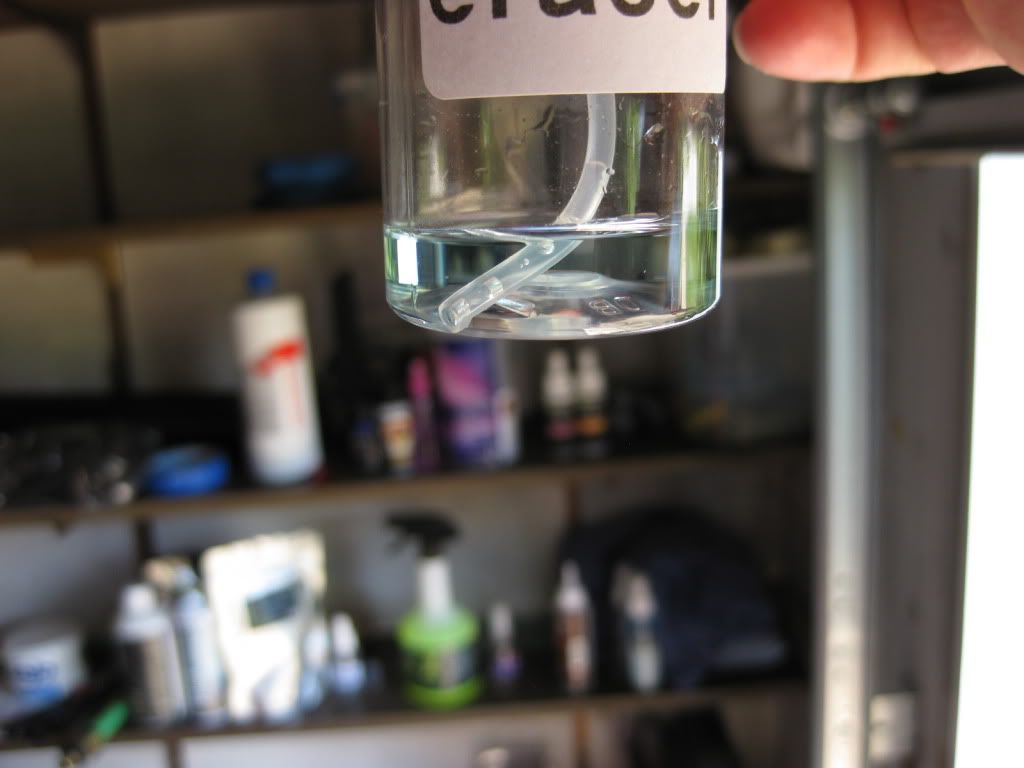
4.- Color: Light Blue
5.- Scent: Fresh
6.- Regular Price: 1.7 oz. (50ml) = $ 5.99
7.- Regular Price: 16.9 oz. (500ml) = $14.99
8.- Regular Price: 33.8 oz. (1000ml) = $19.99
9 - Regular Price: 169 oz. (5000ml) = $_____
10.-Manufacturer: CarPro
11.-Made in: Korea
Product:
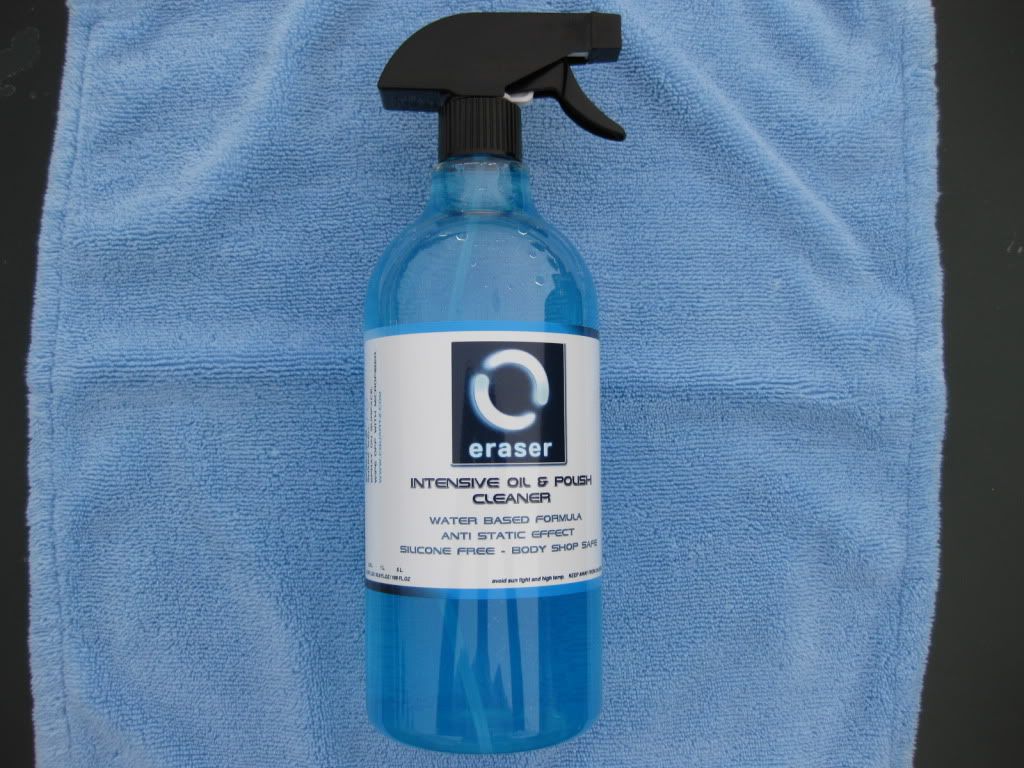
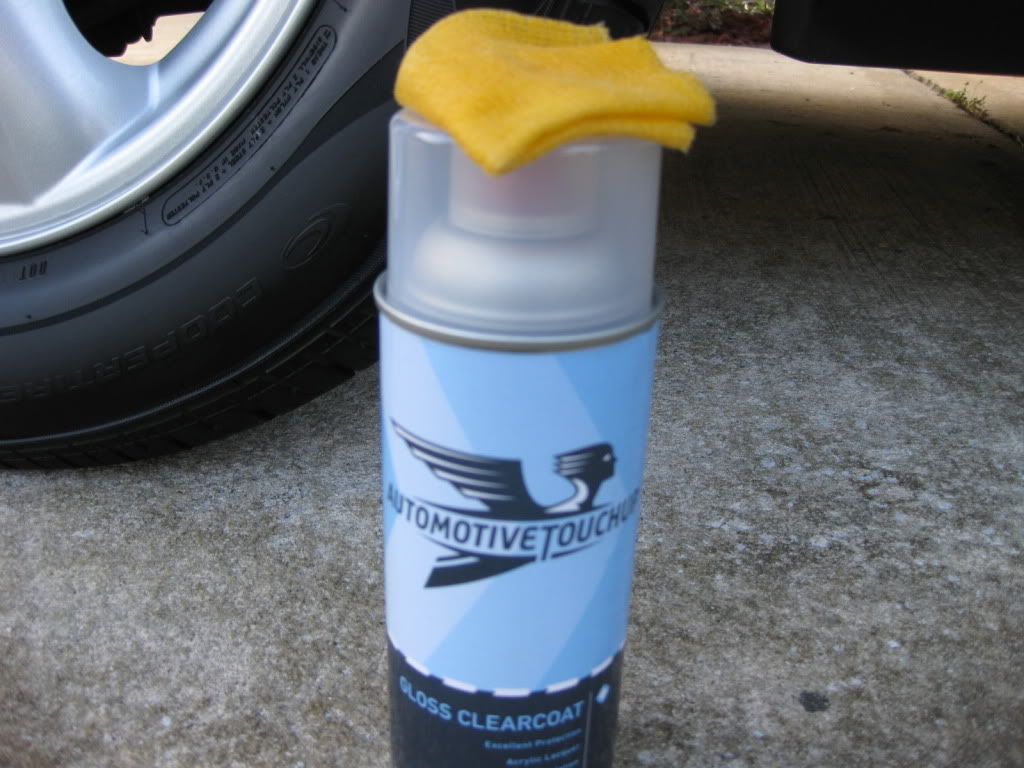
Additional tools needed for application:
Micro Fiber Towel
Introduction (continued)
For years many of us have been using a number of products to strip the oils from our paint during and/or after polishing. Some of us have been using this method just to check the occasional area to be sure we are producing hologram or mar free paint. Others wiped the paint down religiously on each section with IPA or mineral spirits as a couple examples.
For many, another purpose of IPA or mineral spirits was to remove the oils with the goal of producing a surface the wax or sealant could bond to. While others would wash the vehicle with water and an entirely different array of products to achieve this, still others (like myself) would use a paint cleaner that was compatible with the sealant or wax that was to be used.
Fast forward:
Today it is often more important than ever to be sure you have a completely clean surface. Specifically I am talking about when applying a coating rather than wax or sealant. When applying a coating such as CQuartz you want to be sure that the coating bonds to your paint, glass, and other surfaces and lasts for the duration you are expecting. And the most important factor that you can control is the cleanliness of the paint at time of application. Just prior to application coatings are more dependant on a perfectly oil free surface than the traditional lsp is. Actually It would be more correct to say a larger percentage of their lifespan hinges on it.
Video: A Quick Intro to get started
01 Eraser Application.wmv - YouTube
Washing and Prepping Before Polish (Eraser not yet involved):
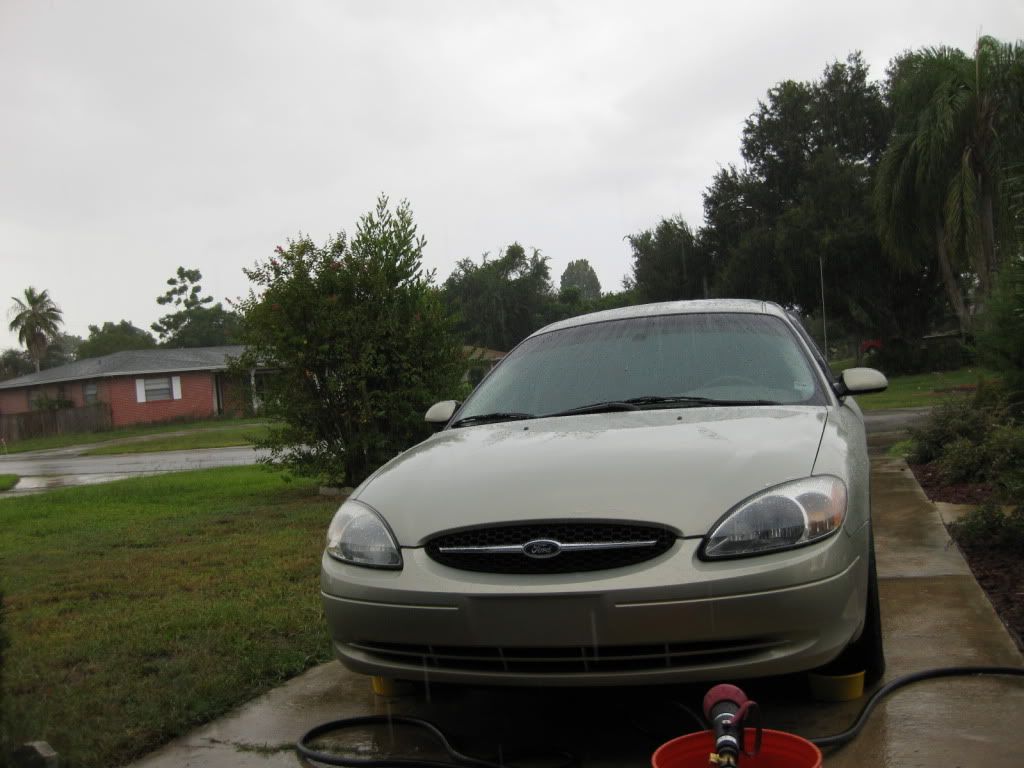
I had a Taurus I was working on a few weeks back that was to undergo a number of corrections and enhancements. The majority of this review will focus on this vehicle, although some observations and information is based on past and later vehicles as well.
The Taurus was thoroughly rinsed. Next it was washed with UPGW with some OPC mixed in and OPC 3:1 sprayed on one panel at a time during the wash phase. After a thorough rinse and dry I was pre-occupied the remainder of the day with painting certain areas but more on that after the review. It was “predicted” there would be no rain that weekend but the following morning I awoke to a rain soaked car and very cloudy skies.
After rinsing I moved onward with a quick blow dry from the Master Blaster. Next it was time to decontaminate the vehicle. After application and removal of TarX (followed by a rinse and a blow) IronX was next up. After dwell, agitation, and rinsing it was another quick blow.
Just something quick I want to point out. If you haven’t tried the IronX I would recommend giving it a shot. Time is money and the time I saved by using IronX and TarX saved me more than the cost of the product used on it. Riccardo clay was used as needed and went much faster than it would have thanks to my previous decontamination steps.
The vehicle was quickly washed again and the crevices and wheels were quickly blown out. The large planar surfaces were dried with an mf/ww towel. Normally I use the Master Blaster for drying the entire vehicle but in the case of a stripped vehicle that is in need of being corrected, I have a place to still use my ww towels.
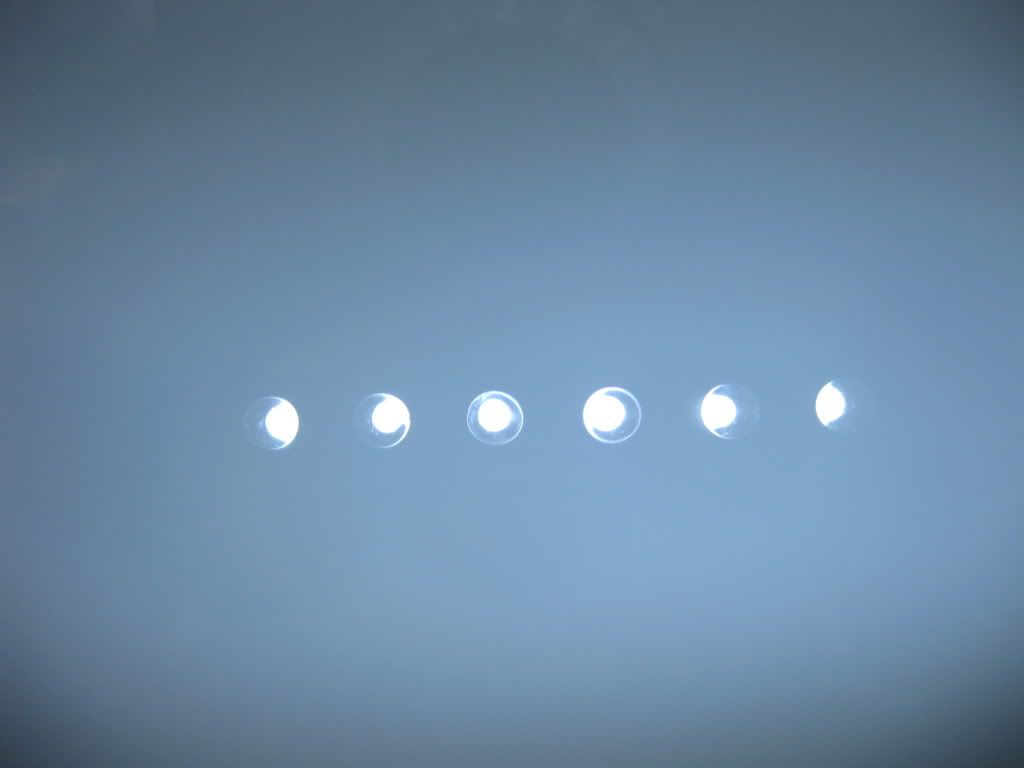
Eraser as Inspection tool:
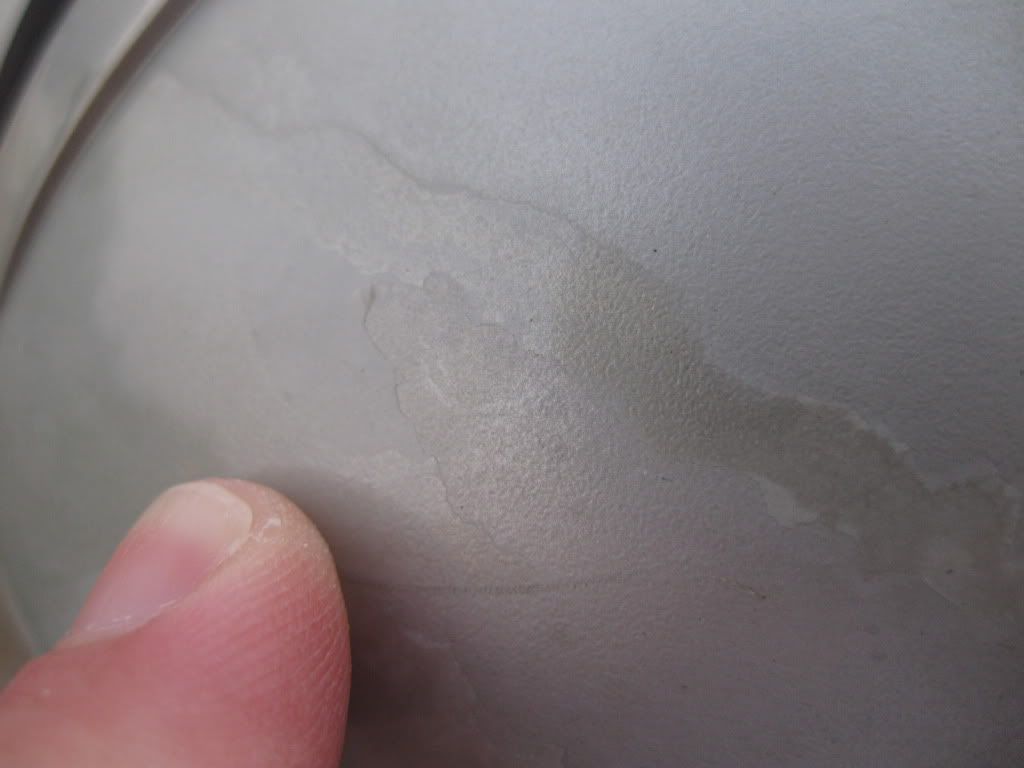
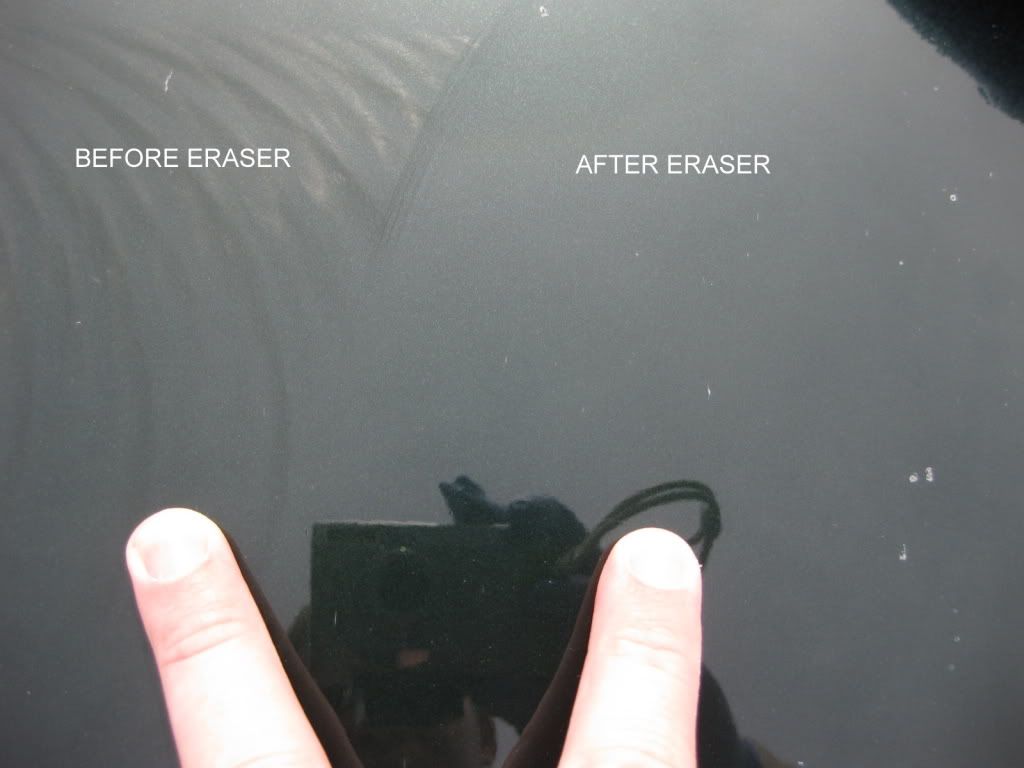
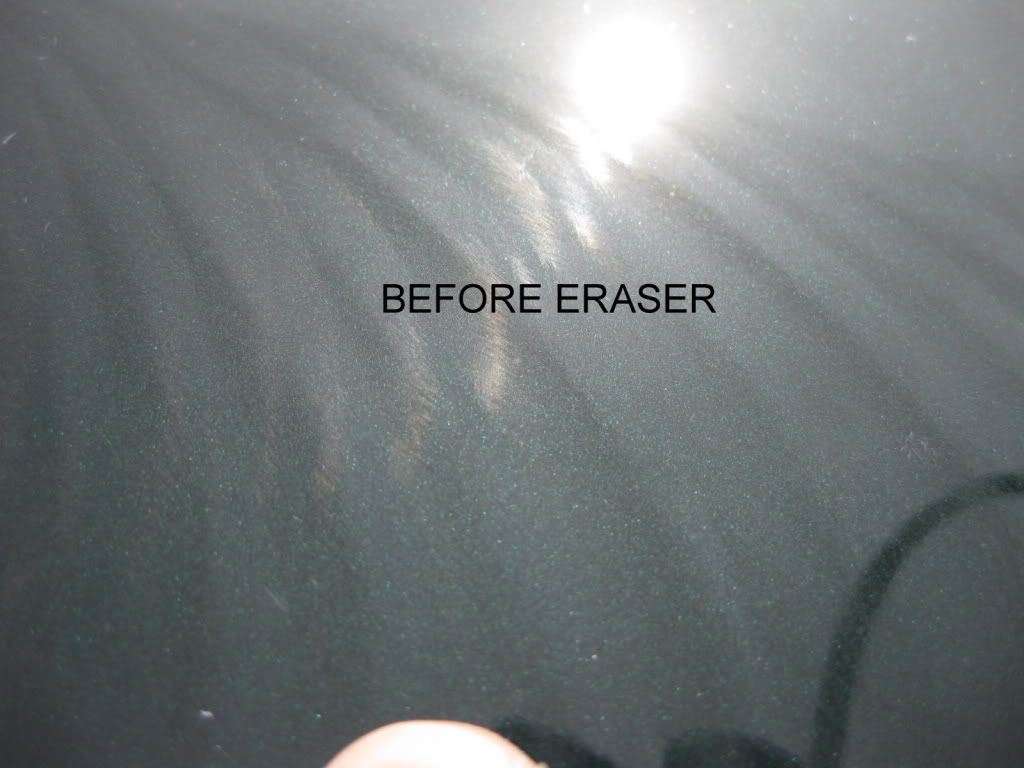
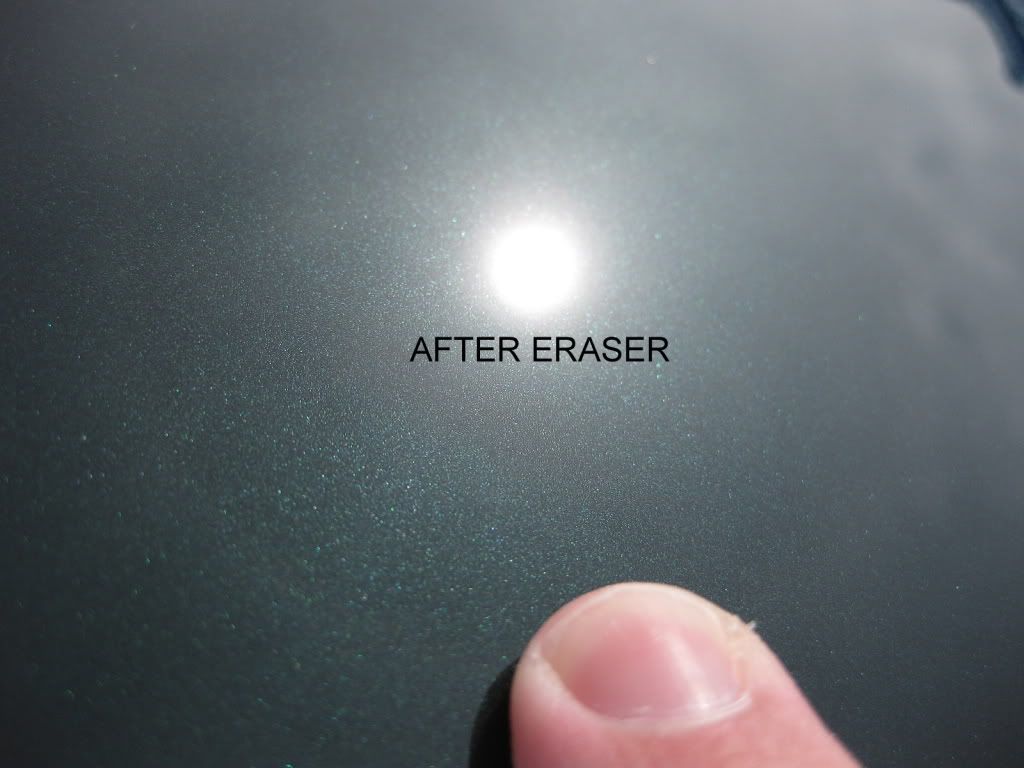
As I moved through the polishing phases I used Eraser as my inspection tool. After polishing a section I sprayed eraser across it and using a clean short weave towel I wiped the surface clean and then flipped the towel and wiped again with an additional mist for good measure. As I have found every time I use it the oils were removed easily and efficiently. I continued this process after each of the first few sections in an attempt to check my work.
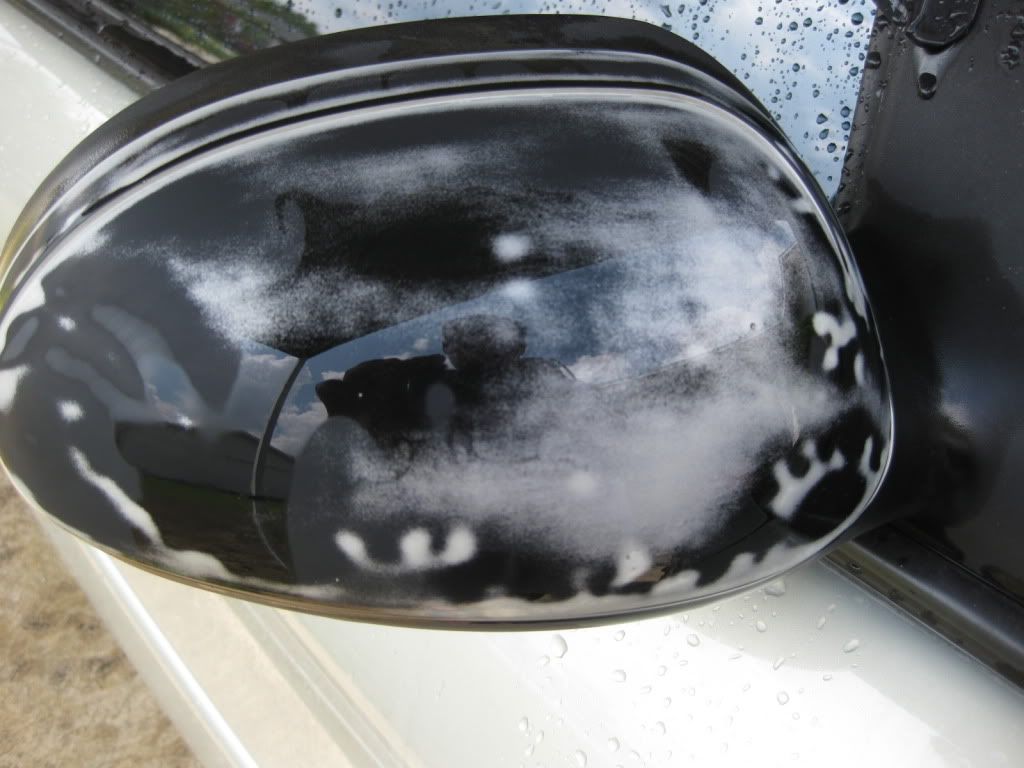
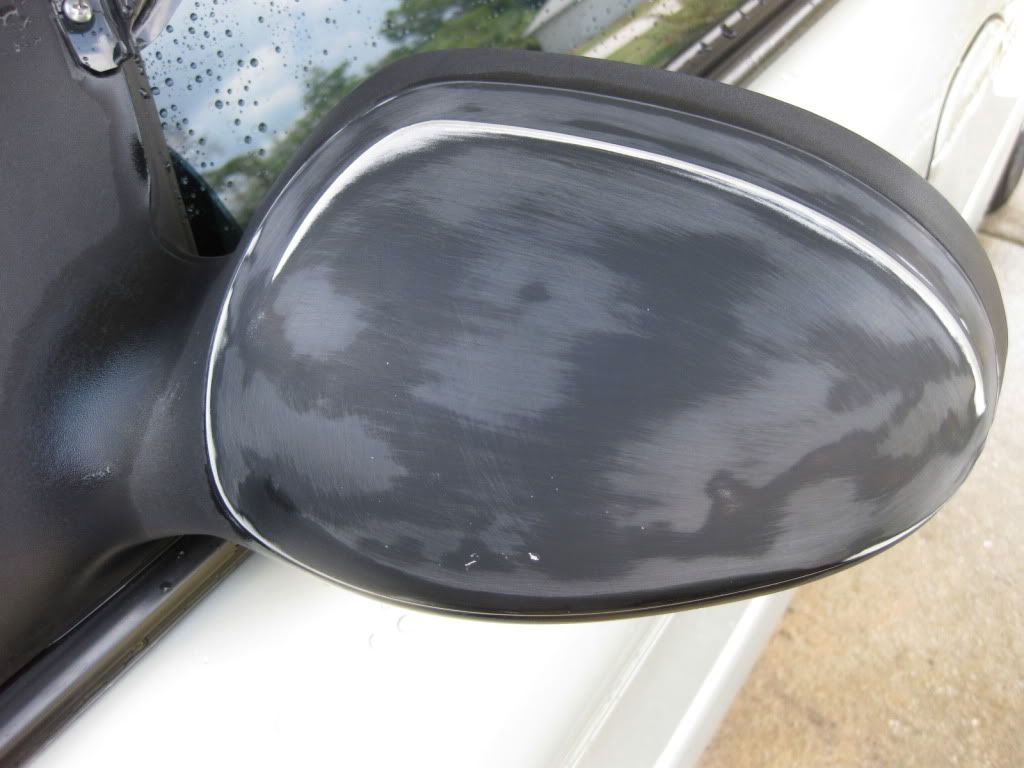
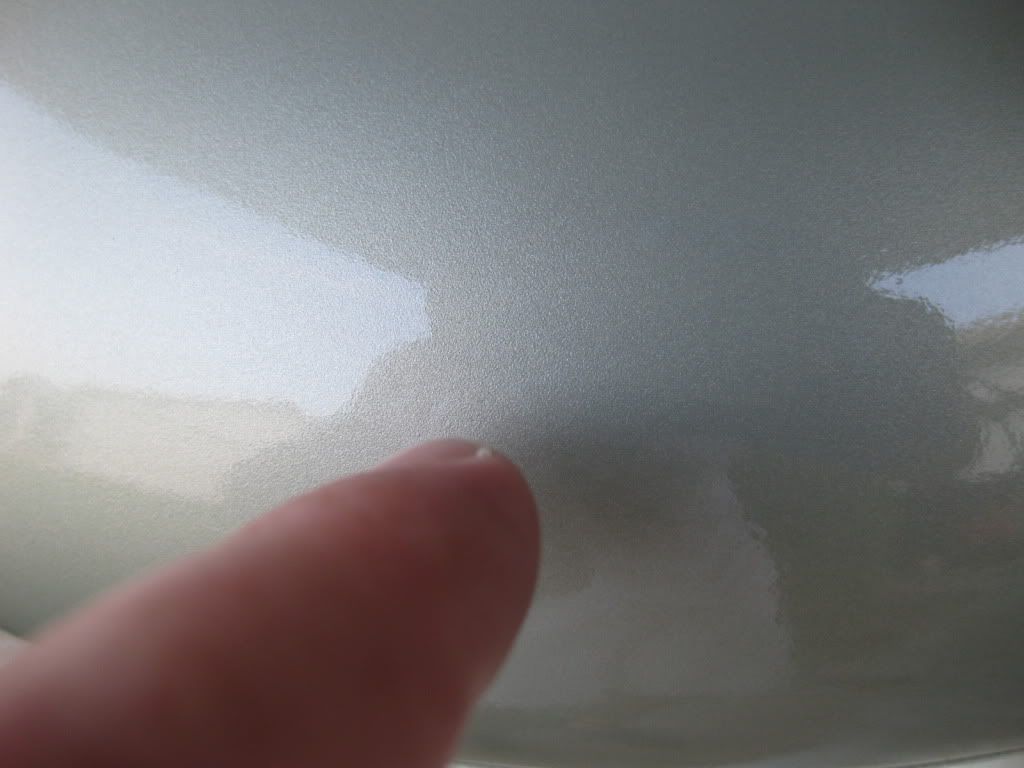
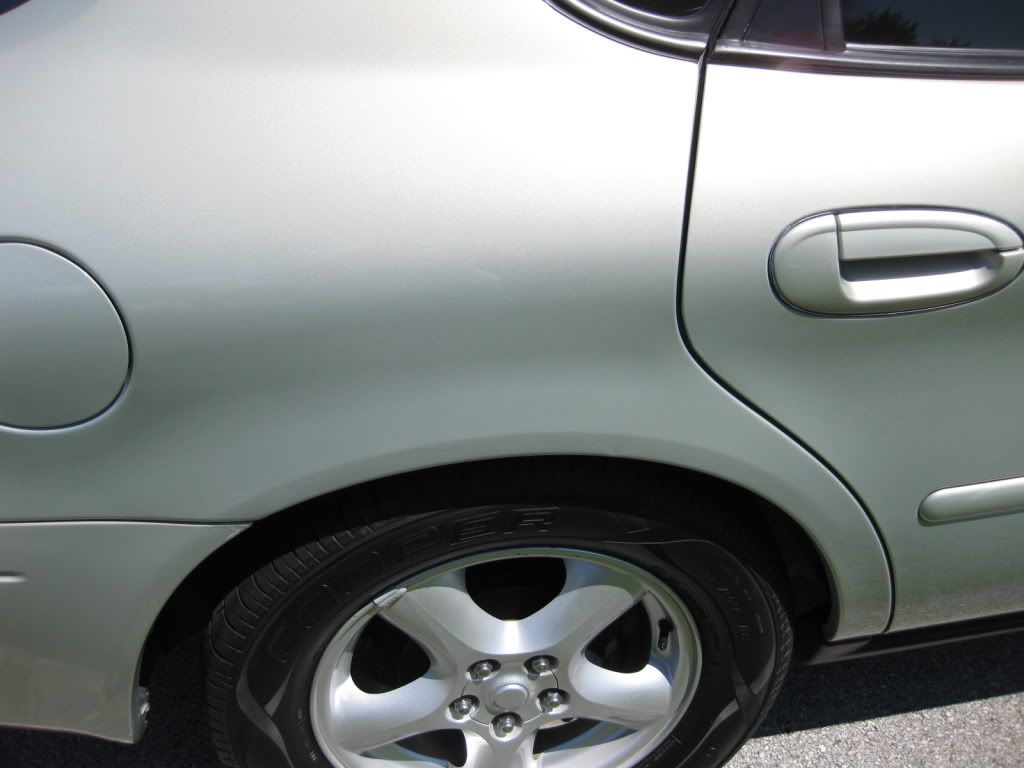
Oil Free: (Photo from another vehicle I used Eraser on from an earlier occasion)
Past Vehicle
Being that it was a metallic colored vehicle and the sun showed no sign of breaking through that day it was very difficult to be sure I had polished the paint to the level I expected. LED and Brinkman were of no use with this color paint so even after removing the oils I didn’t have the necessary lighting. The only way to find scratches, holograms, or marring in this paint was in direct sun and that was not in the cards.
It was very cloudy all day and a little rainy most of it. This was what it was like at one point in the day…
Video: Pouring
02 Pouring.wmv - YouTube
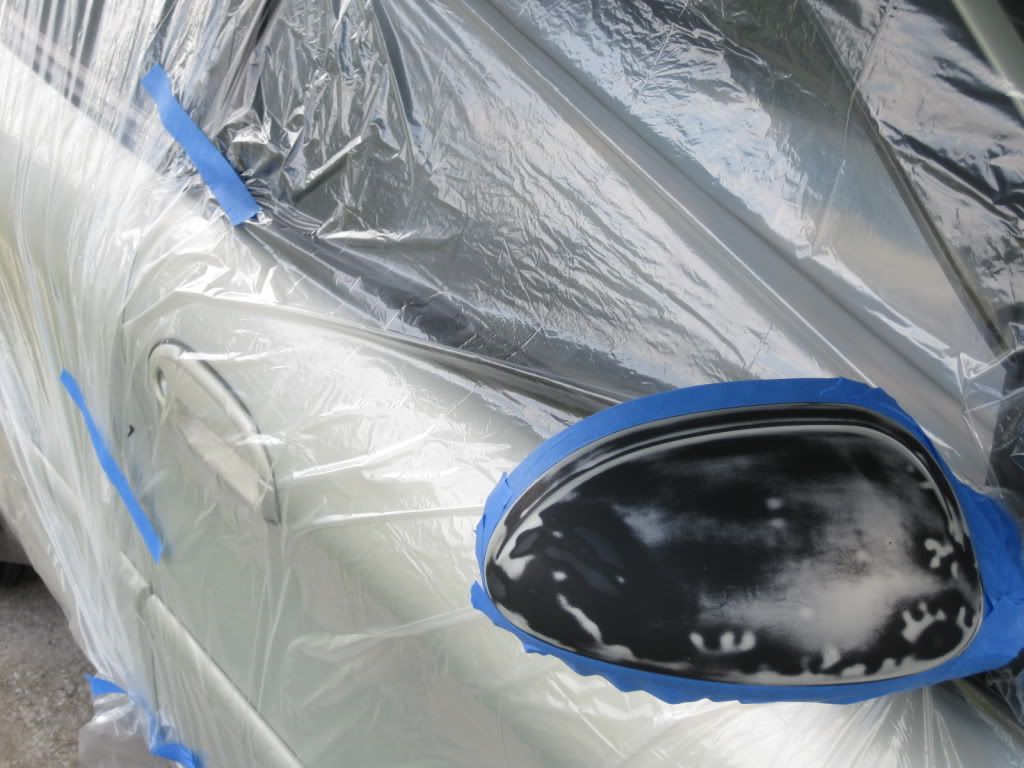
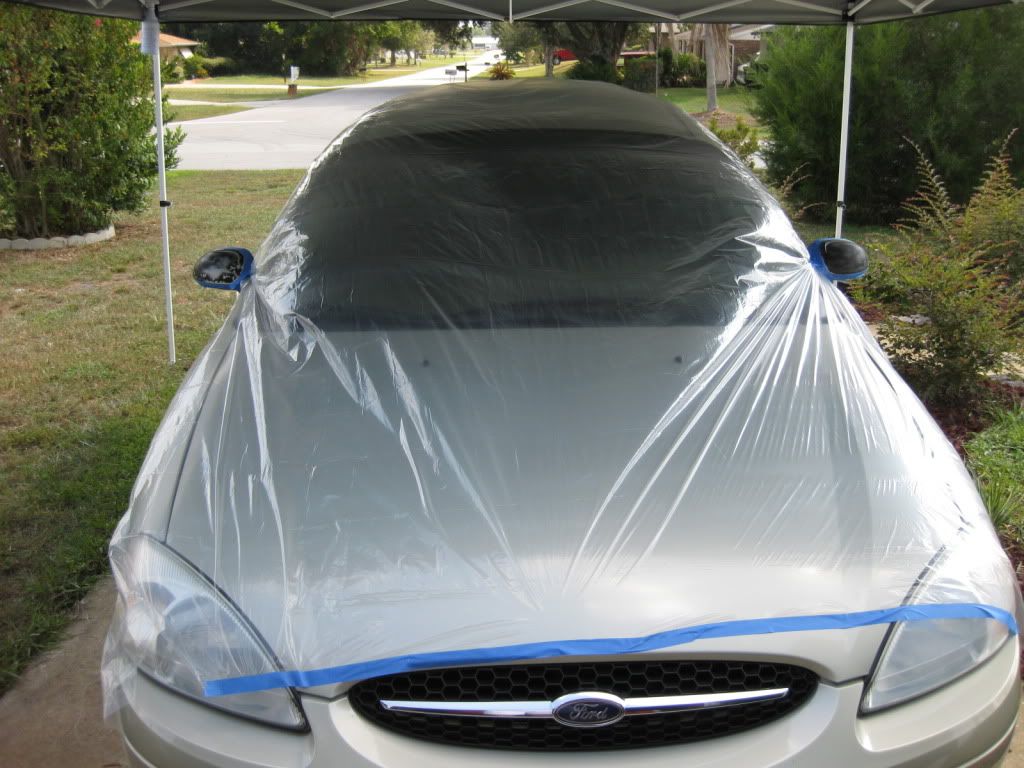
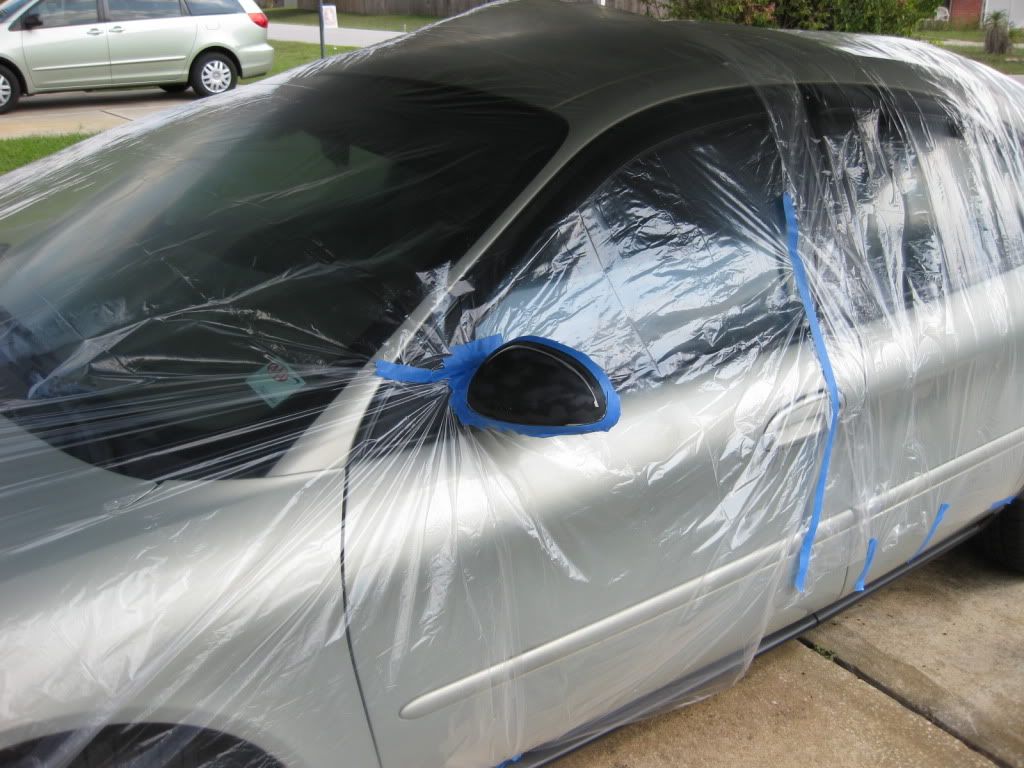
When it got bad enough I set up the plastic sheeting (which I had used for masking the day before) as a shield to hold back the rain from hitting Sky.
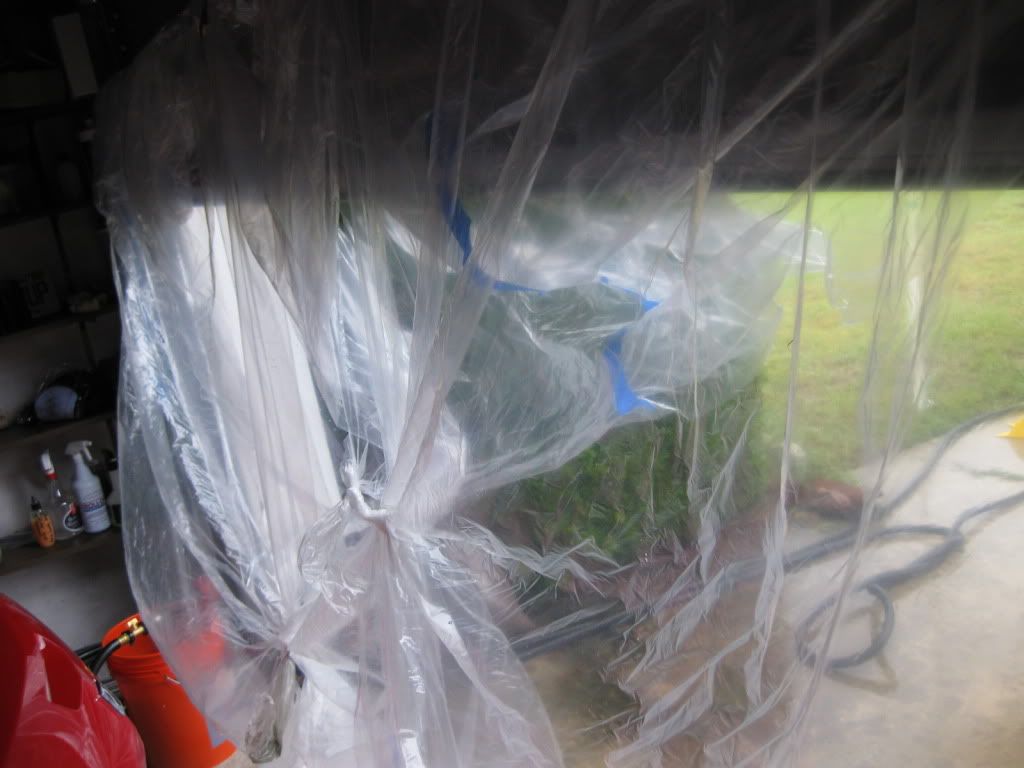
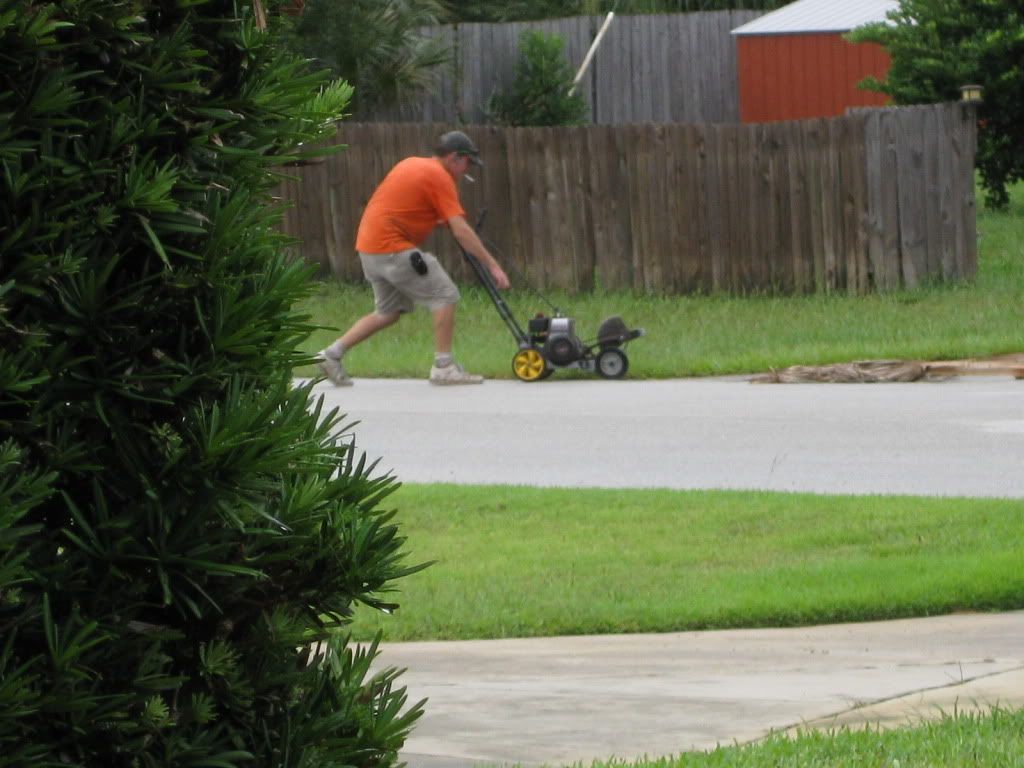
Between the rains, the mowing, and many other entertaining adventures, it was turning into a challenging day.
Eraser in action removing polishing oils:
As I mentioned I didn’t have the lighting that day to show you Eraser in action removing polishing oils that day so another weekend I threw a quick test together to make a video you could see with good lighting. For this test I applied some Menzerna PO 85RD which we all know has a lot of oils in it. I spread it across a section of my front hood and rather than working it all the way in I only made a few passes in an attempt to leave plenty of oils on the paint for this test.
Video: Eraser removes polishing oils
03 Eraser Removes Polish oils.wmv - YouTube
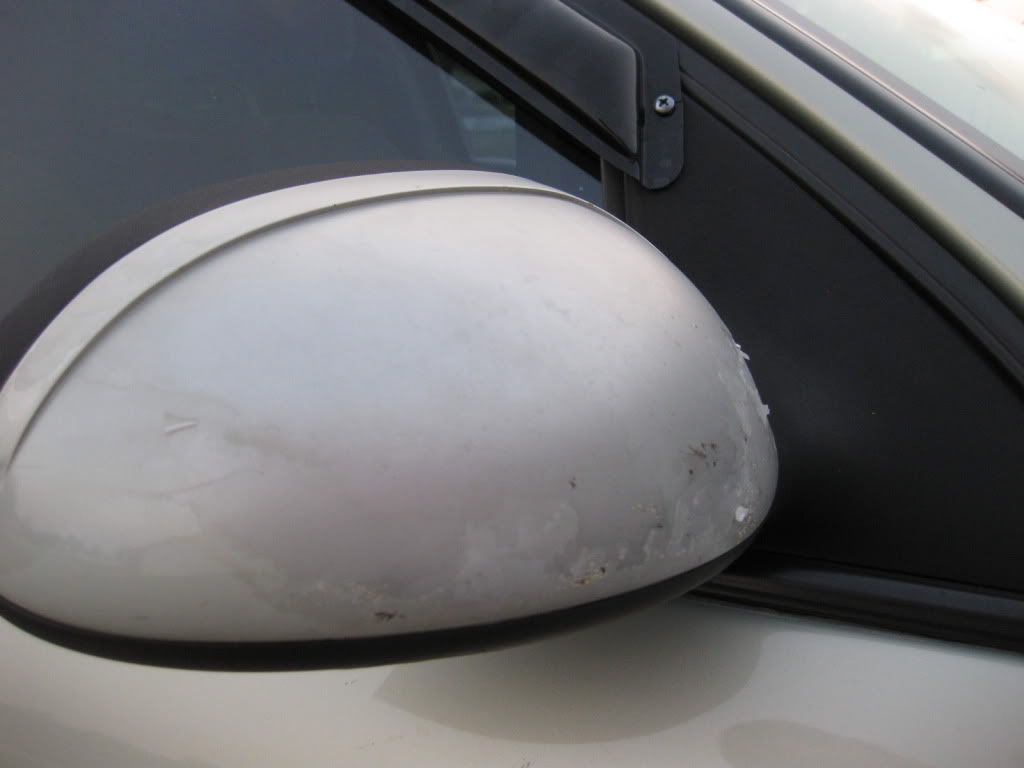
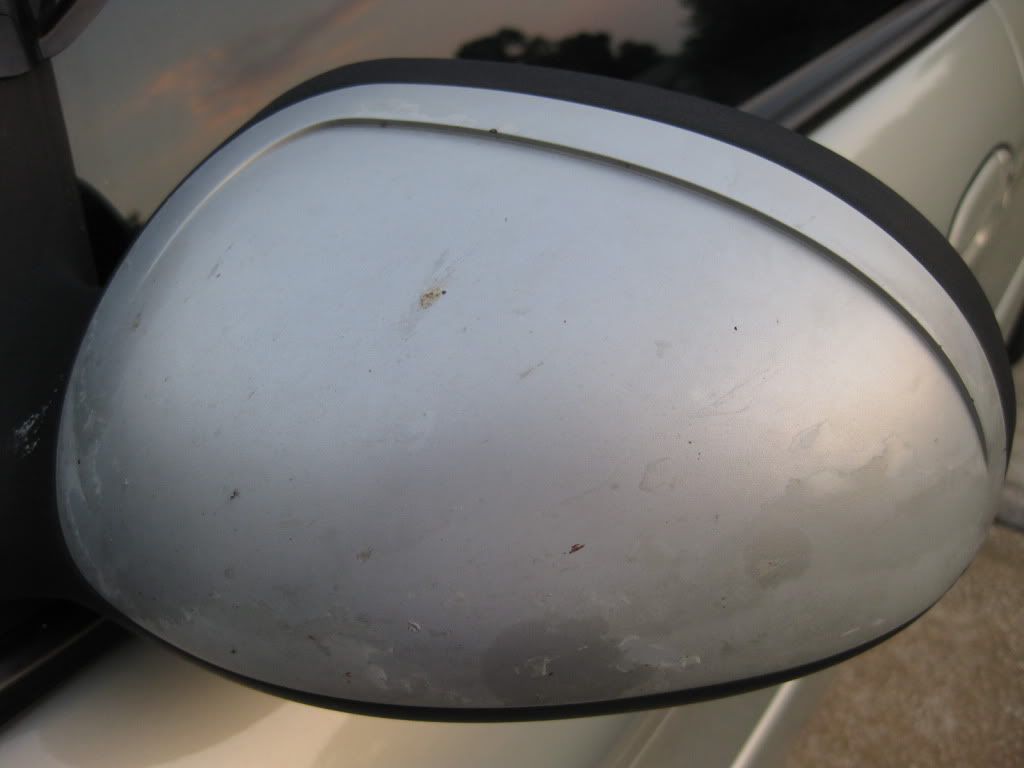
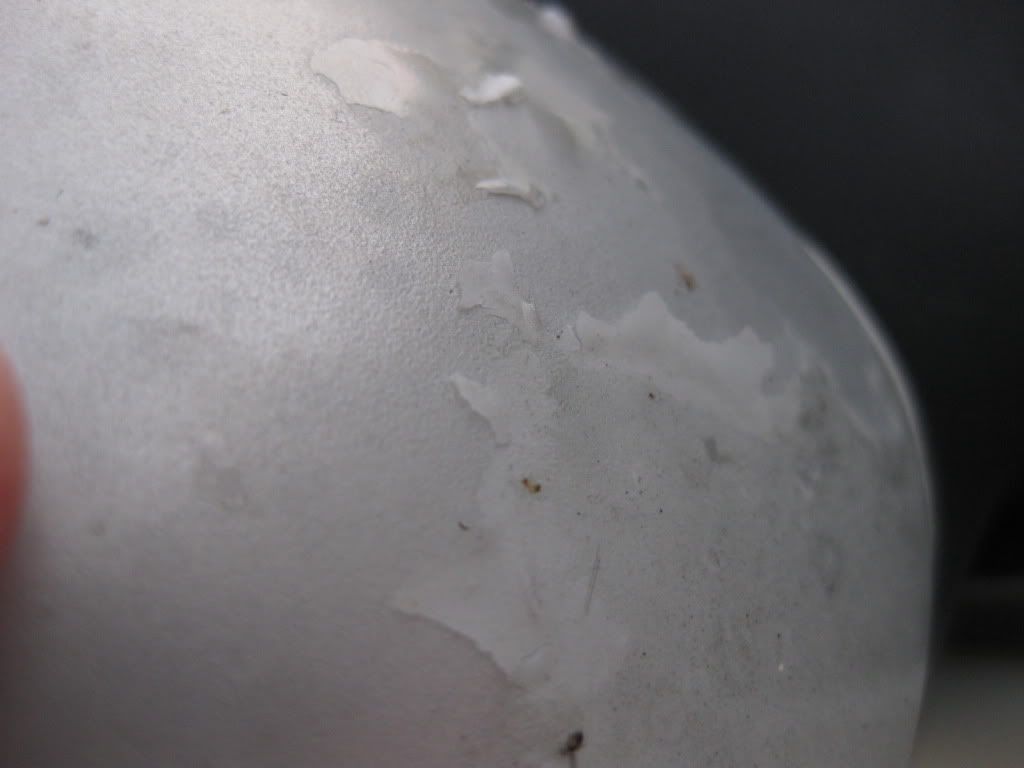
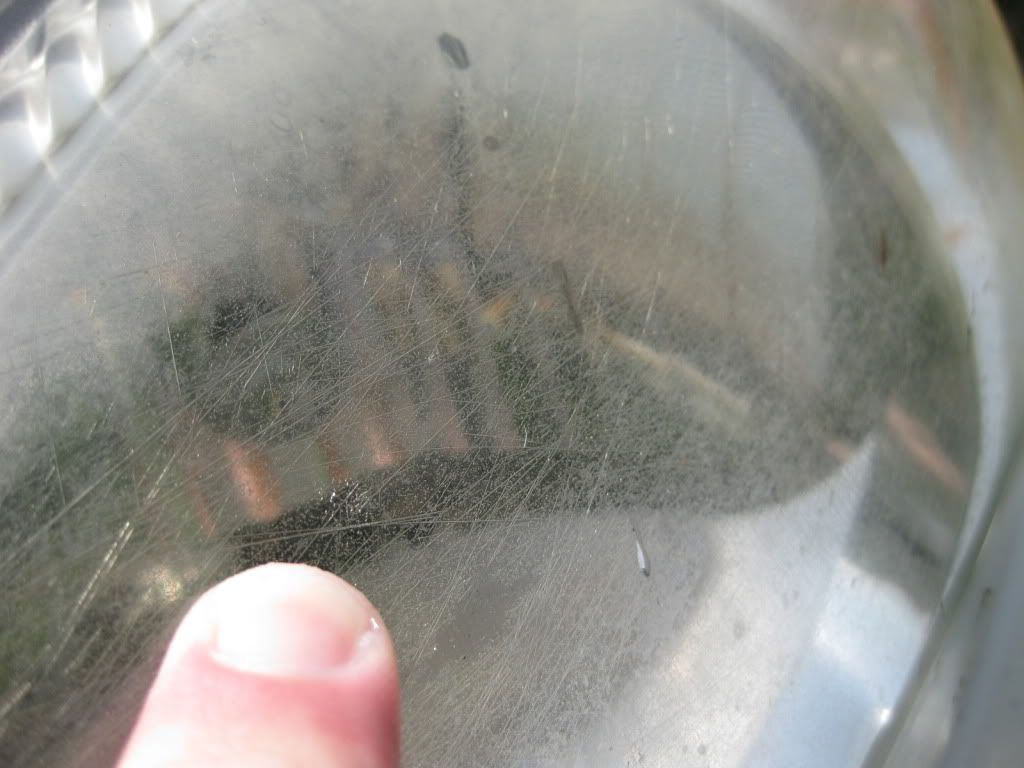
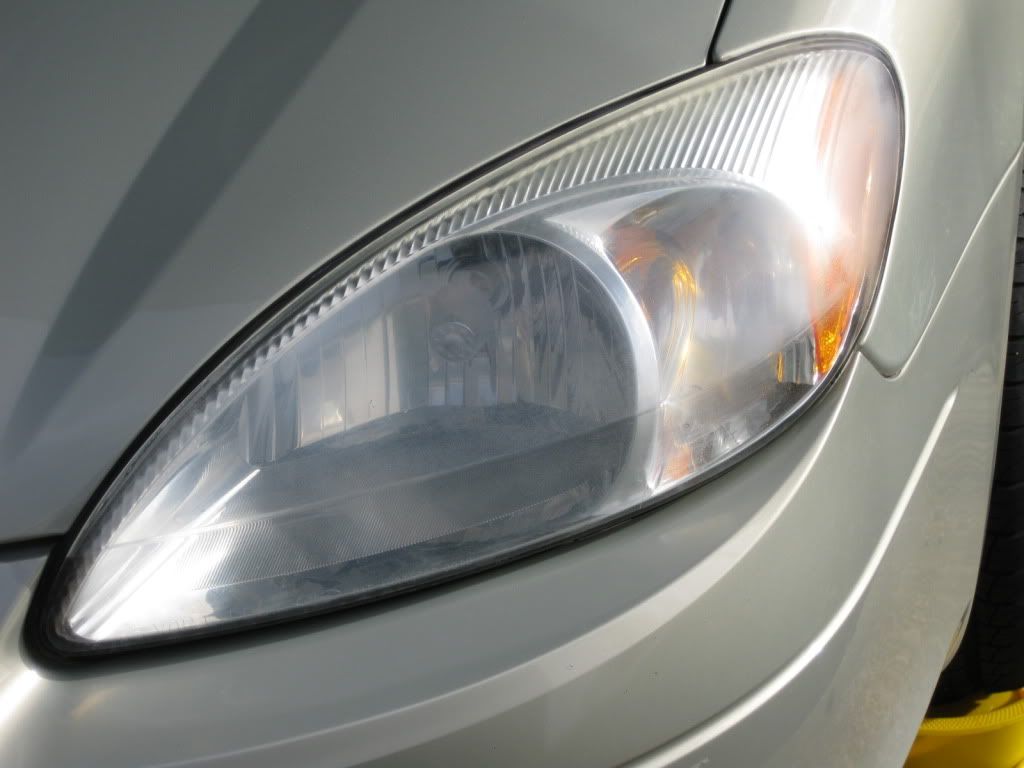
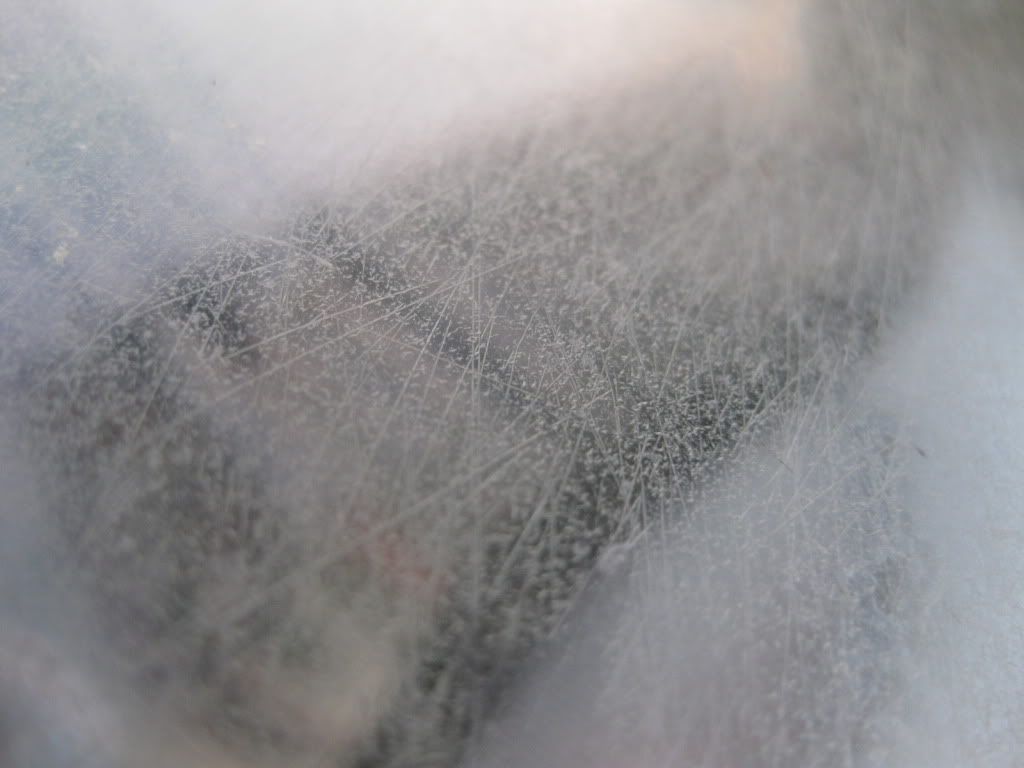
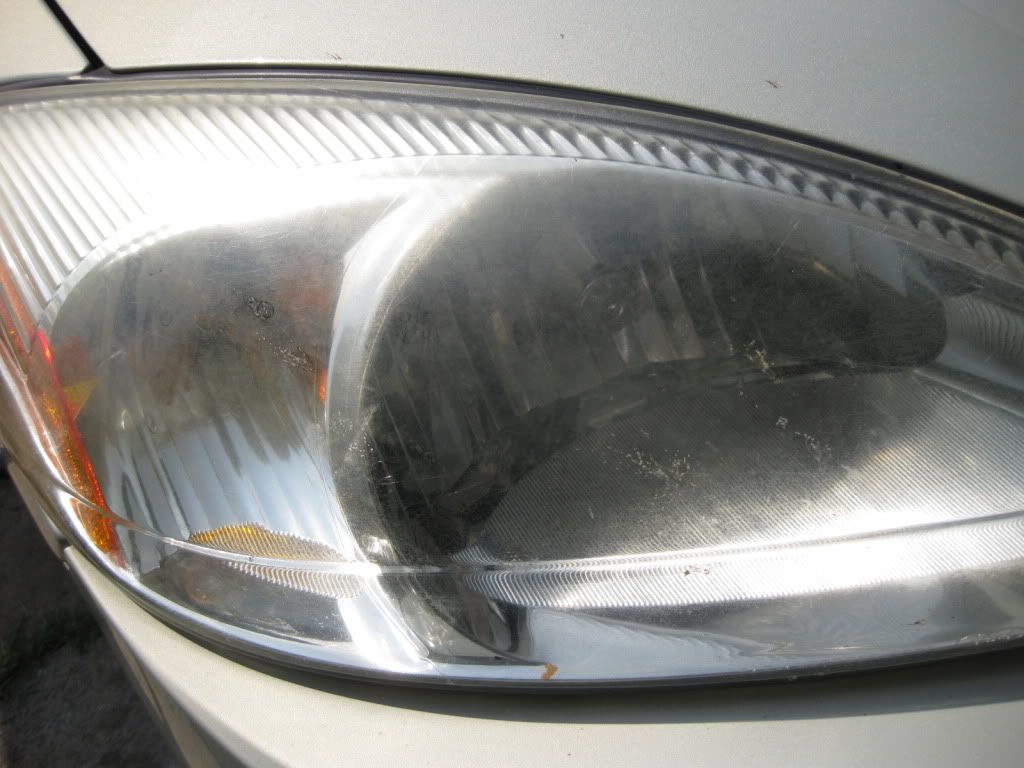
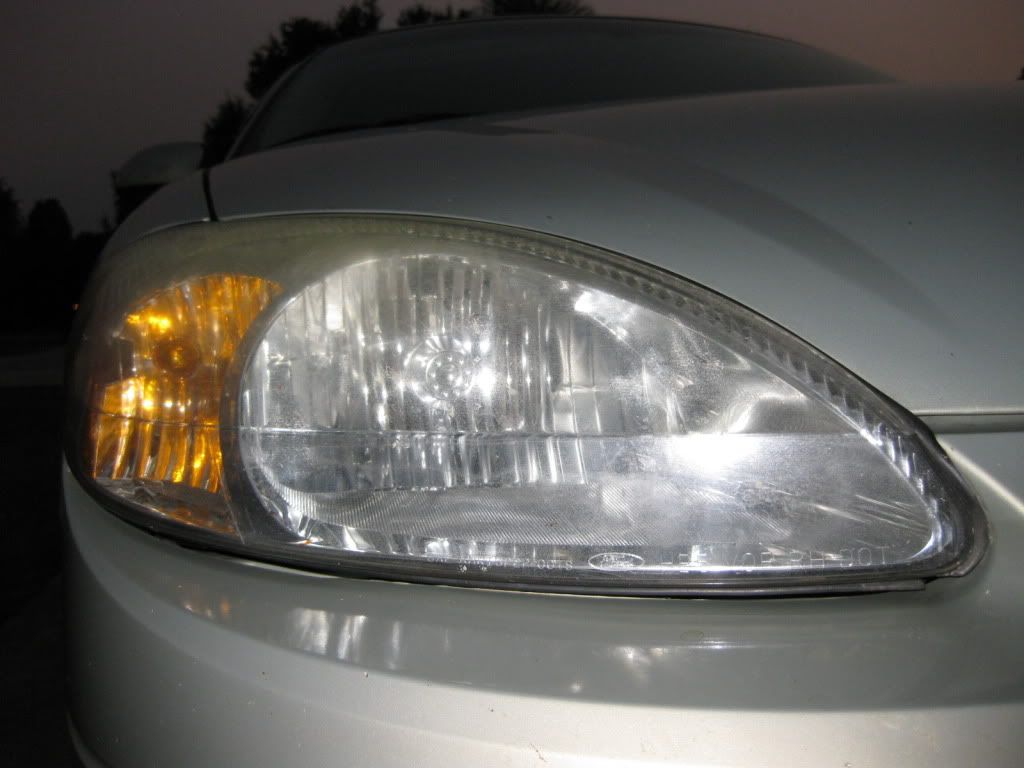
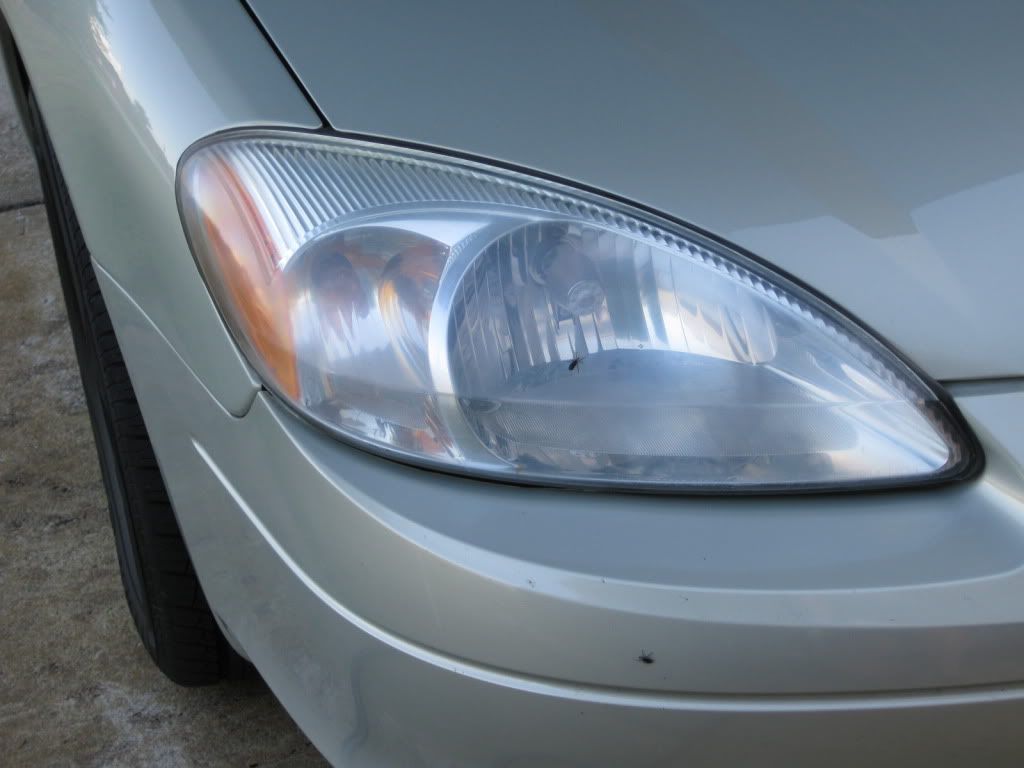
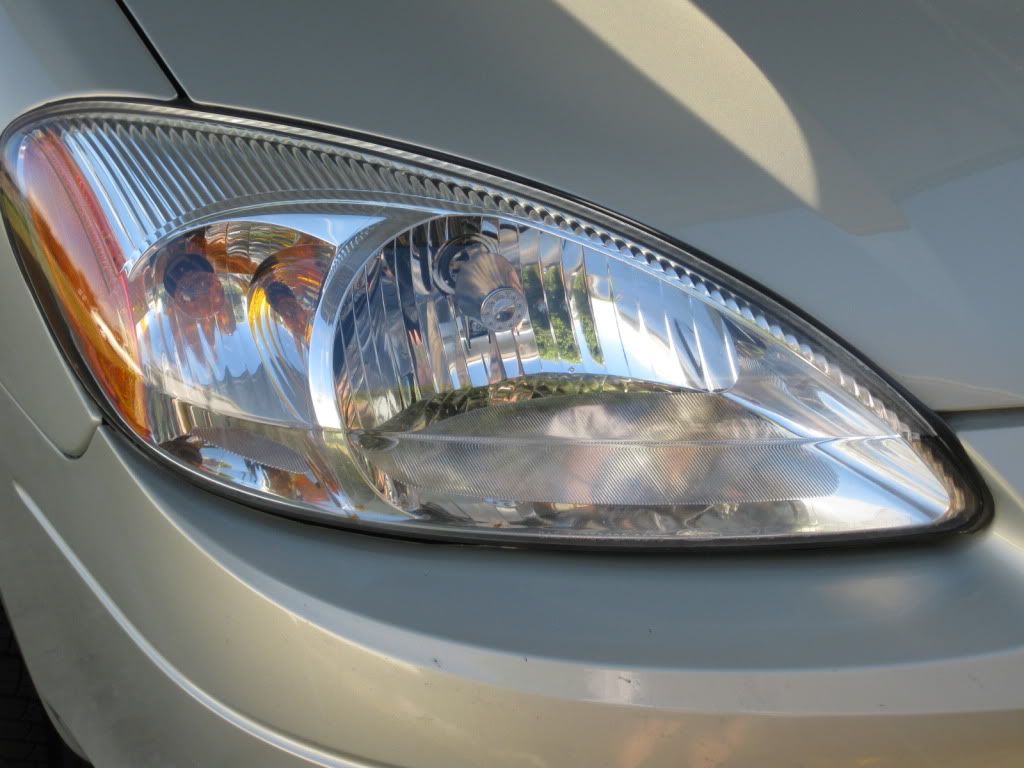
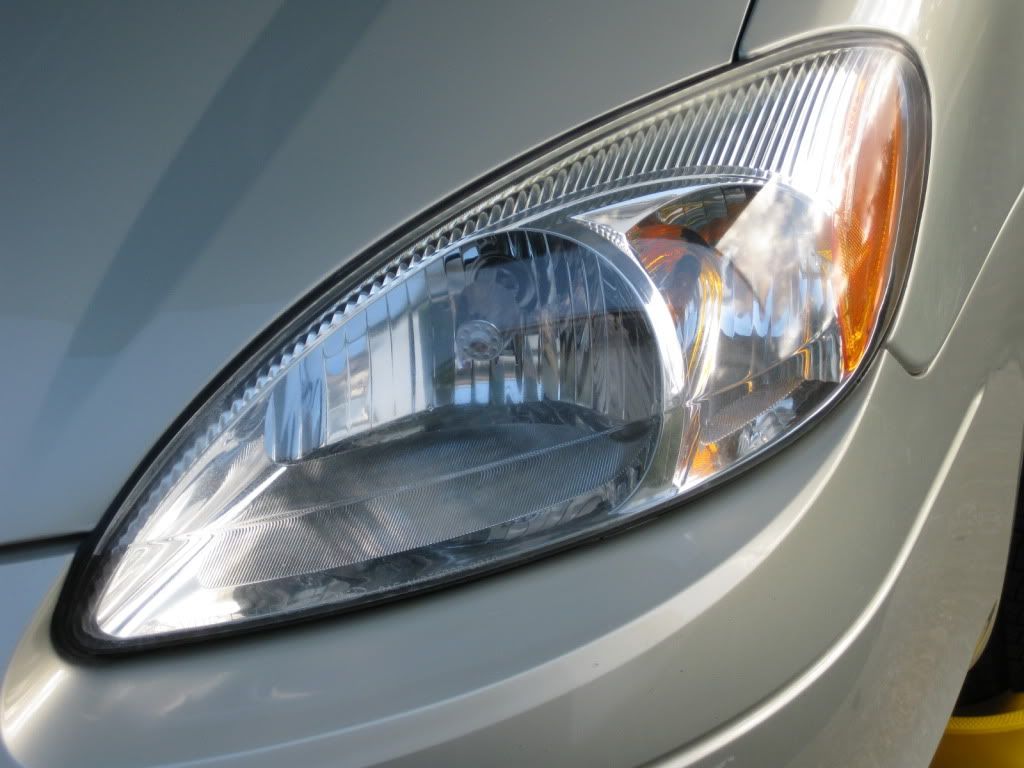
I finished the day by polishing out the taillights and headlights and again removing the oils with Eraser, which appeared to be as safe on headlights as it was on the paint. (Full story on the headlights after the review)
Prepping the Paint with Eraser Before Applying Cquartz:
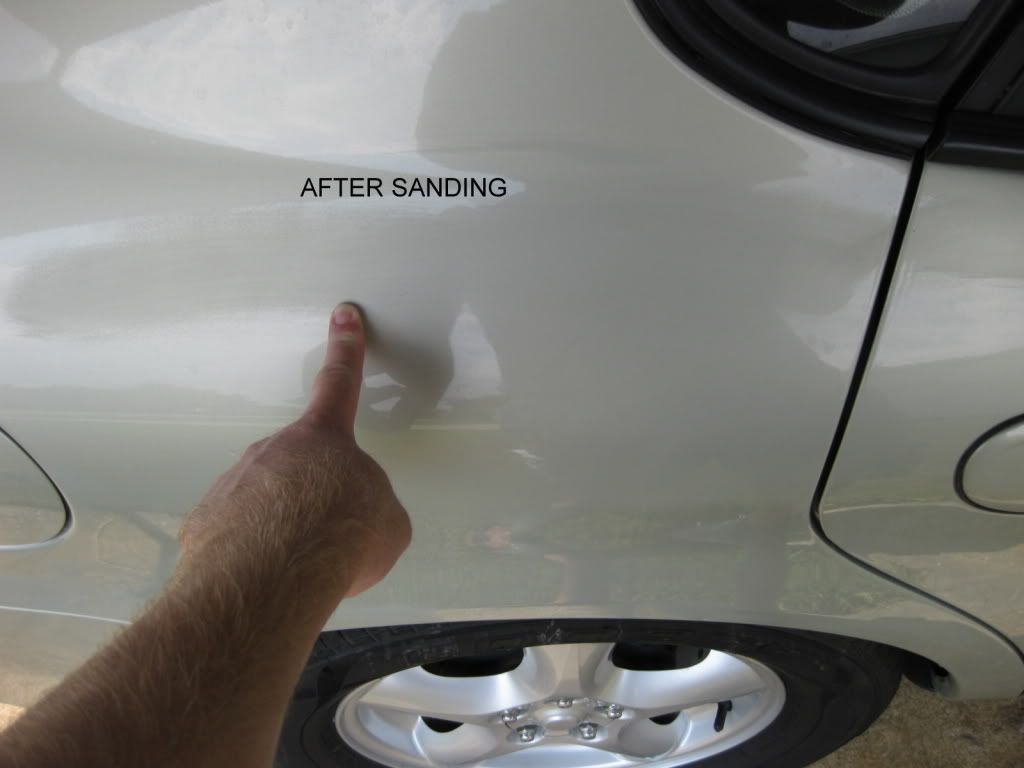
The next morning I got started early and after accomplishing a few other things (among them a quick wash and dry) the sun was available for me to properly inspect the paint. I found some swirls still remaining on the passenger side lower panels so they were corrected. Finally it was time to get to my application of Cquartz.
But first would be the Eraser prep clean! I repeated the following method across all paint, glass, head/taillights, and plastic window hoods.
Method of Application:
1.- Spray on and wipe off with mf towel
2.-Flip towel and one more wipe
3.-Move to next section, flip to clean side or new towel, & repeat
How long does it take to prep a car this size with Eraser?
On this day it was a high humidity/high 90’s day (felt like 120) but wouldn’t you know it the rain still tried to pop in and out with sun showers so as you will see in the video I rigged up the plastic I had used from the day before to protect the areas of the vehicle protruding from the shadow of the canopy..
Video: Eraser Total Prep Time
Please note all surfaces were prepped with Eraser although some of it isn’t in this video thanks to the memory card filling up without my knowledge.
04 Eraser Total prep time.wmv - YouTube
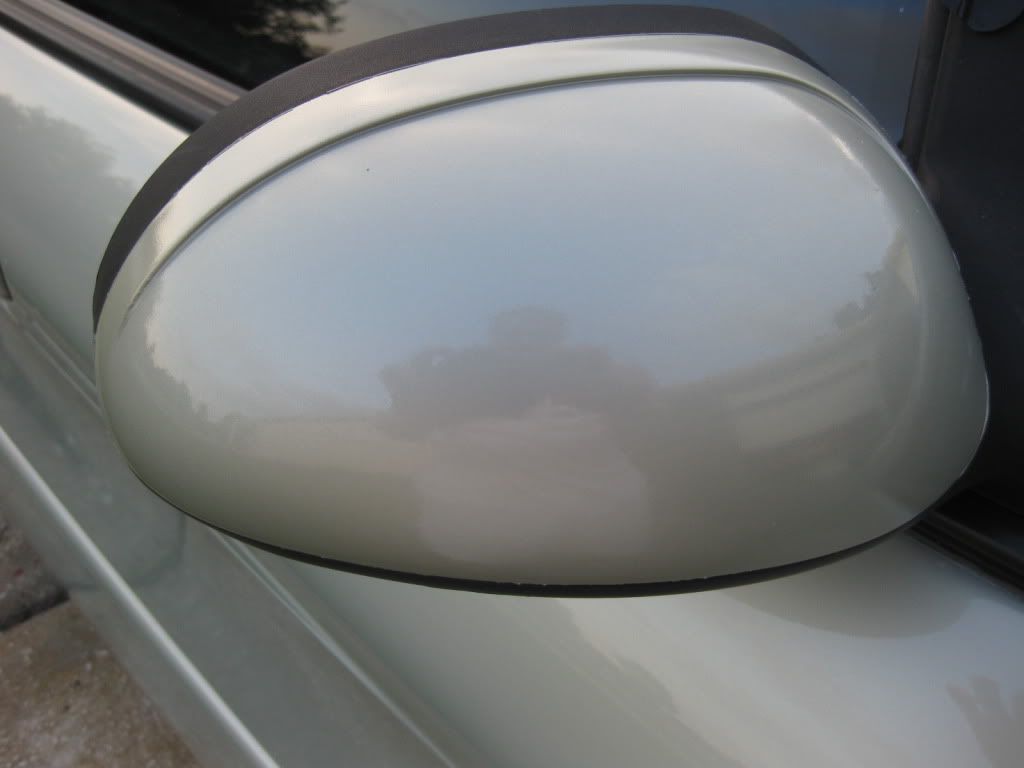
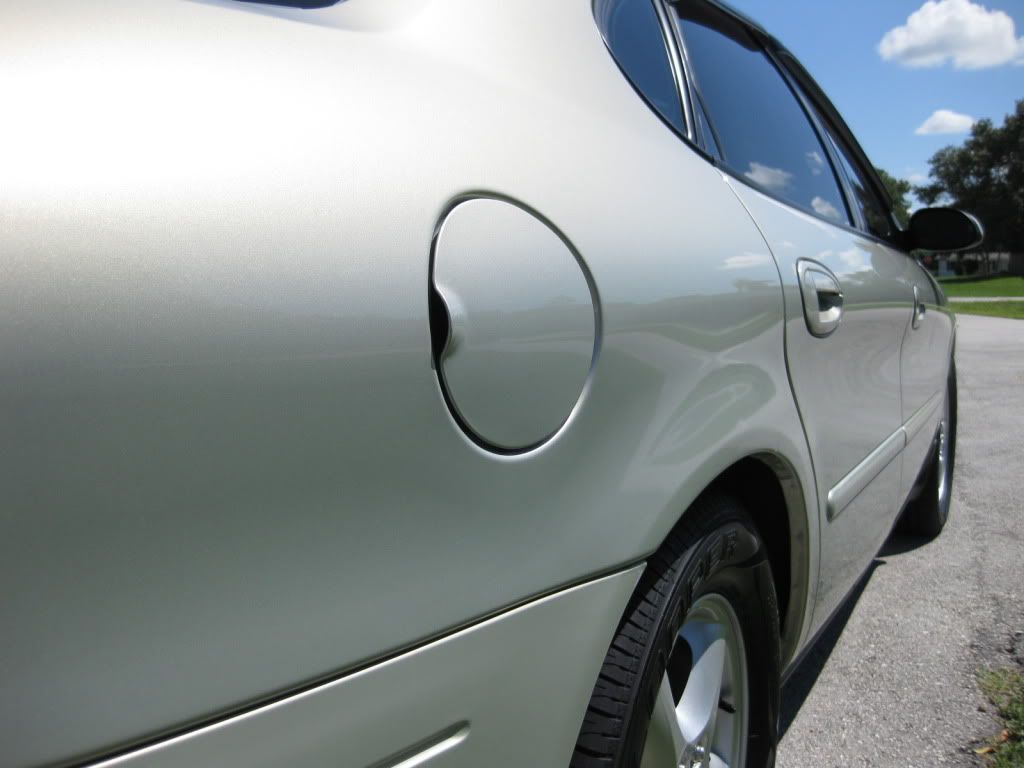
After
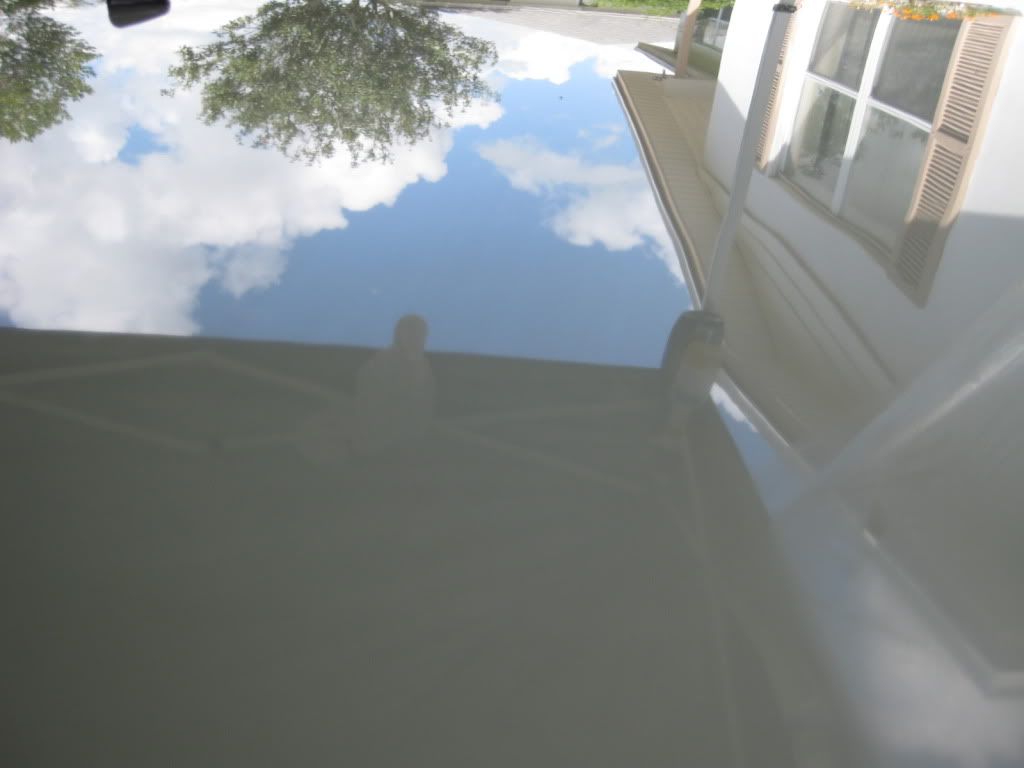
I would love to continue with the full story of the Taurus but since you clicked on a thread called “Review: CarPro Eraser” I think it’s safe to assume you would like to stay on that subject. I’ll save my jabbering for later and simply tell you that with the patient fresh and clean (courtesy of Eraser) I was able to rest easy as I applied CQuartz to the vehicle and followed with Reload a couple hours later.
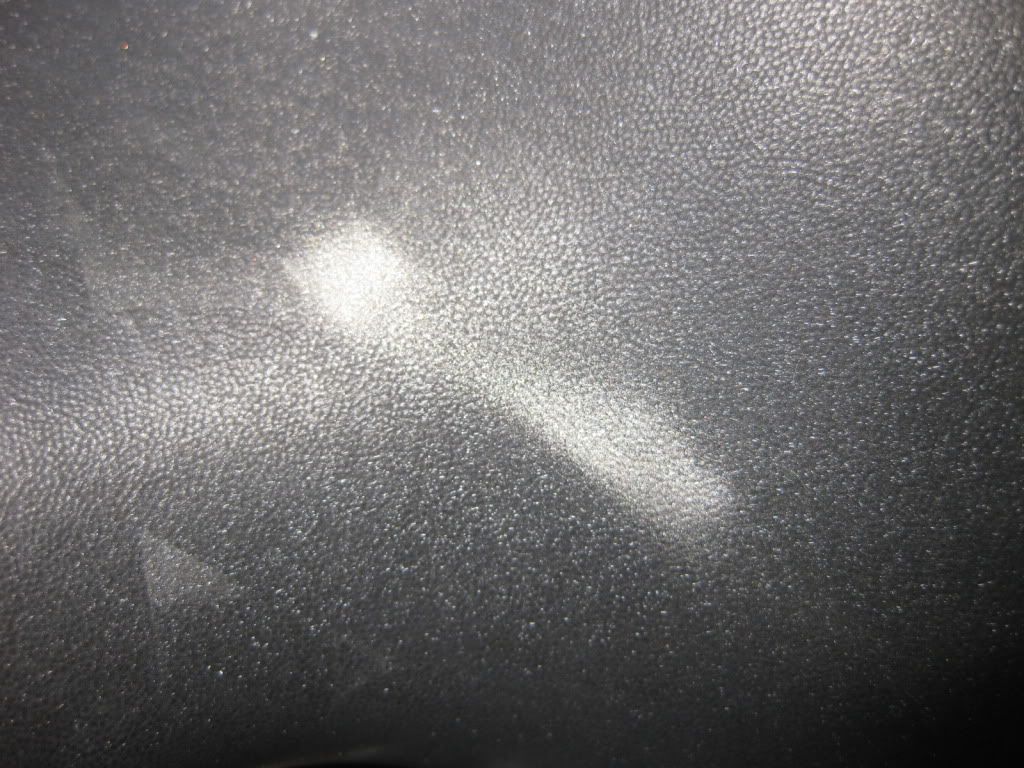
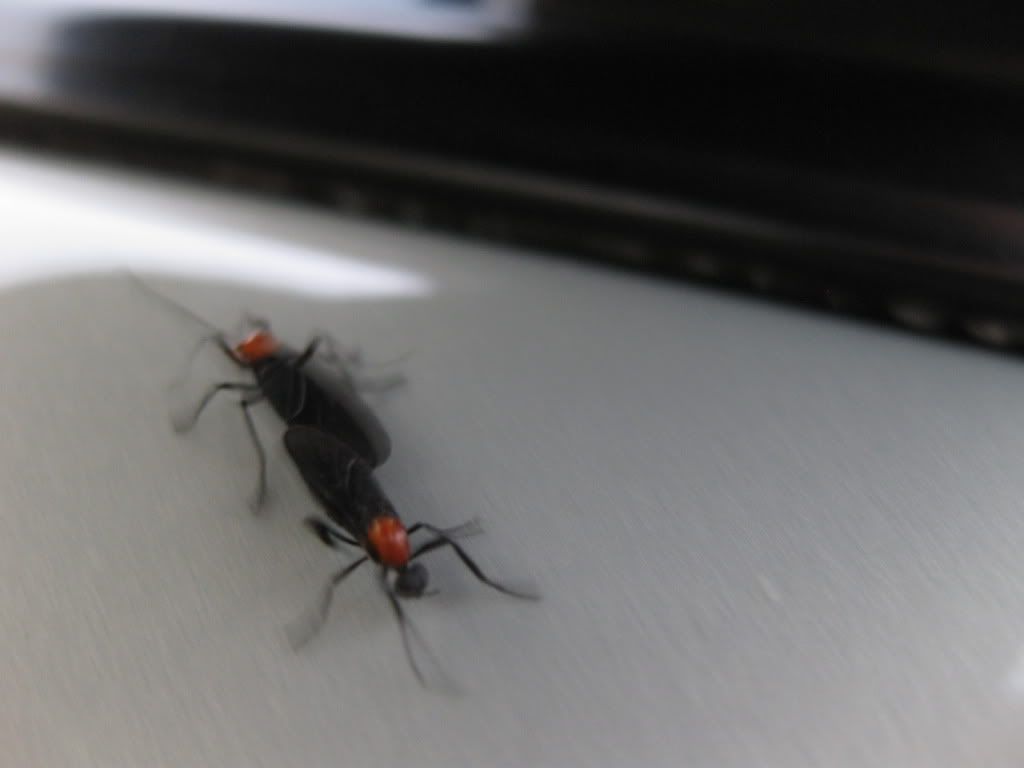
Does Eraser Resist dust better than IPA?
Eraser claims an anti-static affect. The purpose of this is to allow the paint to stay clean between the time you prep with Eraser and the time you get back around the vehicle to apply CQ. On the vehicle I featured above the only thing I saw settling on the car were these wonderful little creatures we affectionately call “love bugs”.
To be fair and honest I can’t say I would have seen any dust regardless in such a short amount of time with this color of paint so I set up a separate test on a test panel just today. Unfortunately that is still inconclusive as there isn’t any dust built up on it to tell a difference in the couple hours its been sitting there. I’ll update on that later.
Will Eraser Easily Remove a Polymer Sealant or Carnauba Wax?
Obviously this is not what the product is intended for but I was curious about this question for the people that will ask (like me J). On another test panel I tested the ability of Eraser to remove a polymer sealant, which had been applied a couple months earlier. I did not apply a ton of product or really try to force it to work. I simply used it as I would to prep my paint for lsp after polishing. Based on my findings below I believe a liberal, repeat, or vigorous attempt with Eraser could remove many sealants but I doubt it would be best practice or the most efficient method when you can simply strip them during your pre-polish wash cycle. And of course the sealant will be removed when you polish regardless of what you did up to that point. With a simple spray and wipe method I used it did remove some of the sealant but not all.
Video: Will Eraser easily strip a sealant?
05 Does Eraser strip Sealants.wmv - YouTube
Will Eraser Remove a Carnauba Wax?
Yes it can. I took Eraser for a spin down this road and it did remove the wax in my test.
Cost:
This chart is based on a few assumptions and of course varies depending on the size of the vehicle, the user, the towel, and the trigger used to apply it.

Amount used on a Ford Ranger (small pickup truck):
Twice this amount or more is used on an average car depending on the trigger used to apply.
Started With
Ended With
Pros:
1.- Application: Ease of use
2.- Fast removal of oils
3.- No streaking or smearing
4.- Increased durability of Cquartz and other LSP (Assumed)
5.- Scent: Fresh
???:
1.- What will the cost be of the 5 liter bottles?
2.- Antistatic: Resists dust? (No difference between IPA and Eraser Noted)
Cons:
1.- Price (Based on US Cost) Not sure for my friends on the other side
Product Summary:
The first thing you notice about Eraser as you pull the trigger is the scent. There really is no other way to describe it than fresh. My wife thought it smelled like bubble gum. The first time you actually use it to remove oils from the paint the thing that grabs you is how easily it removes them with no smearing. And also of notice you no longer get that irritating grabby feeling that you find when using IPA.
Previously when you were to apply CQuartz CarPro recommended a dawn/ipa mix where as with Eraser that is a thing of the past and is quite welcome in my opinion. The “guess work” and experimental methods of cleansing varied with each detailer and with Eraser the prep work of CQuartz application is simplified and time is saved.
Eraser is specifically designed for prep before CQuartz but you can use it for prep of waxes, sealants, and other lsp as well. I personally will be using it before application of CQuartz and other coatings from here on out as well as my tool for inspecting the surface during polishing.
Now when it comes to sealants and waxes I have had a different method than most for my prep before sealant or wax. My method for those lsp types rarely ever involved ipa so I didn’t plan to start using Eraser for those preps. However, after figuring it only takes about 1$ or 2 to wipe down a car with Eraser and it will be faster than my previous method (time=money) I will probably use it a lot regardless of lsp.
I haven’t run into problems with Ipa on soft paint personally but I would be negligent if I did not mention that some people say they get marring when using IPA on extremely soft paint. I don’t know if it’s a combination of the towels they use and the IPA but I just haven’t seen it myself.
Discussion, questions, comments, and thoughts are welcome and appreciated. Thank you for taking the time to read this review! Cheers
Introduction:
I first heard about this product a few months ago and as someone who has applied CQuartz more than a few times I was happy to hear a product was coming that would aid in cleansing and prepping the surface before CQuartz. I was particularly excited I would no longer have to jump through any hoops to prep the paint before application of a coating. I’ve now been testing Eraser for a while and have used it on more than a few different vehicles. In the following review I will take you through my experiences with the product but will condense and funnel the majority of my observations towards one vehicle in particular.
Product Claims:
CarPro Eraser is an intense cleaner designed to dissolve oil particles and remove polish residue to prepare the paintwork for Cquartz. Eraser attracts polish residue and dust better, cleans better than IPA, and aids in keeping the finish dust free while you apply Cquartz.
Details:
1.- Packaging: Plastic bottle / Cool label
2.- Directions: Simple
3.- Viscosity: Thin
4.- Color: Light Blue
5.- Scent: Fresh
6.- Regular Price: 1.7 oz. (50ml) = $ 5.99
7.- Regular Price: 16.9 oz. (500ml) = $14.99
8.- Regular Price: 33.8 oz. (1000ml) = $19.99
9 - Regular Price: 169 oz. (5000ml) = $_____
10.-Manufacturer: CarPro
11.-Made in: Korea
Product:
Additional tools needed for application:
Micro Fiber Towel
Introduction (continued)
For years many of us have been using a number of products to strip the oils from our paint during and/or after polishing. Some of us have been using this method just to check the occasional area to be sure we are producing hologram or mar free paint. Others wiped the paint down religiously on each section with IPA or mineral spirits as a couple examples.
For many, another purpose of IPA or mineral spirits was to remove the oils with the goal of producing a surface the wax or sealant could bond to. While others would wash the vehicle with water and an entirely different array of products to achieve this, still others (like myself) would use a paint cleaner that was compatible with the sealant or wax that was to be used.
Fast forward:
Today it is often more important than ever to be sure you have a completely clean surface. Specifically I am talking about when applying a coating rather than wax or sealant. When applying a coating such as CQuartz you want to be sure that the coating bonds to your paint, glass, and other surfaces and lasts for the duration you are expecting. And the most important factor that you can control is the cleanliness of the paint at time of application. Just prior to application coatings are more dependant on a perfectly oil free surface than the traditional lsp is. Actually It would be more correct to say a larger percentage of their lifespan hinges on it.
Video: A Quick Intro to get started
01 Eraser Application.wmv - YouTube
Washing and Prepping Before Polish (Eraser not yet involved):
I had a Taurus I was working on a few weeks back that was to undergo a number of corrections and enhancements. The majority of this review will focus on this vehicle, although some observations and information is based on past and later vehicles as well.
The Taurus was thoroughly rinsed. Next it was washed with UPGW with some OPC mixed in and OPC 3:1 sprayed on one panel at a time during the wash phase. After a thorough rinse and dry I was pre-occupied the remainder of the day with painting certain areas but more on that after the review. It was “predicted” there would be no rain that weekend but the following morning I awoke to a rain soaked car and very cloudy skies.
After rinsing I moved onward with a quick blow dry from the Master Blaster. Next it was time to decontaminate the vehicle. After application and removal of TarX (followed by a rinse and a blow) IronX was next up. After dwell, agitation, and rinsing it was another quick blow.
Just something quick I want to point out. If you haven’t tried the IronX I would recommend giving it a shot. Time is money and the time I saved by using IronX and TarX saved me more than the cost of the product used on it. Riccardo clay was used as needed and went much faster than it would have thanks to my previous decontamination steps.
The vehicle was quickly washed again and the crevices and wheels were quickly blown out. The large planar surfaces were dried with an mf/ww towel. Normally I use the Master Blaster for drying the entire vehicle but in the case of a stripped vehicle that is in need of being corrected, I have a place to still use my ww towels.
Eraser as Inspection tool:
As I moved through the polishing phases I used Eraser as my inspection tool. After polishing a section I sprayed eraser across it and using a clean short weave towel I wiped the surface clean and then flipped the towel and wiped again with an additional mist for good measure. As I have found every time I use it the oils were removed easily and efficiently. I continued this process after each of the first few sections in an attempt to check my work.
Oil Free: (Photo from another vehicle I used Eraser on from an earlier occasion)
Past Vehicle
Being that it was a metallic colored vehicle and the sun showed no sign of breaking through that day it was very difficult to be sure I had polished the paint to the level I expected. LED and Brinkman were of no use with this color paint so even after removing the oils I didn’t have the necessary lighting. The only way to find scratches, holograms, or marring in this paint was in direct sun and that was not in the cards.
It was very cloudy all day and a little rainy most of it. This was what it was like at one point in the day…
Video: Pouring
02 Pouring.wmv - YouTube
When it got bad enough I set up the plastic sheeting (which I had used for masking the day before) as a shield to hold back the rain from hitting Sky.
Between the rains, the mowing, and many other entertaining adventures, it was turning into a challenging day.
Eraser in action removing polishing oils:
As I mentioned I didn’t have the lighting that day to show you Eraser in action removing polishing oils that day so another weekend I threw a quick test together to make a video you could see with good lighting. For this test I applied some Menzerna PO 85RD which we all know has a lot of oils in it. I spread it across a section of my front hood and rather than working it all the way in I only made a few passes in an attempt to leave plenty of oils on the paint for this test.
Video: Eraser removes polishing oils
03 Eraser Removes Polish oils.wmv - YouTube
I finished the day by polishing out the taillights and headlights and again removing the oils with Eraser, which appeared to be as safe on headlights as it was on the paint. (Full story on the headlights after the review)
Prepping the Paint with Eraser Before Applying Cquartz:
The next morning I got started early and after accomplishing a few other things (among them a quick wash and dry) the sun was available for me to properly inspect the paint. I found some swirls still remaining on the passenger side lower panels so they were corrected. Finally it was time to get to my application of Cquartz.
But first would be the Eraser prep clean! I repeated the following method across all paint, glass, head/taillights, and plastic window hoods.
Method of Application:
1.- Spray on and wipe off with mf towel
2.-Flip towel and one more wipe
3.-Move to next section, flip to clean side or new towel, & repeat
How long does it take to prep a car this size with Eraser?
On this day it was a high humidity/high 90’s day (felt like 120) but wouldn’t you know it the rain still tried to pop in and out with sun showers so as you will see in the video I rigged up the plastic I had used from the day before to protect the areas of the vehicle protruding from the shadow of the canopy..
Video: Eraser Total Prep Time
Please note all surfaces were prepped with Eraser although some of it isn’t in this video thanks to the memory card filling up without my knowledge.
04 Eraser Total prep time.wmv - YouTube
After
I would love to continue with the full story of the Taurus but since you clicked on a thread called “Review: CarPro Eraser” I think it’s safe to assume you would like to stay on that subject. I’ll save my jabbering for later and simply tell you that with the patient fresh and clean (courtesy of Eraser) I was able to rest easy as I applied CQuartz to the vehicle and followed with Reload a couple hours later.
Does Eraser Resist dust better than IPA?
Eraser claims an anti-static affect. The purpose of this is to allow the paint to stay clean between the time you prep with Eraser and the time you get back around the vehicle to apply CQ. On the vehicle I featured above the only thing I saw settling on the car were these wonderful little creatures we affectionately call “love bugs”.
To be fair and honest I can’t say I would have seen any dust regardless in such a short amount of time with this color of paint so I set up a separate test on a test panel just today. Unfortunately that is still inconclusive as there isn’t any dust built up on it to tell a difference in the couple hours its been sitting there. I’ll update on that later.
Will Eraser Easily Remove a Polymer Sealant or Carnauba Wax?
Obviously this is not what the product is intended for but I was curious about this question for the people that will ask (like me J). On another test panel I tested the ability of Eraser to remove a polymer sealant, which had been applied a couple months earlier. I did not apply a ton of product or really try to force it to work. I simply used it as I would to prep my paint for lsp after polishing. Based on my findings below I believe a liberal, repeat, or vigorous attempt with Eraser could remove many sealants but I doubt it would be best practice or the most efficient method when you can simply strip them during your pre-polish wash cycle. And of course the sealant will be removed when you polish regardless of what you did up to that point. With a simple spray and wipe method I used it did remove some of the sealant but not all.
Video: Will Eraser easily strip a sealant?
05 Does Eraser strip Sealants.wmv - YouTube
Will Eraser Remove a Carnauba Wax?
Yes it can. I took Eraser for a spin down this road and it did remove the wax in my test.
Cost:
This chart is based on a few assumptions and of course varies depending on the size of the vehicle, the user, the towel, and the trigger used to apply it.
Amount used on a Ford Ranger (small pickup truck):
Twice this amount or more is used on an average car depending on the trigger used to apply.
Started With
Ended With
Pros:
1.- Application: Ease of use
2.- Fast removal of oils
3.- No streaking or smearing
4.- Increased durability of Cquartz and other LSP (Assumed)
5.- Scent: Fresh
???:
1.- What will the cost be of the 5 liter bottles?
2.- Antistatic: Resists dust? (No difference between IPA and Eraser Noted)
Cons:
1.- Price (Based on US Cost) Not sure for my friends on the other side
Product Summary:
The first thing you notice about Eraser as you pull the trigger is the scent. There really is no other way to describe it than fresh. My wife thought it smelled like bubble gum. The first time you actually use it to remove oils from the paint the thing that grabs you is how easily it removes them with no smearing. And also of notice you no longer get that irritating grabby feeling that you find when using IPA.
Previously when you were to apply CQuartz CarPro recommended a dawn/ipa mix where as with Eraser that is a thing of the past and is quite welcome in my opinion. The “guess work” and experimental methods of cleansing varied with each detailer and with Eraser the prep work of CQuartz application is simplified and time is saved.
Eraser is specifically designed for prep before CQuartz but you can use it for prep of waxes, sealants, and other lsp as well. I personally will be using it before application of CQuartz and other coatings from here on out as well as my tool for inspecting the surface during polishing.
Now when it comes to sealants and waxes I have had a different method than most for my prep before sealant or wax. My method for those lsp types rarely ever involved ipa so I didn’t plan to start using Eraser for those preps. However, after figuring it only takes about 1$ or 2 to wipe down a car with Eraser and it will be faster than my previous method (time=money) I will probably use it a lot regardless of lsp.
I haven’t run into problems with Ipa on soft paint personally but I would be negligent if I did not mention that some people say they get marring when using IPA on extremely soft paint. I don’t know if it’s a combination of the towels they use and the IPA but I just haven’t seen it myself.
Discussion, questions, comments, and thoughts are welcome and appreciated. Thank you for taking the time to read this review! Cheers