OakesDetail
New member
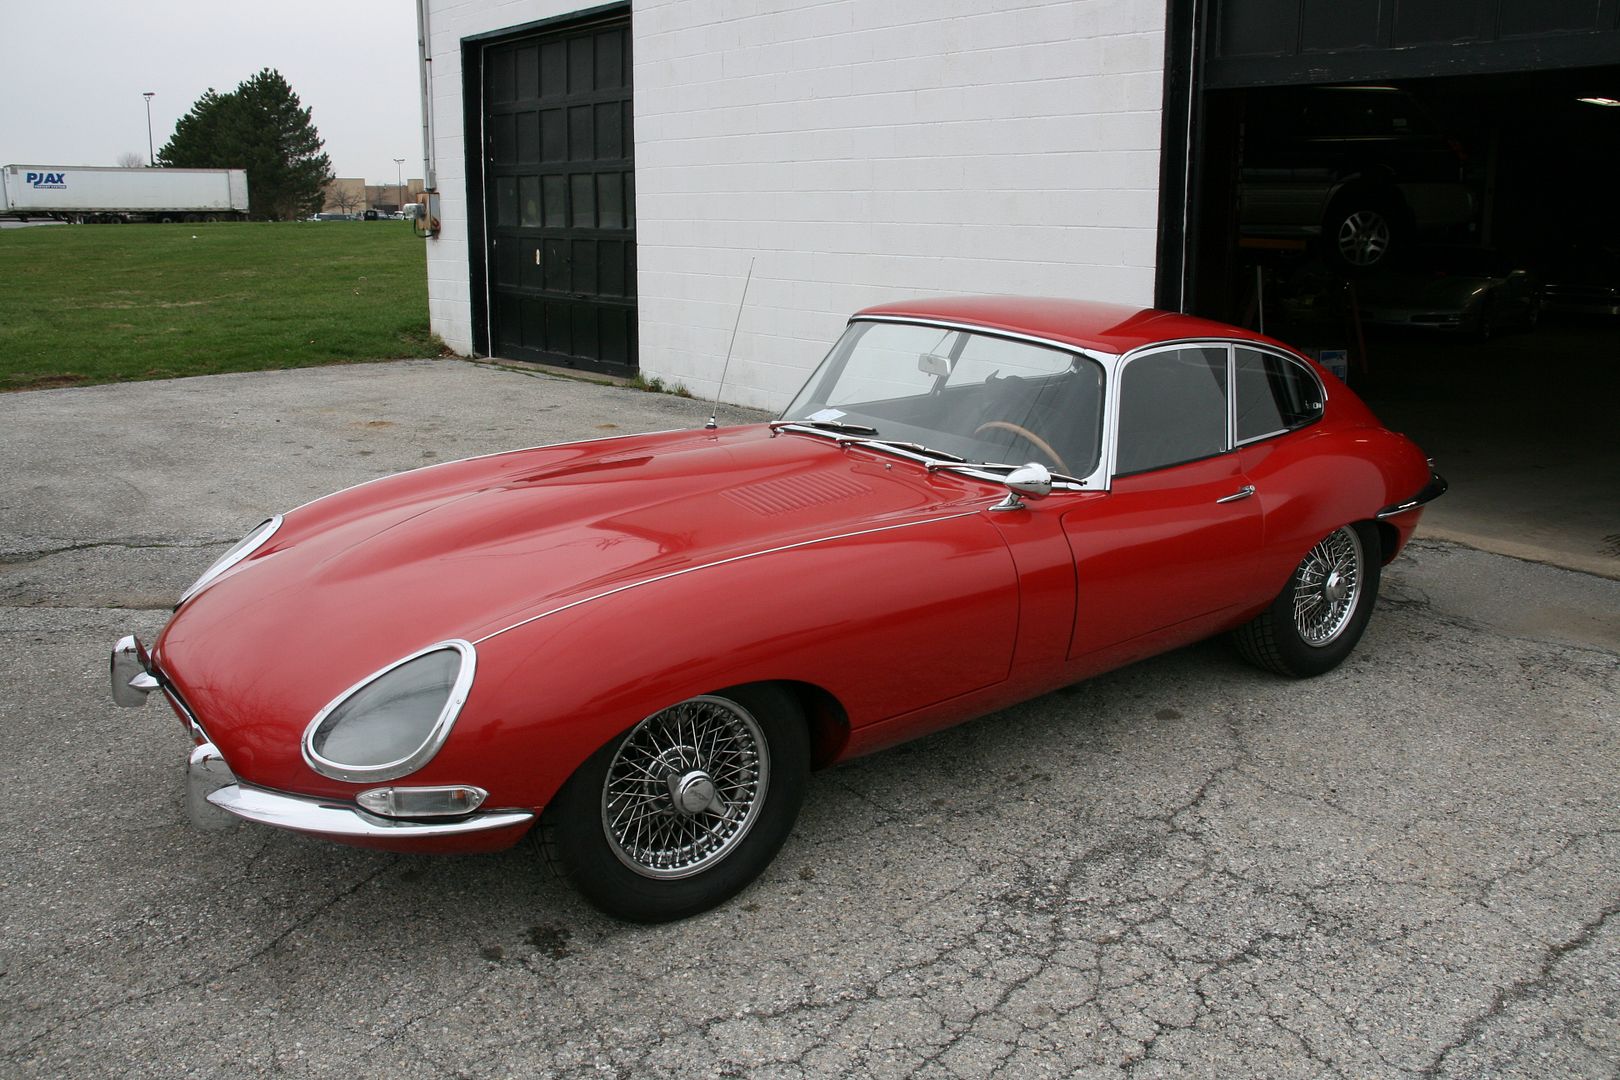
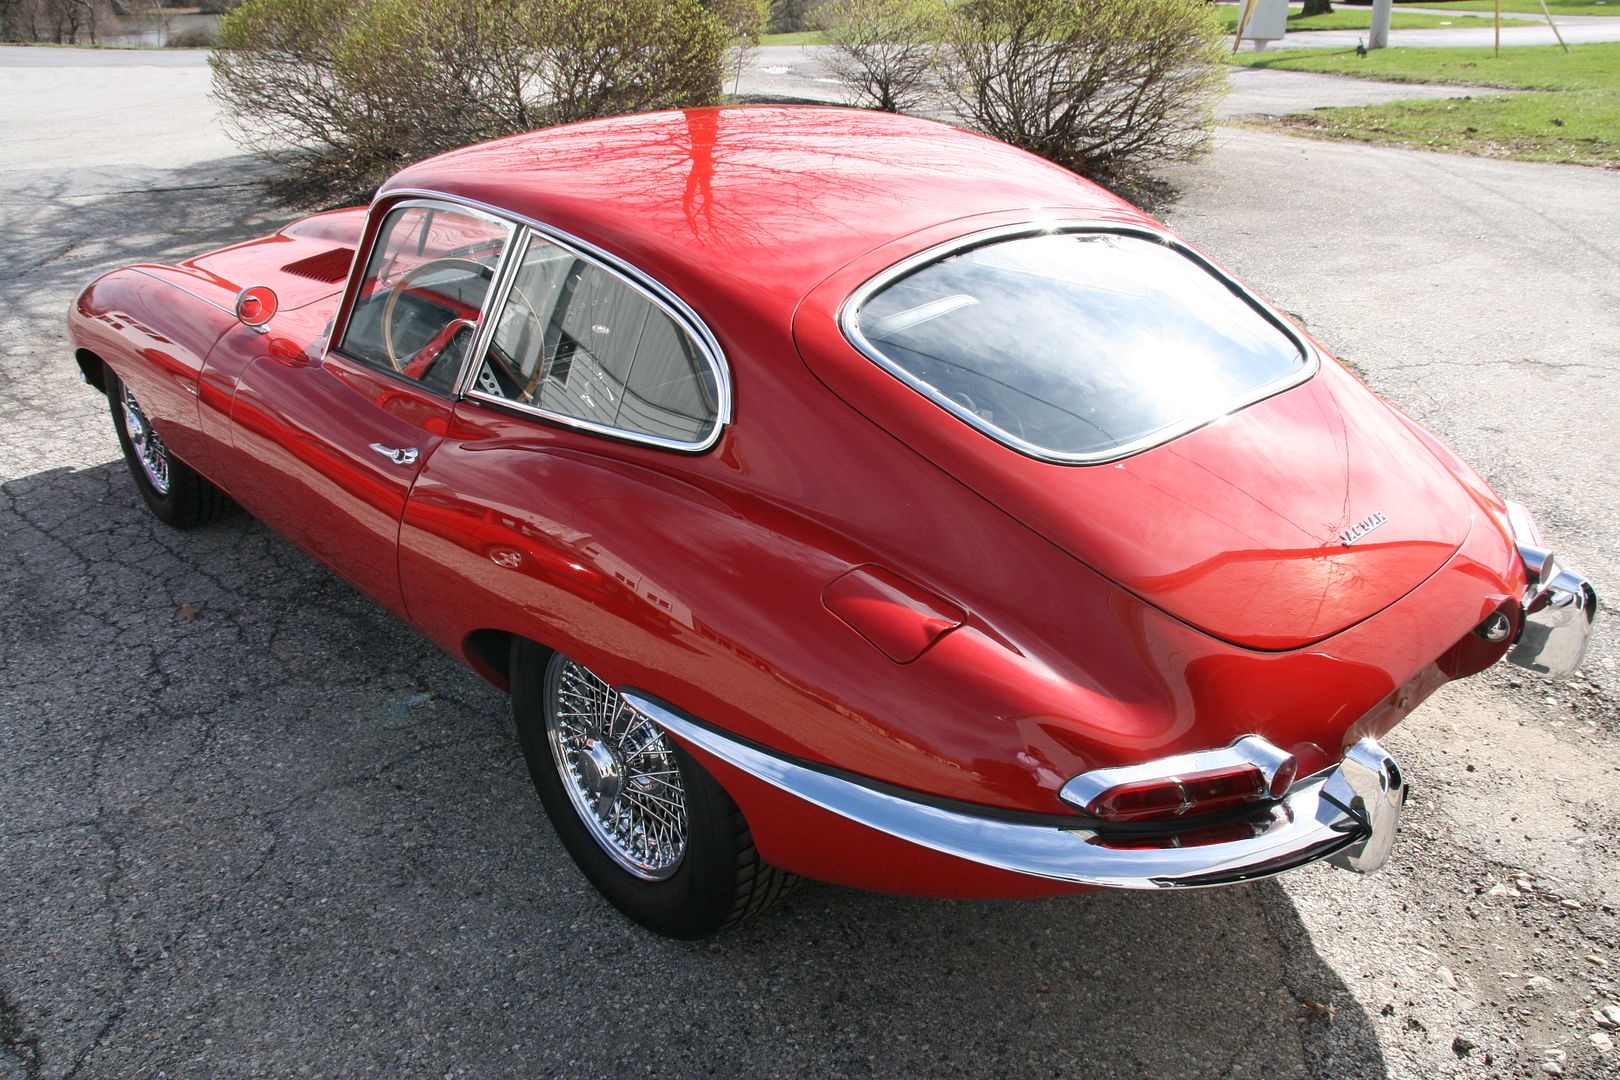
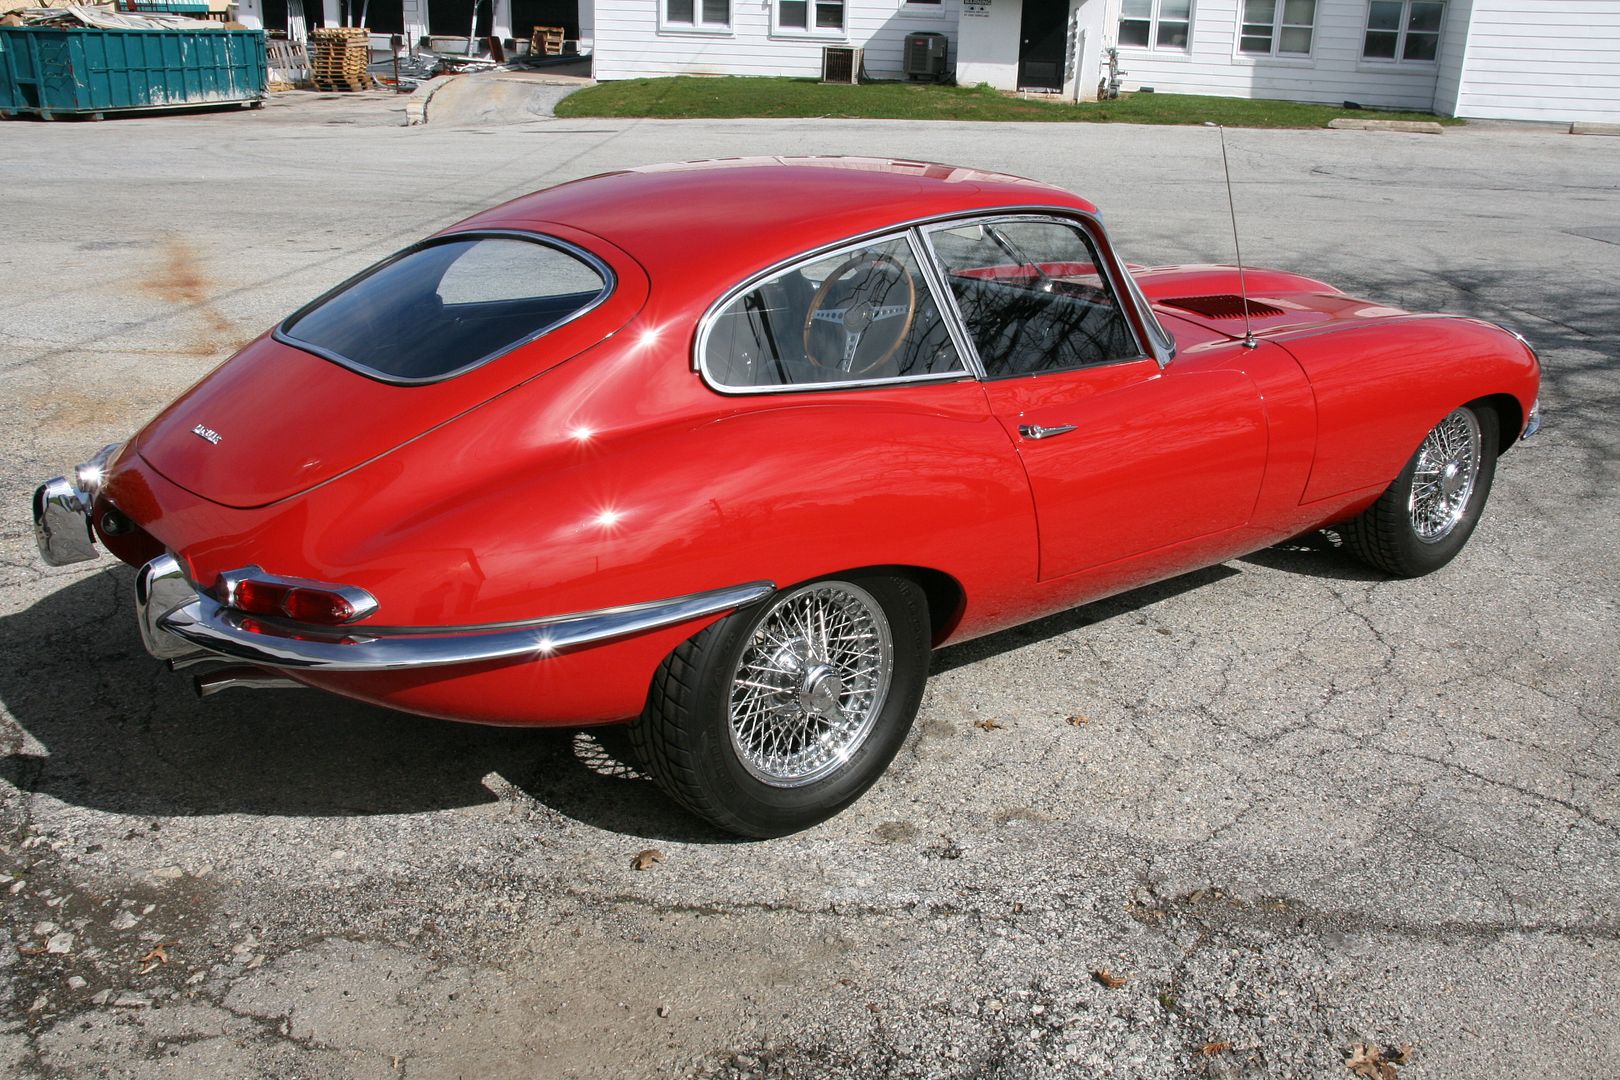
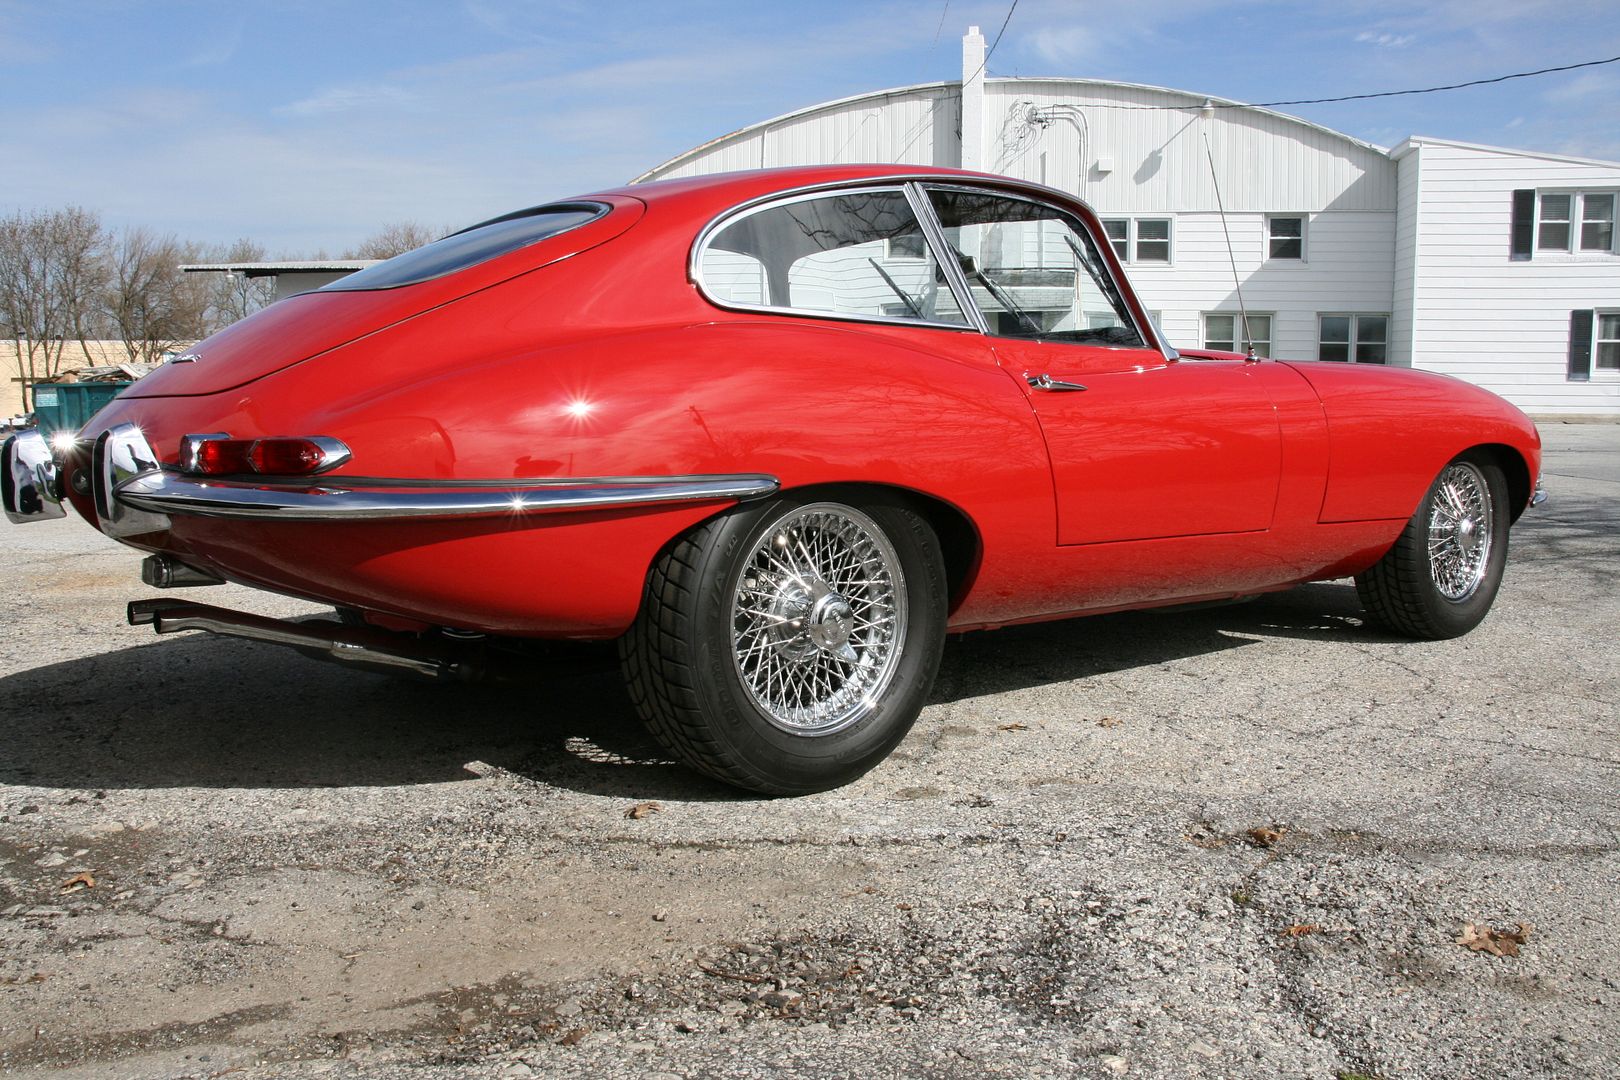
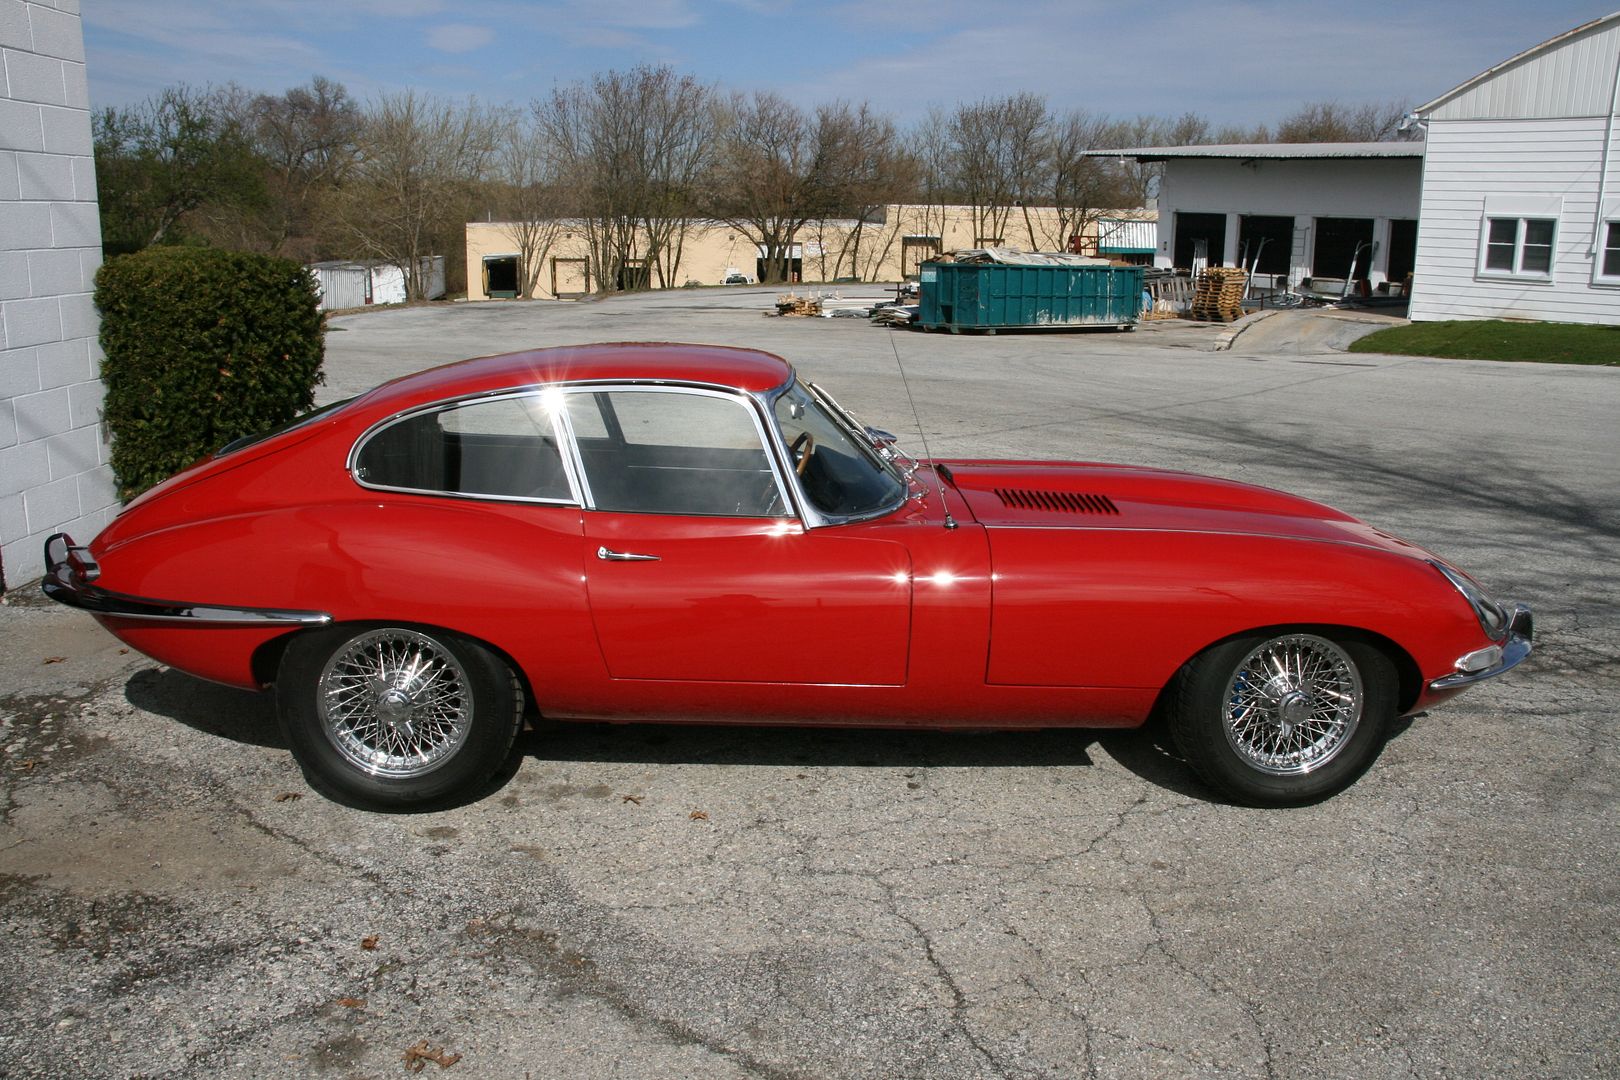
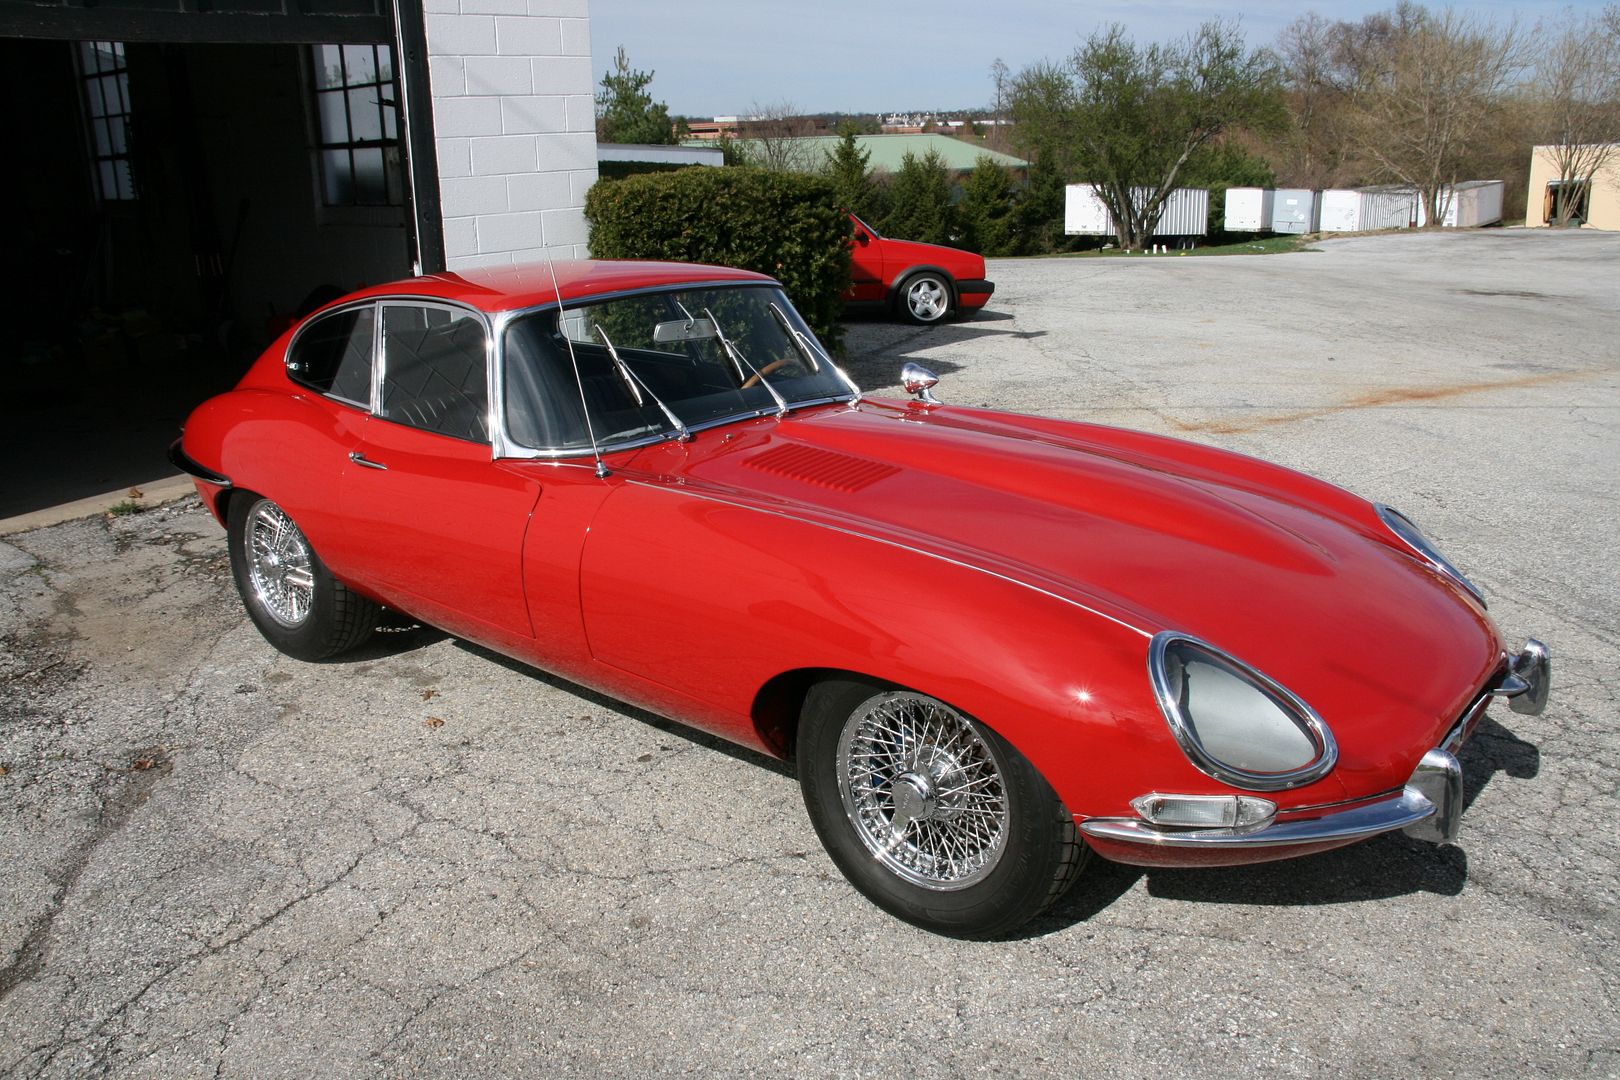
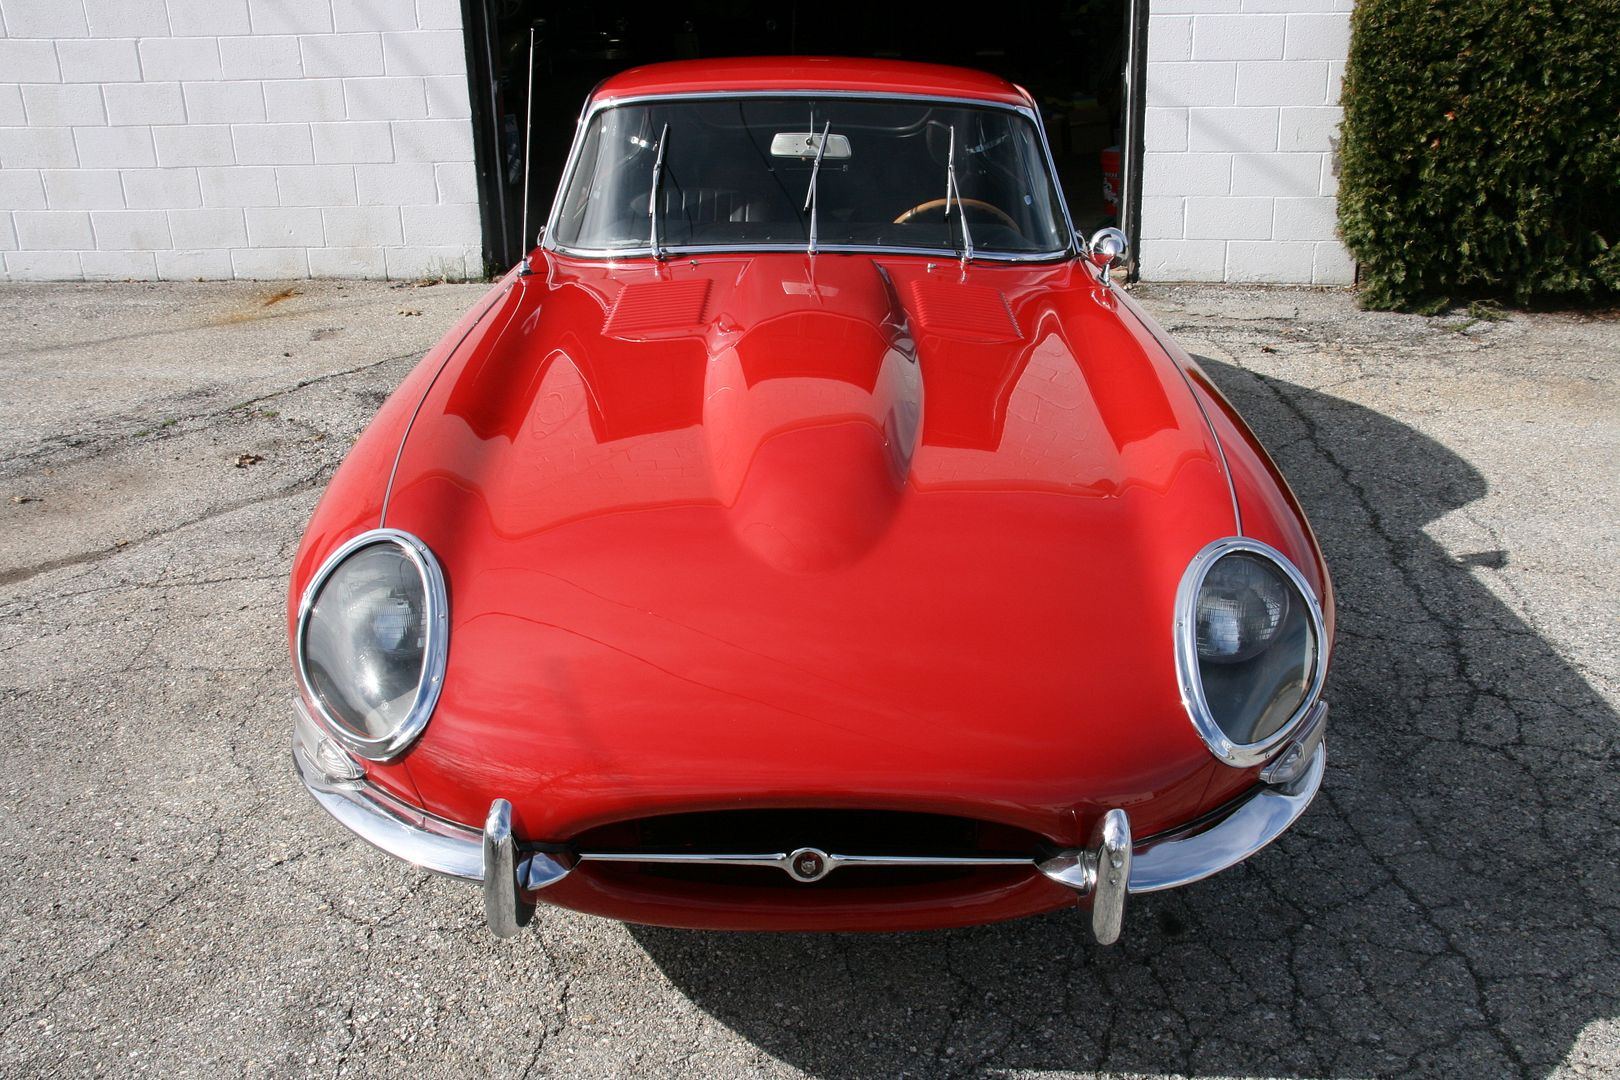
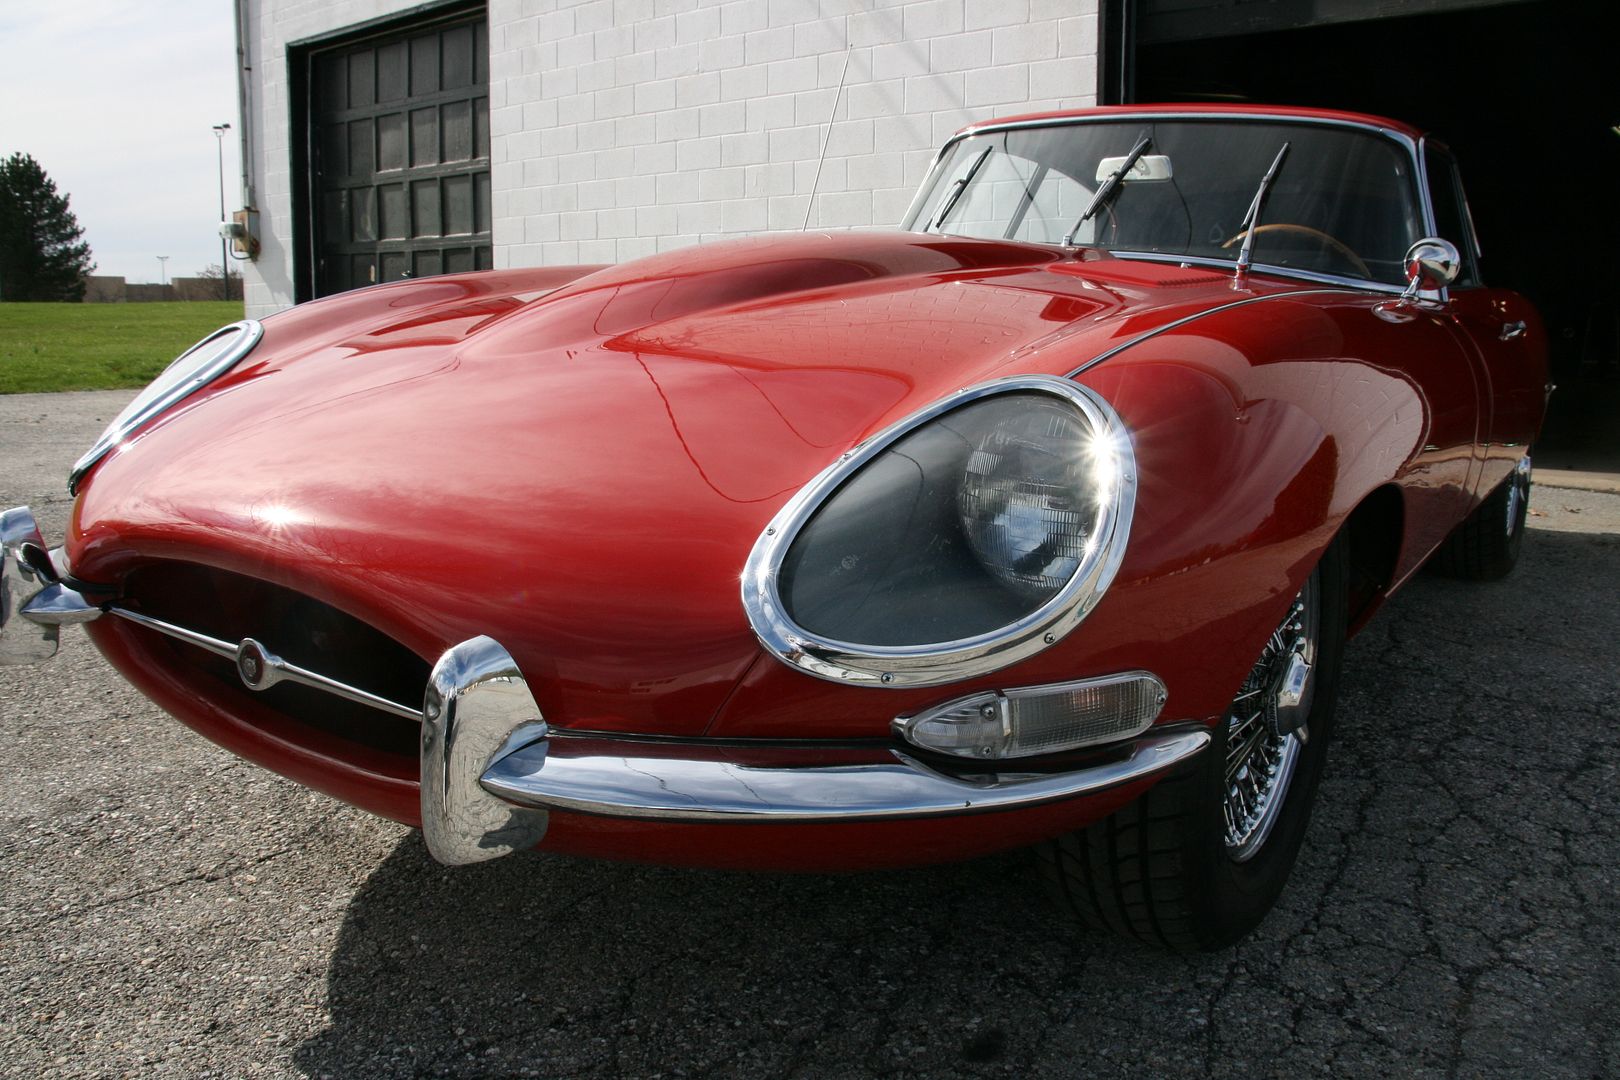
This Red classic was in need of a complete refresh of it's single stage paint. Over the course of two days, we did exactly that. This tired, faded looking red was brought back to life through our careful processes. This immediately recognizable car now looks the way she did back in 1964 for everyone to appreciate. I'm ...glad to have had the opportunity to work on this car for it's knowledgeable and friendly owners! Who are only the second owners of this 46 year old vehicle none-the-less!
Process:
Meguiars 105 - Purple
Menzerna 203 - Orange
Menzerna PO85 - Green
P21S Paint Cleanser
Jetseal 109 - Black
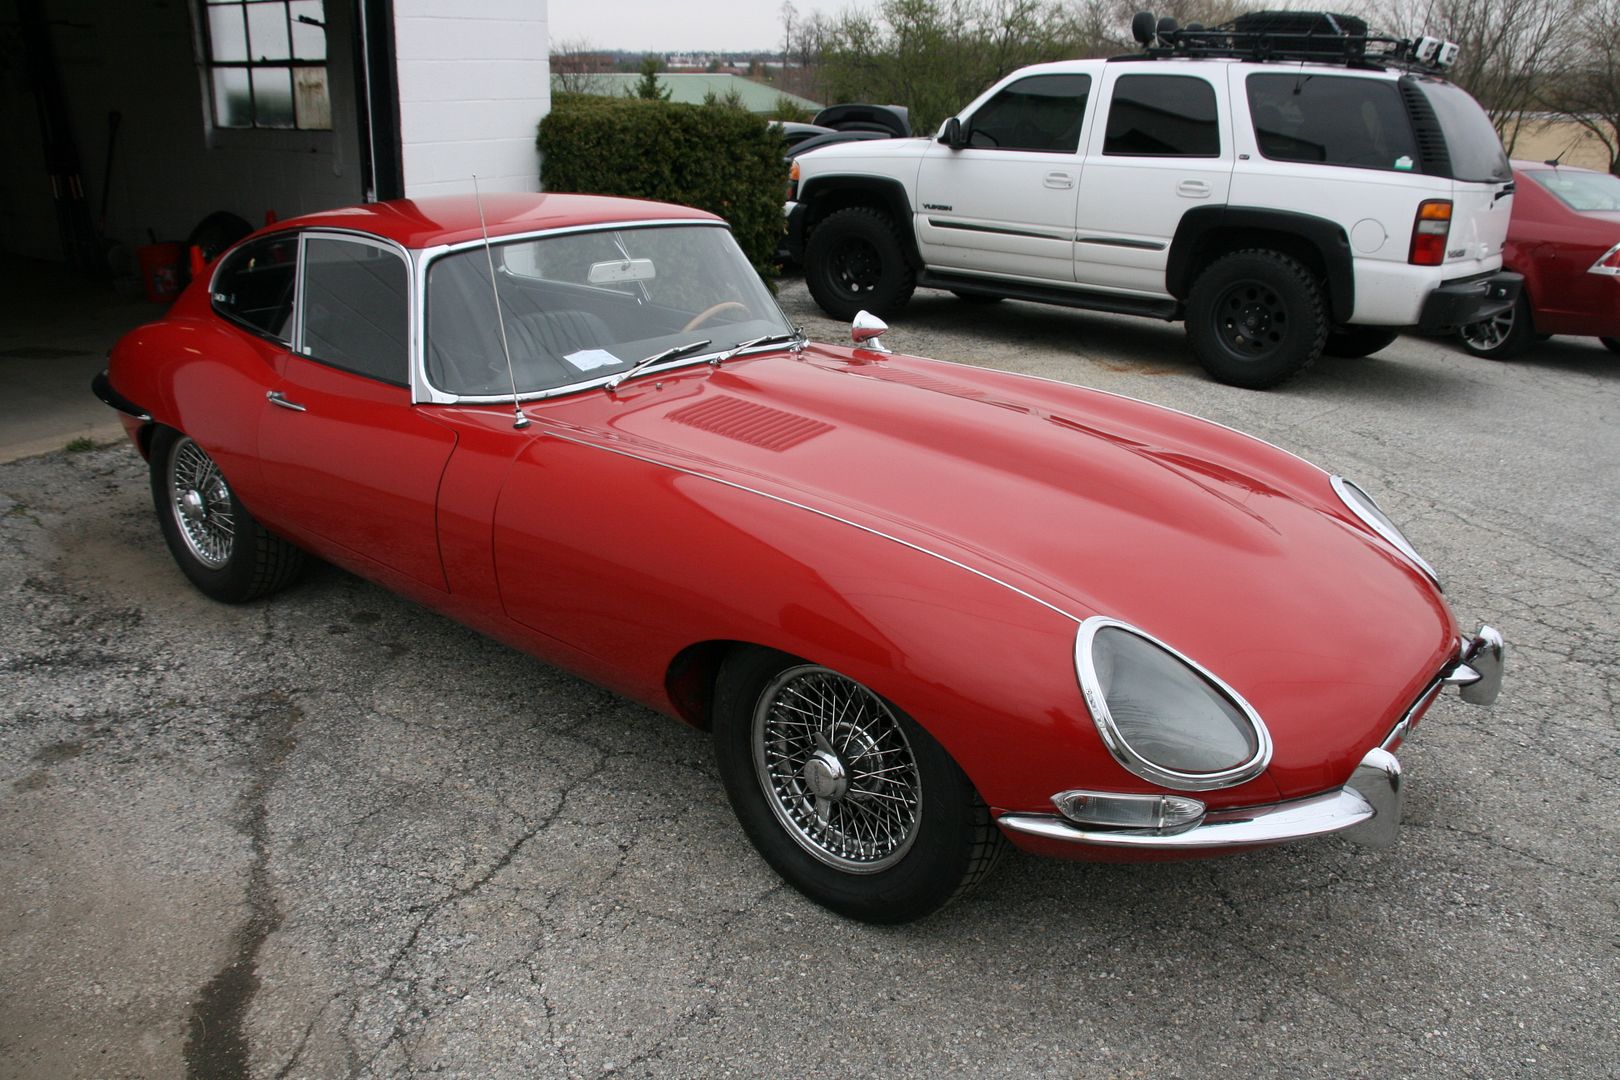
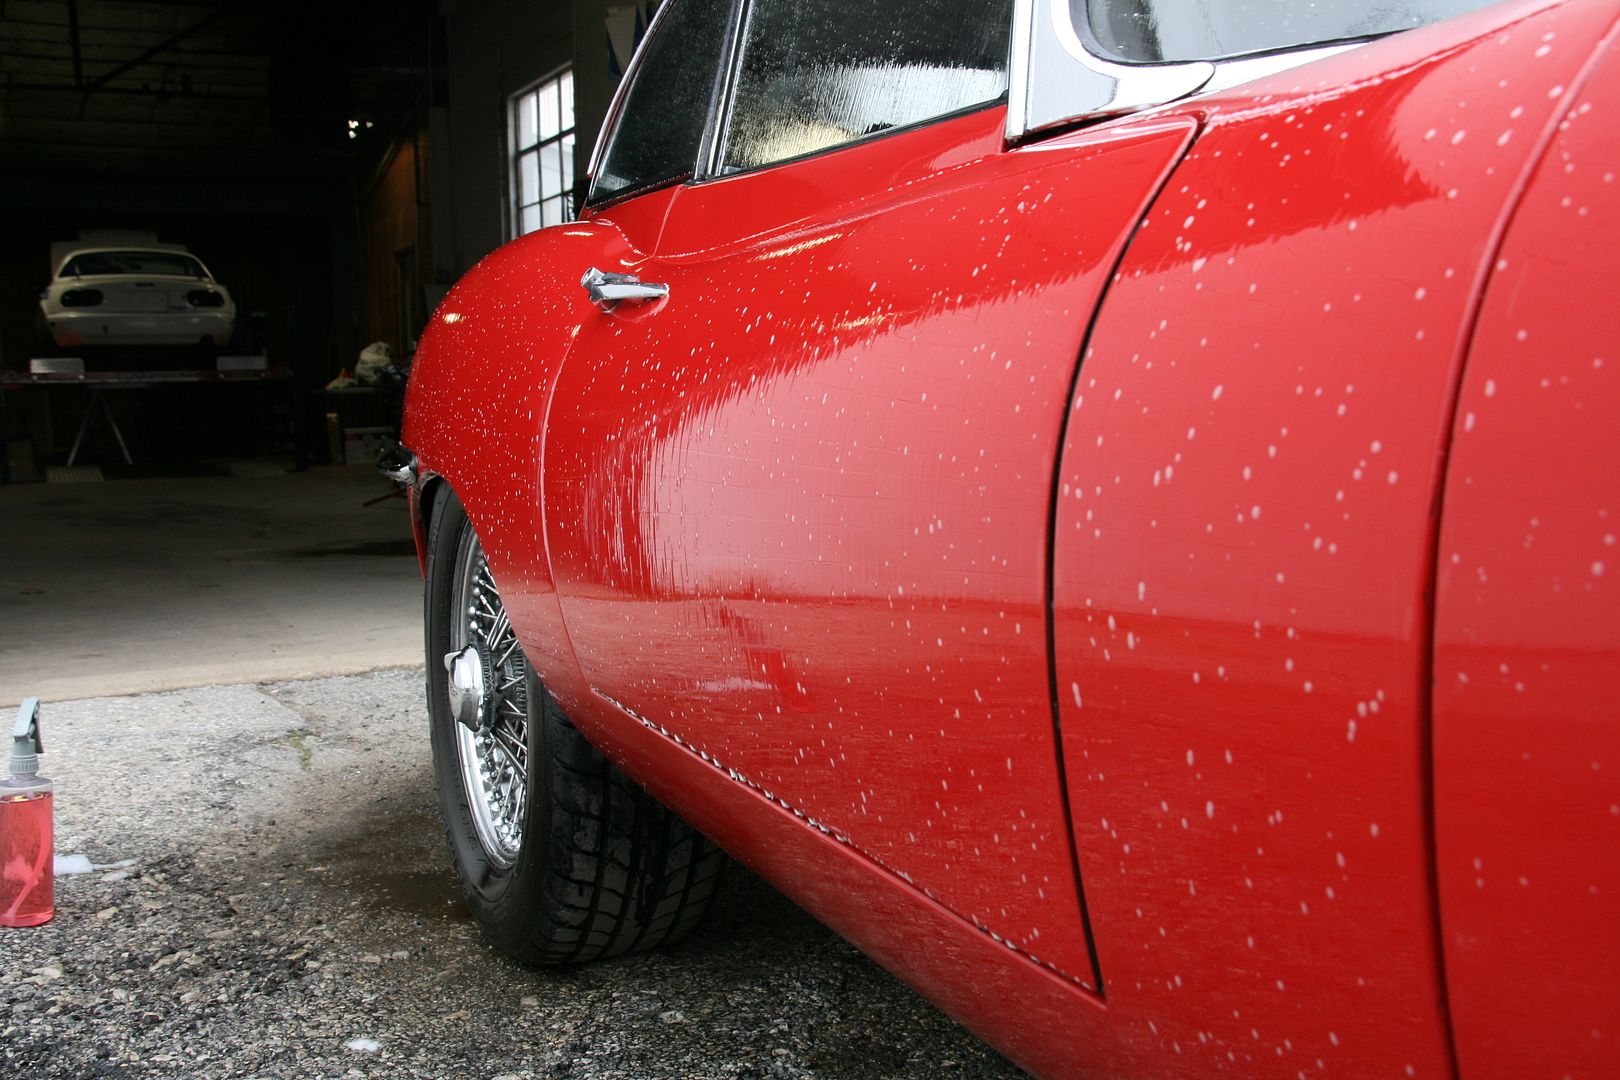
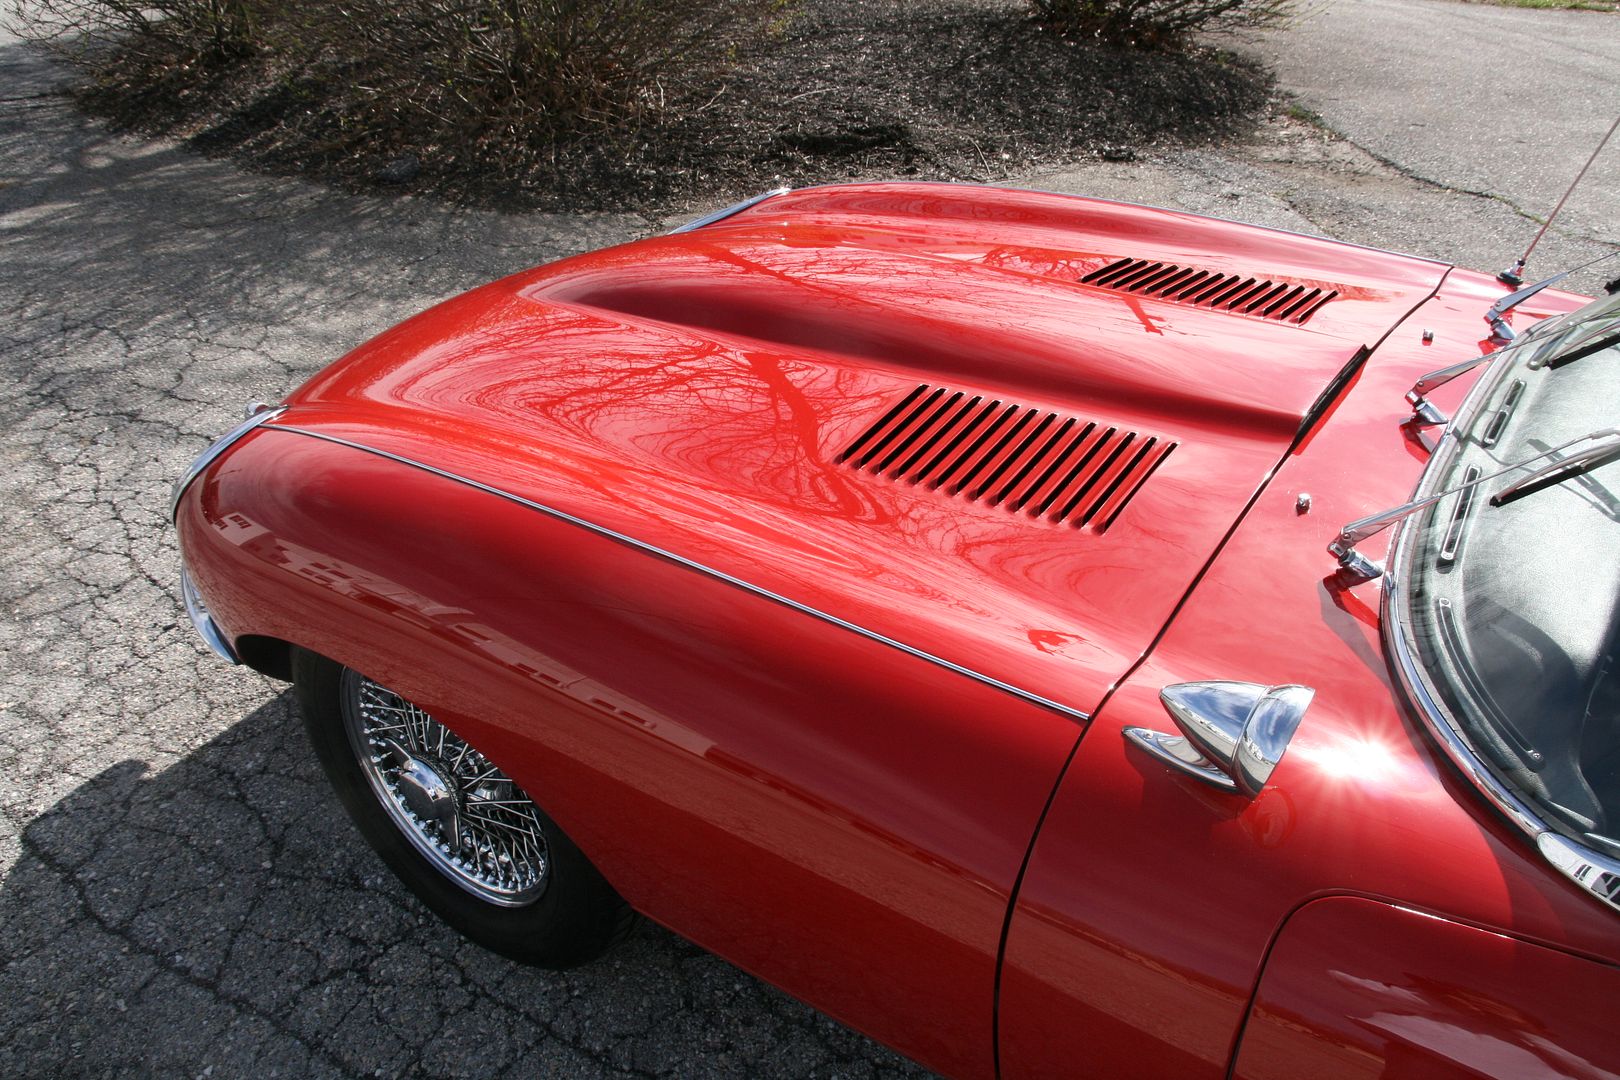
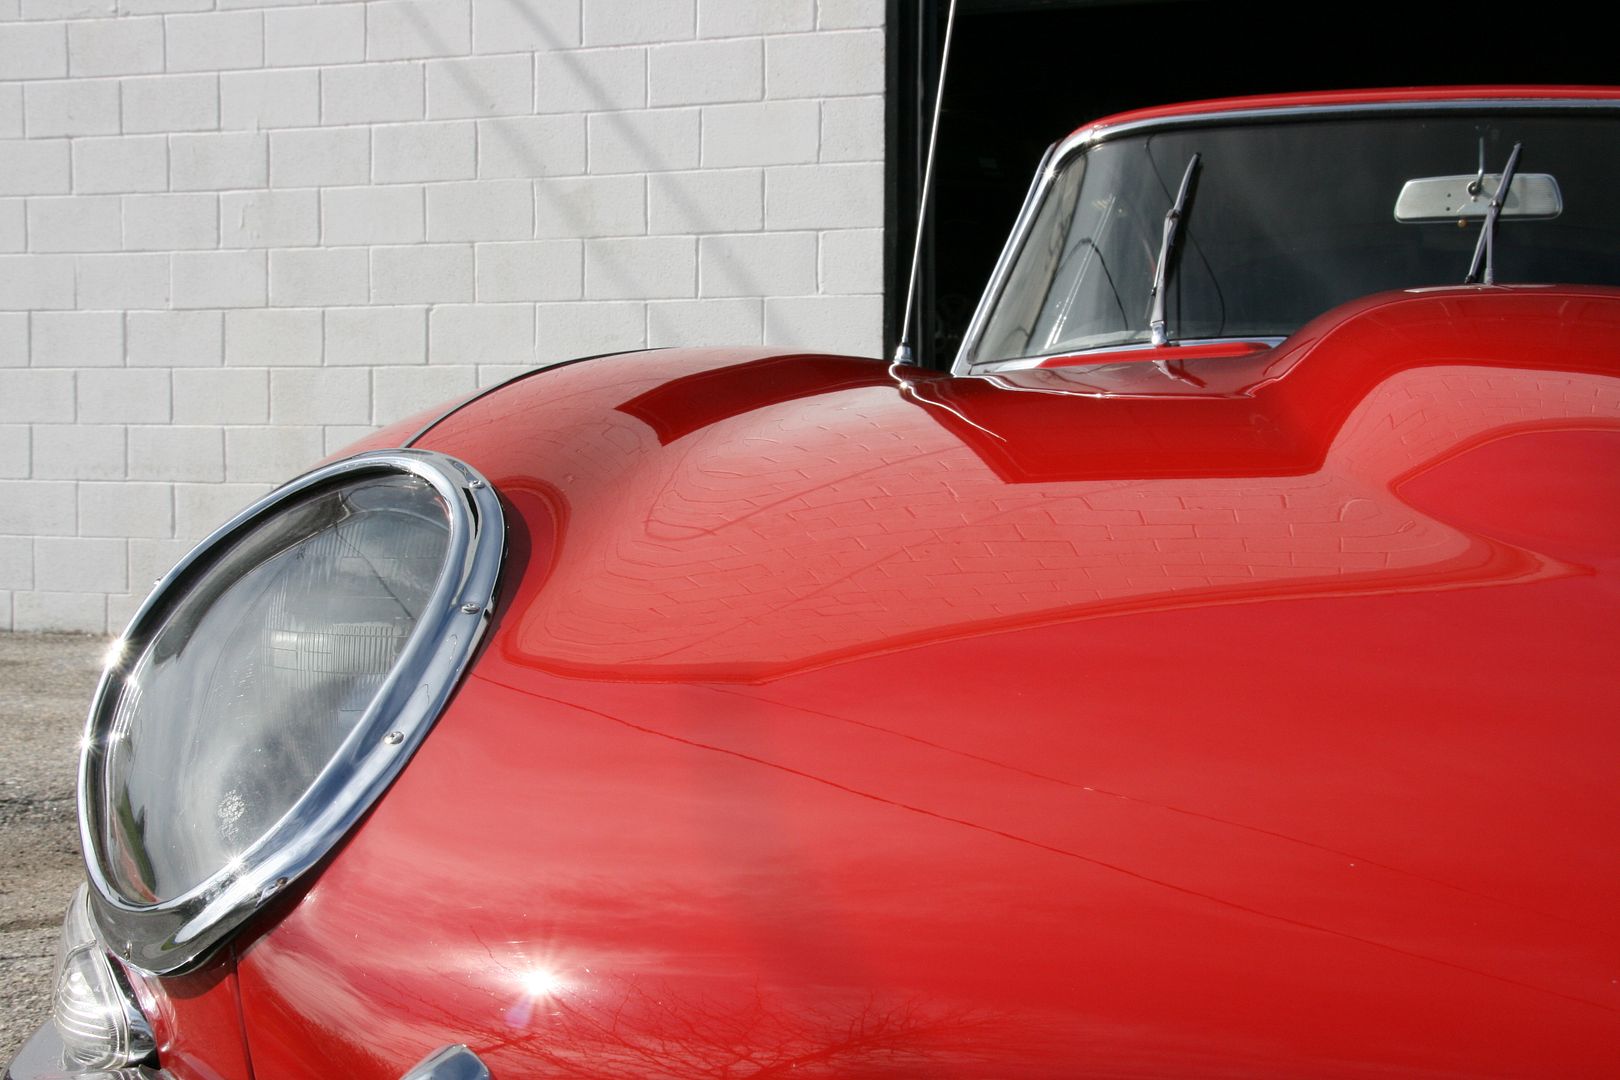
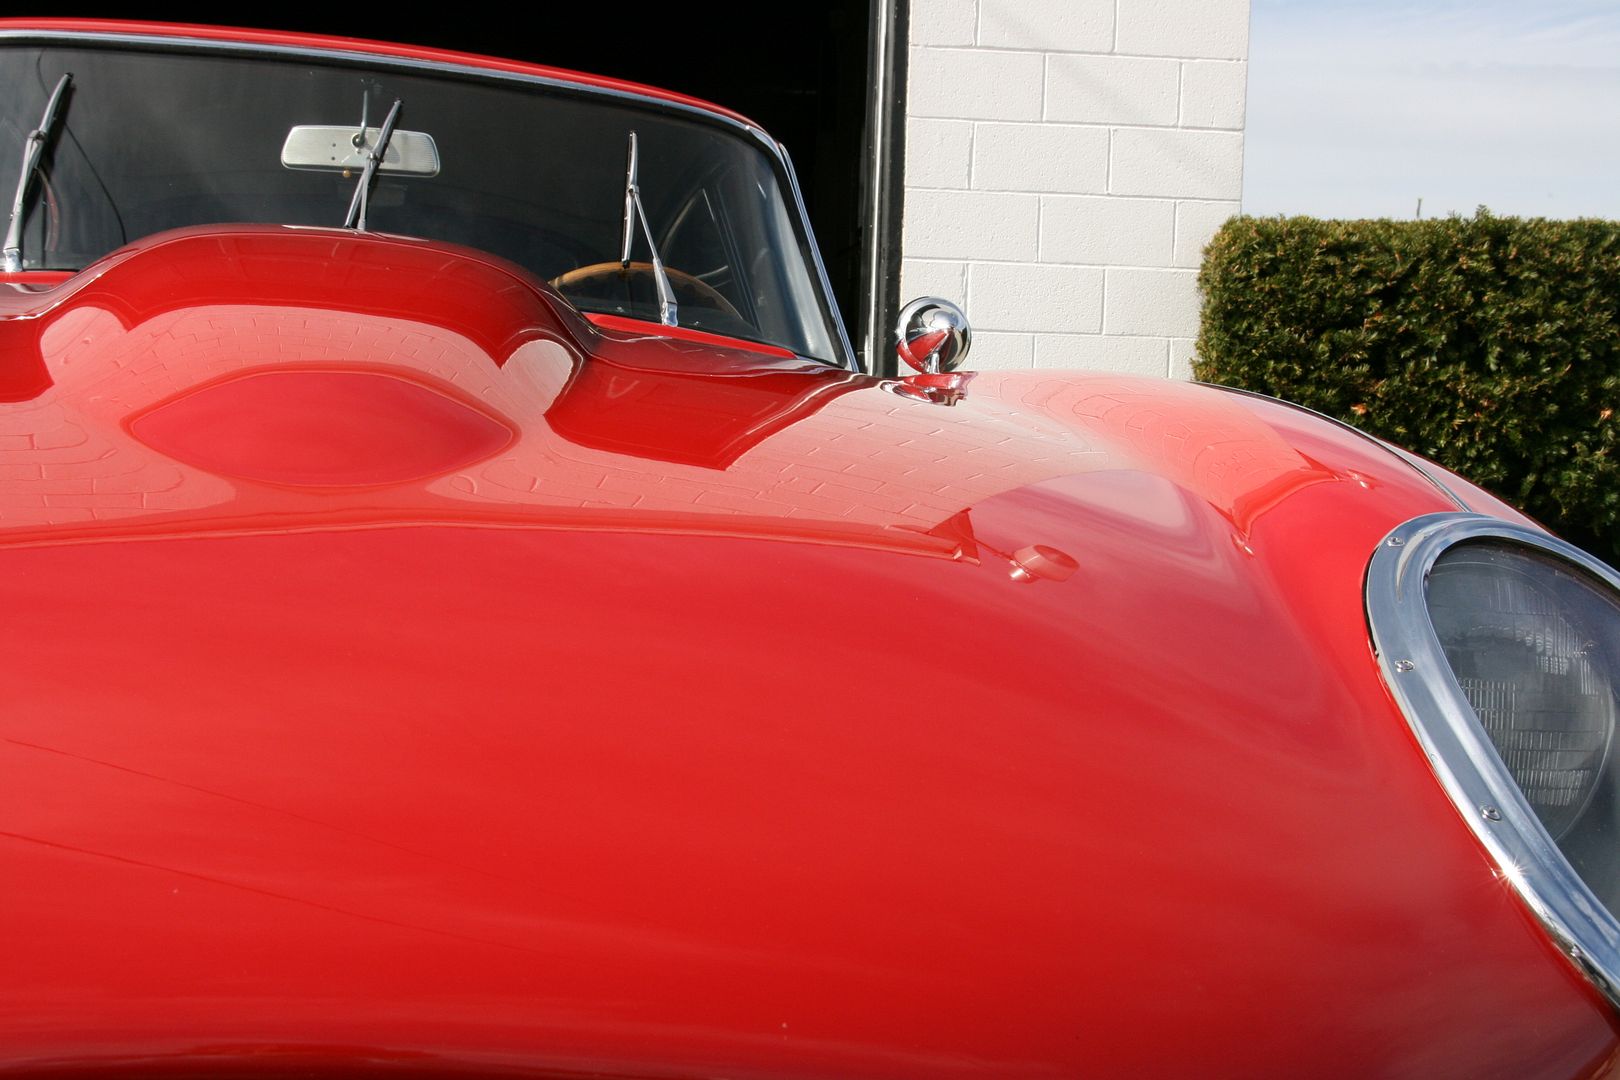
Overall pictures of the car as it sat when I arrived, you can tell the paint is faded and needs conditioning.
TAW running down the side of the vehicle, applied this twice to ensure most of the previous wax was stripped as much as possible, before the citrus wash.
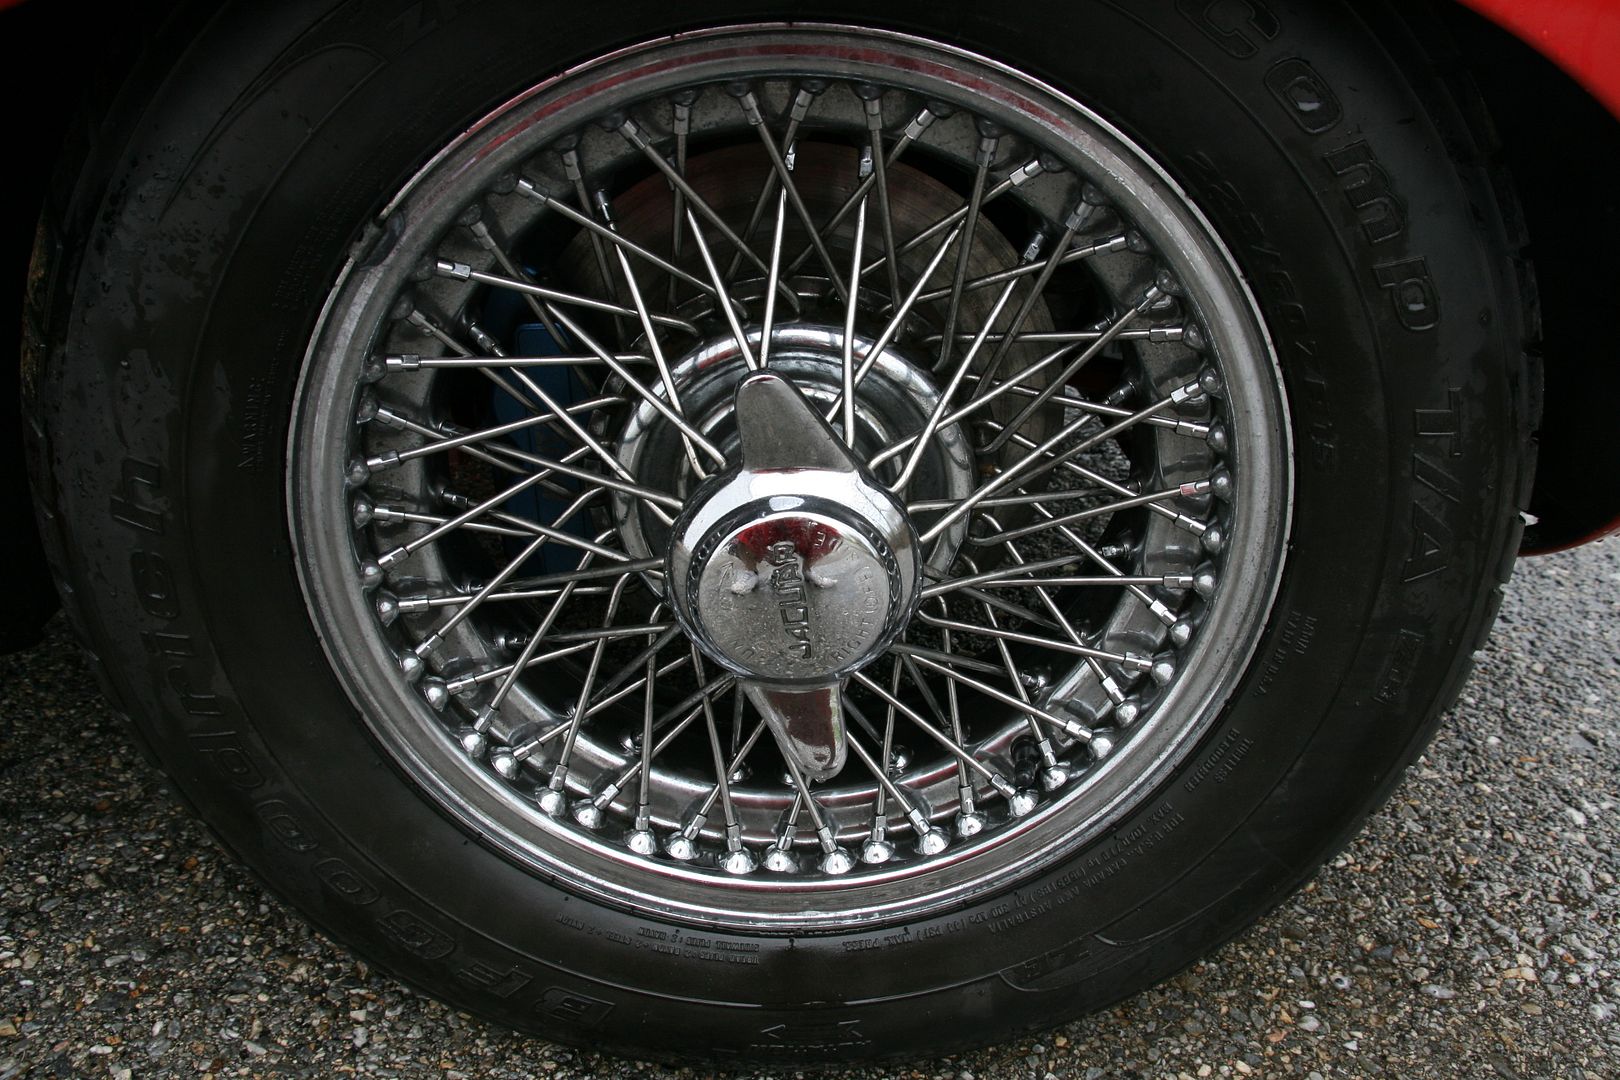
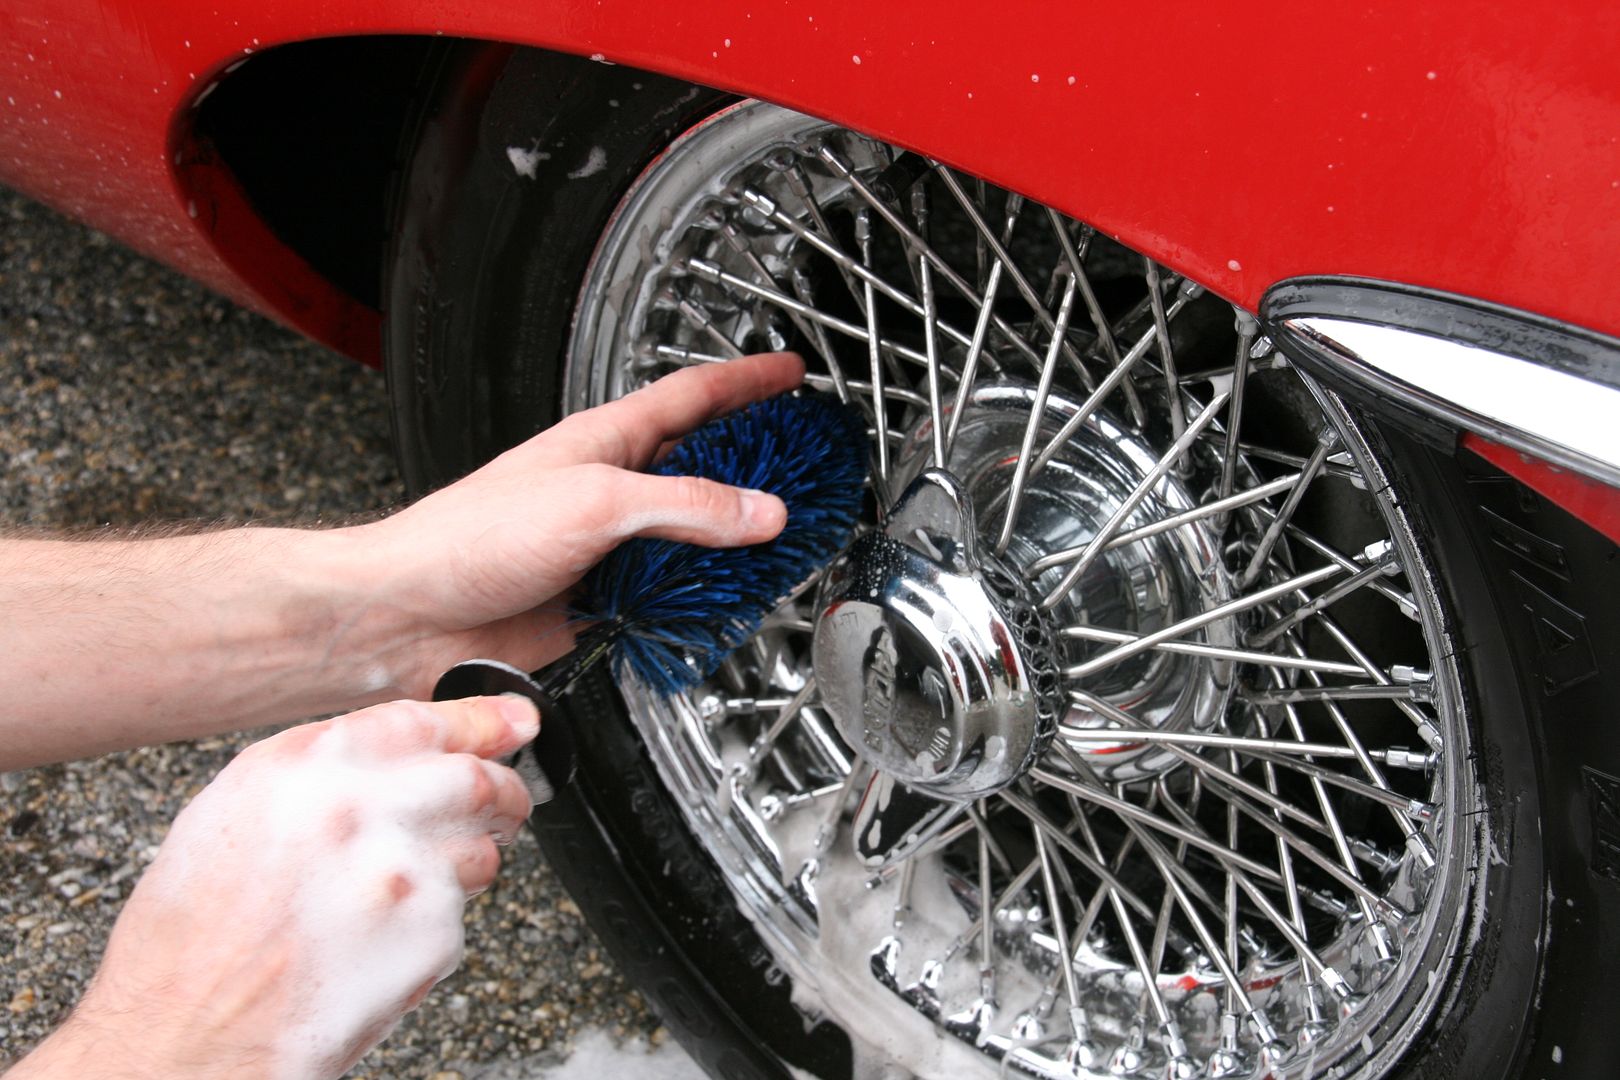
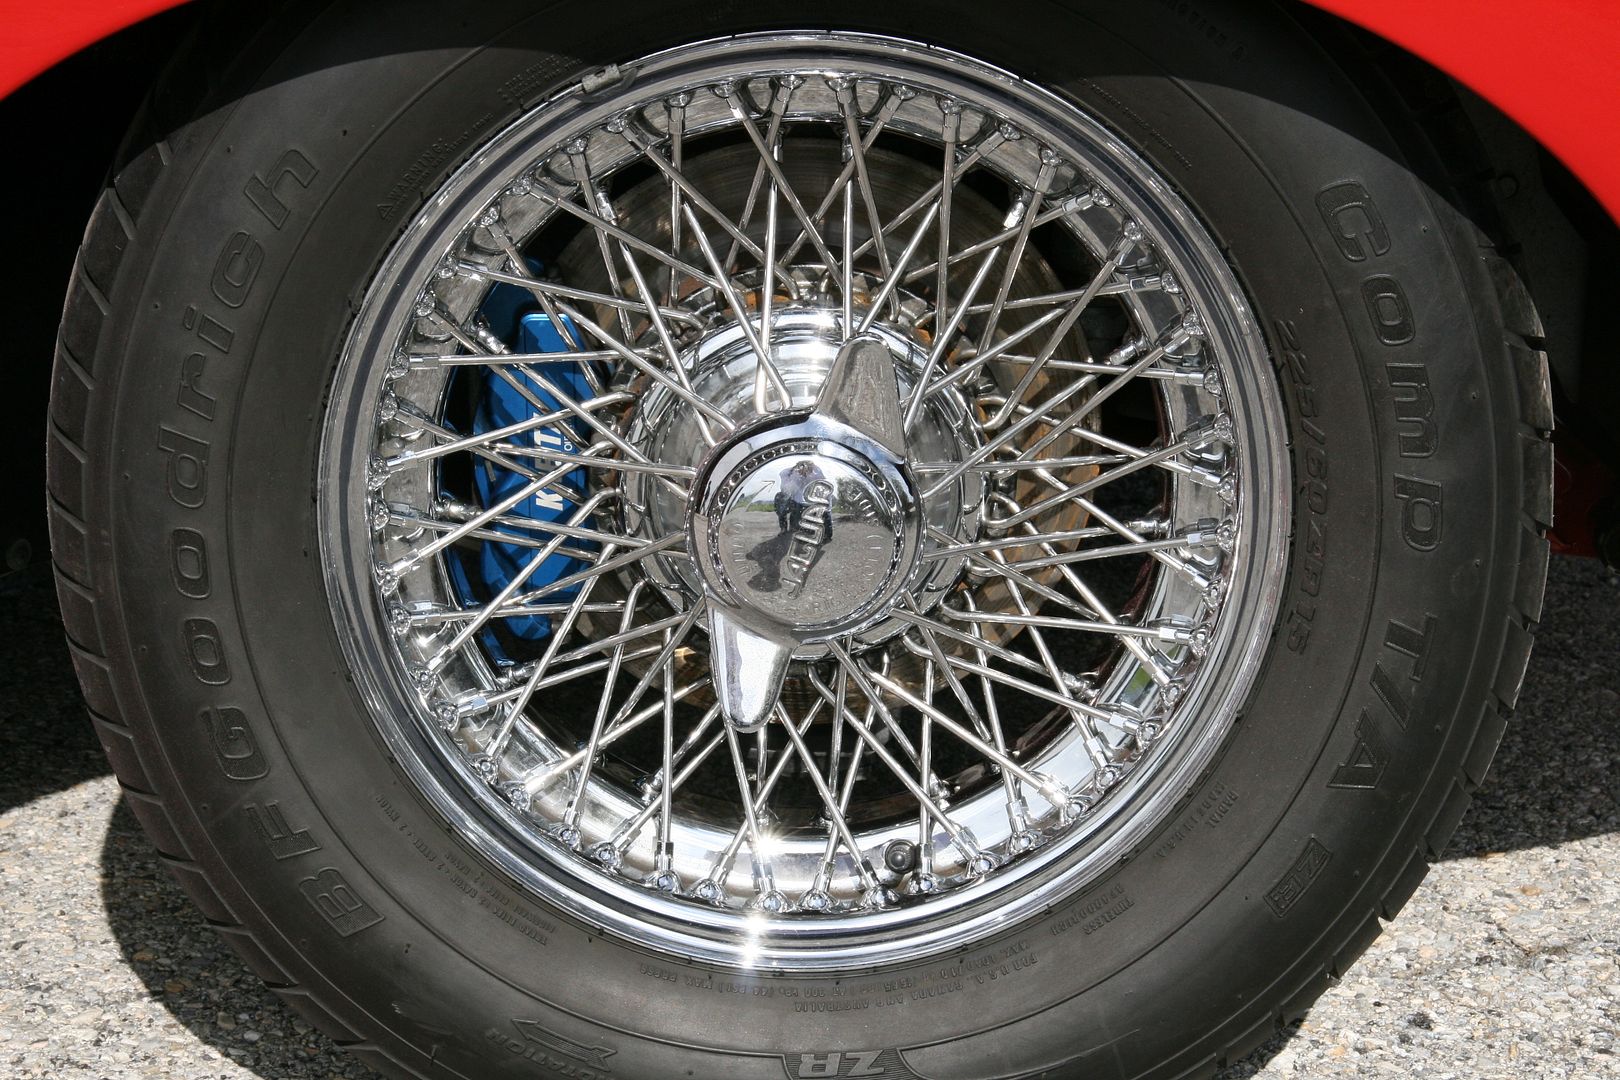
The wheels before, during and after, used Swissvax and EZdetail brushes on these:
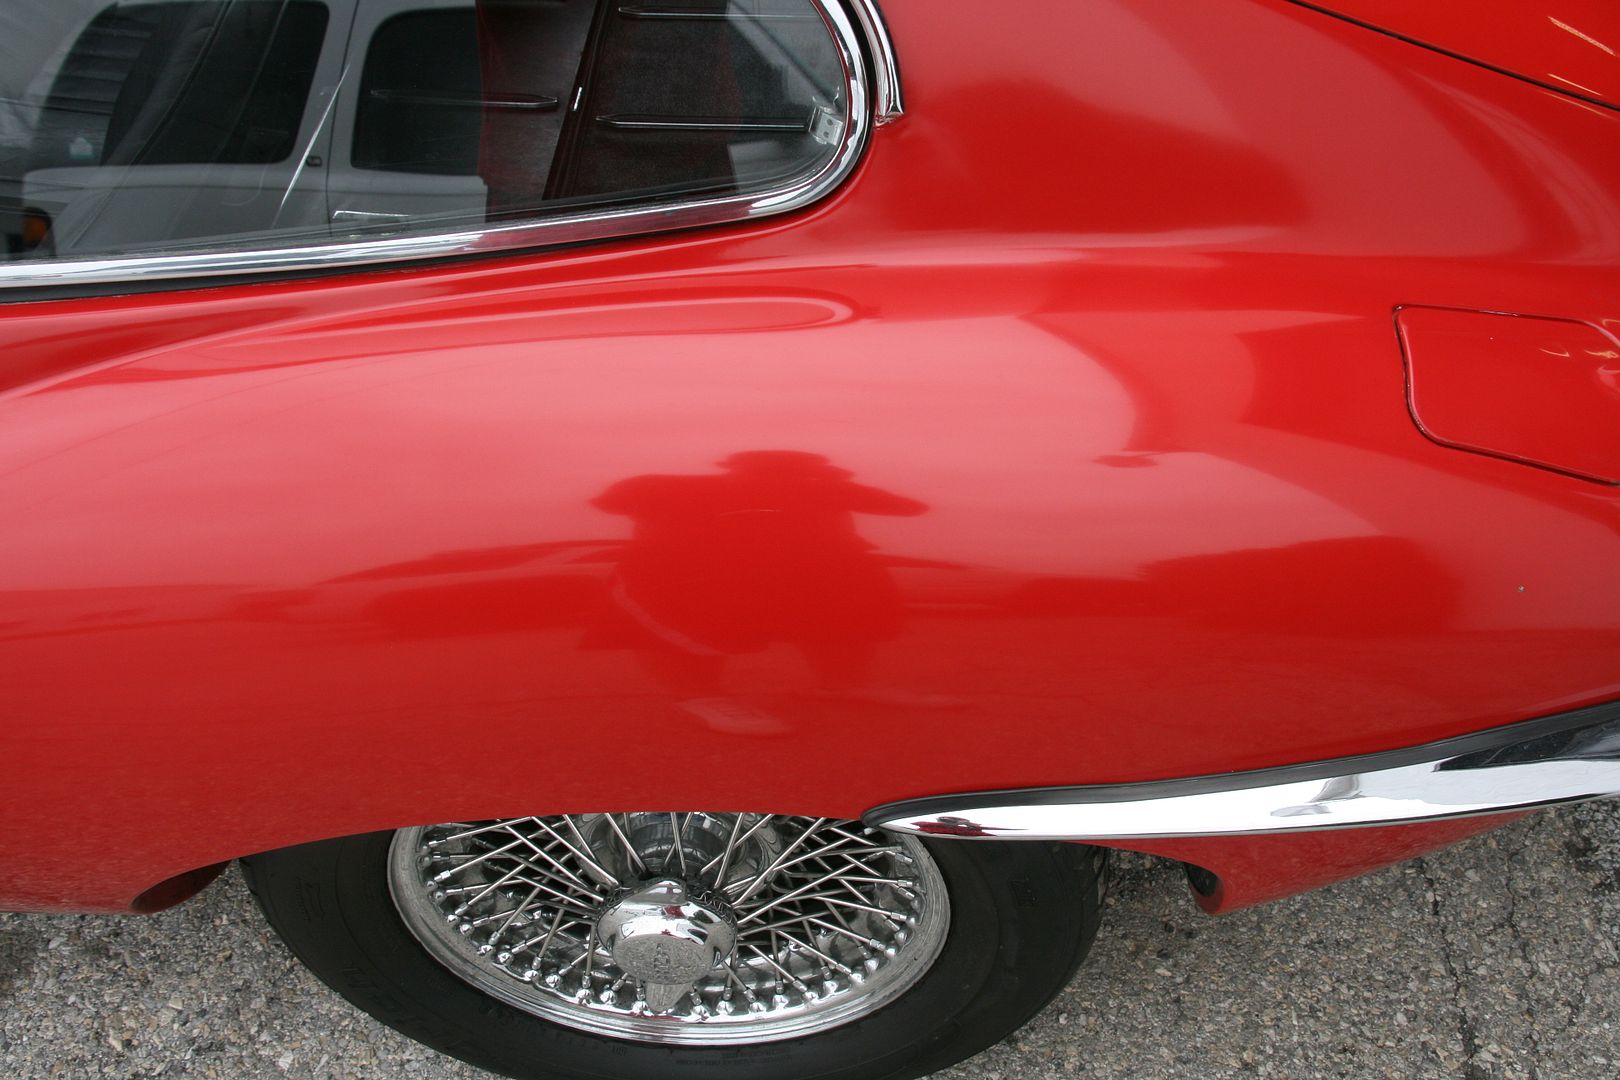
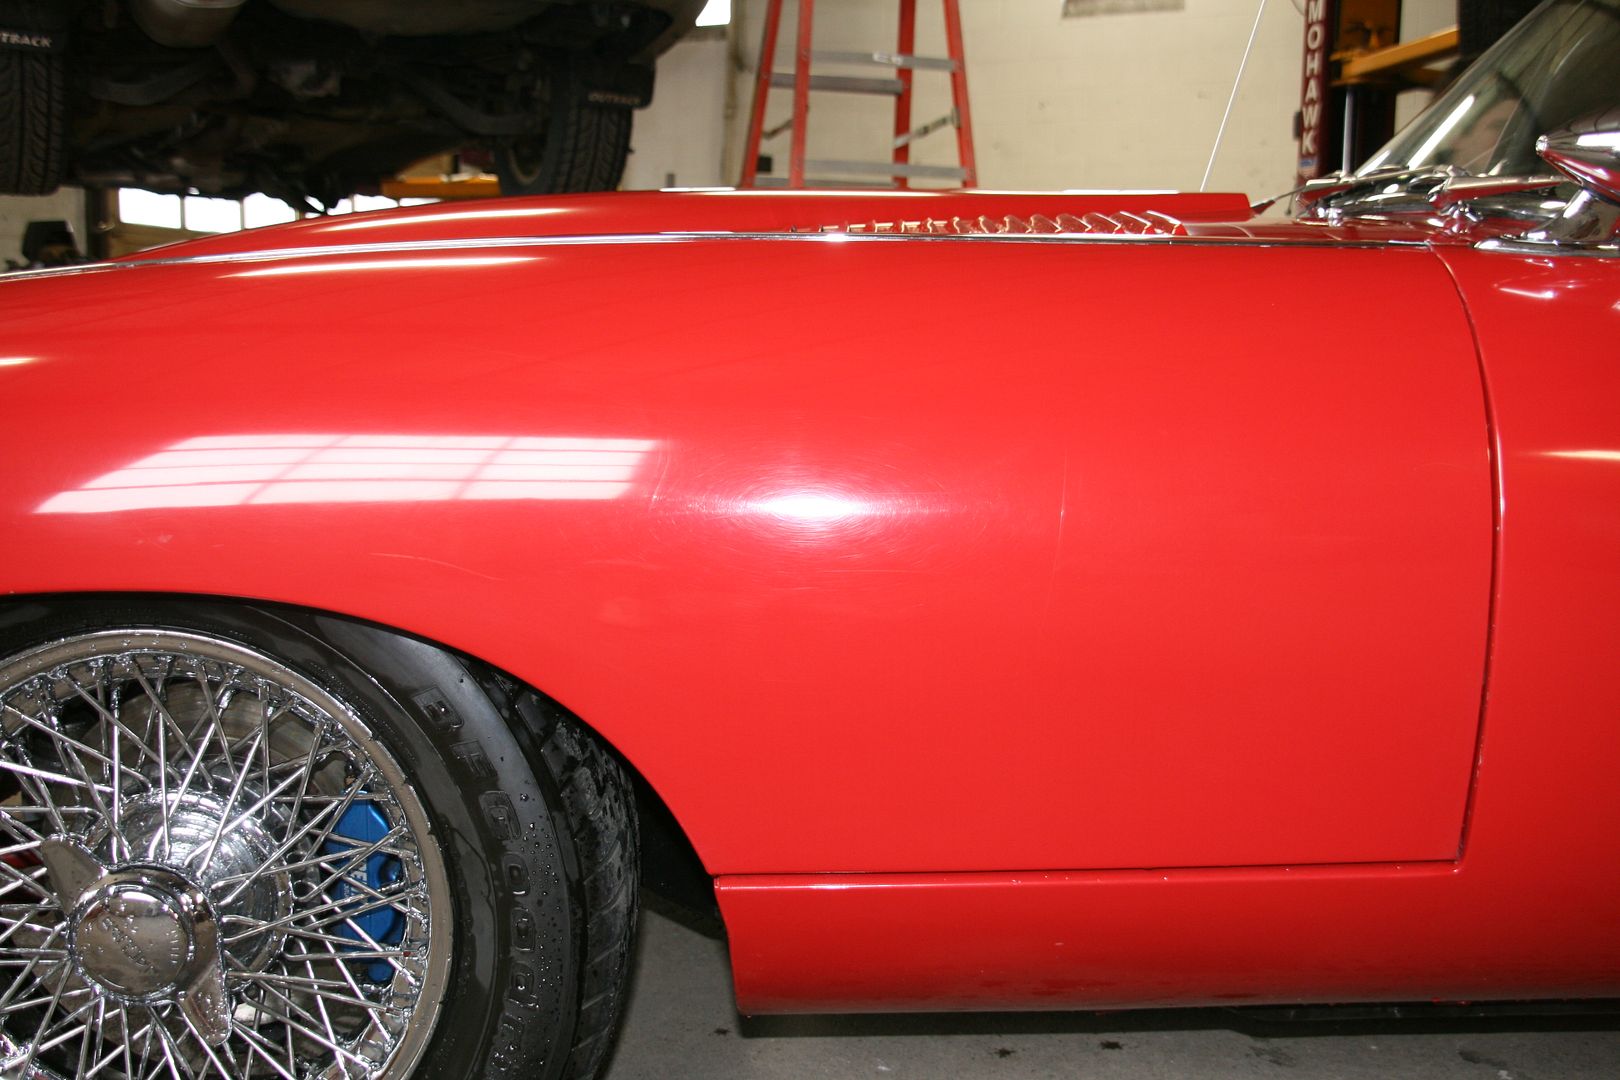
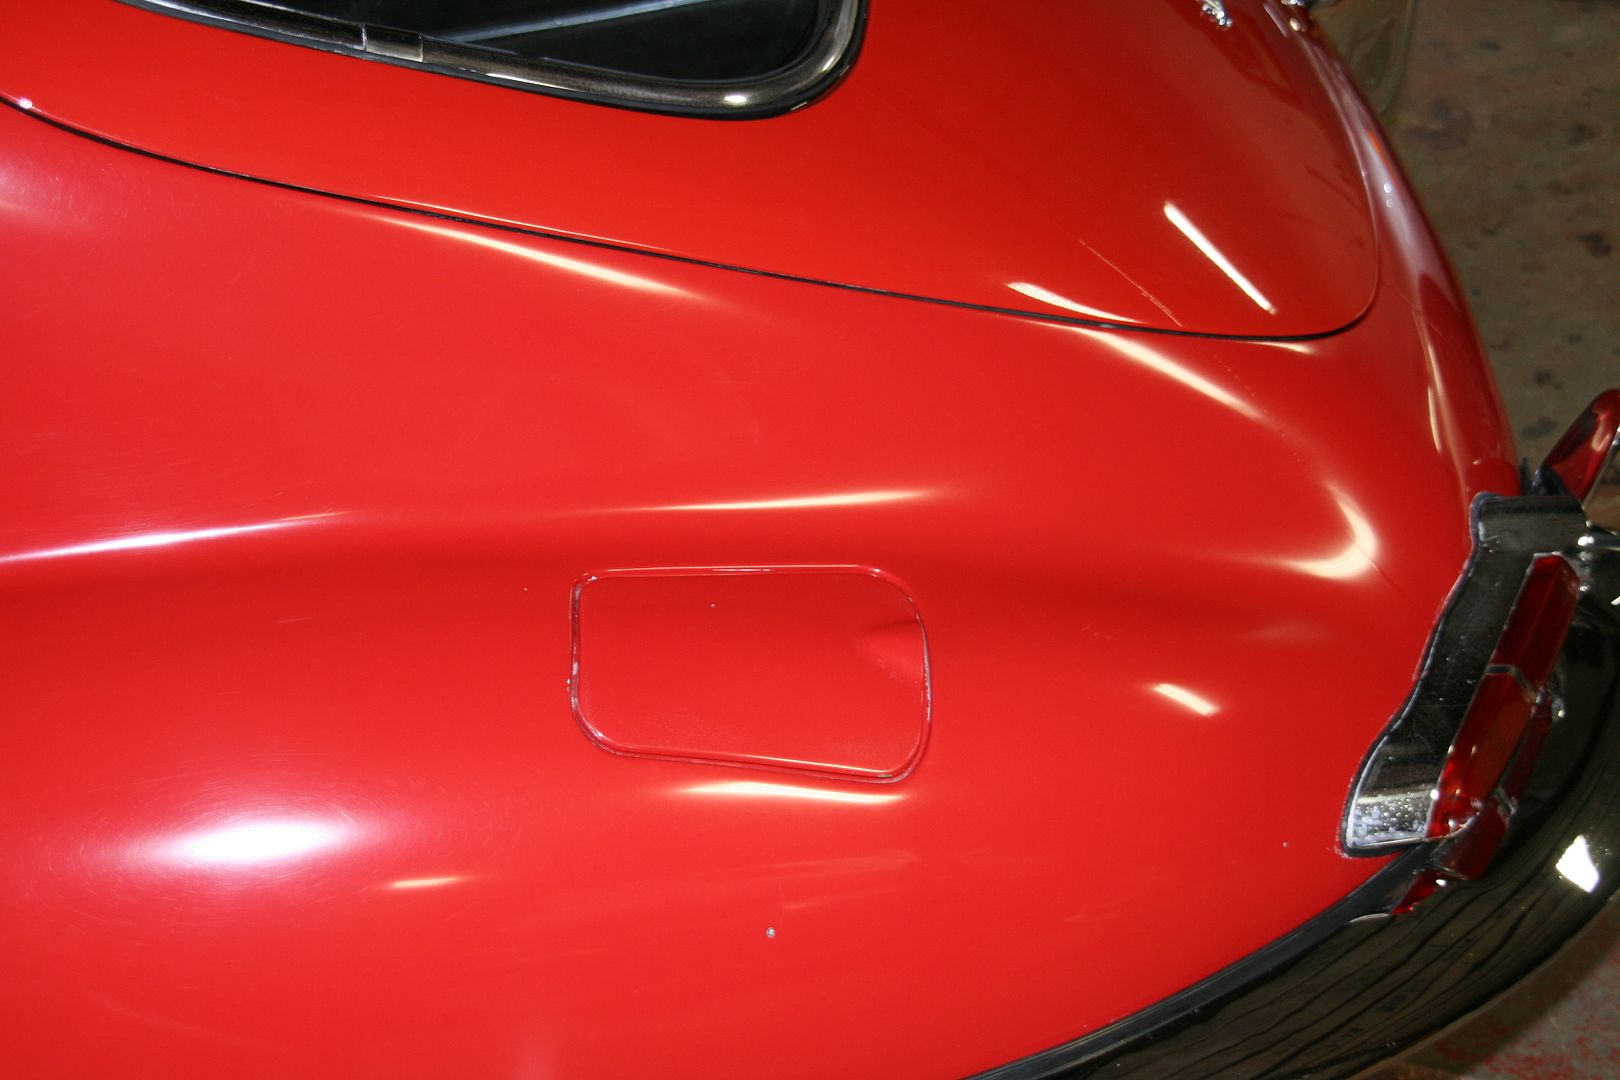
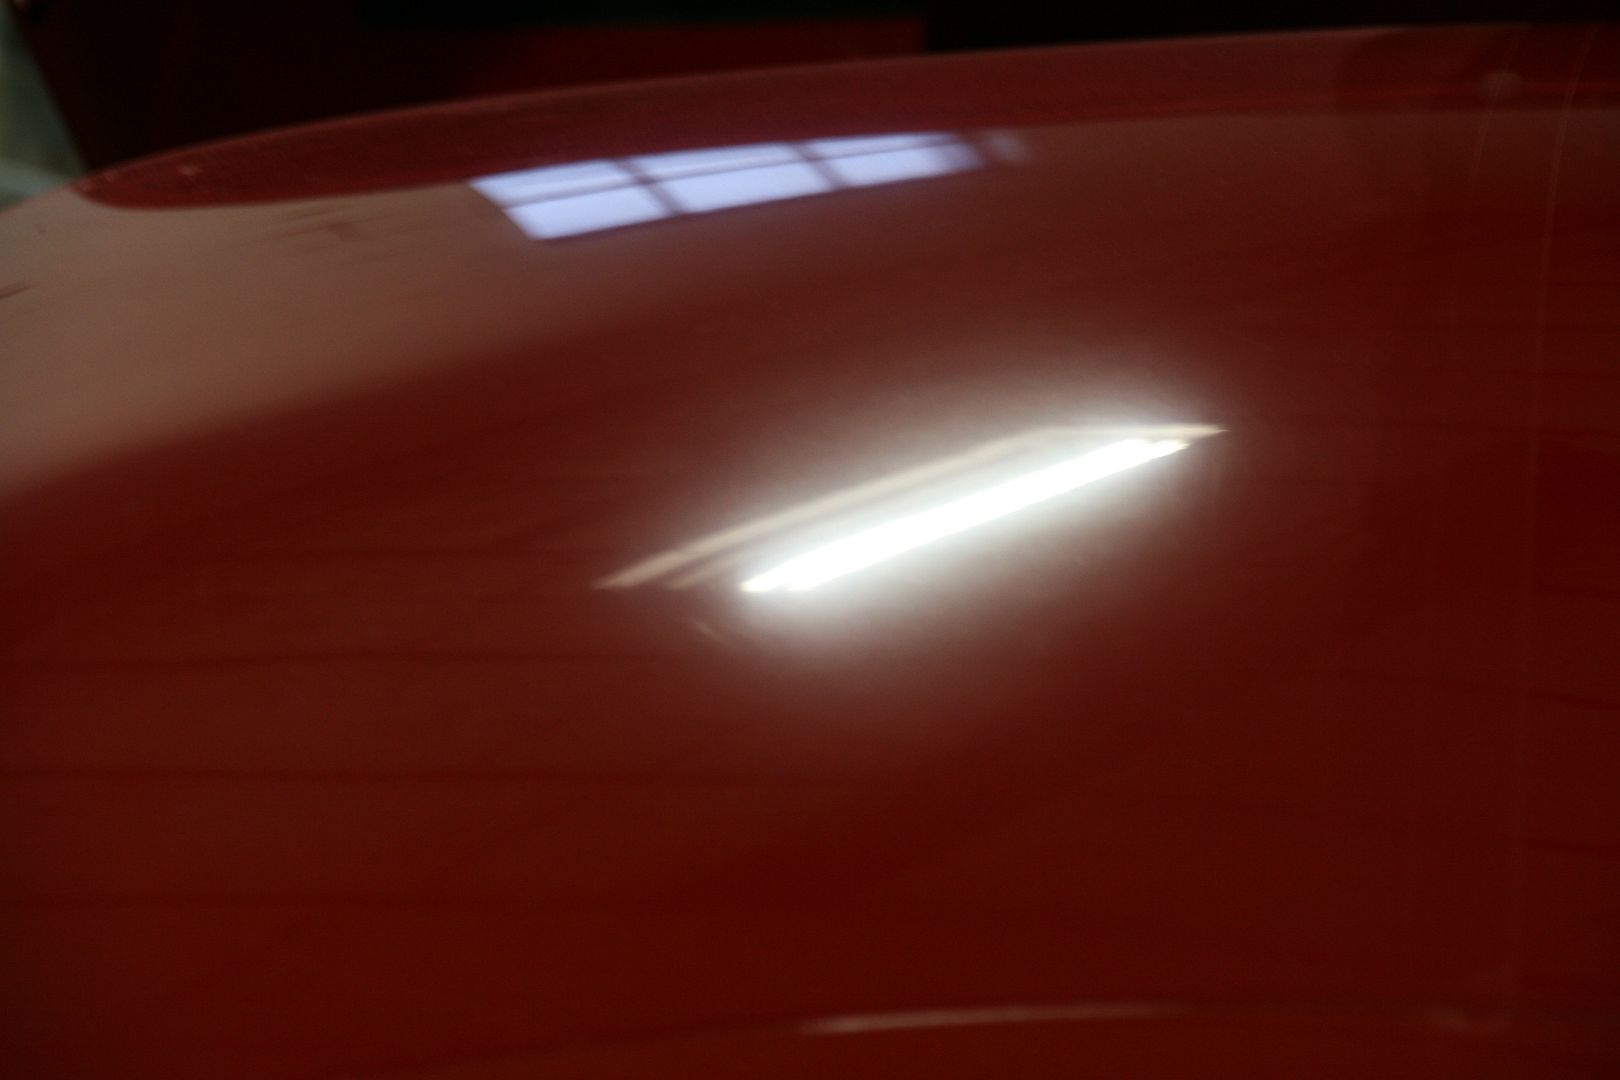
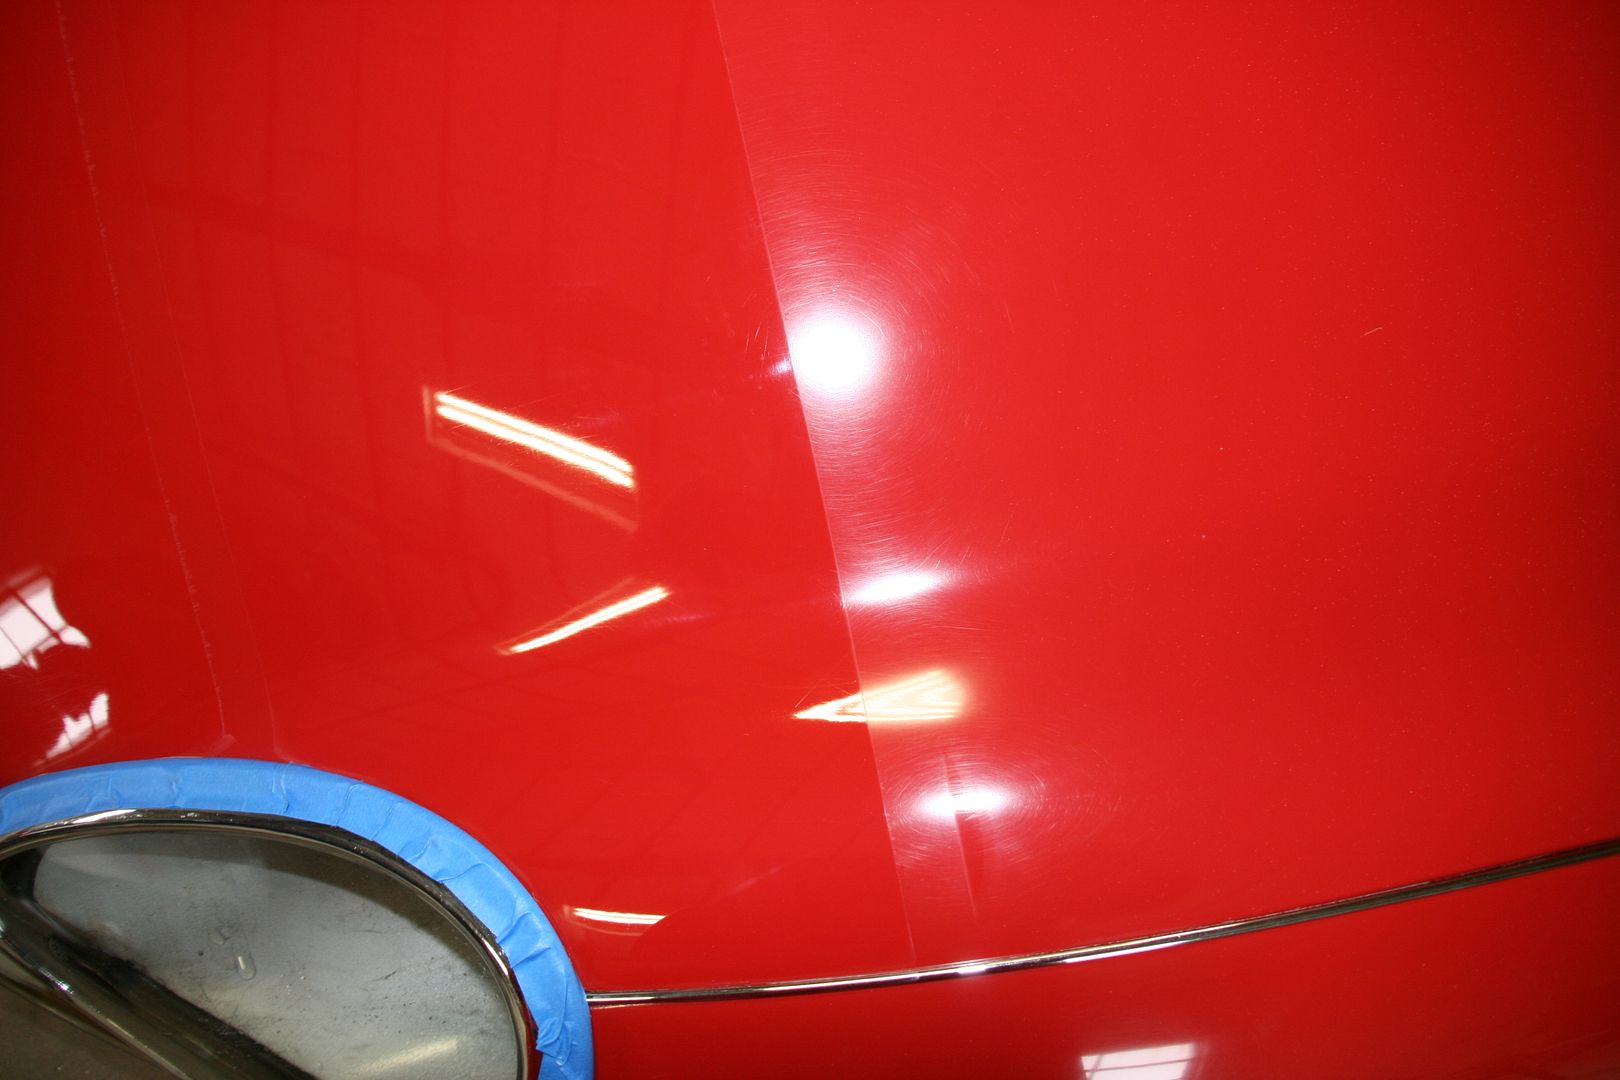
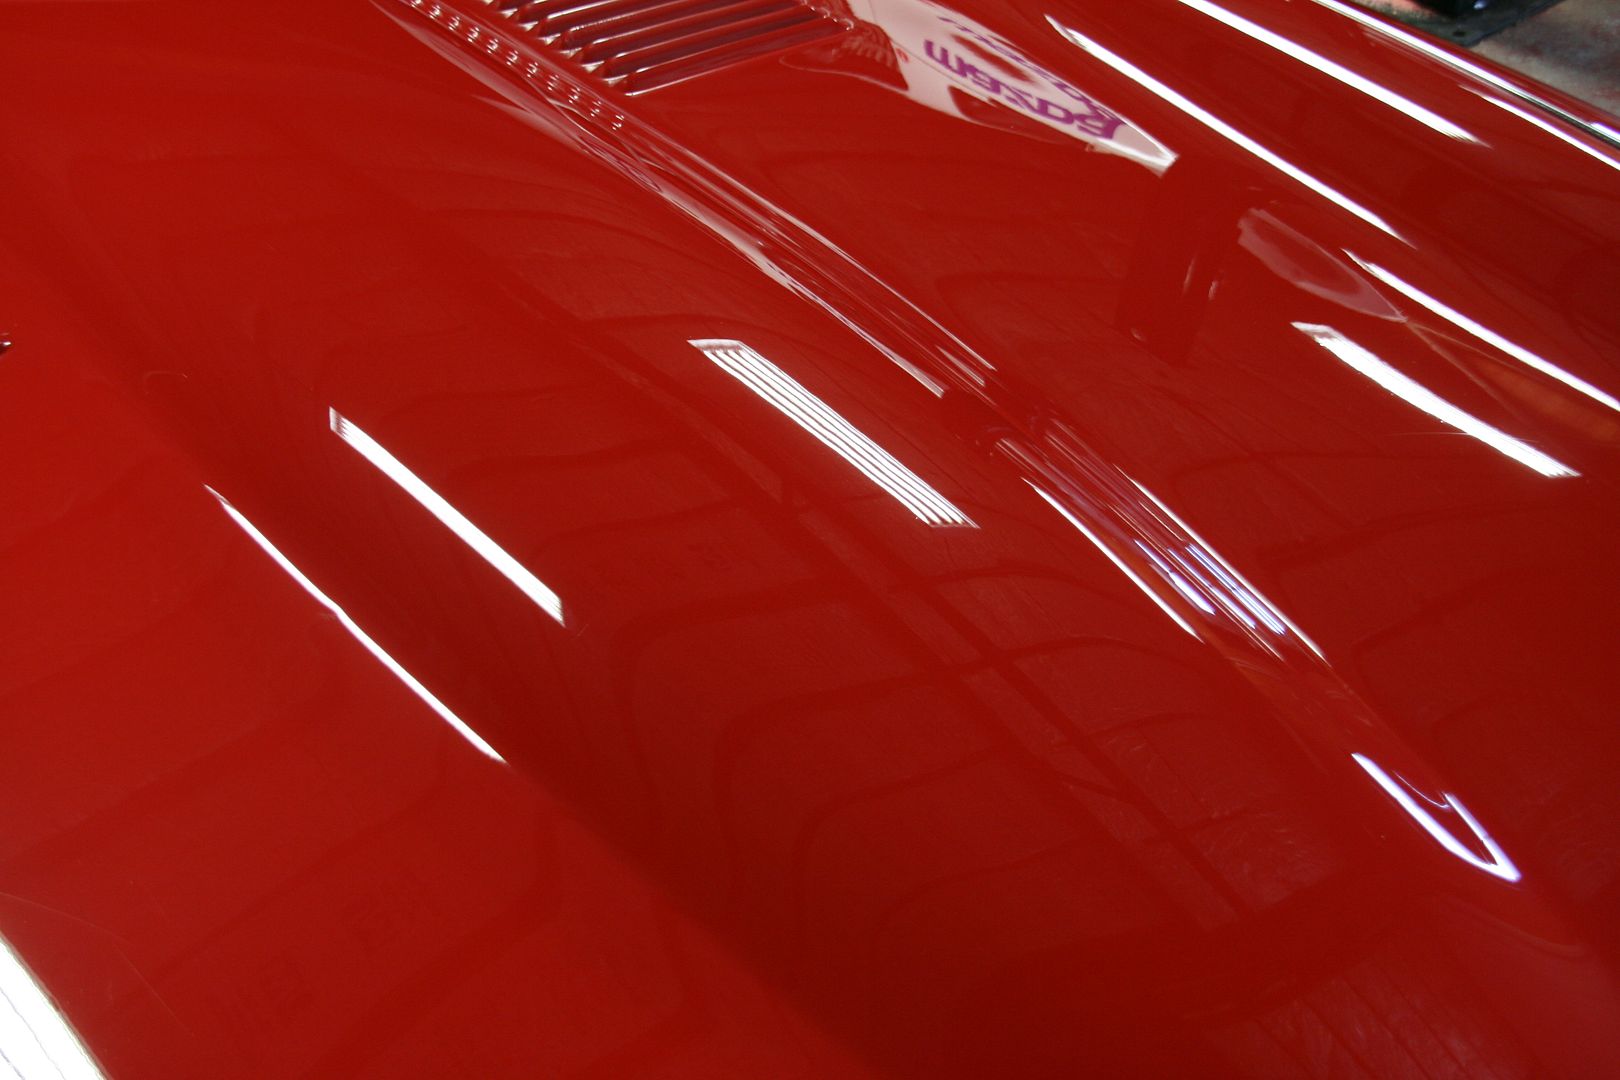
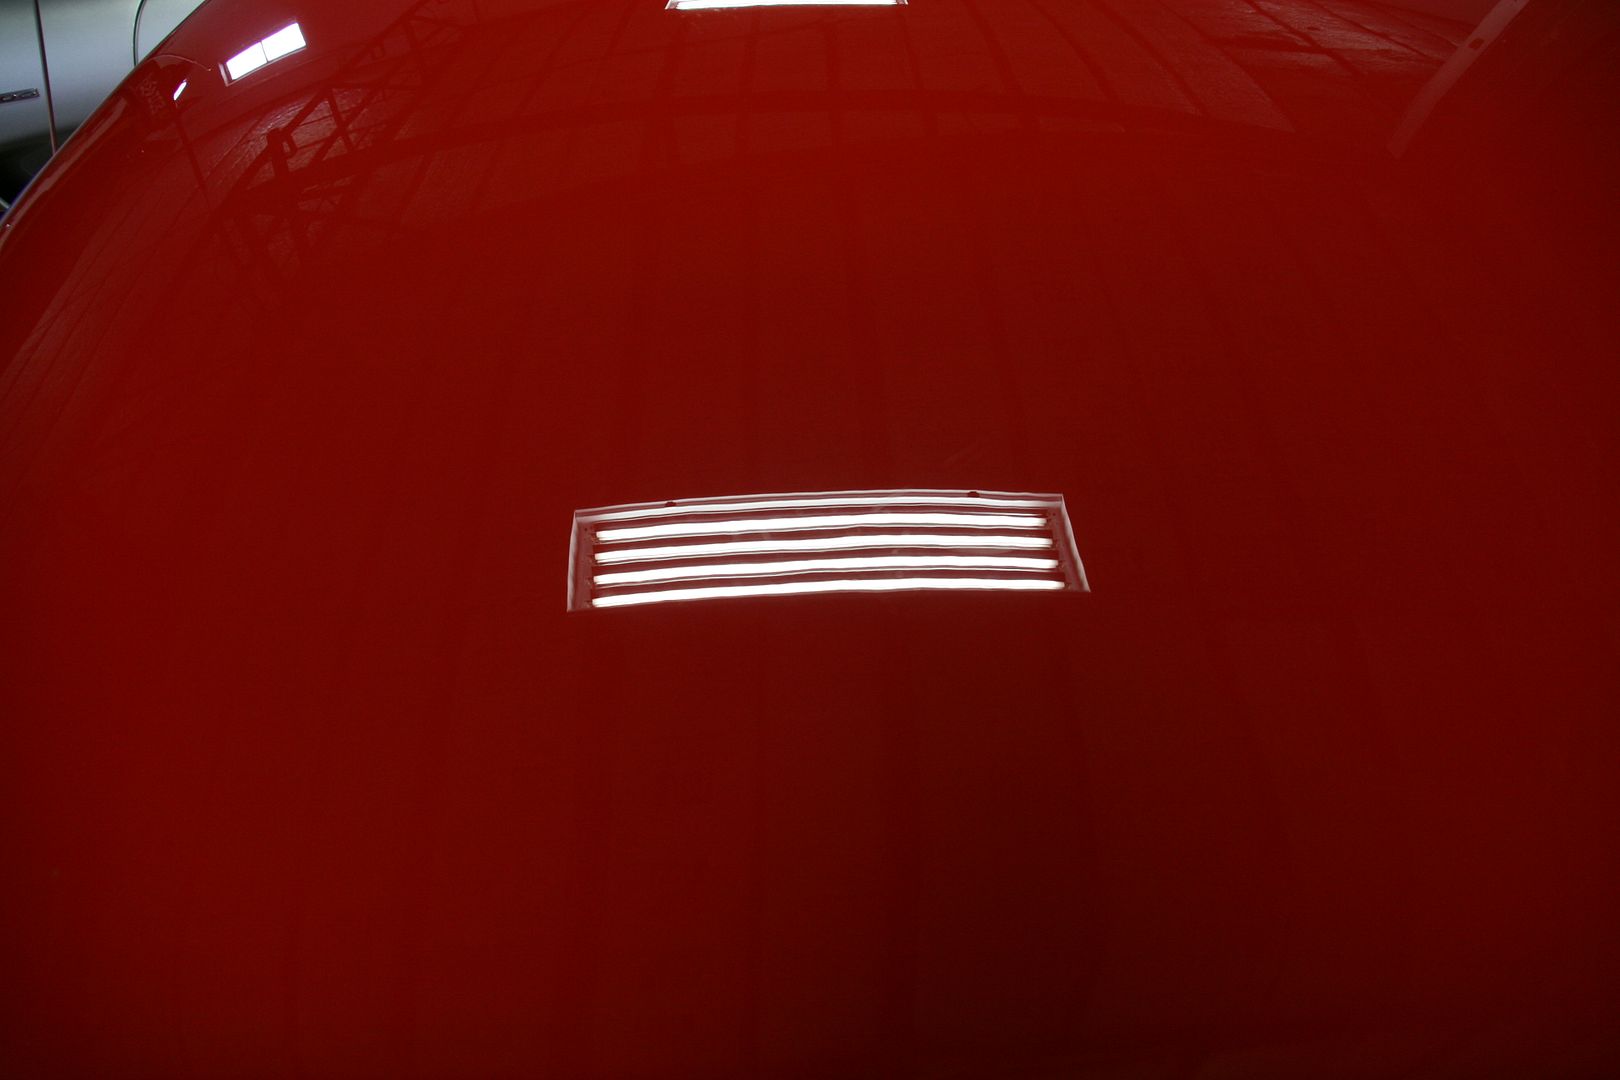
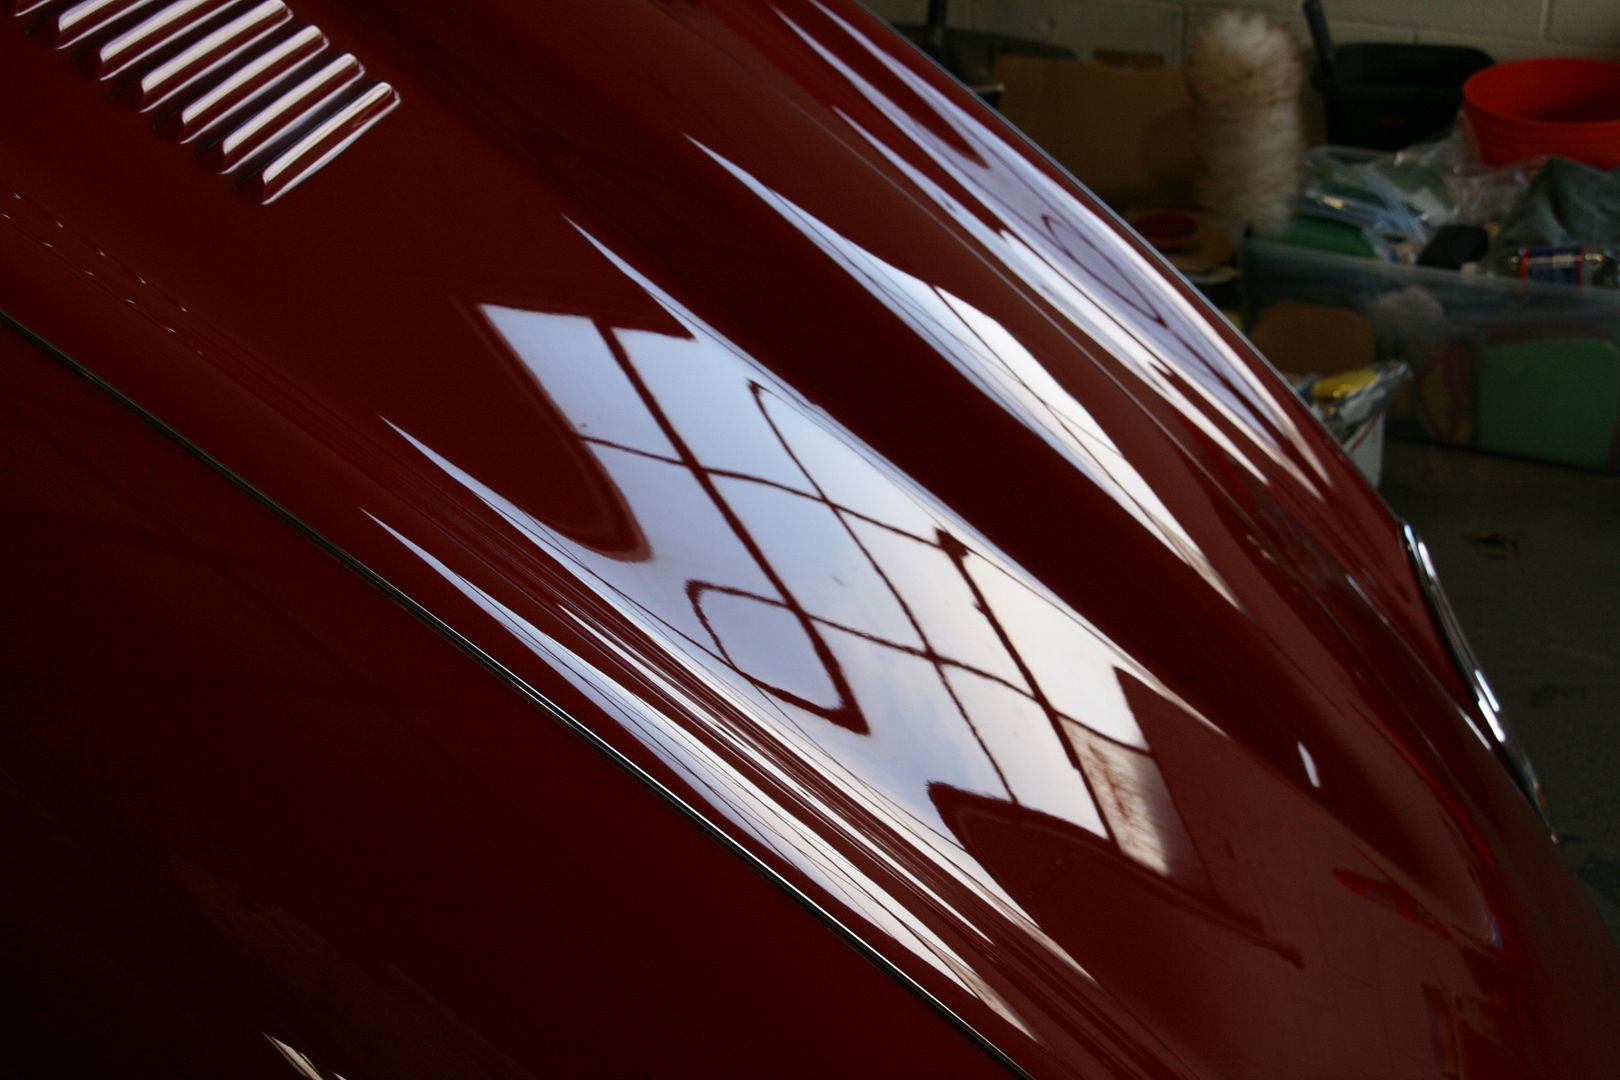
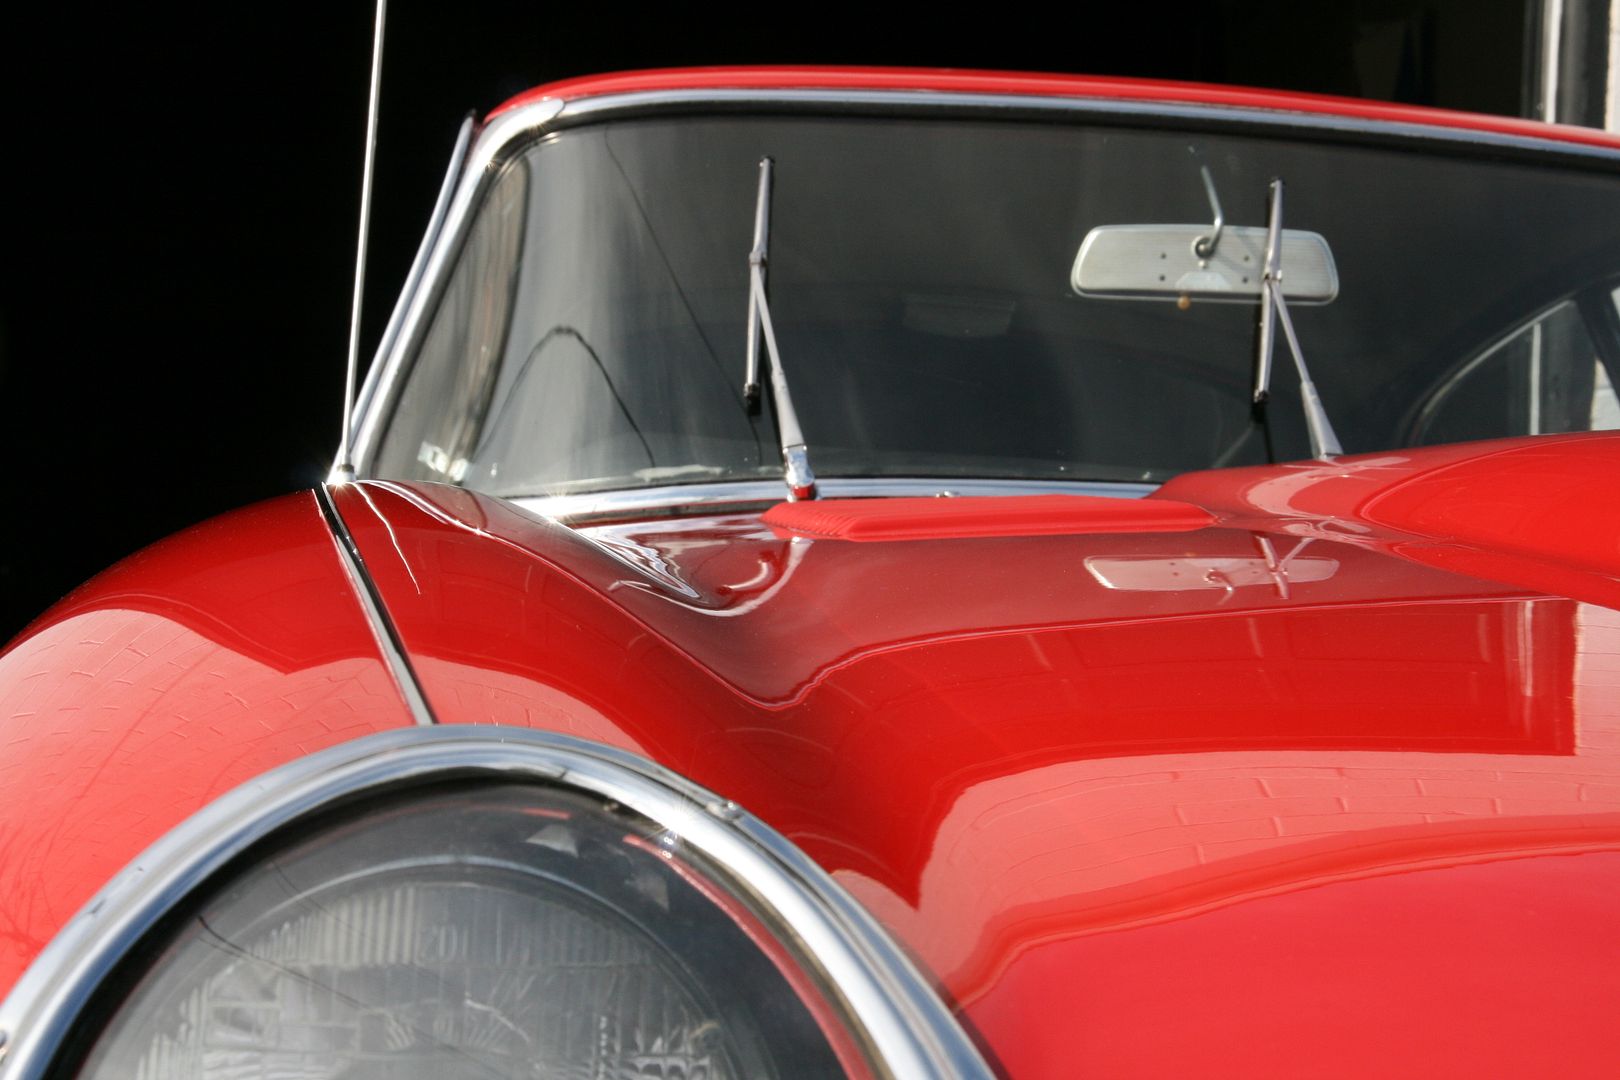
Pushed the car back inside to get some photos of the paint under the lights, you can see for yourself the oxidation that was present.

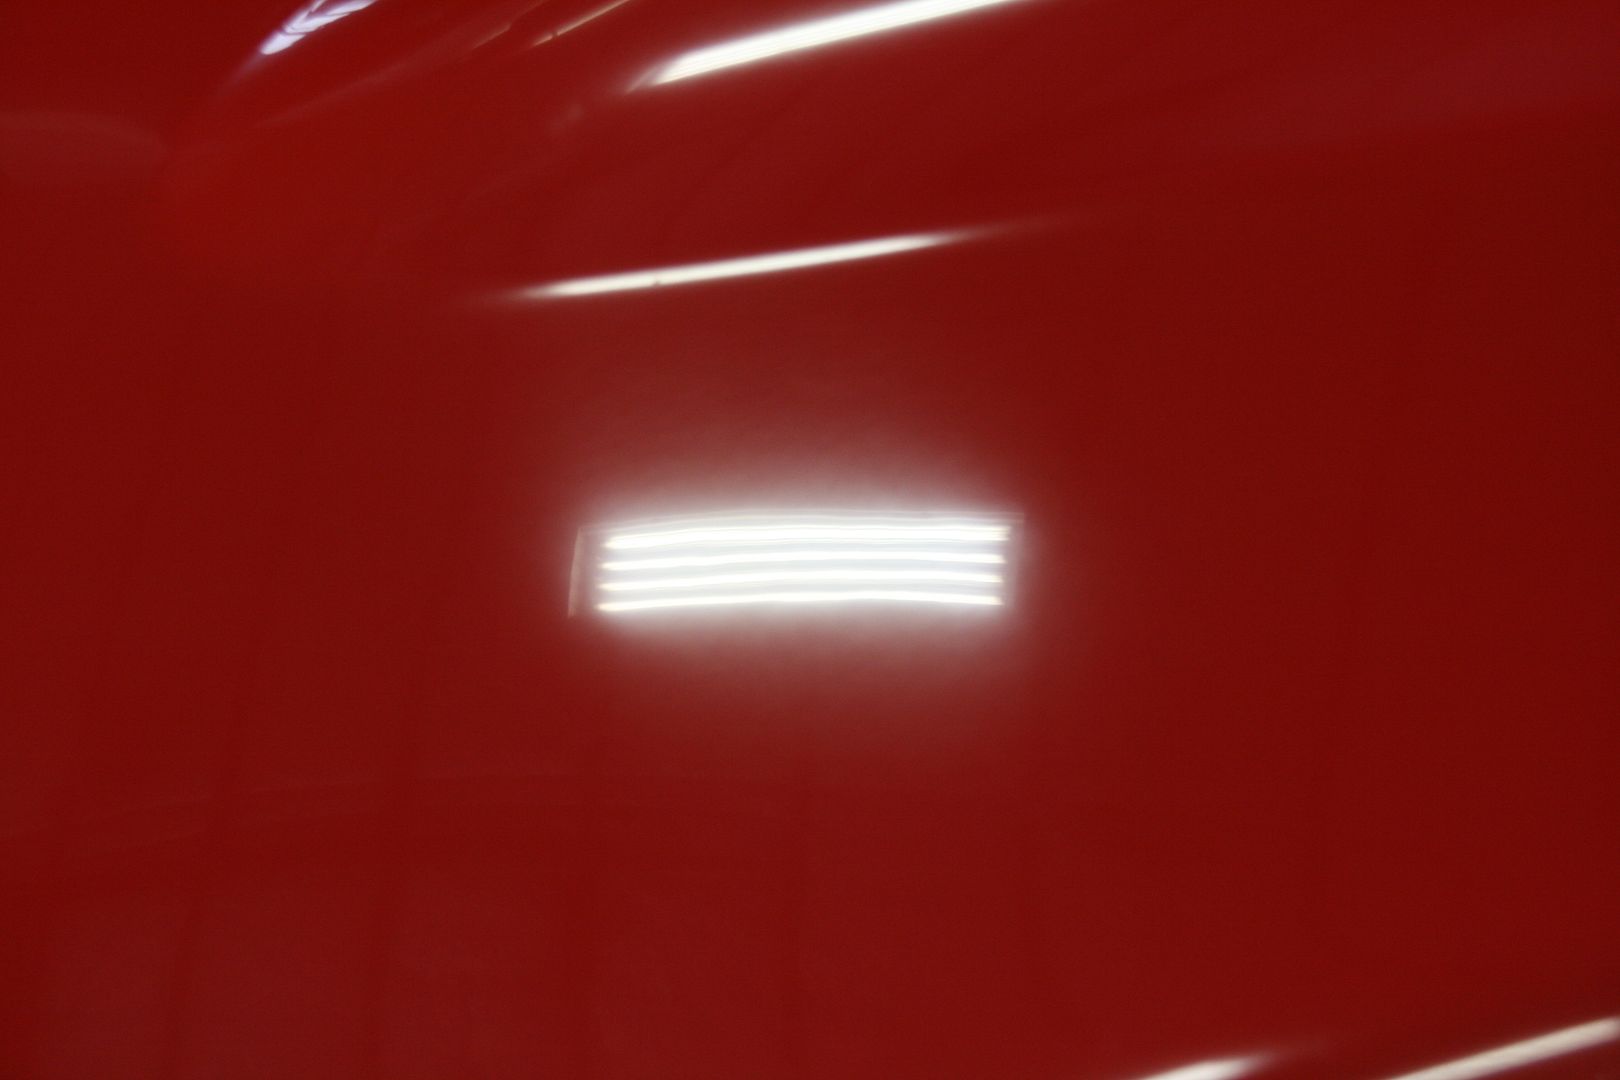
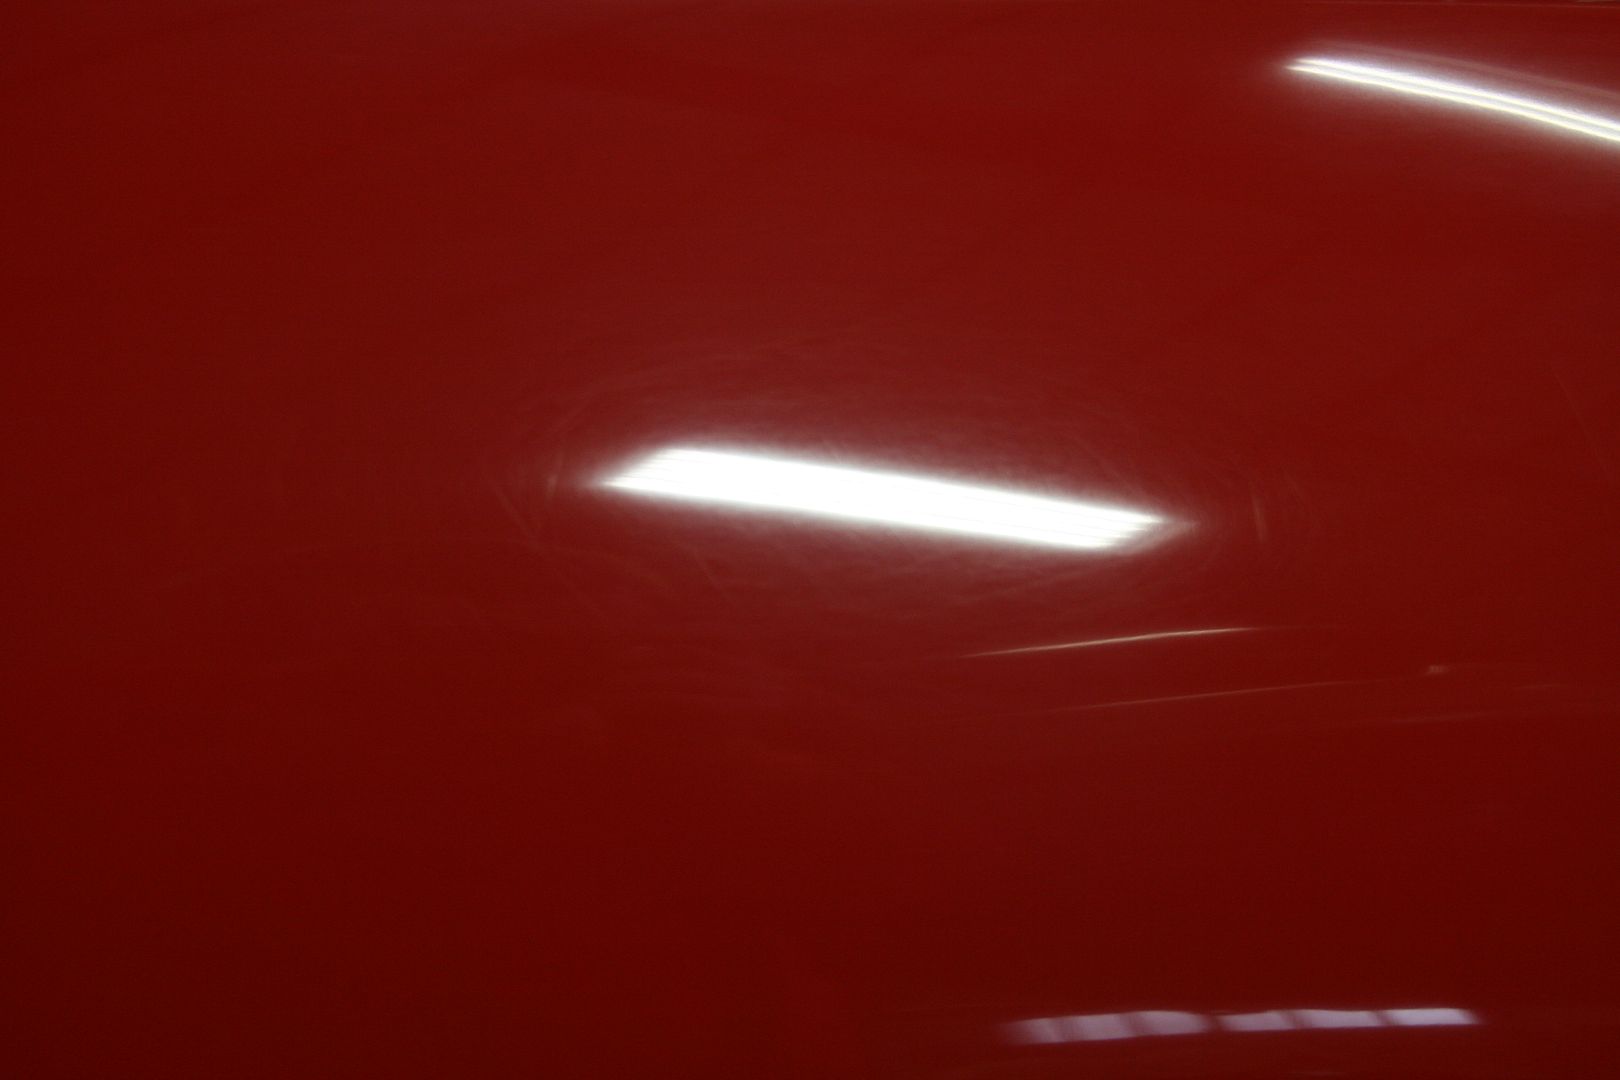

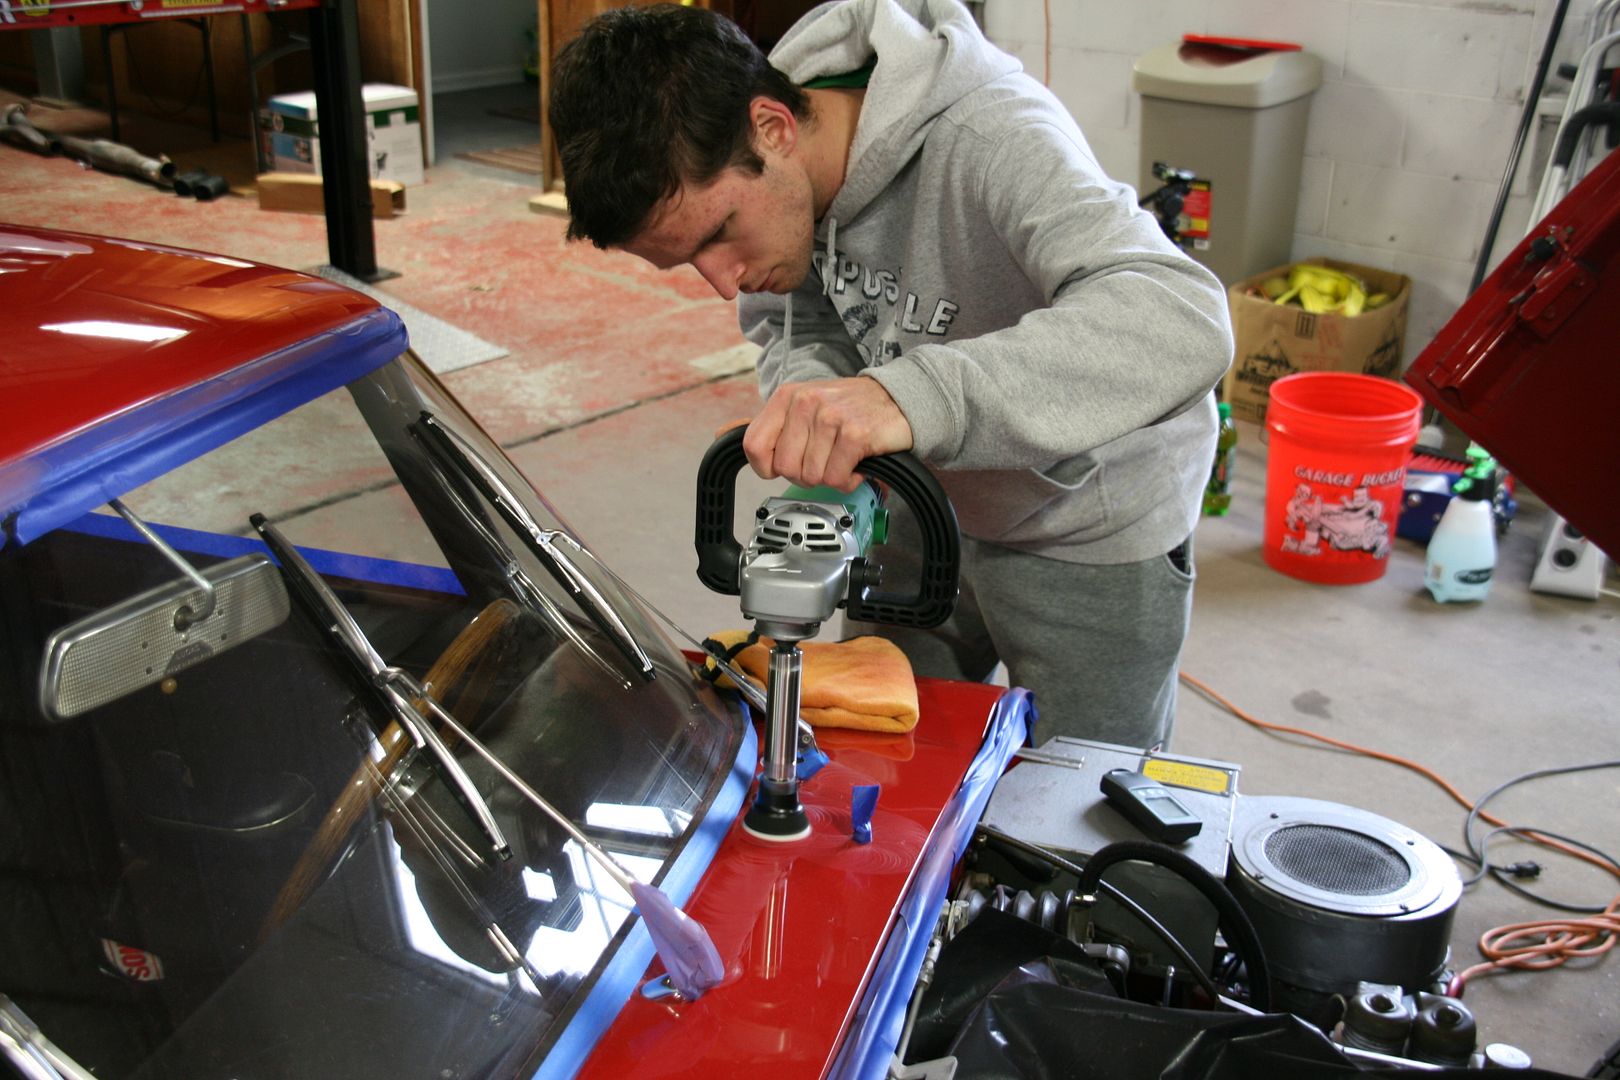
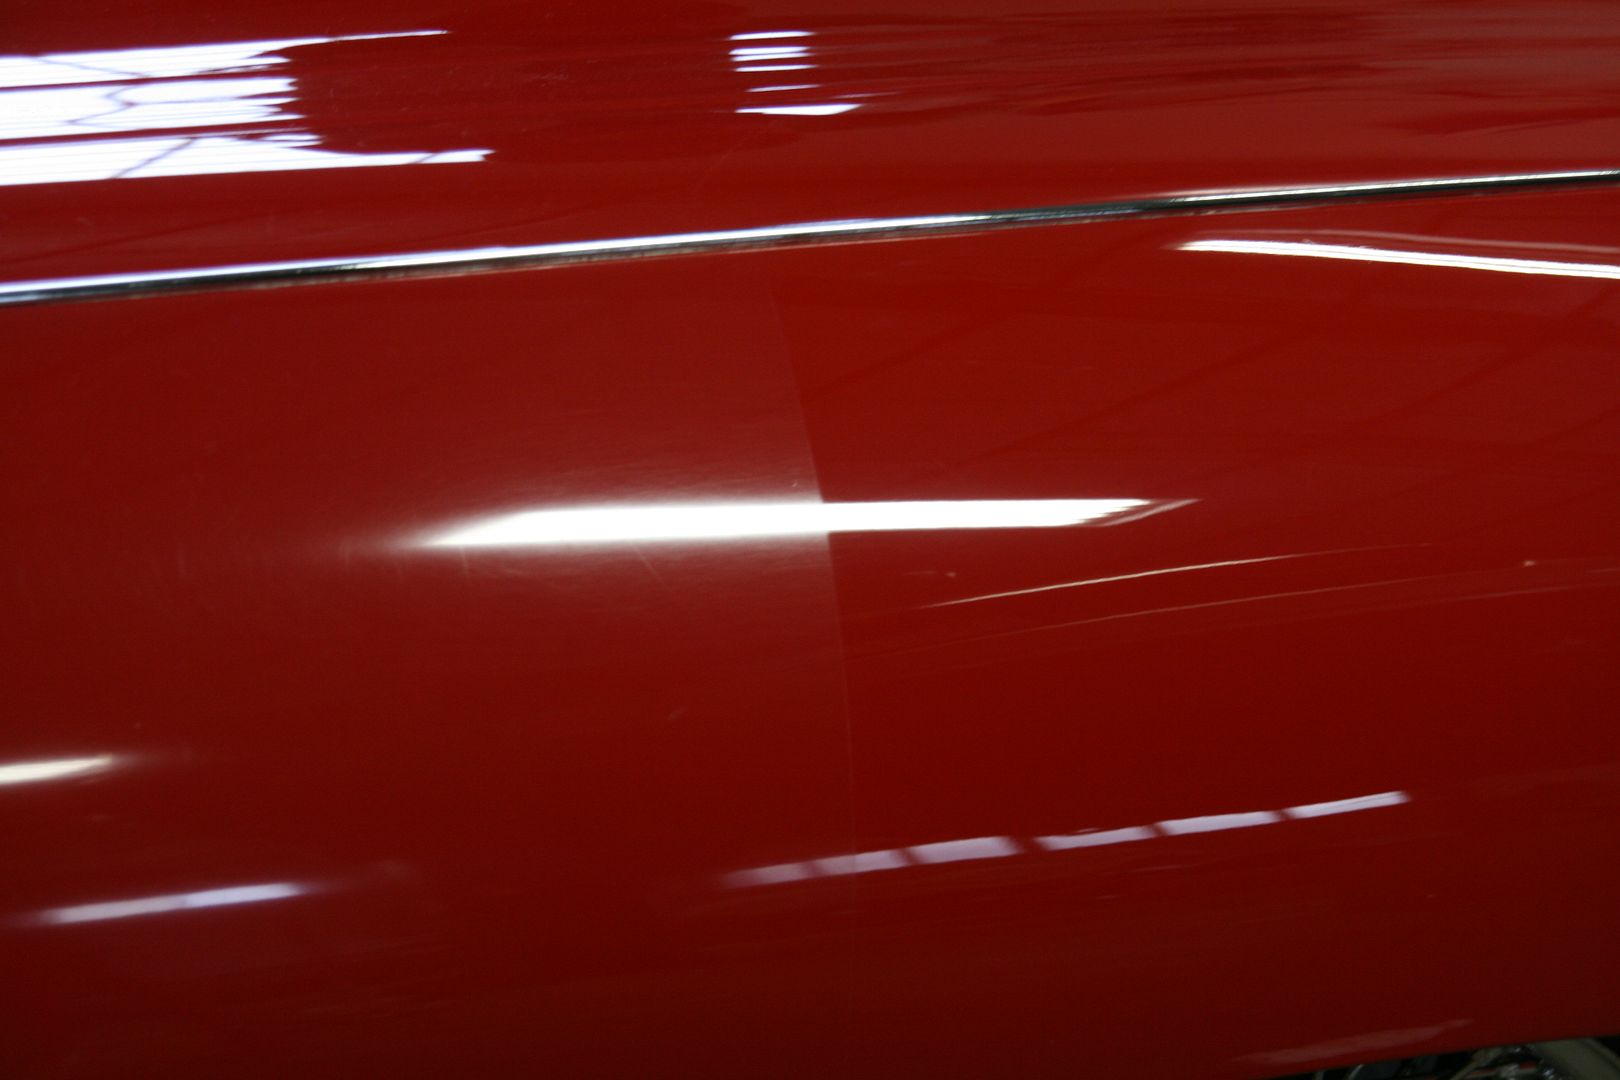
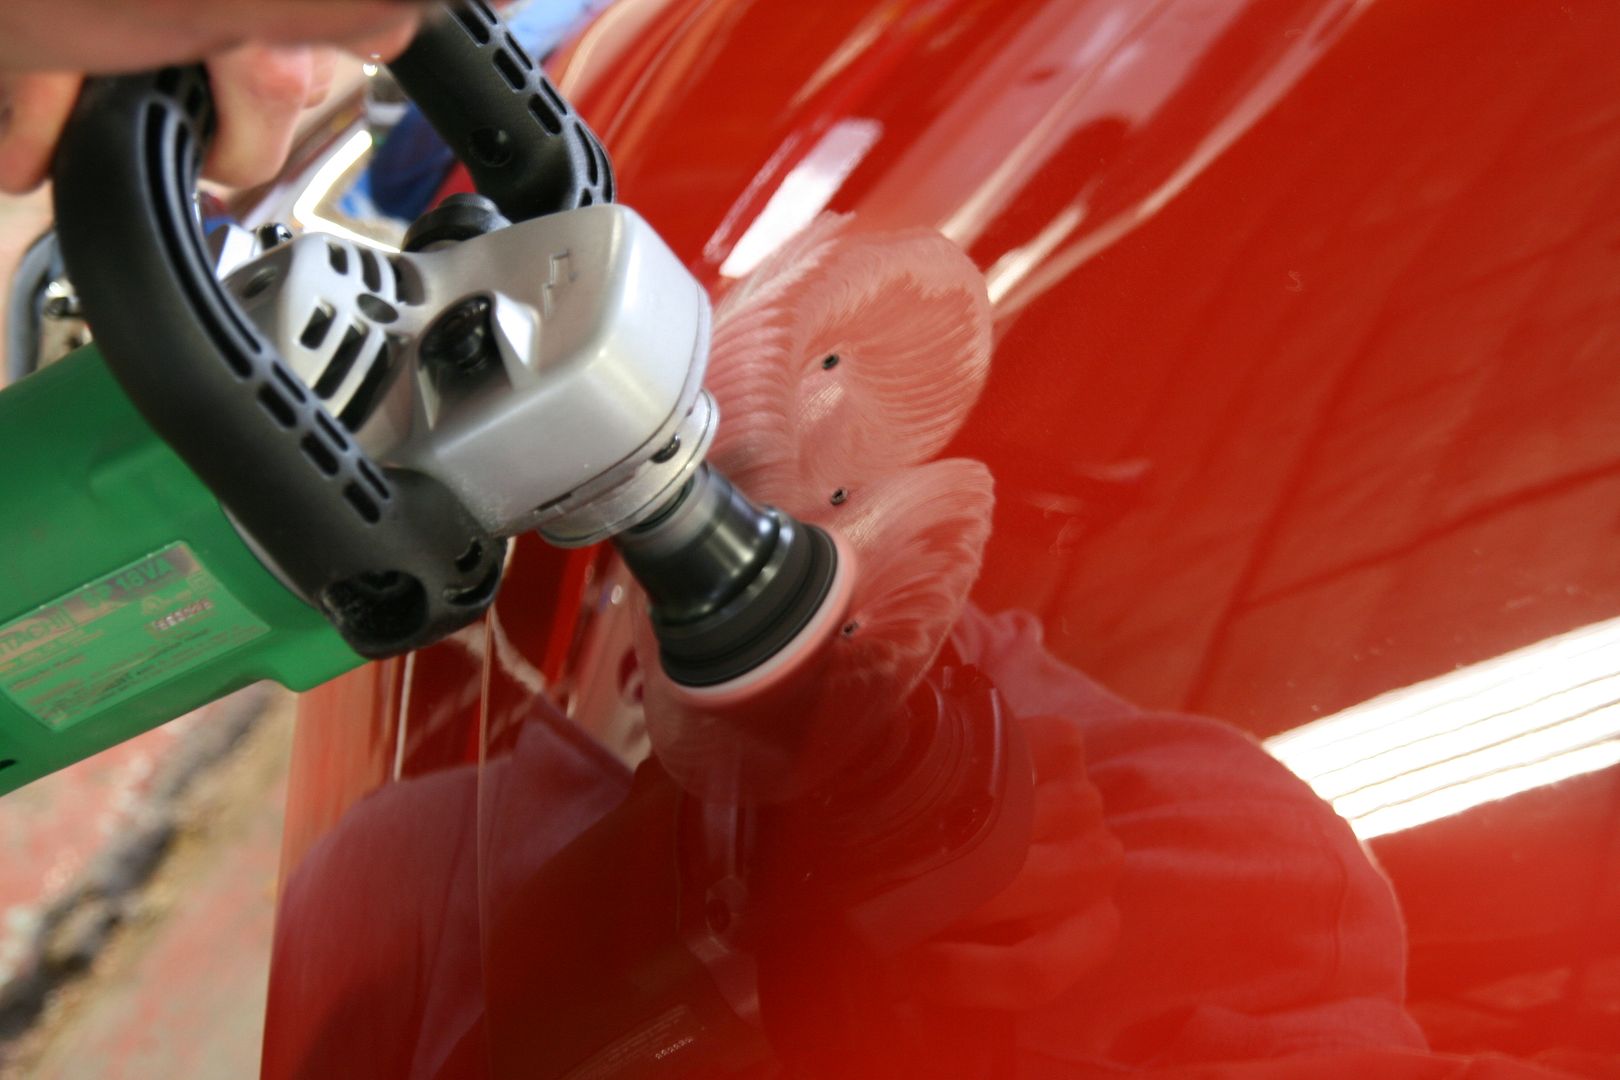
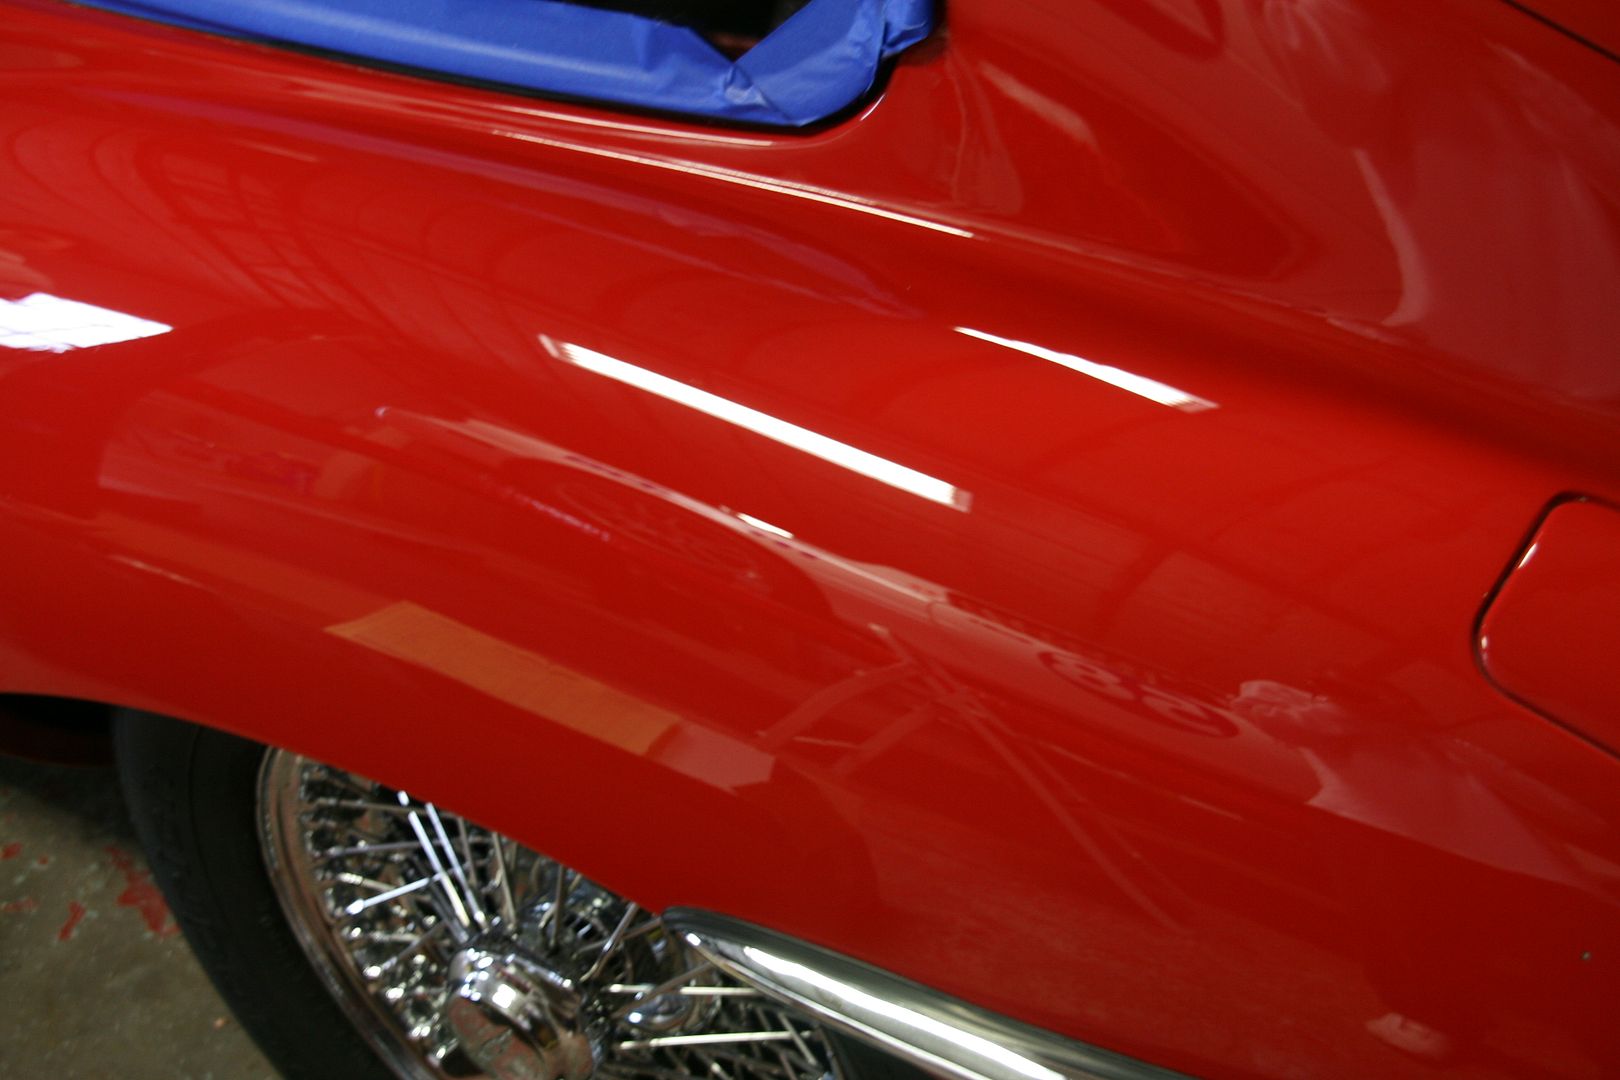
The correction of this single stage paint got underway, the below 50/50 shots show the progress that has been made, start it off with a quick snap of Mikhael working in the tighter spaces:
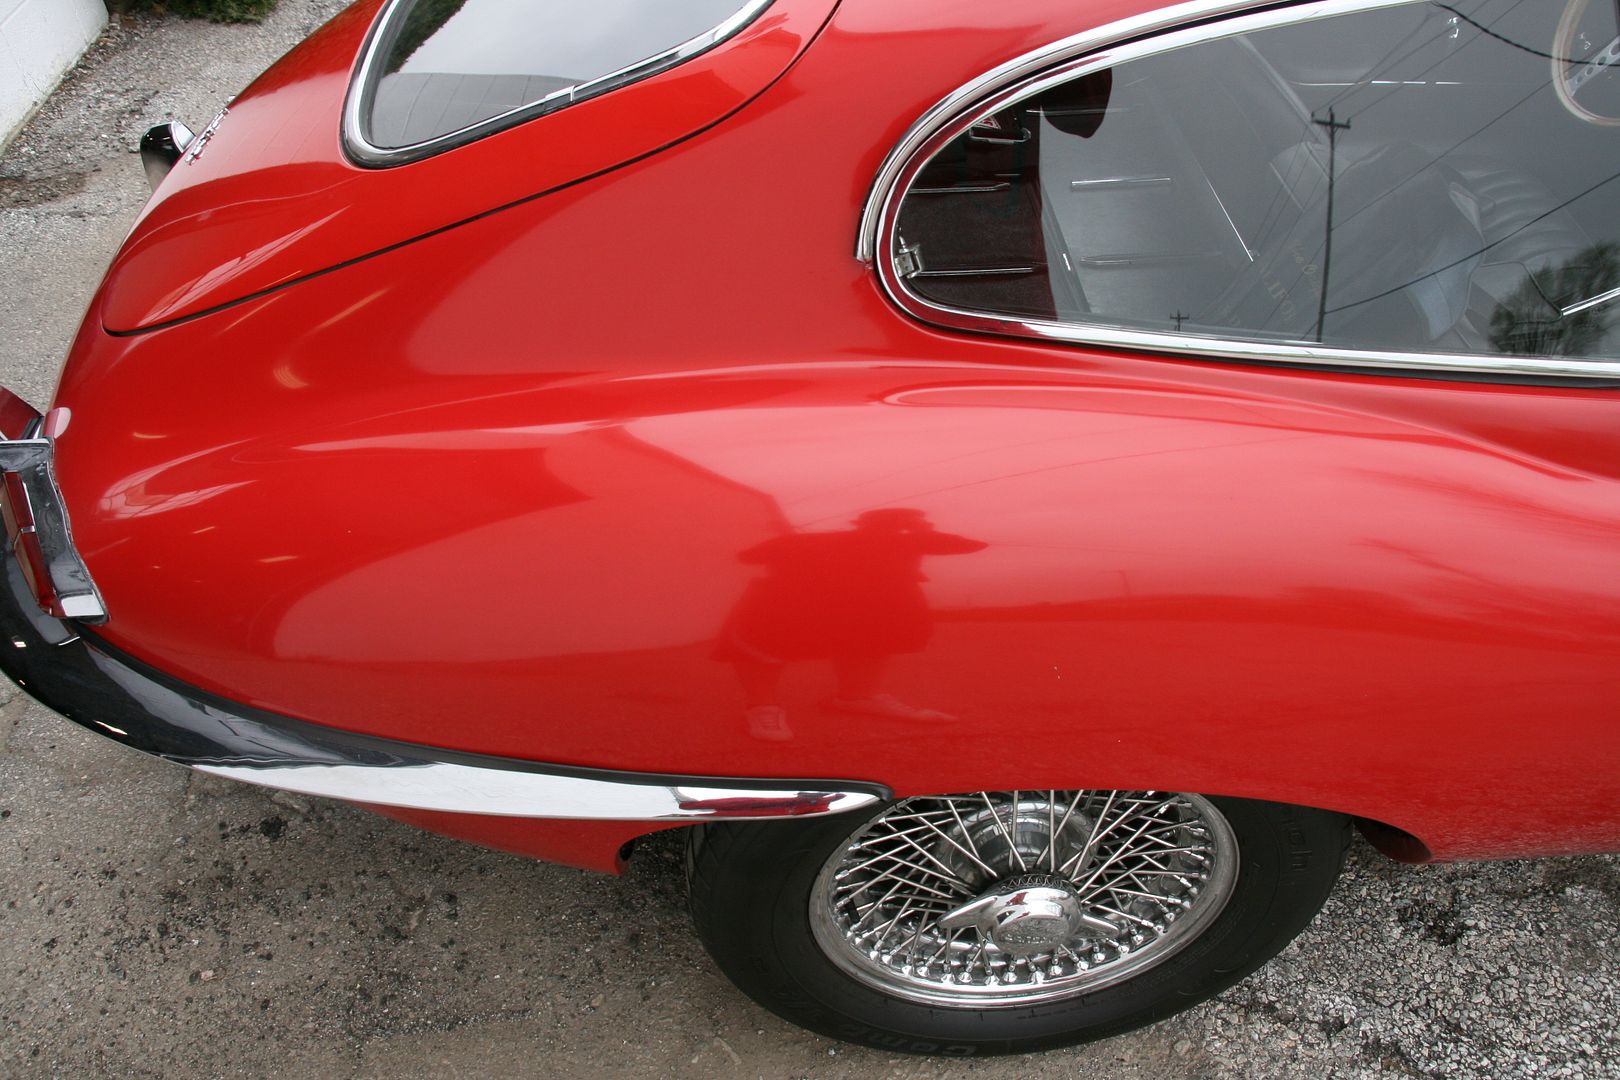
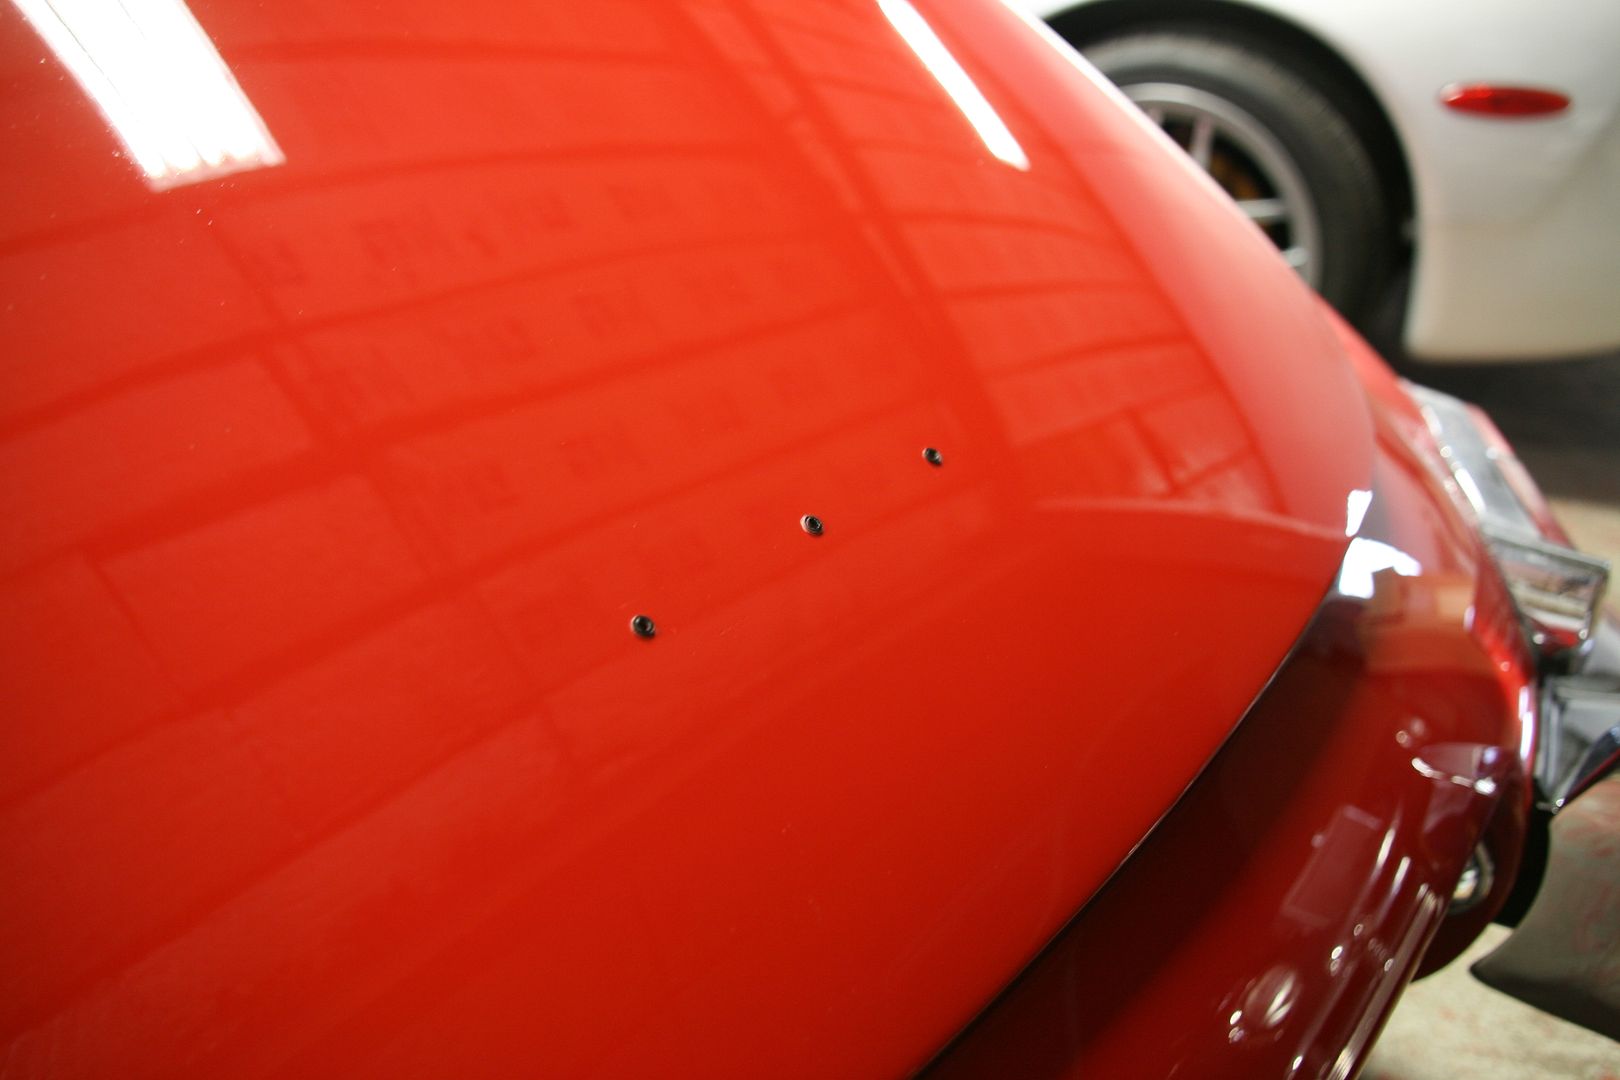
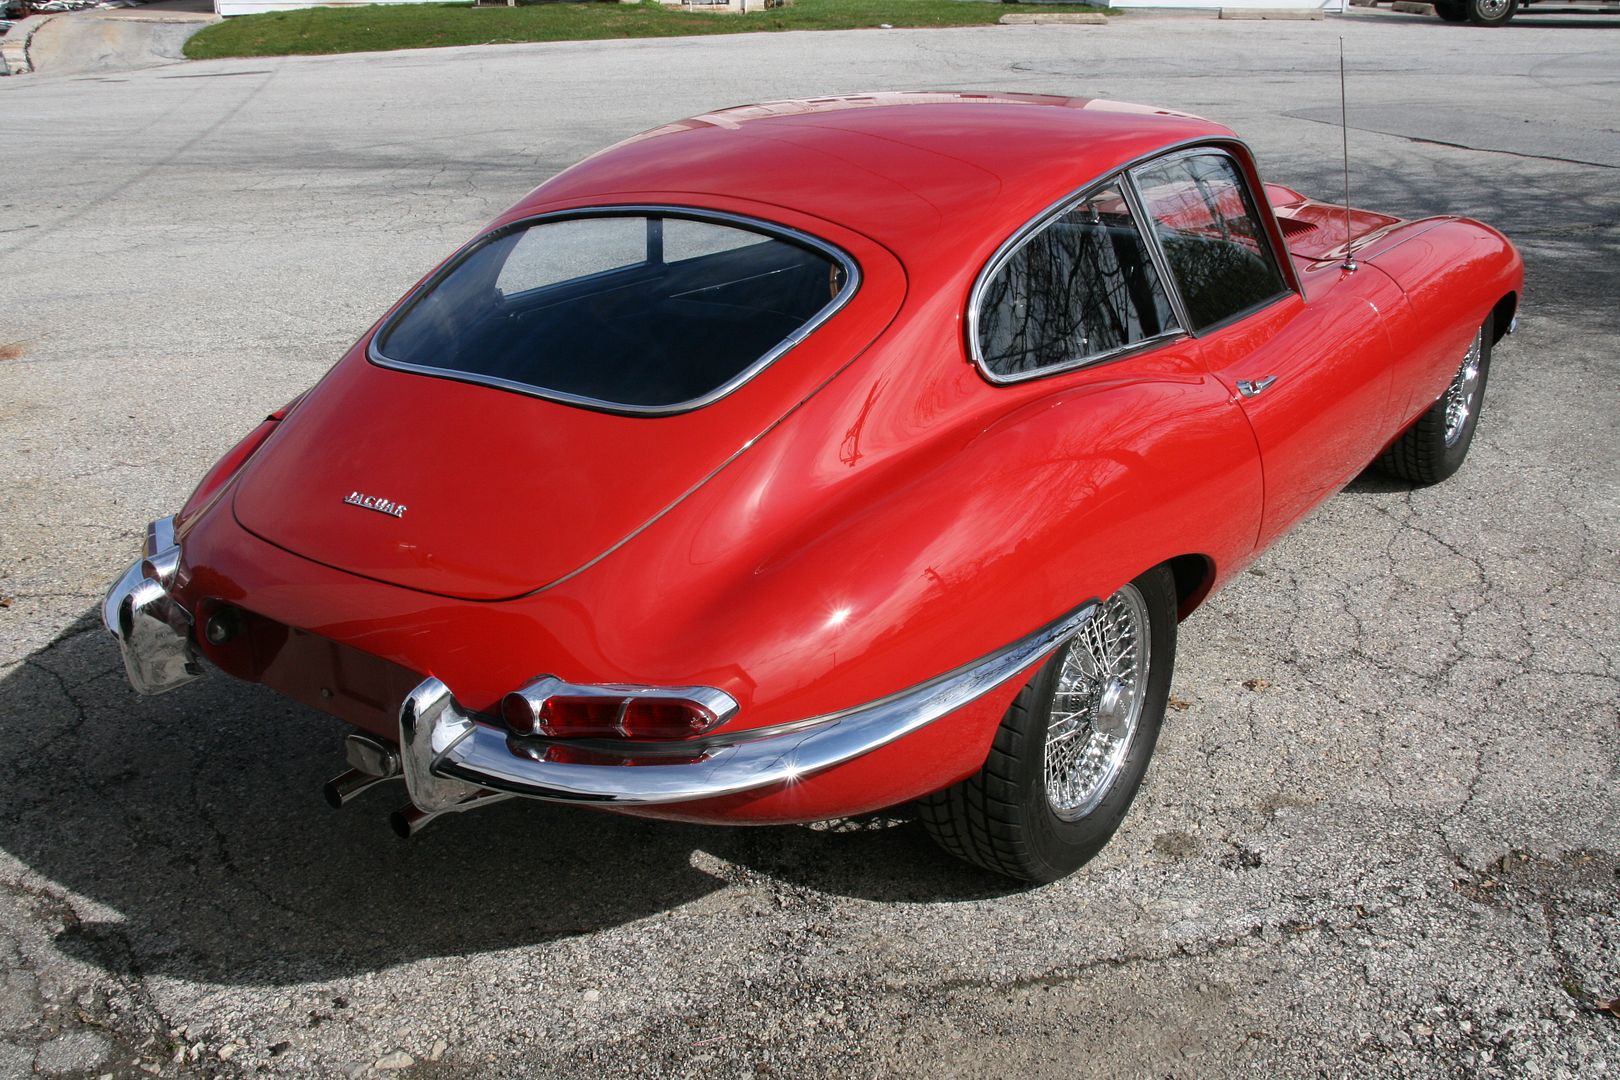
The Jaguar emblem in the back created and eye sore under neath, so Mikhael was on a mission to carefull remove it so fix this small but noticeable problem:

Removed
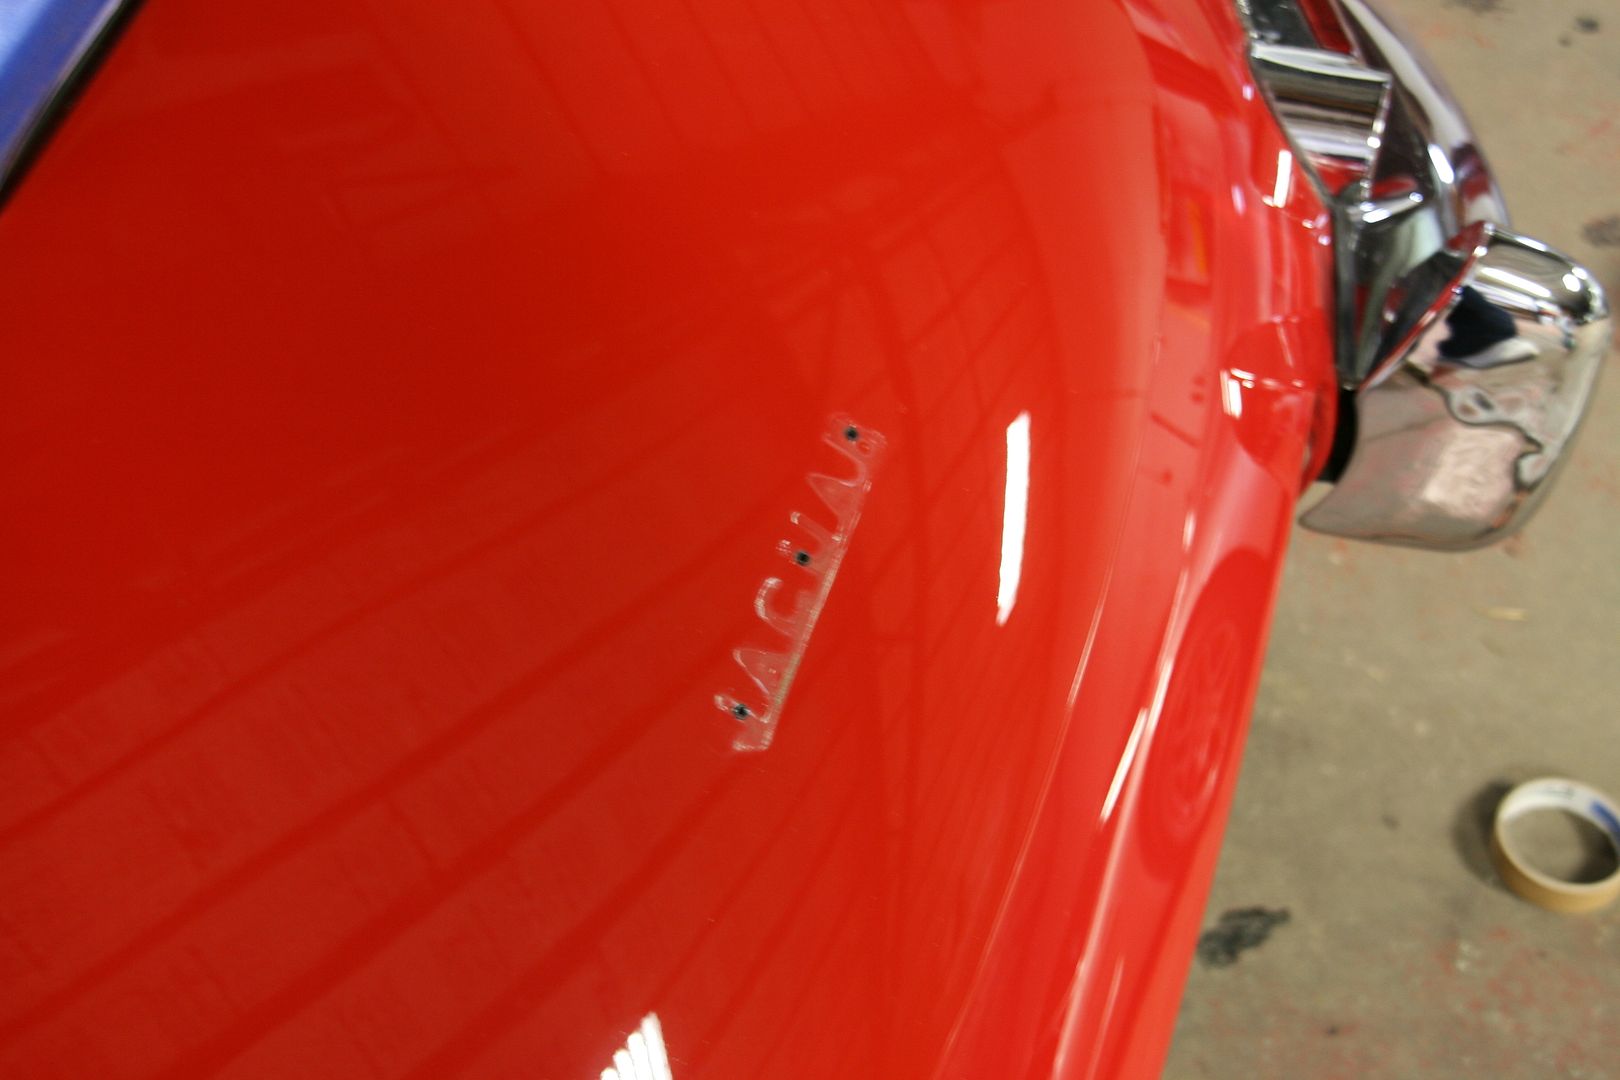
Working the panel
Fixed
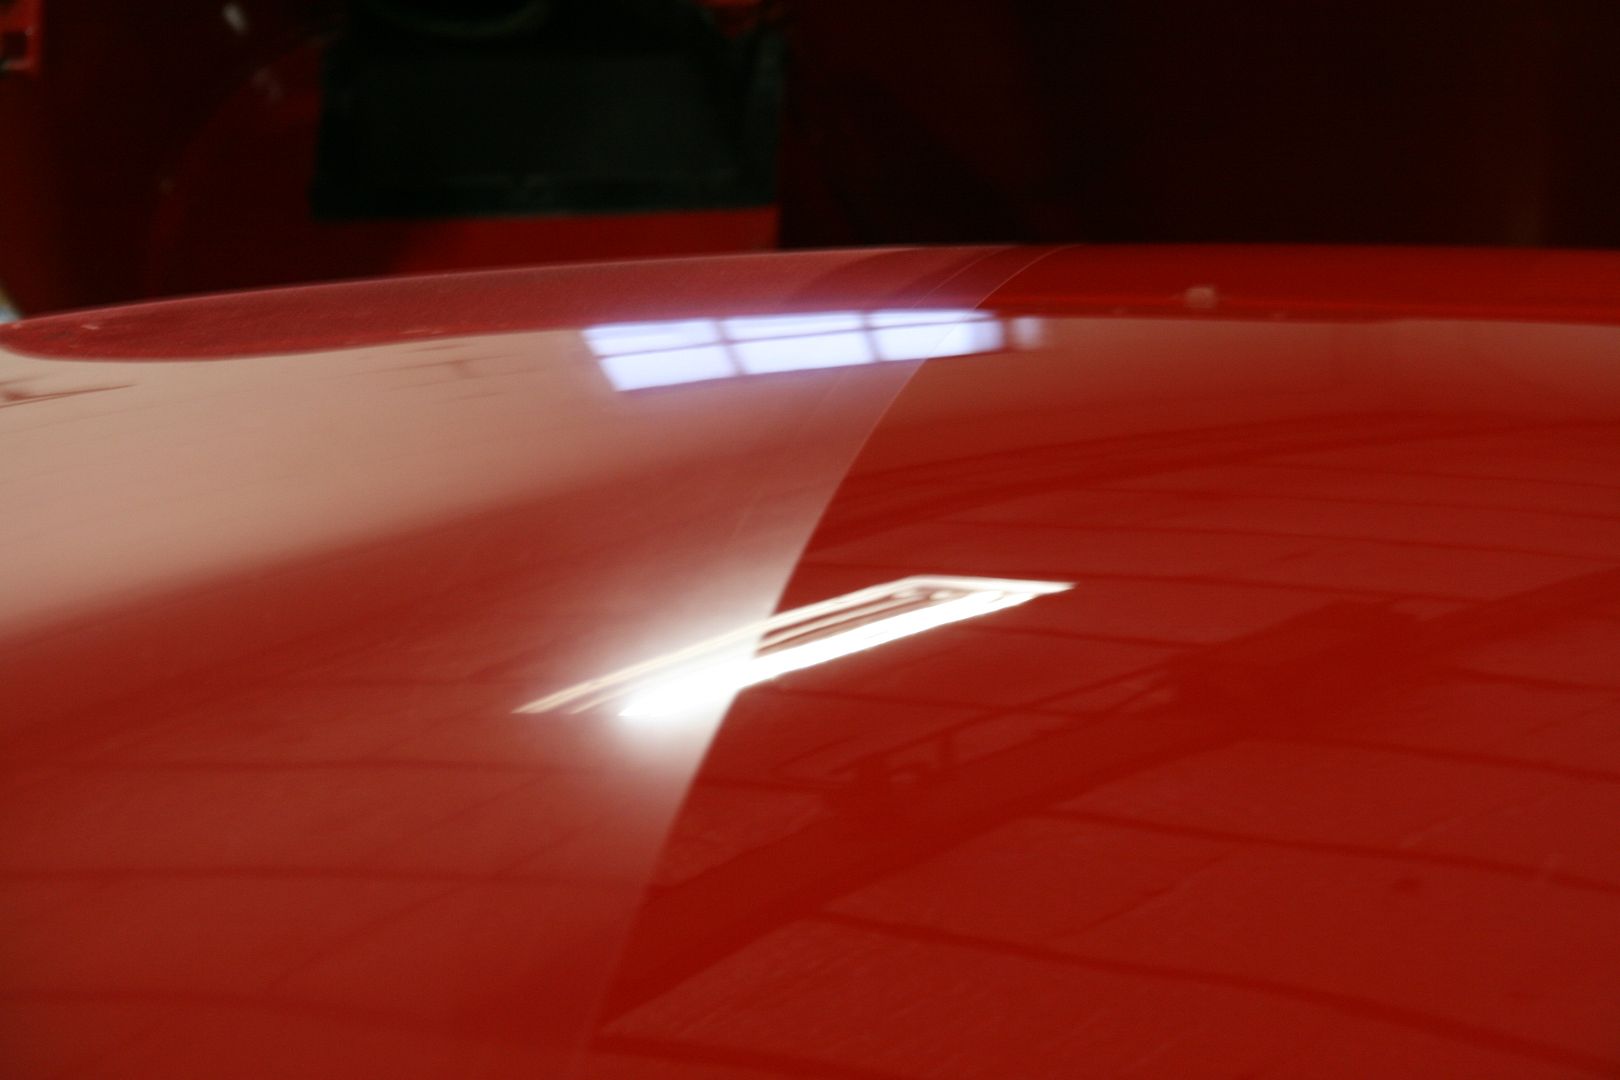
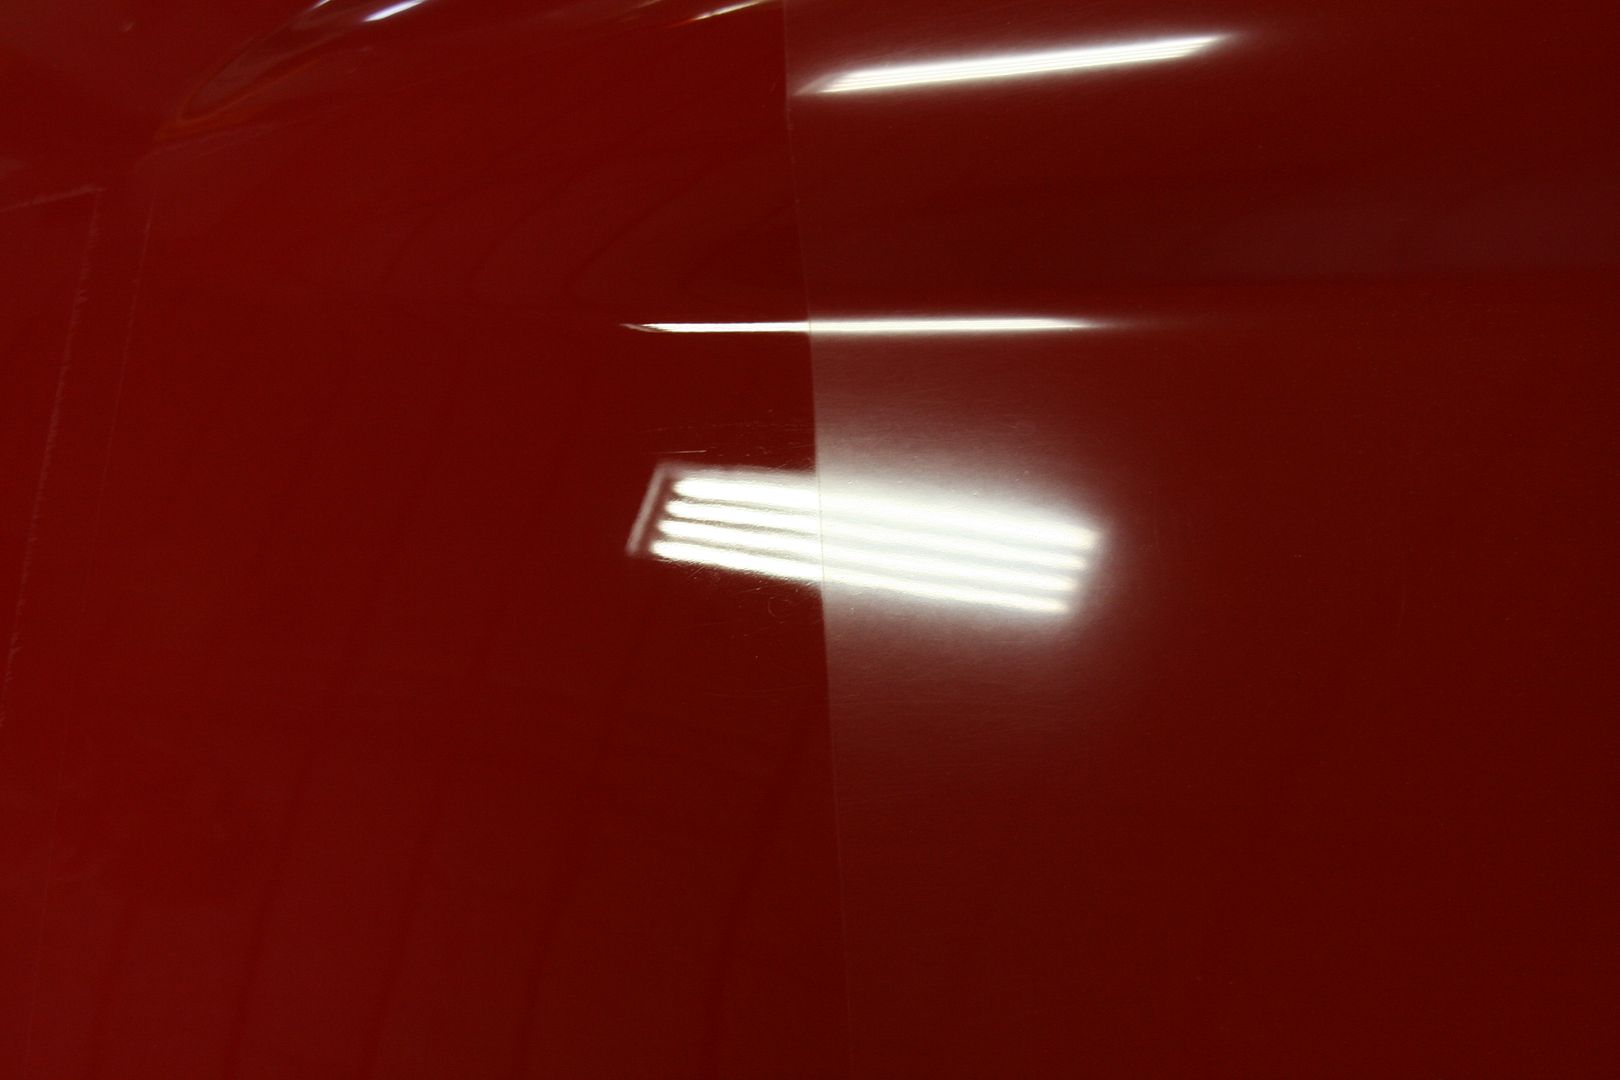
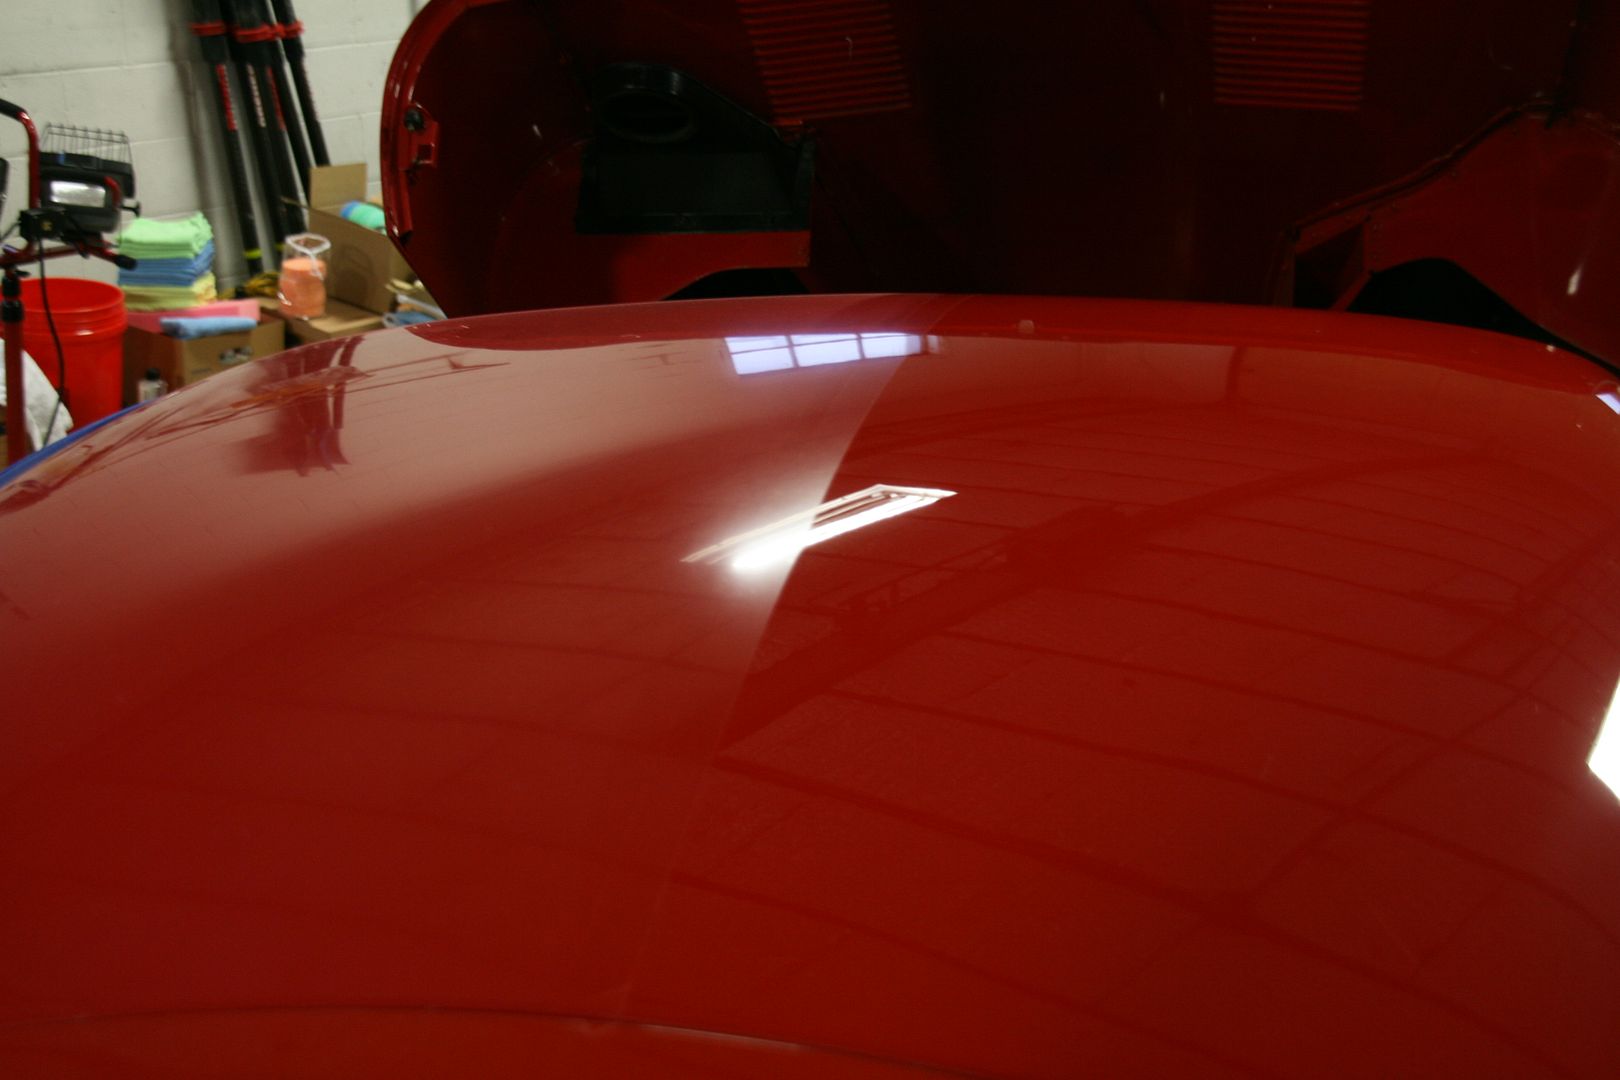
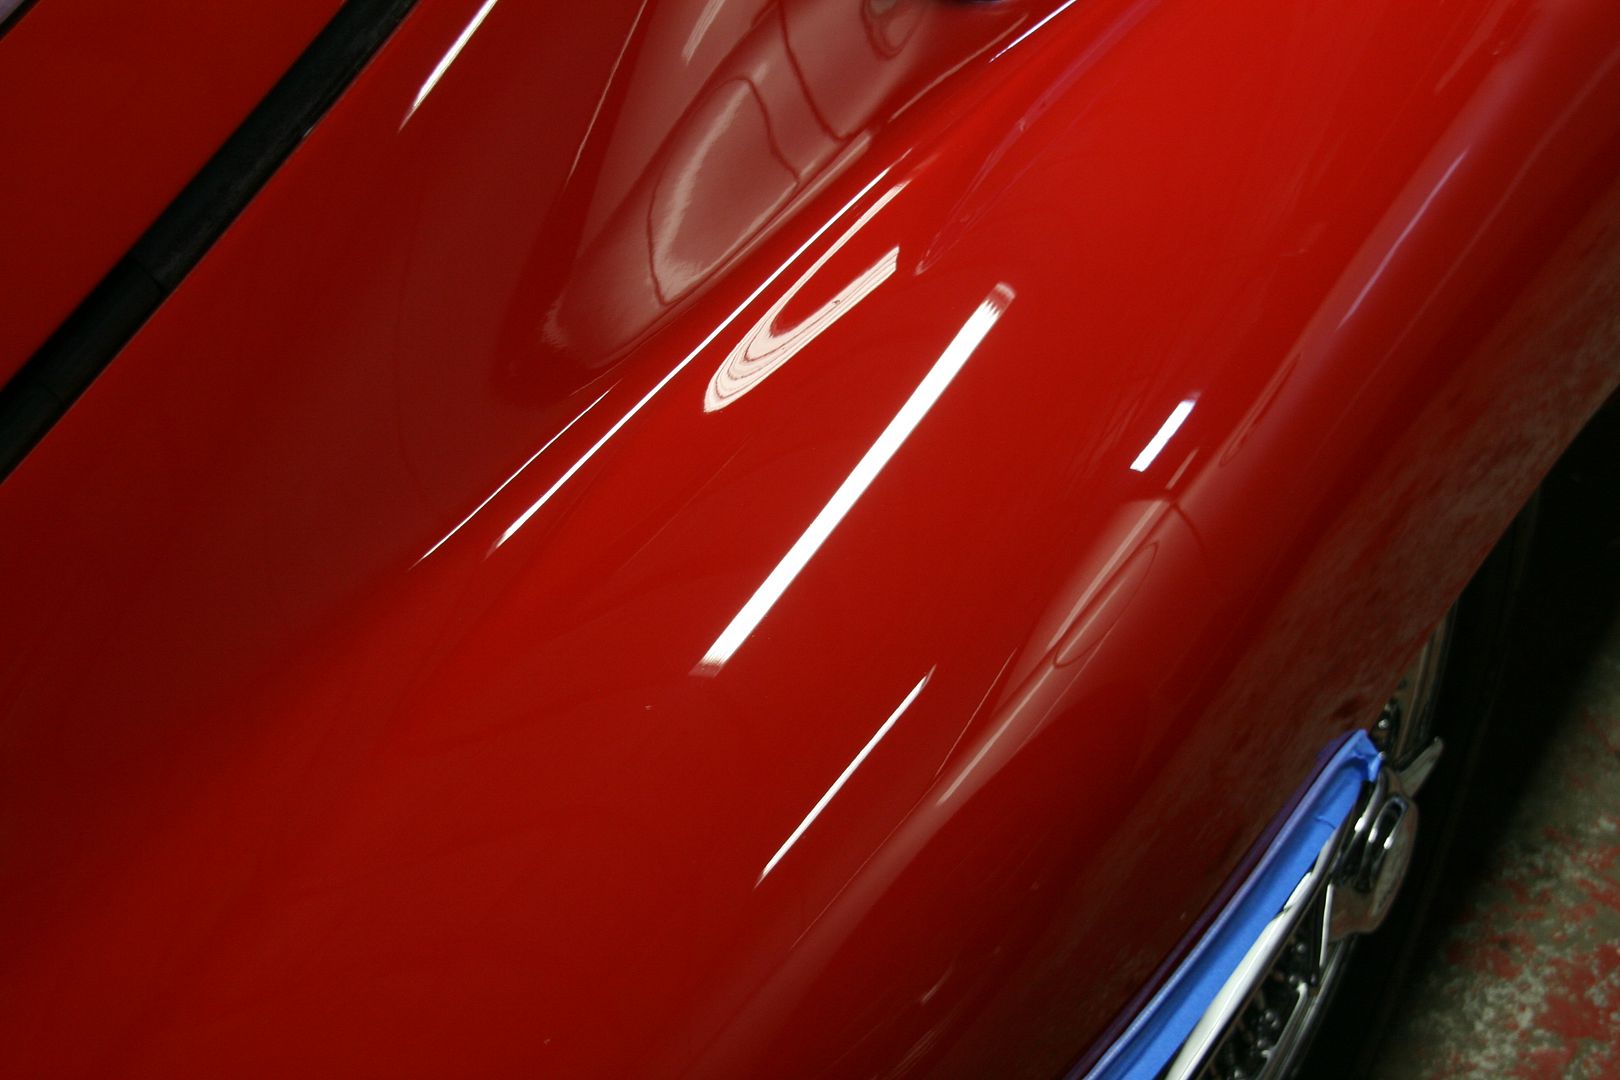
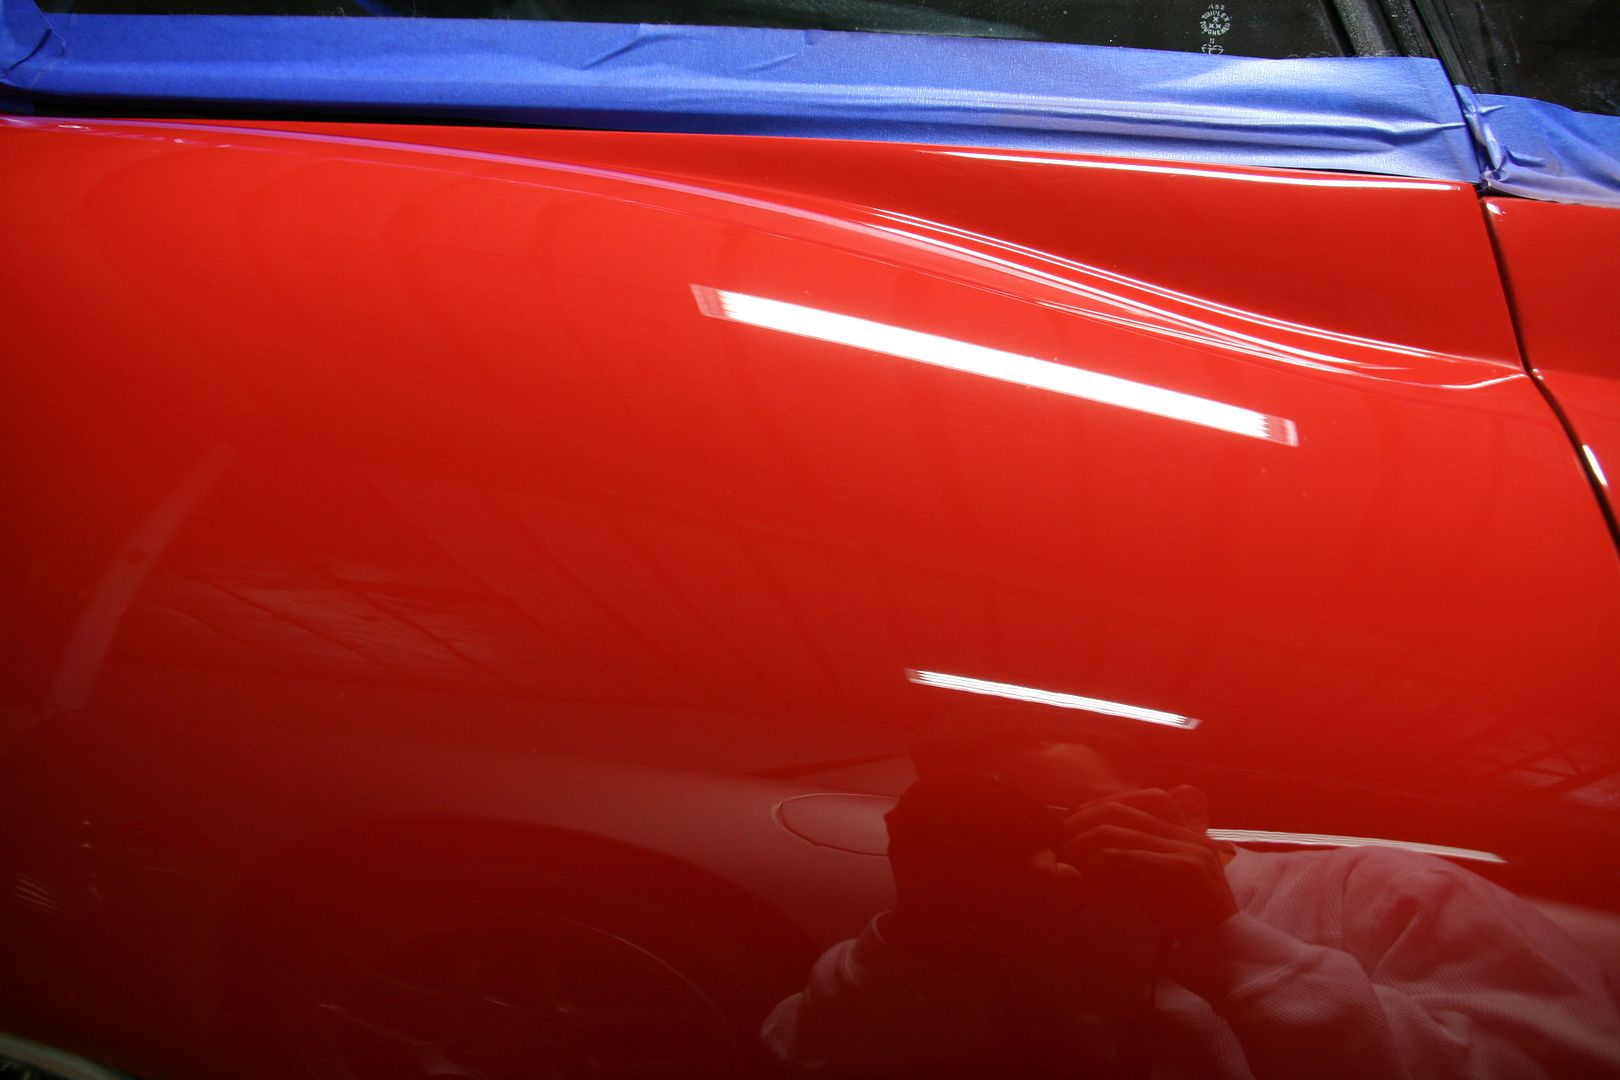
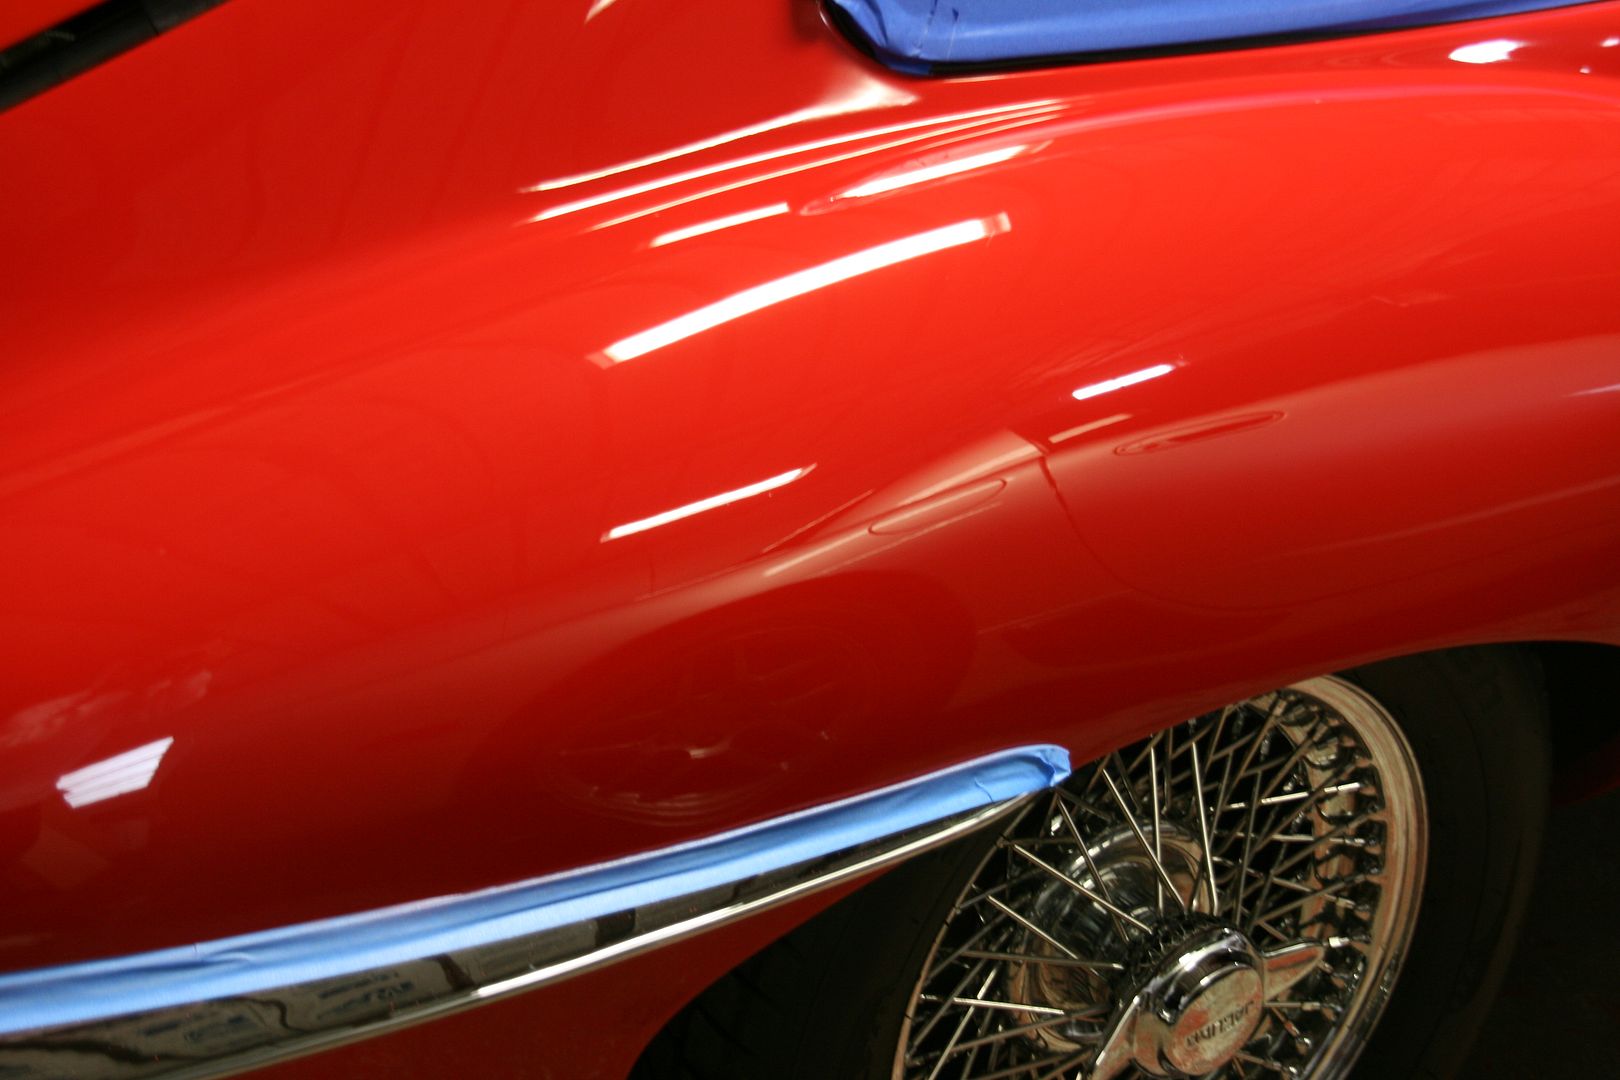
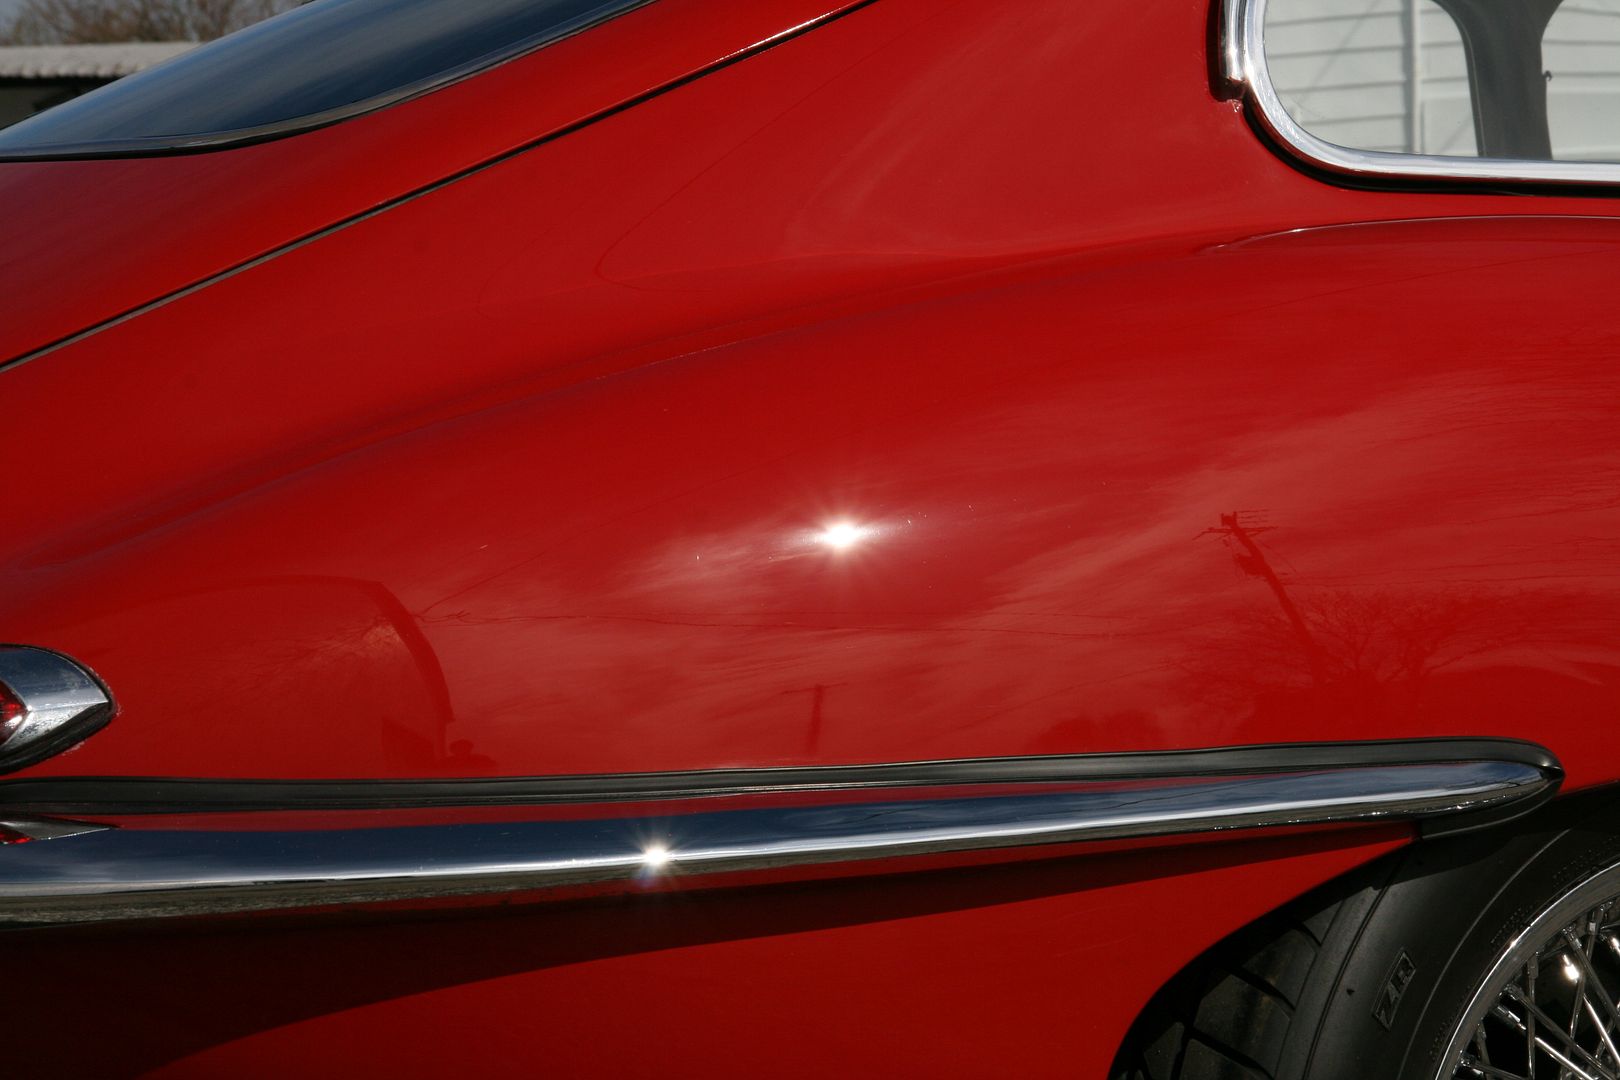
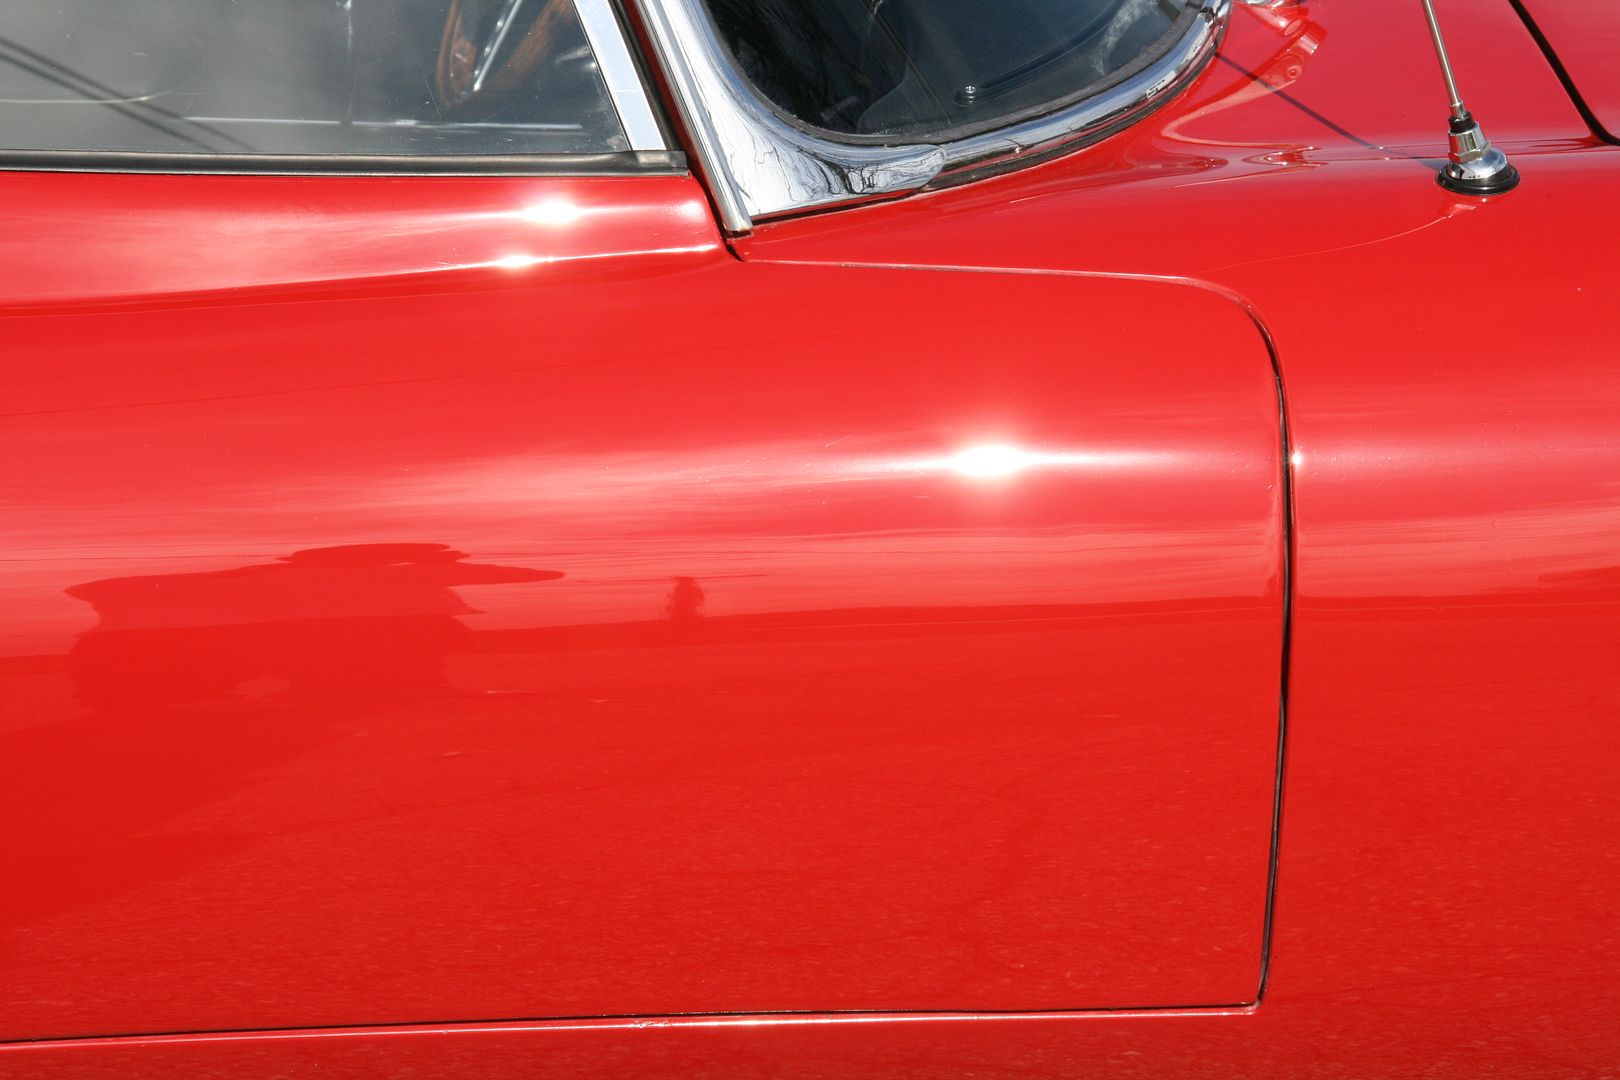
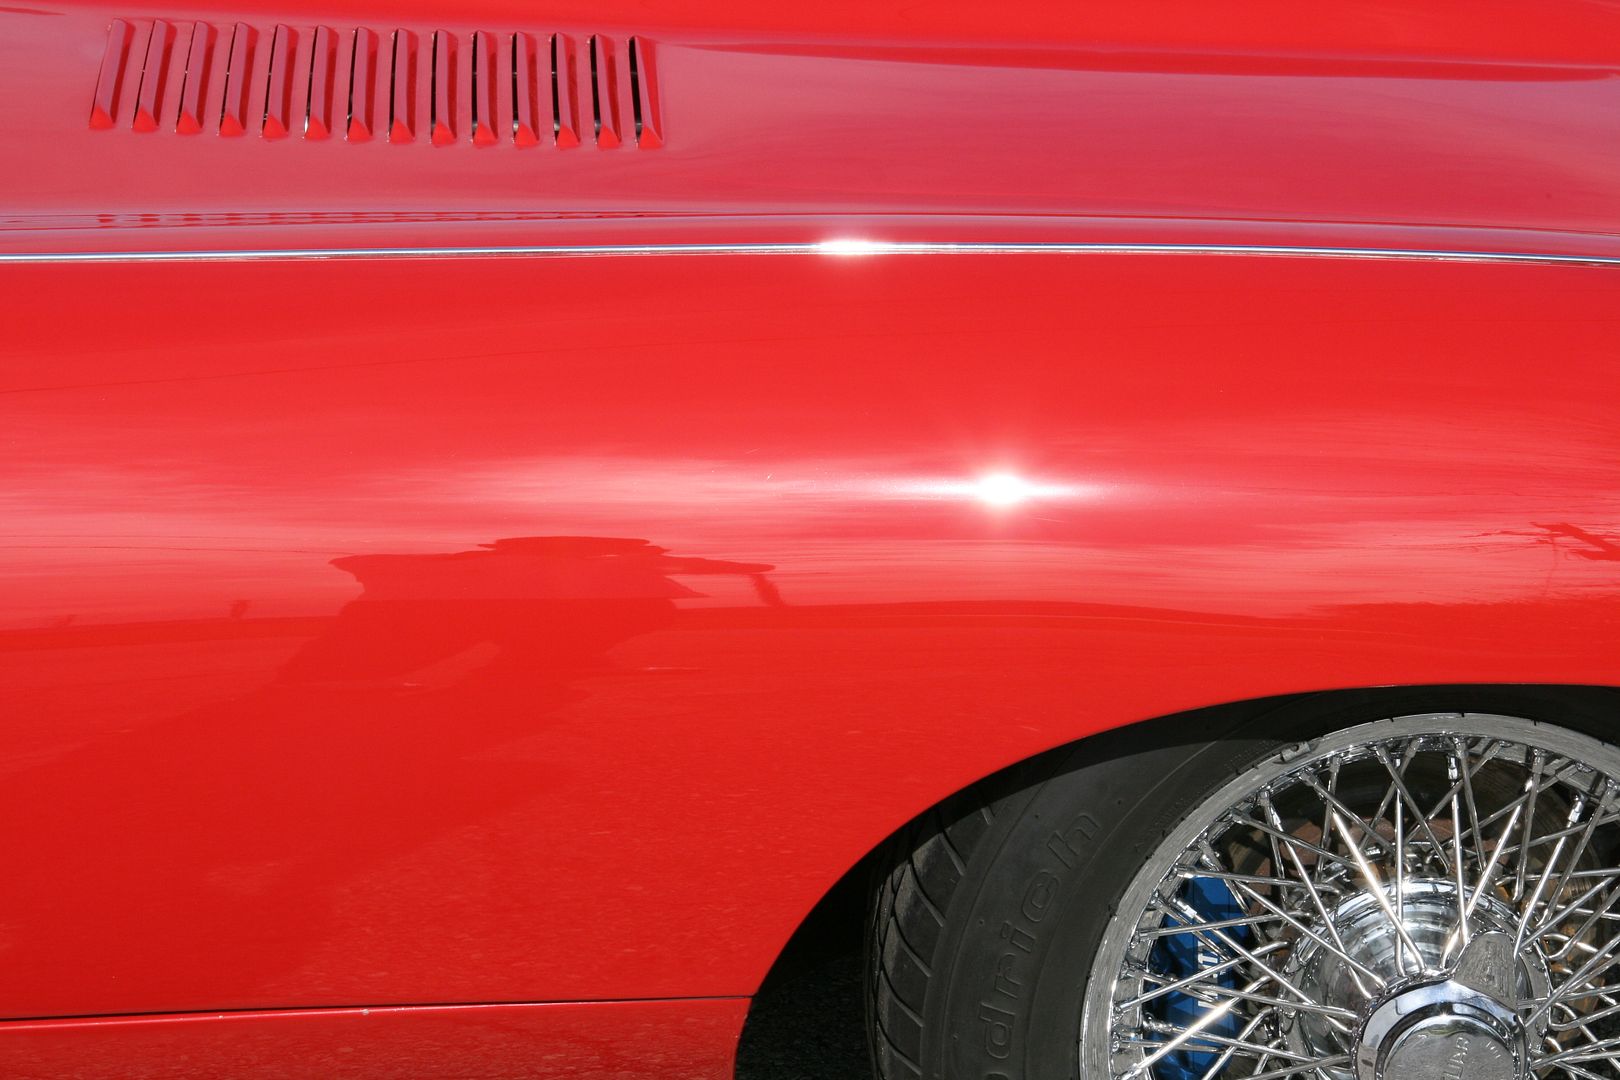
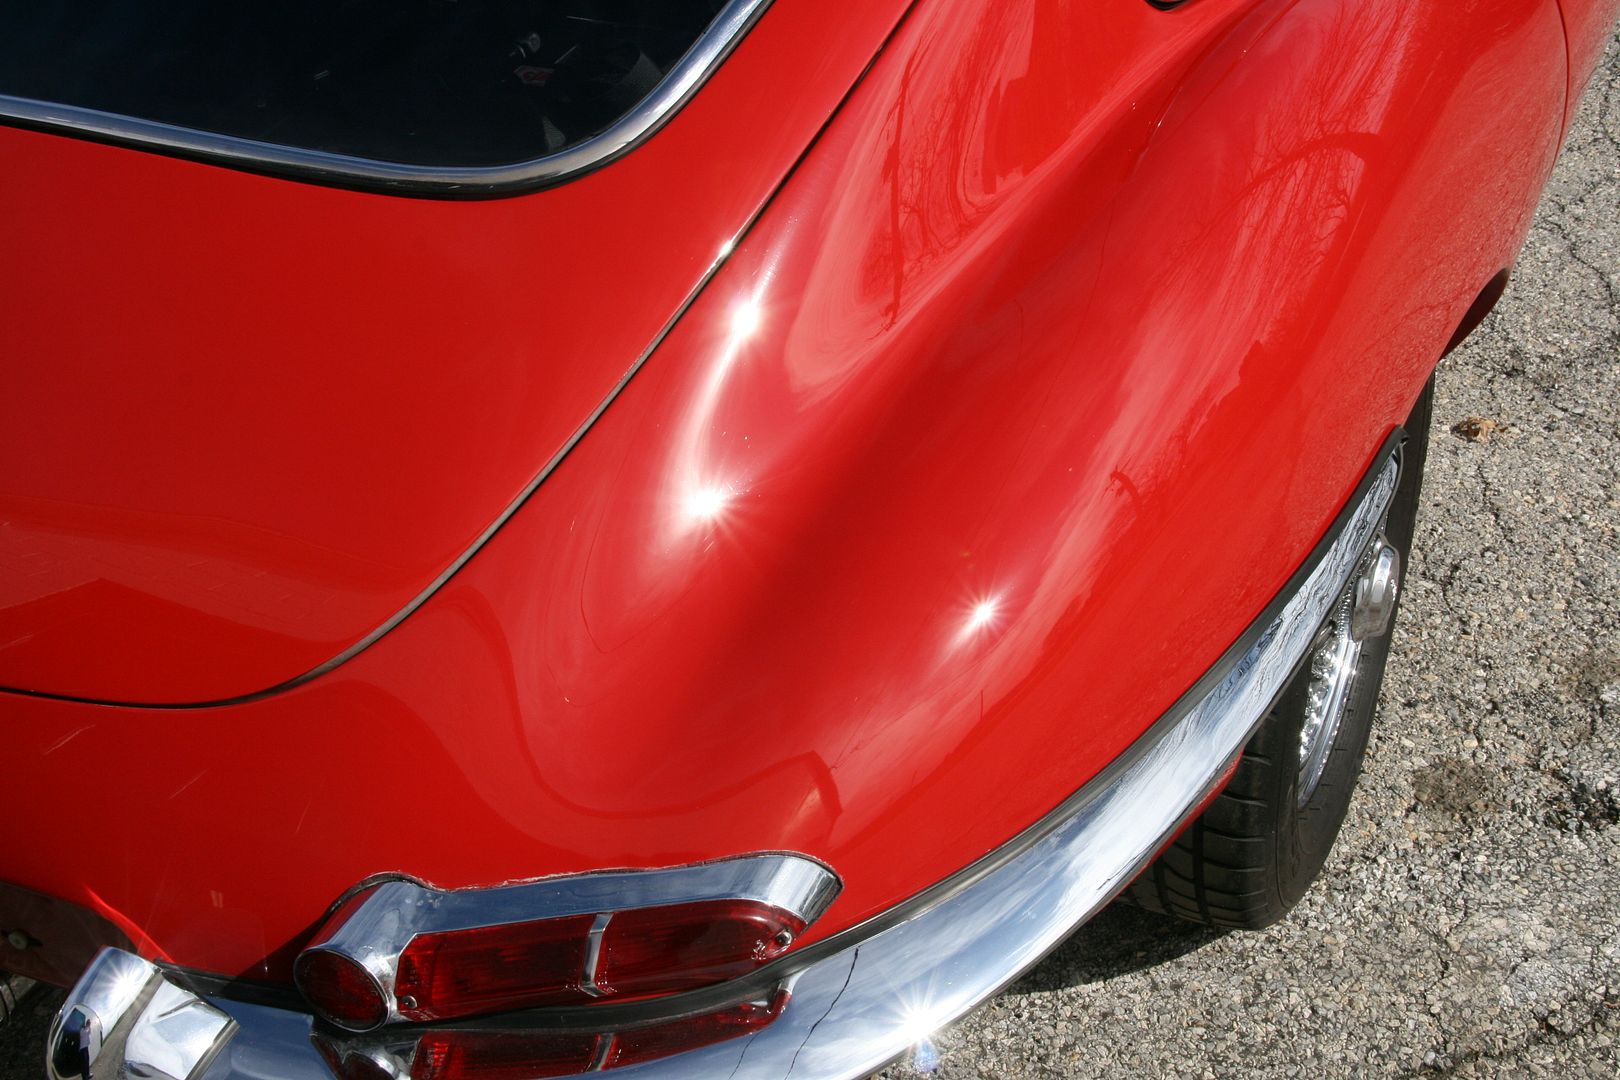
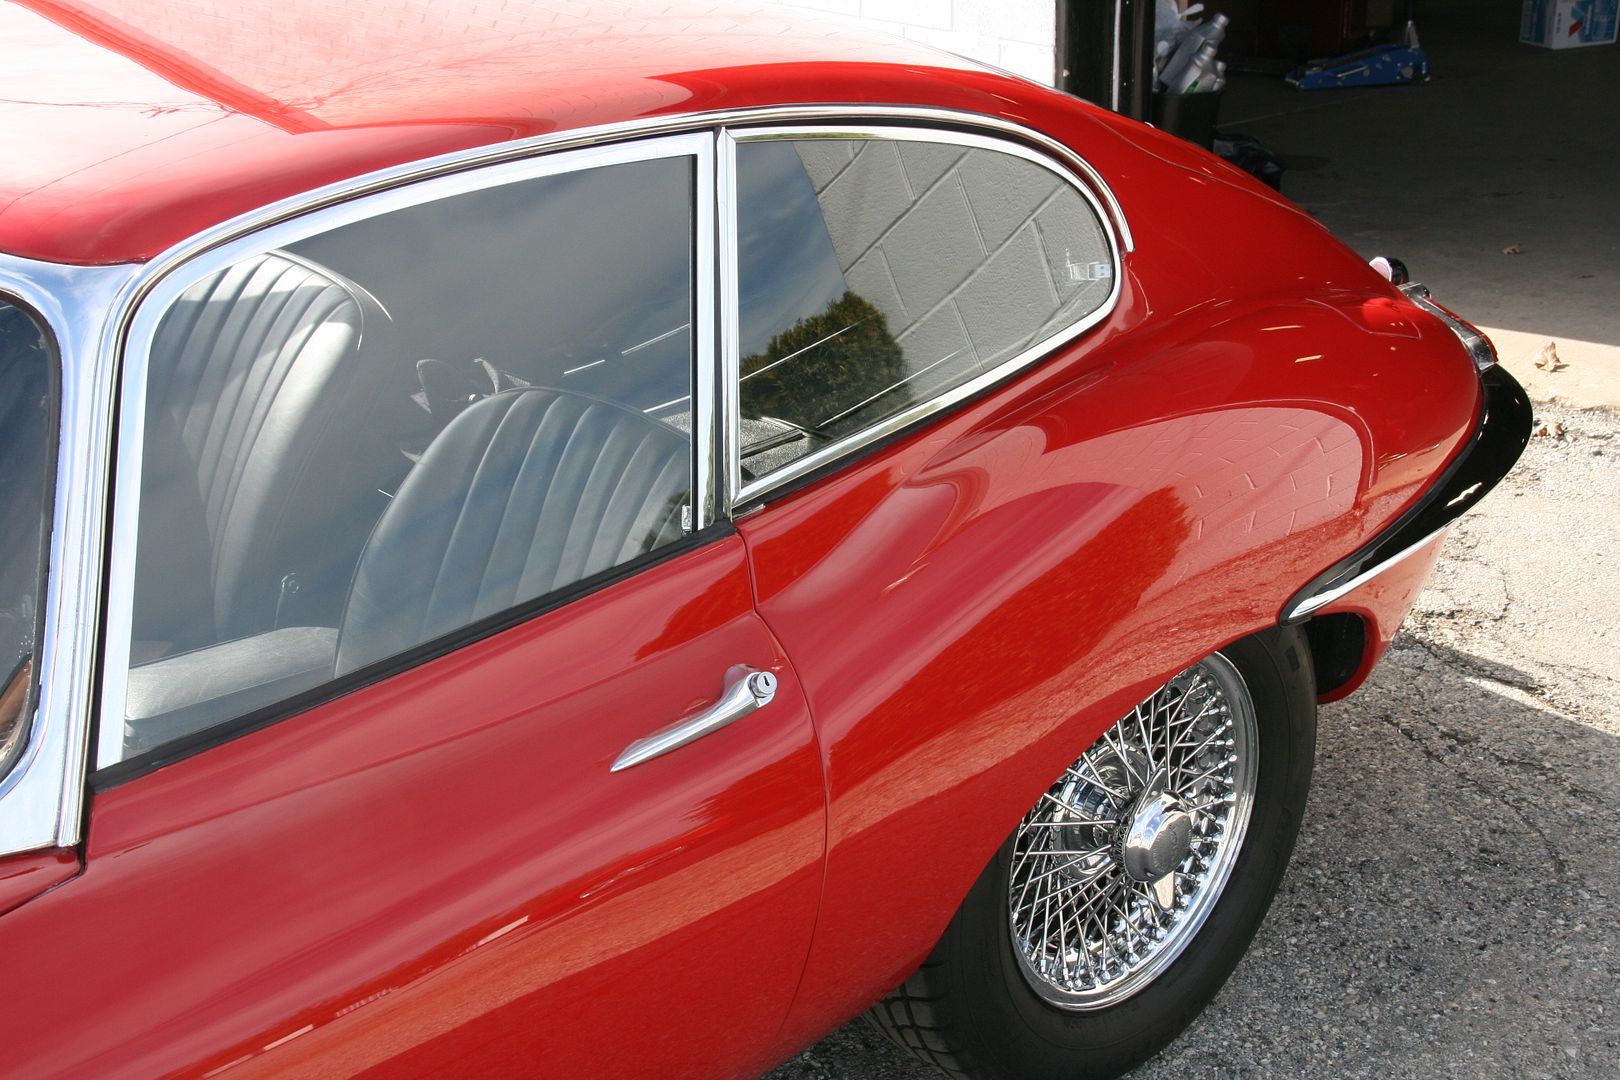
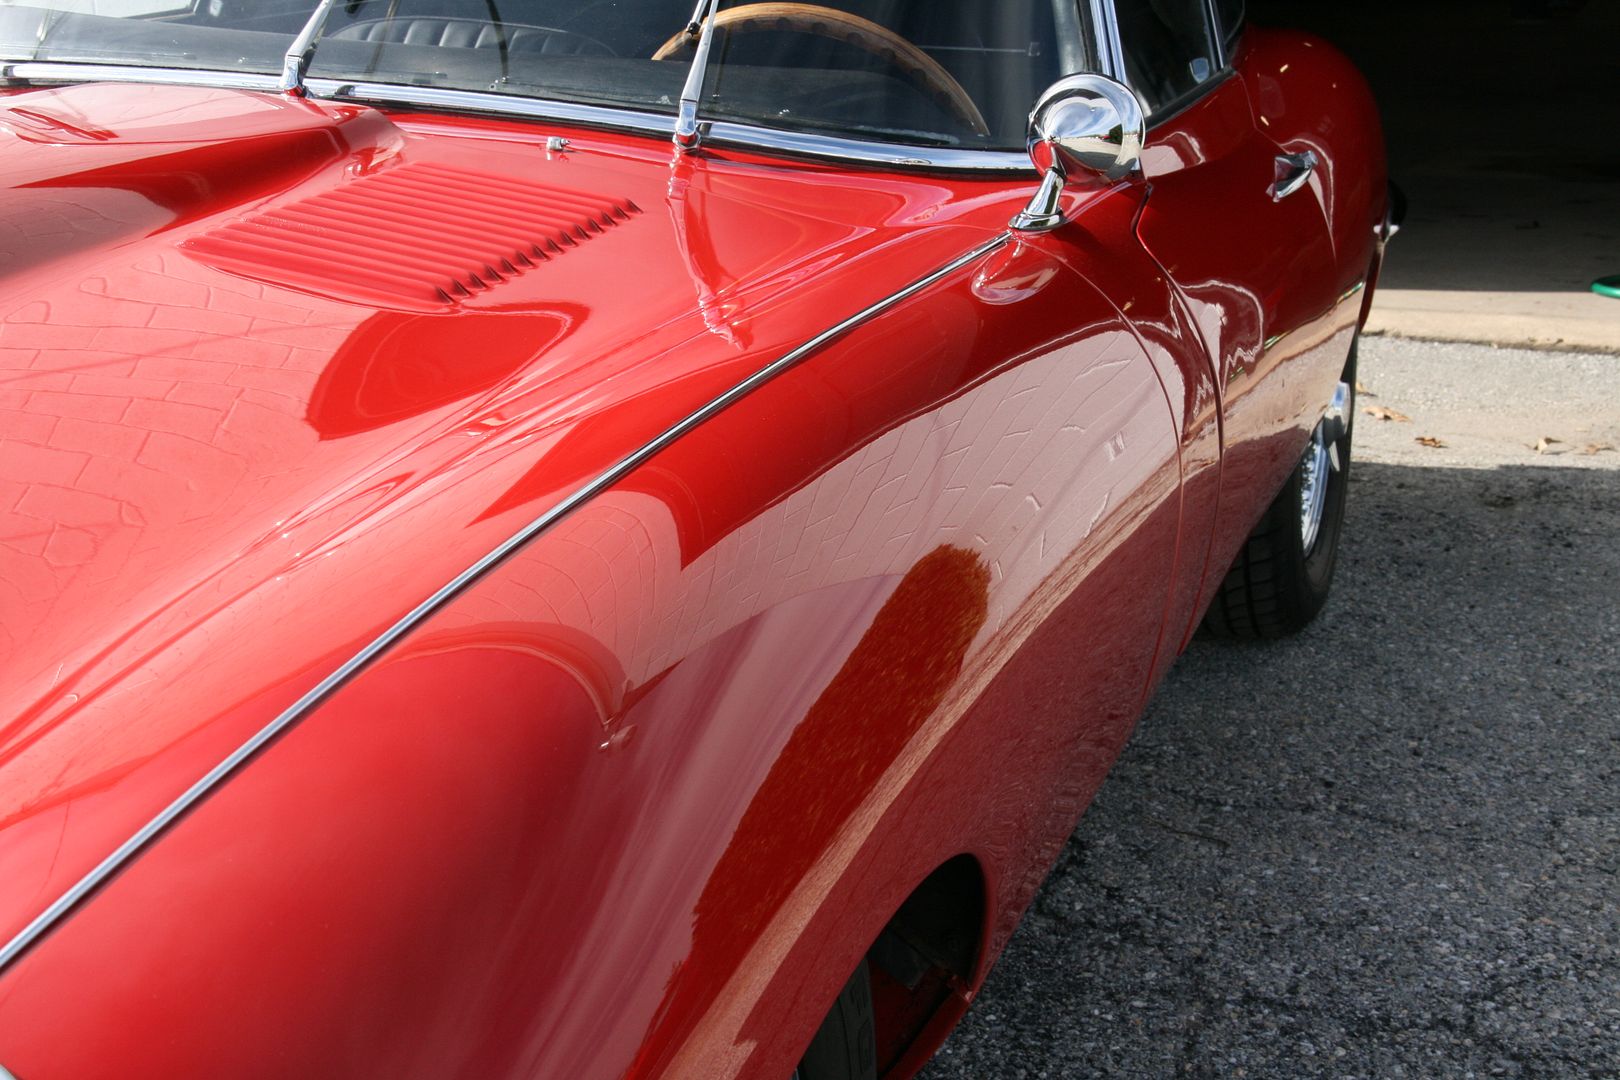
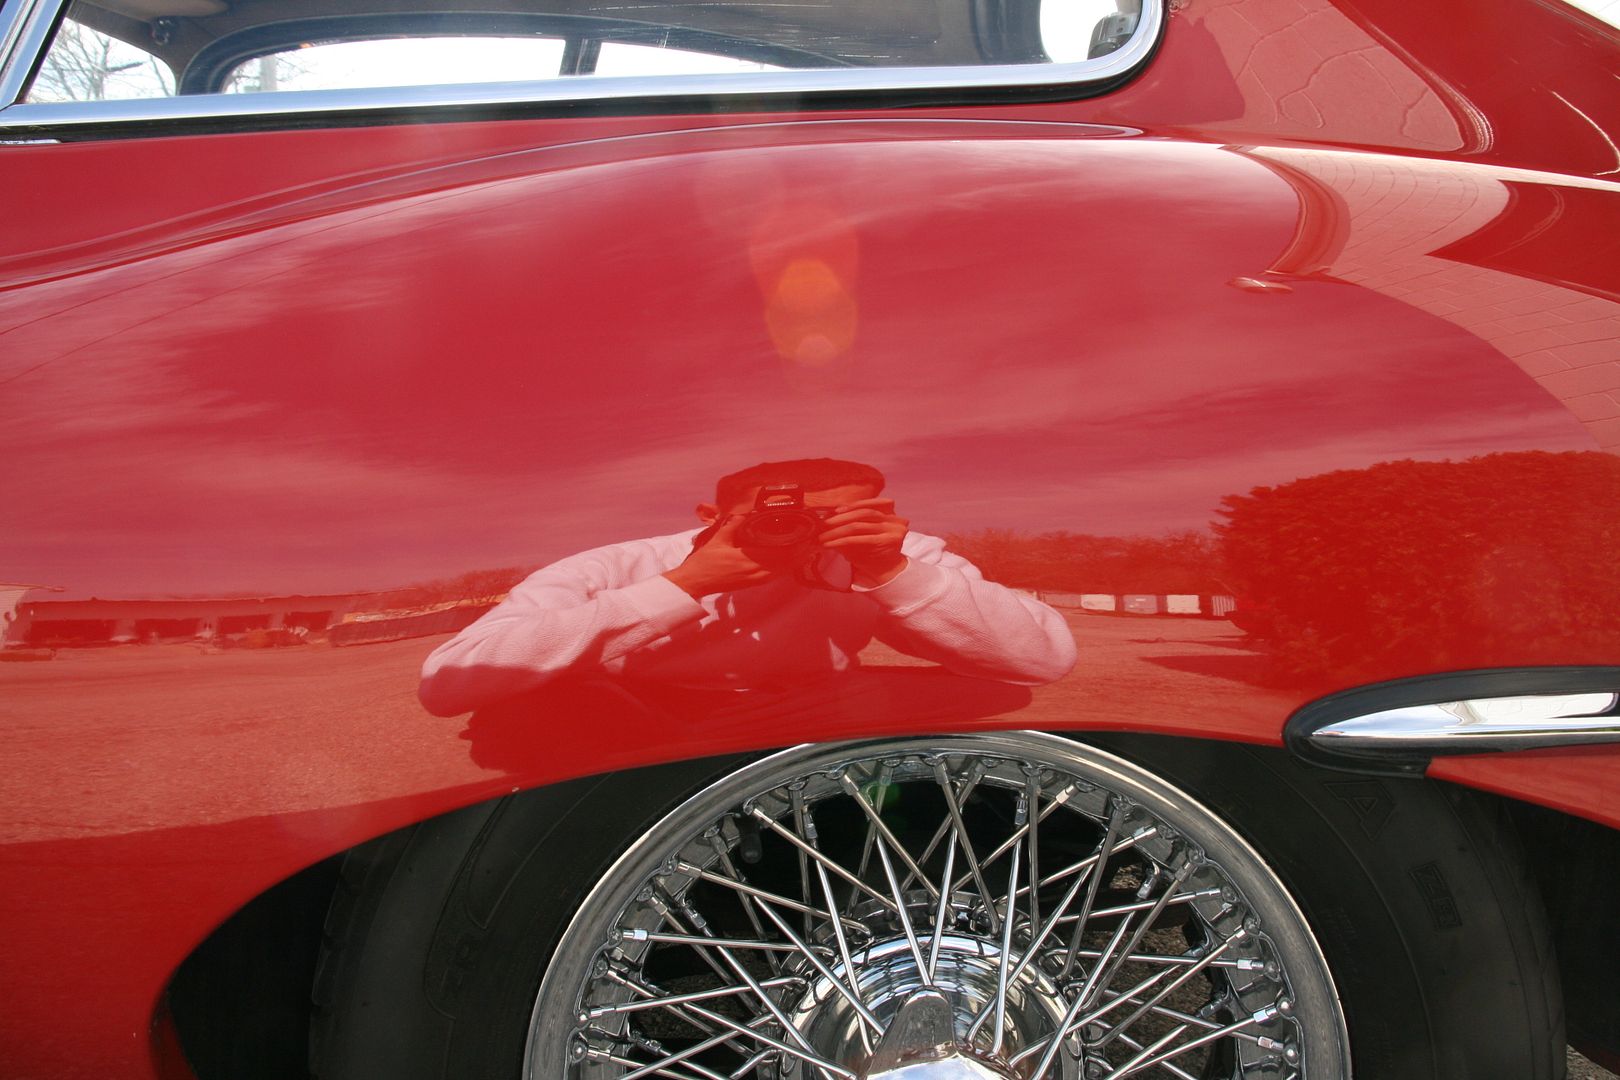
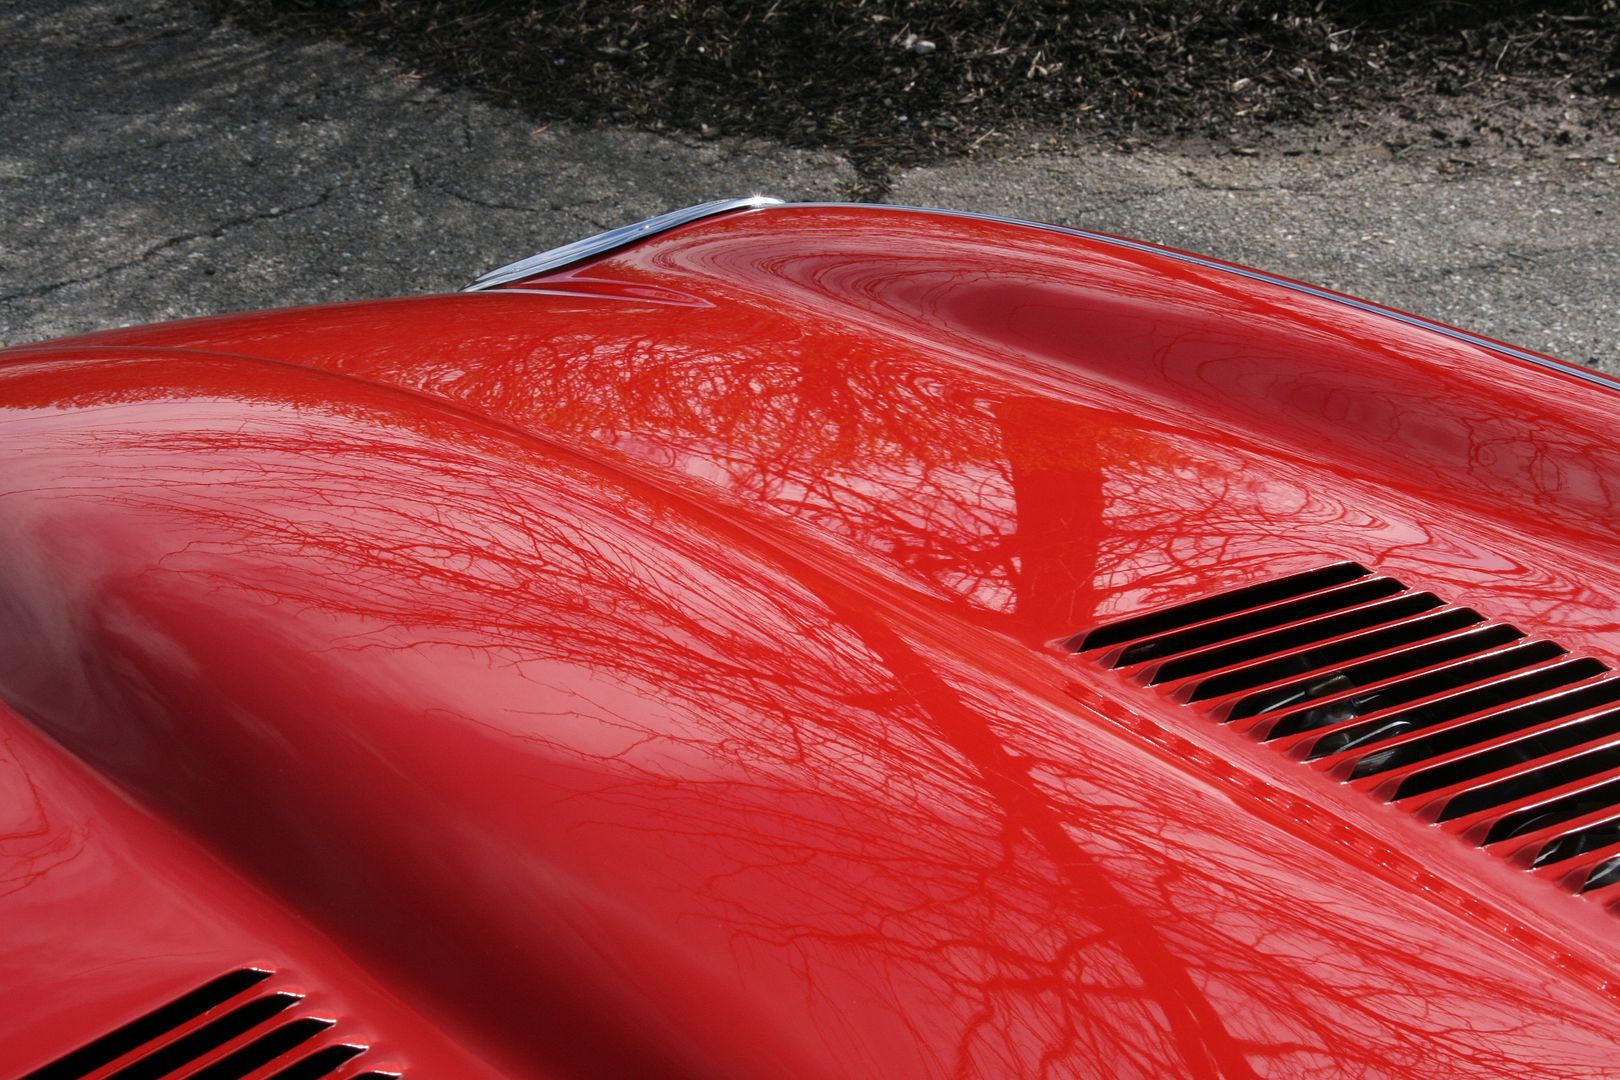
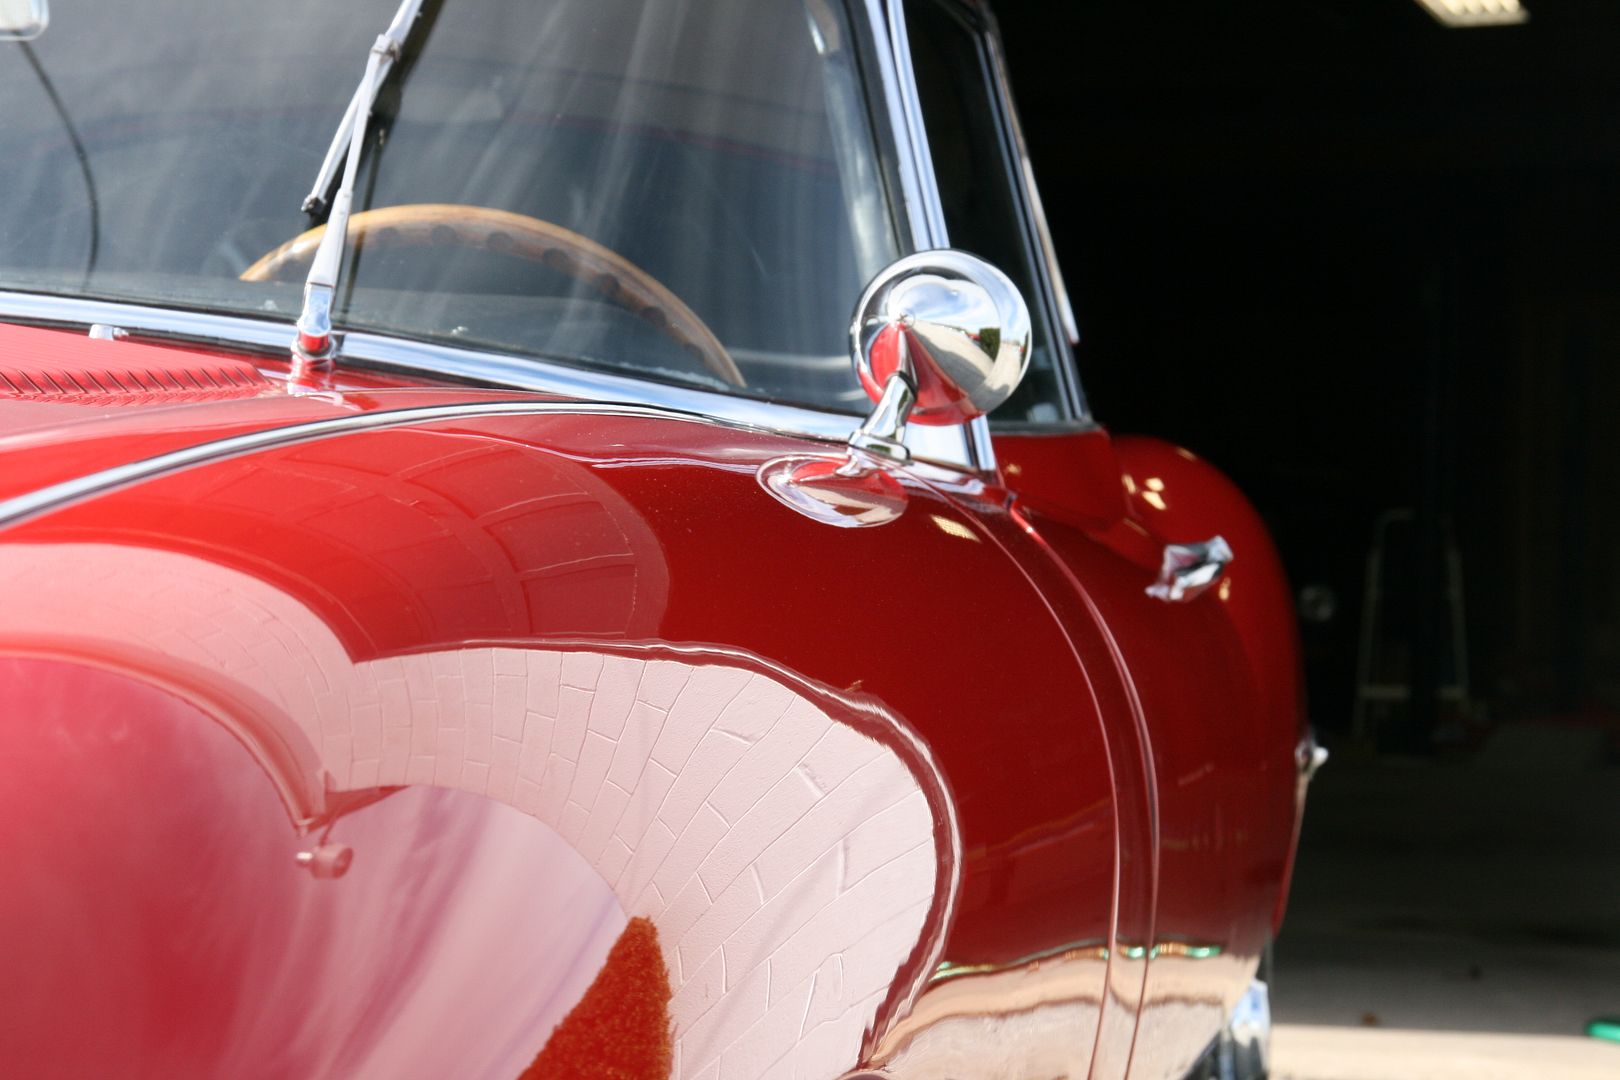
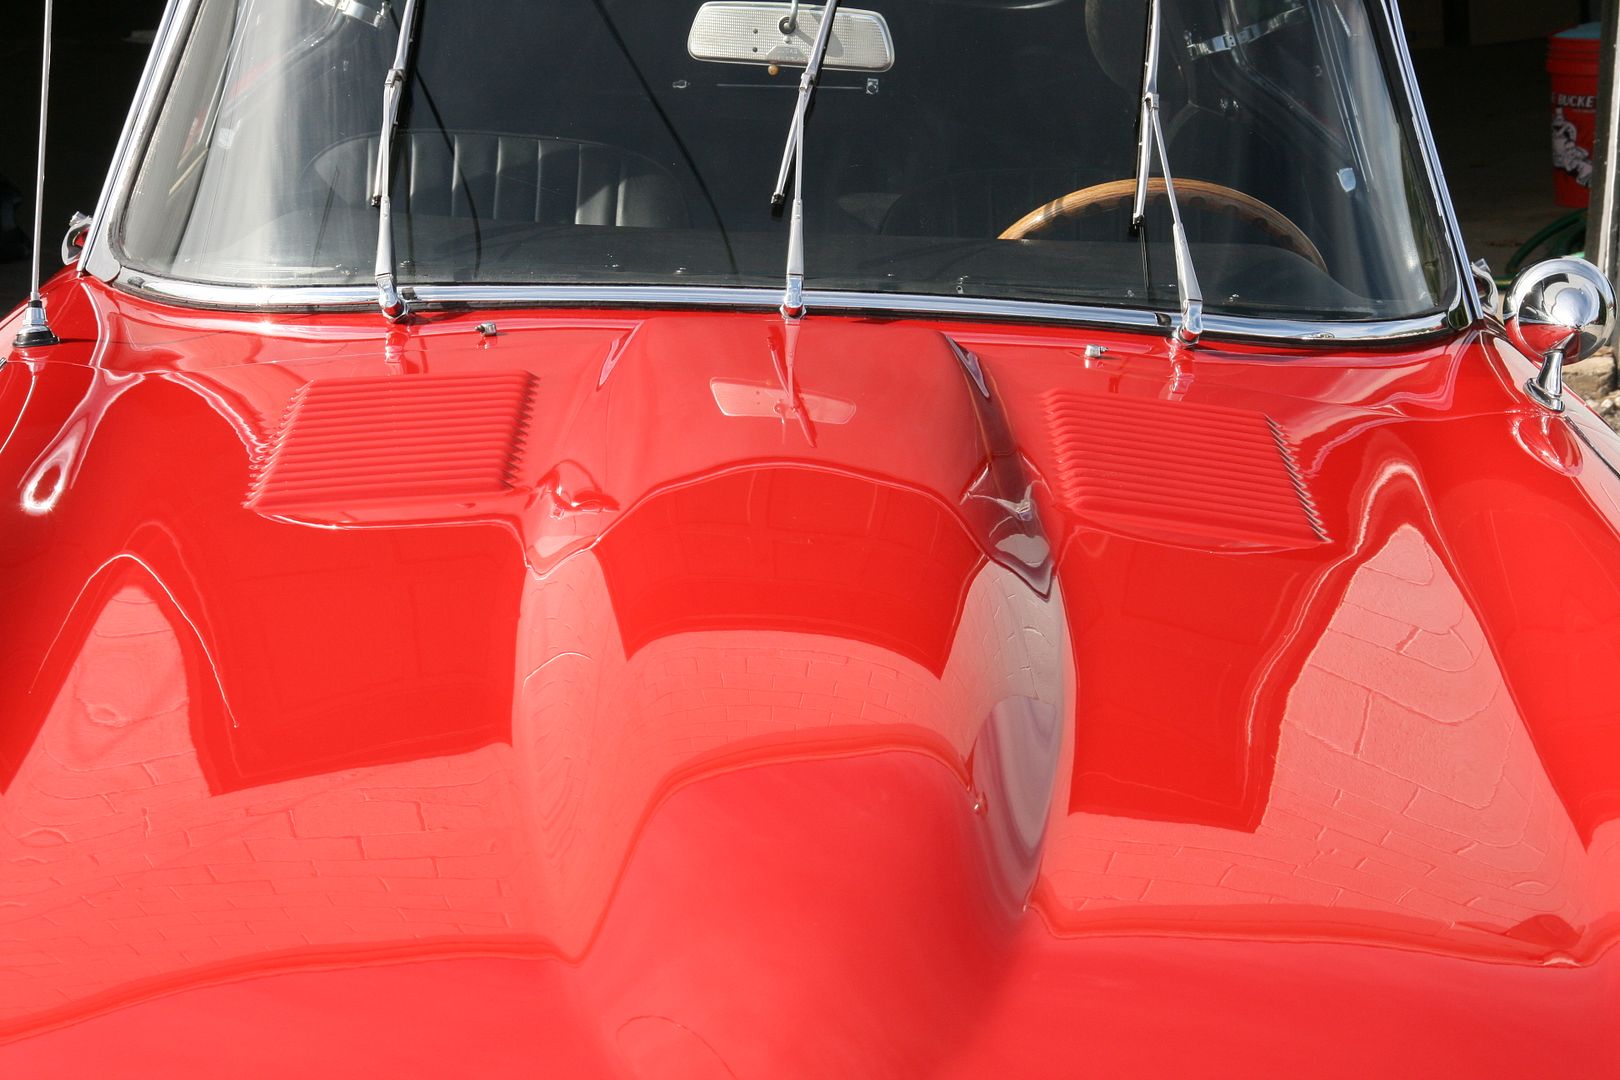
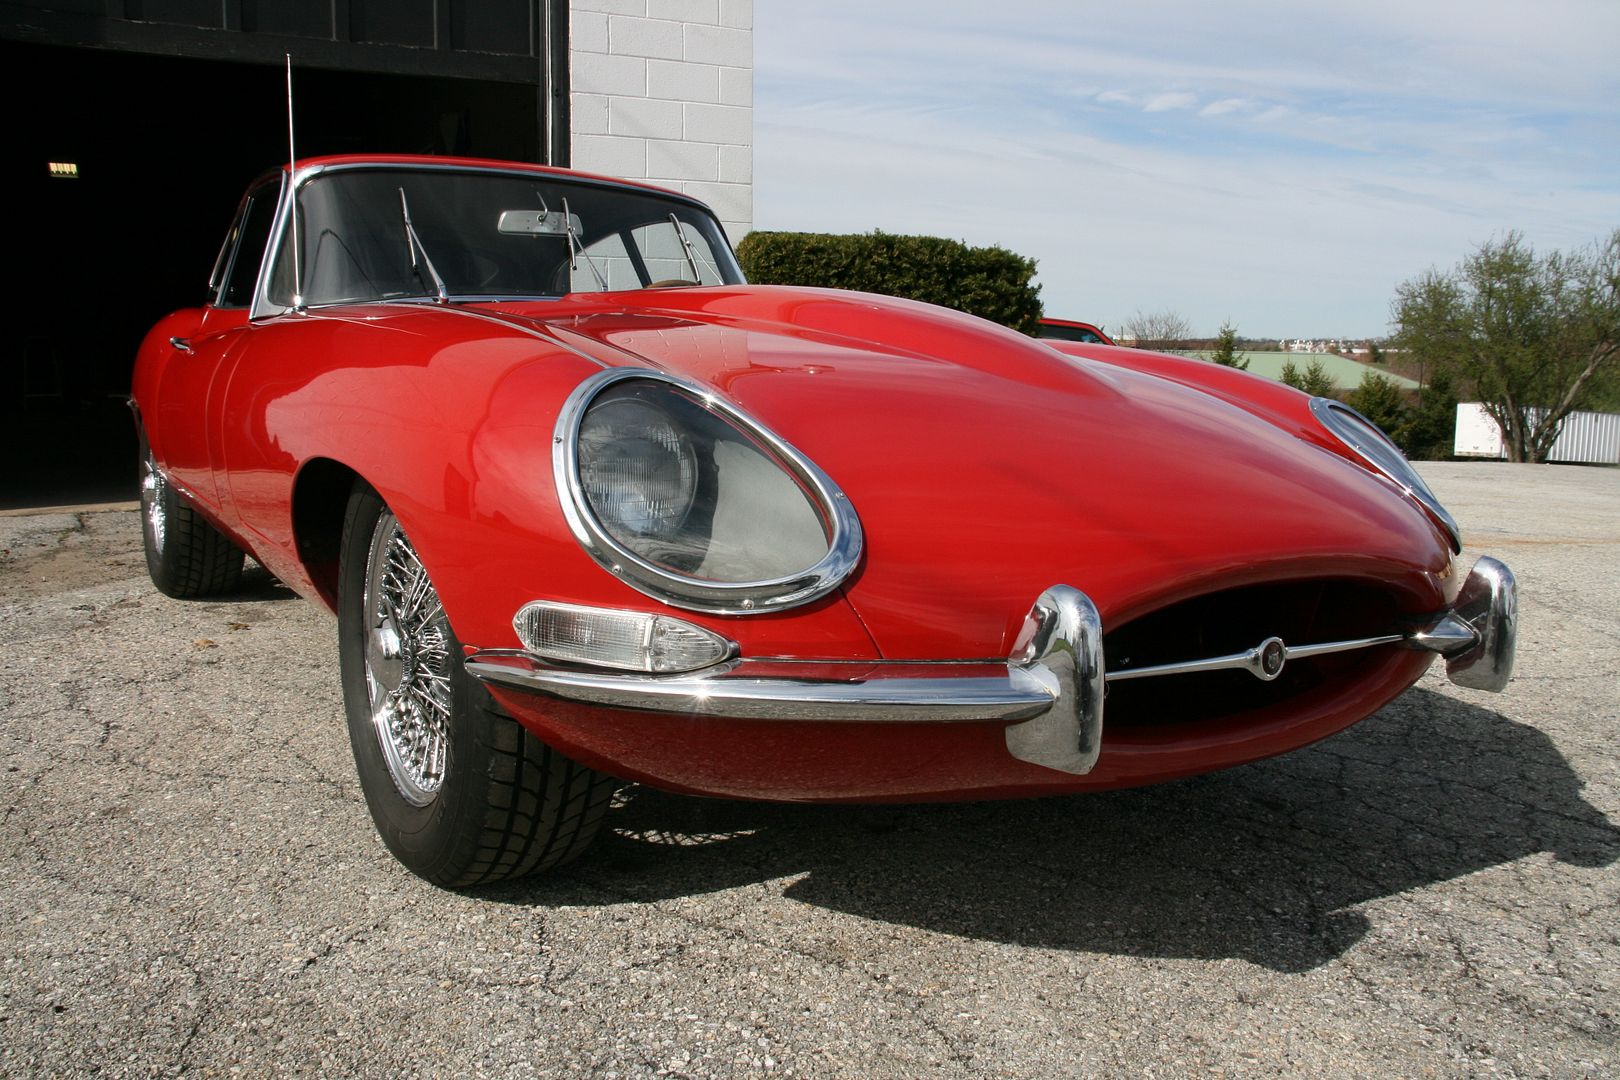
The following photos show the same paint under the same lighting as earlier in it's corrected and refreshed state, see the difference for yourself!

Process:
Meguiars 105 - Purple
Menzerna 203 - Orange
Menzerna PO85 - Green
P21S Paint Cleanser
Jetseal 109 - Black
Overall pictures of the car as it sat when I arrived, you can tell the paint is faded and needs conditioning.
TAW running down the side of the vehicle, applied this twice to ensure most of the previous wax was stripped as much as possible, before the citrus wash.
The wheels before, during and after, used Swissvax and EZdetail brushes on these:
Pushed the car back inside to get some photos of the paint under the lights, you can see for yourself the oxidation that was present.
The correction of this single stage paint got underway, the below 50/50 shots show the progress that has been made, start it off with a quick snap of Mikhael working in the tighter spaces:
The Jaguar emblem in the back created and eye sore under neath, so Mikhael was on a mission to carefull remove it so fix this small but noticeable problem:
Removed
Working the panel
Fixed
The following photos show the same paint under the same lighting as earlier in it's corrected and refreshed state, see the difference for yourself!

") ...
...