When I first tested the Gloss It polishes on my high speed rotary polisher I found that although I was able to get great correction, the finish was often left with holograms and micro scratches.
Since then I have been using the gloss it line on my cyclo random orbital and have gotten excellent results but I still wanted to use my Makita when needed so I called Rich Light (the owner and devloper of Gloss It) and he gave me some insight on what combos worked best when doing high speed correction. I gave them a test today and was blown away.
The first test was a comparrison between the Gloss It Extreme Cut and the Gloss It One Step machine polish vs. Meguiars M105 ultra cut compound and 3M's Ultrafina SE.
Here is my objective: I wanted to see how much correction I could achive with a heavily swirled finish using only a 2 STEP correction/finishing process. For those who detail for profit using a 2 step process opposed to a 3 or 4 step process is not only a big time saver but it also increases profitability. You are able to polish out more cars, more efficently. Of course I will only use a 2 step process if I know the finish will be 98-100% perfect afterwards, if not I will add a 3rd or 4th step to get the finish to a perfect or near perfect level.
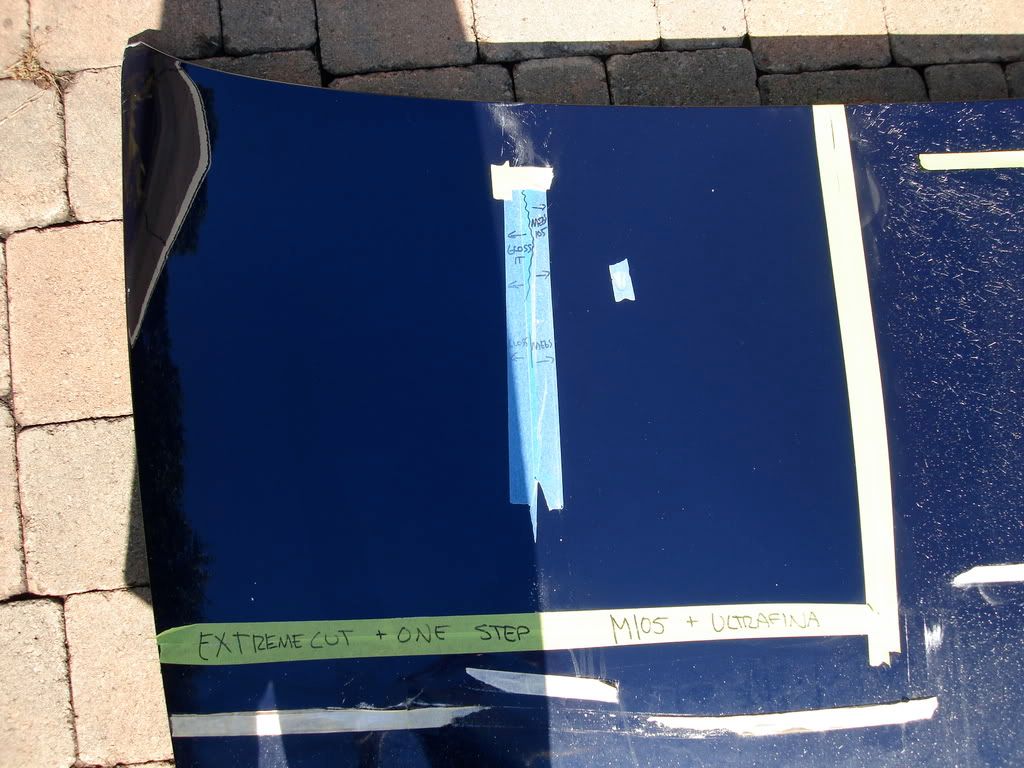
**In this test there are no variables other than the different products used. Each pad is the exact same and each speed used on the machine is the exact same in both cases. I felt this was important to prove a fair result.**
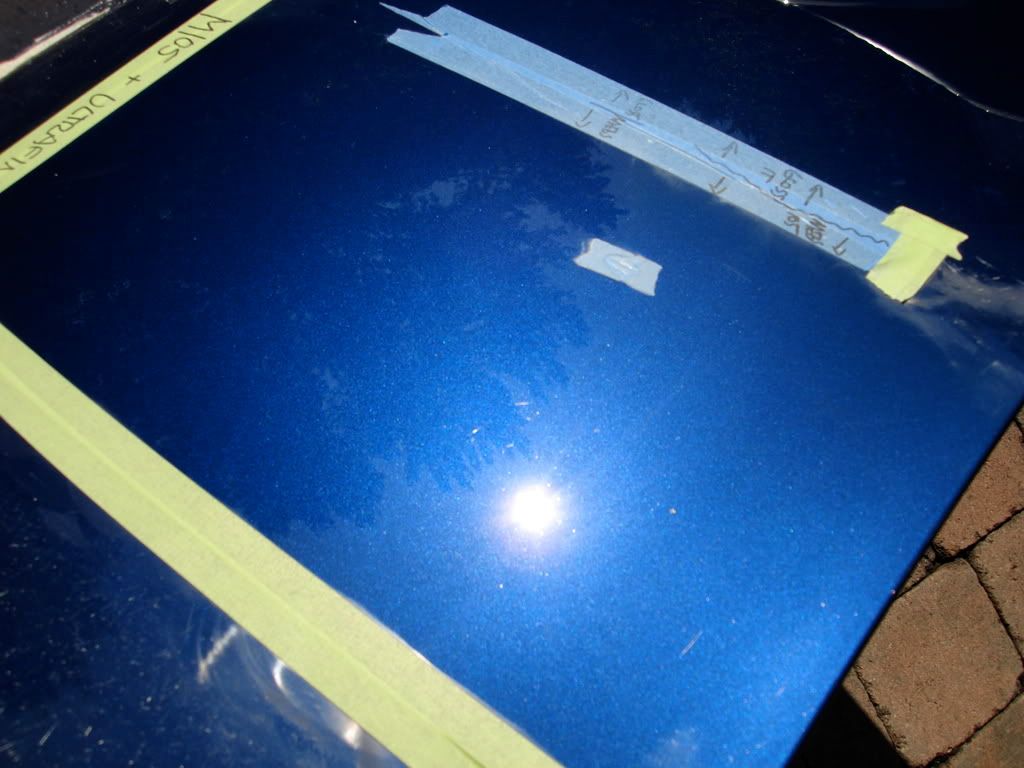
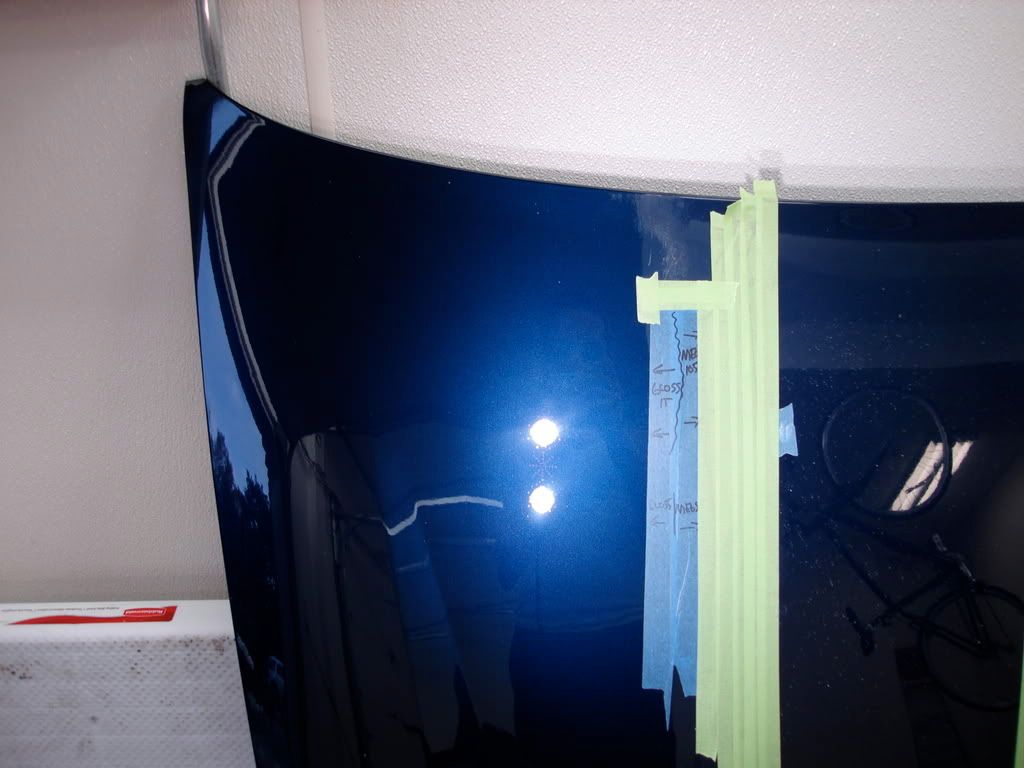
Left side of panel: Gloss It products
Right Side of panel: Meguiars and 3M products
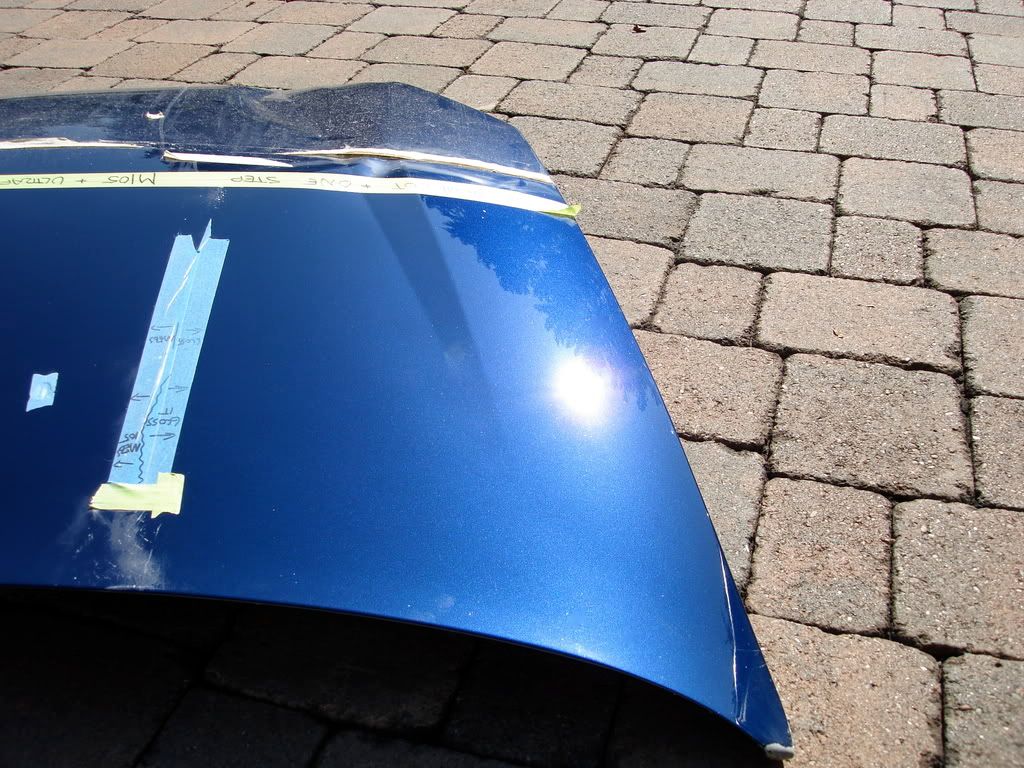
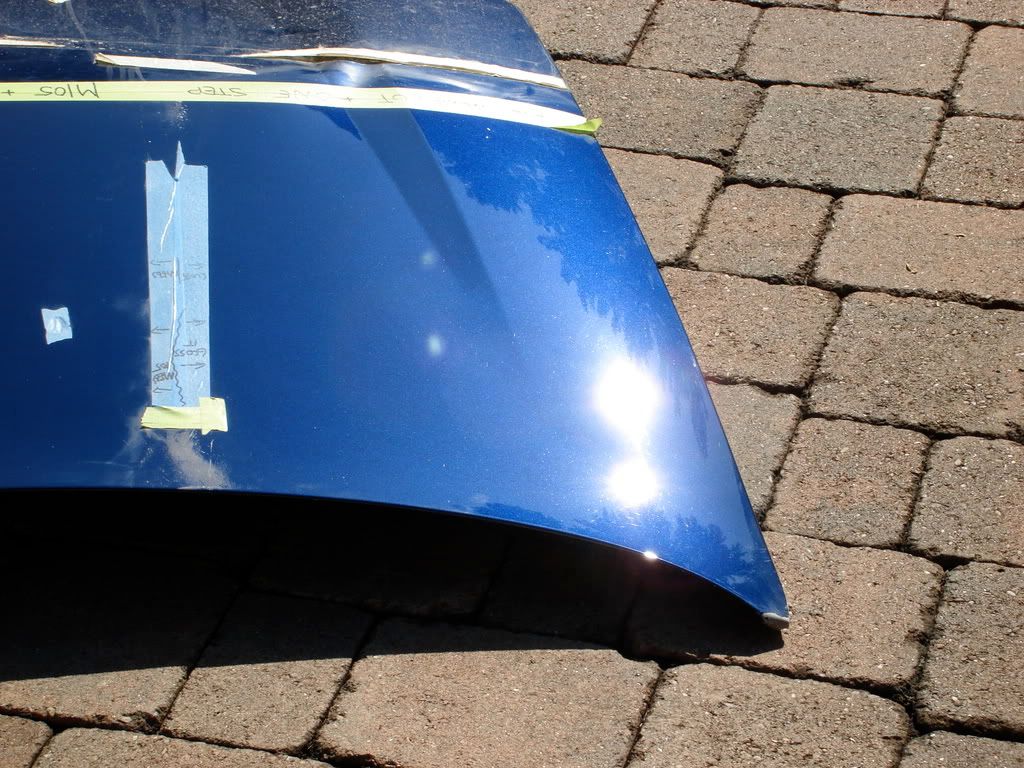
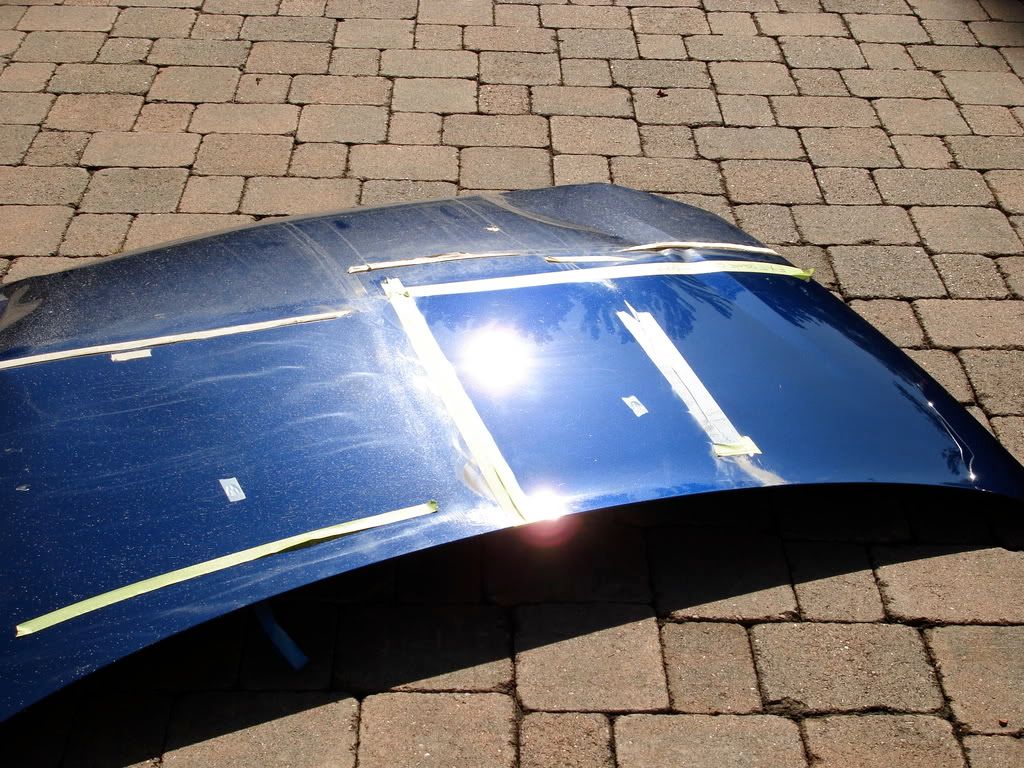
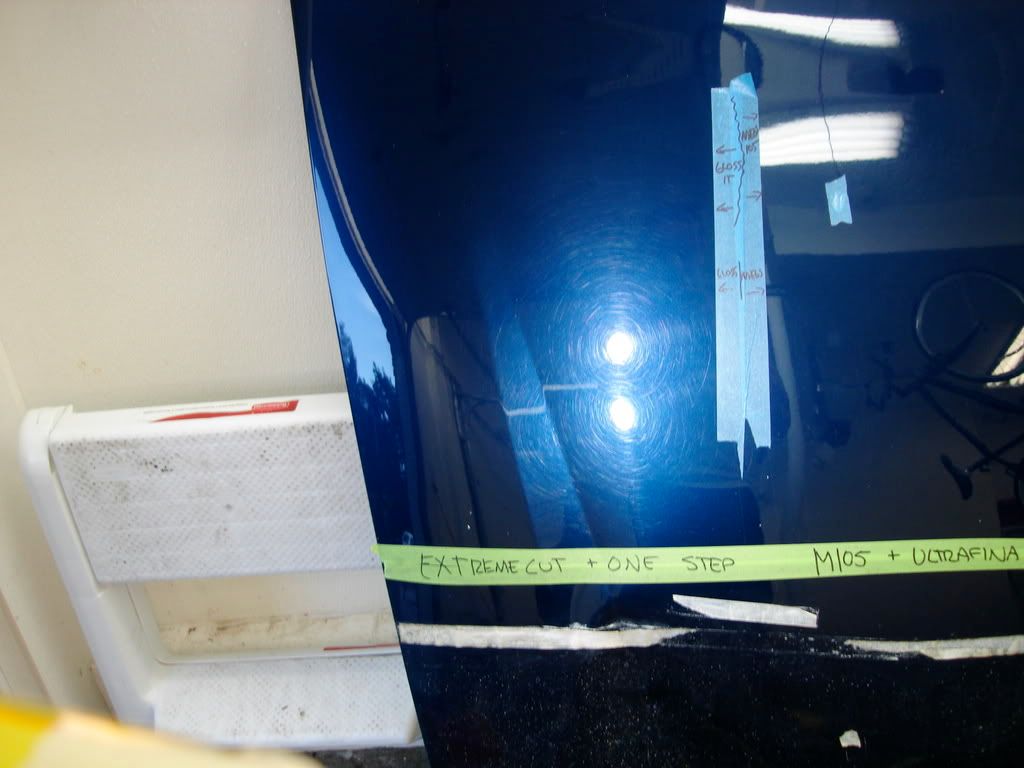
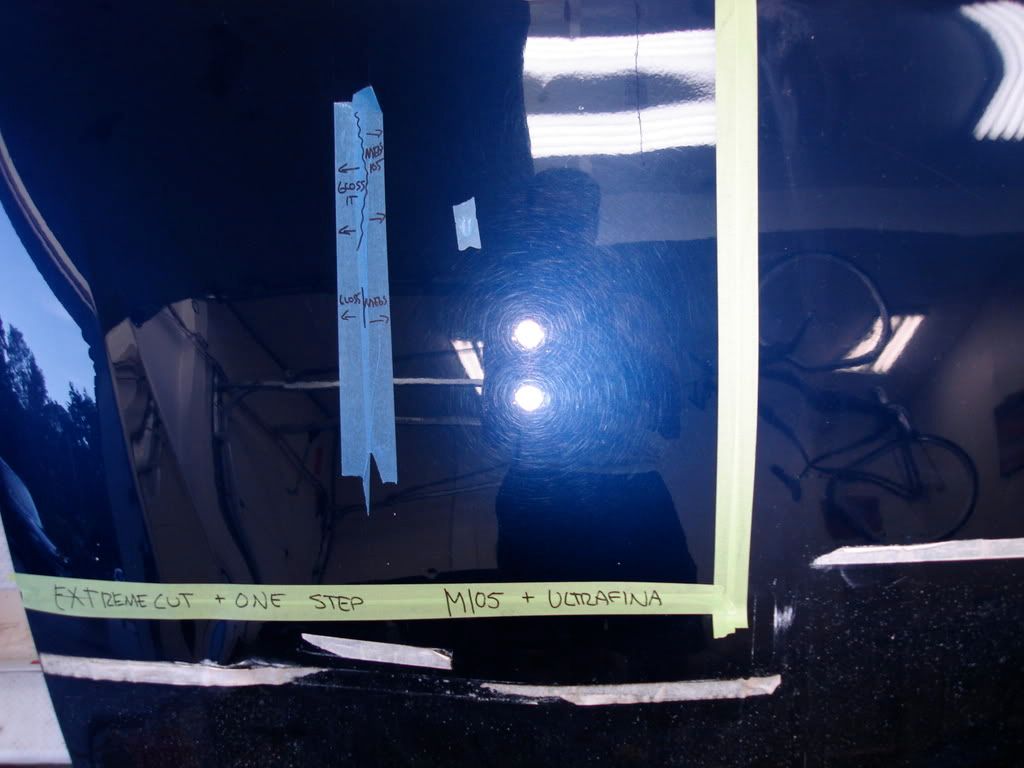
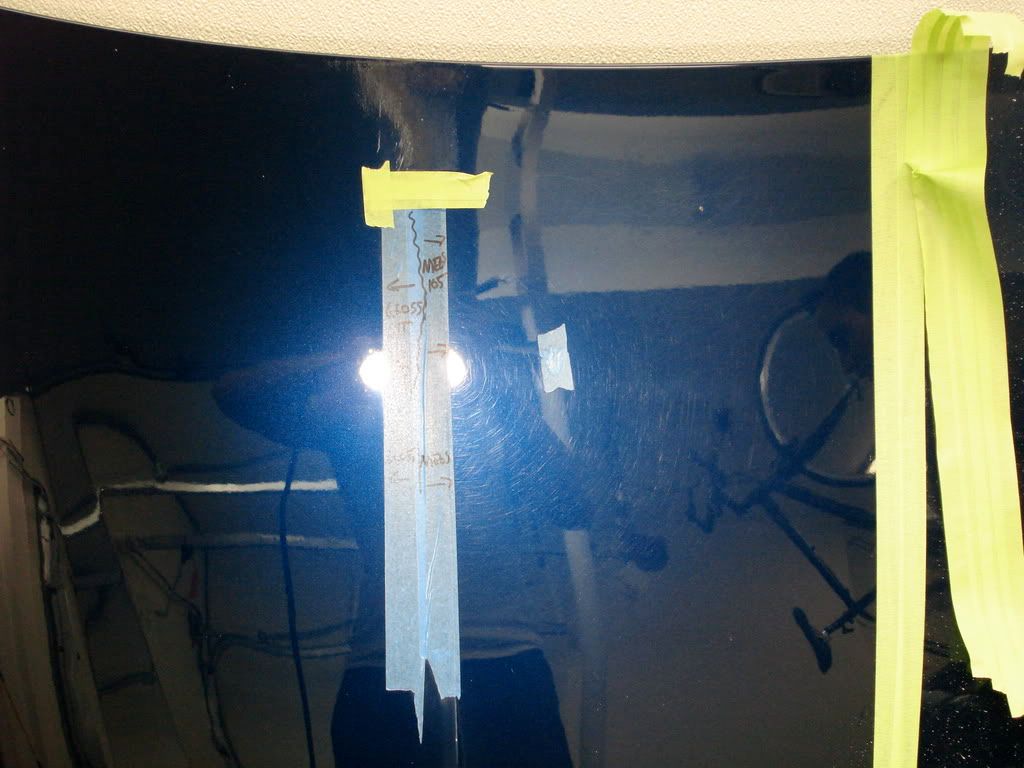
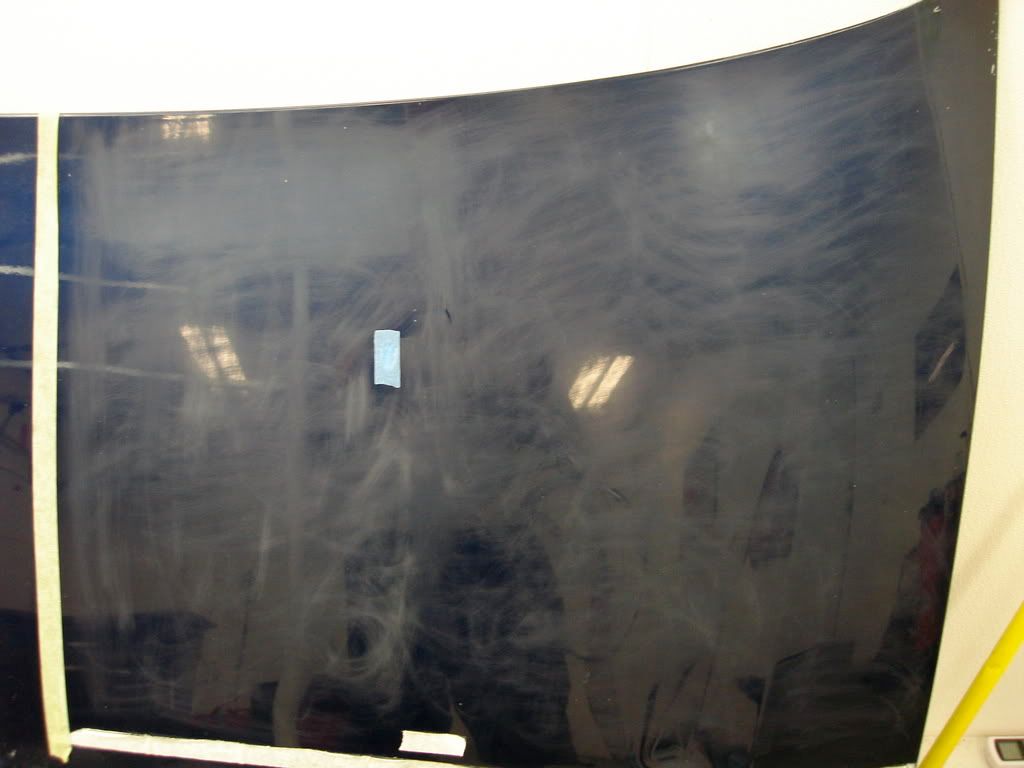
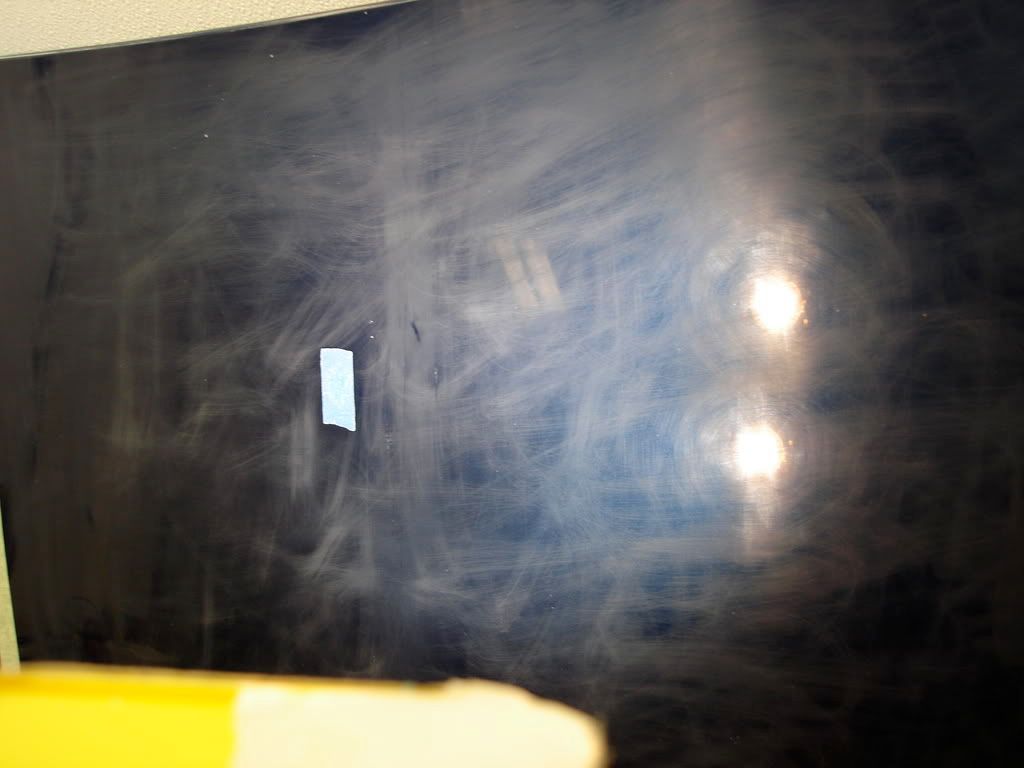
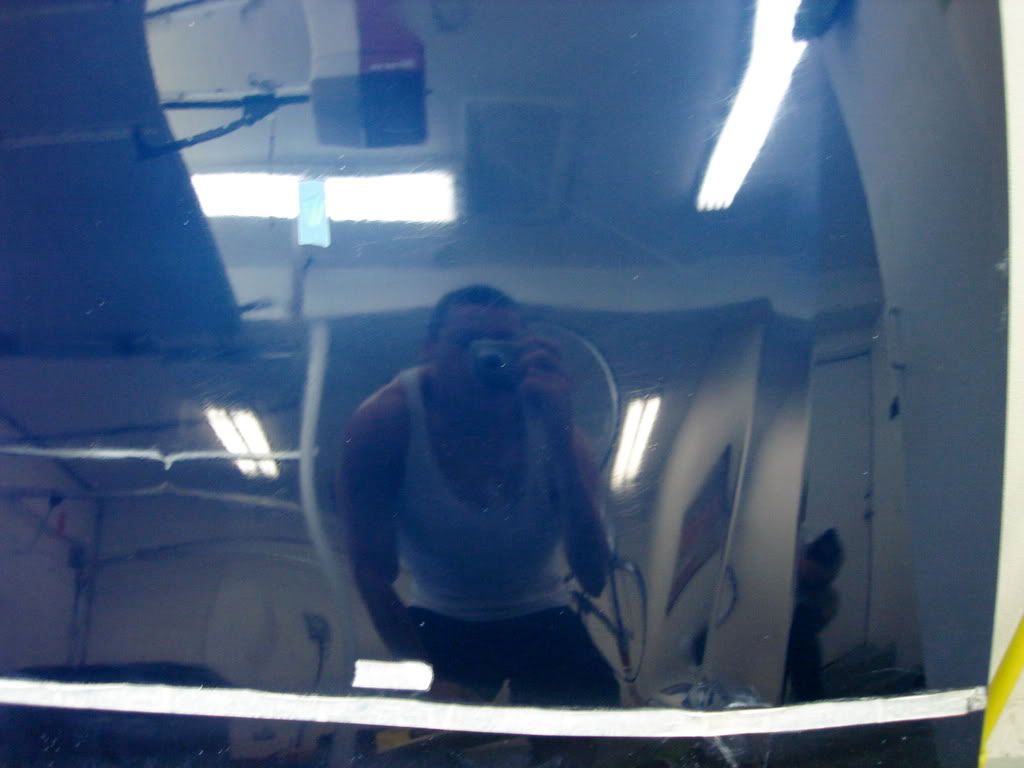
Here is the test panel. I spent over 10minutes getting the sides evenly swriled and scratched. Notice there are dozens of deep RIDS left in the finish.

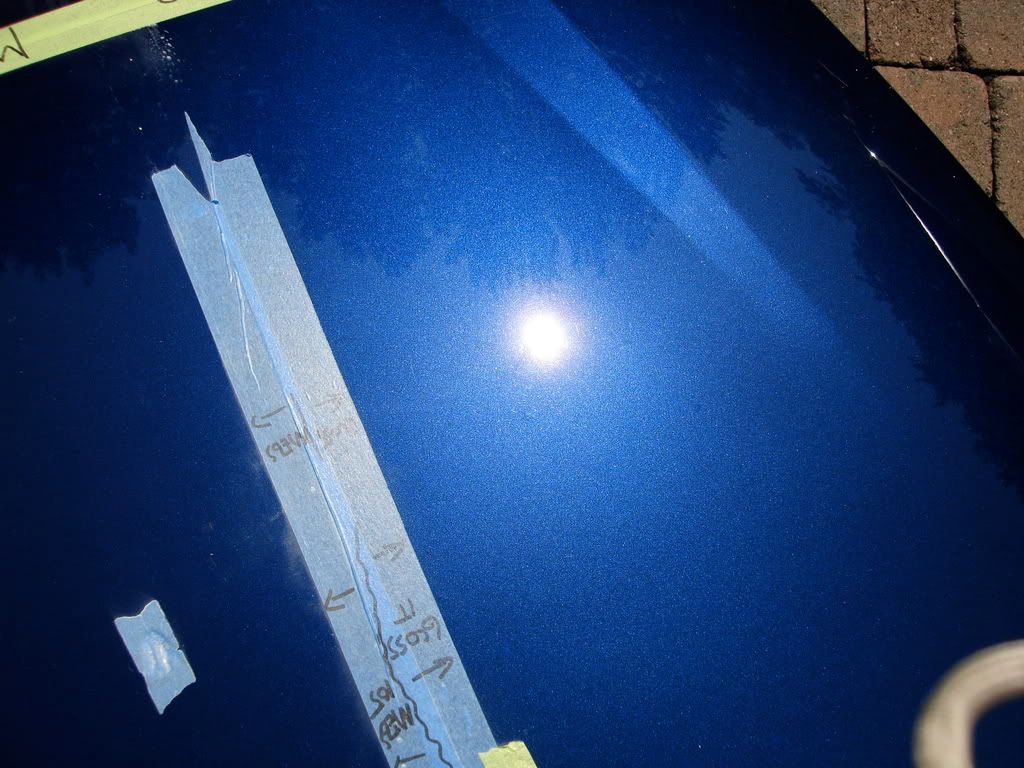
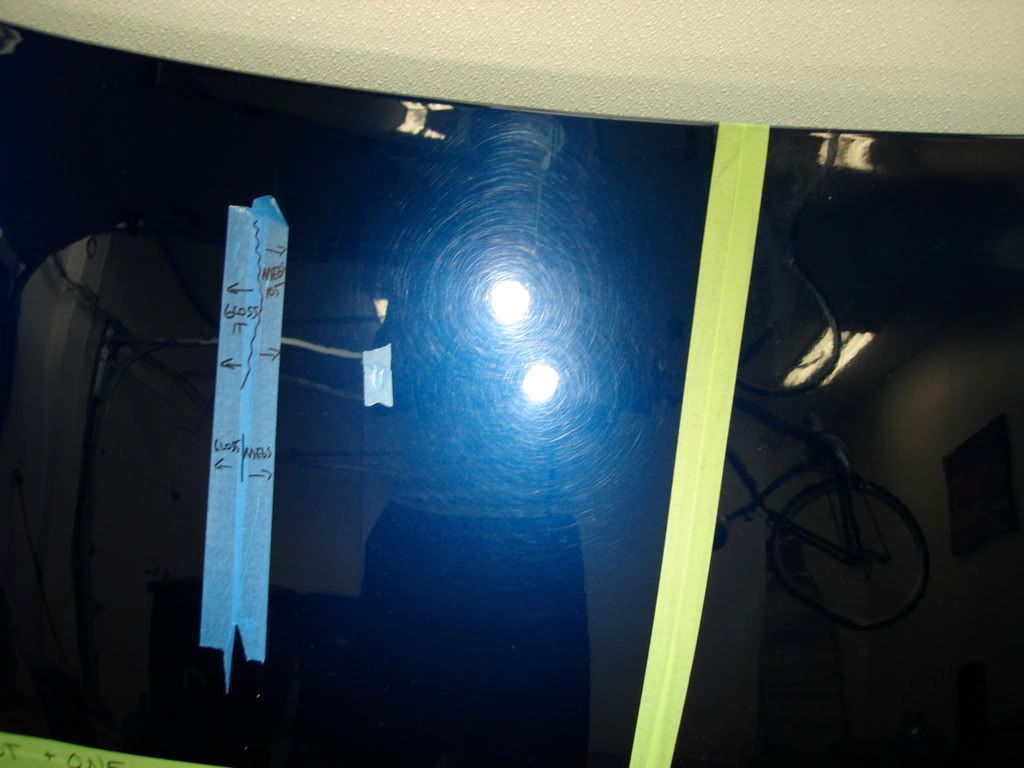
Gloss It side:
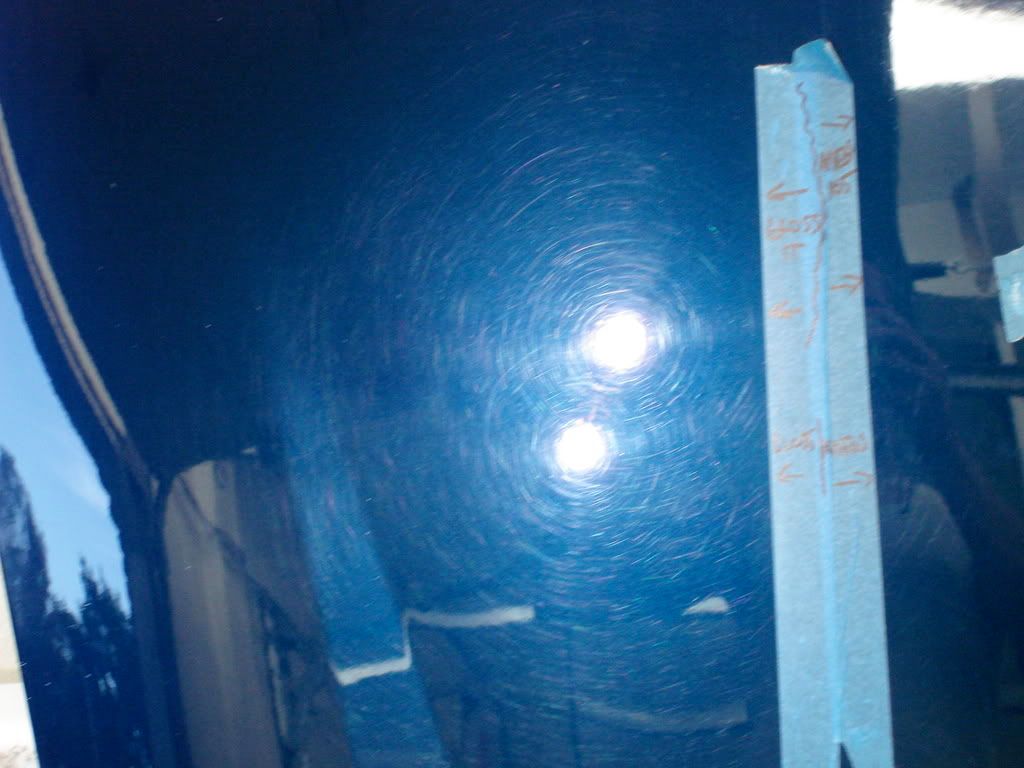
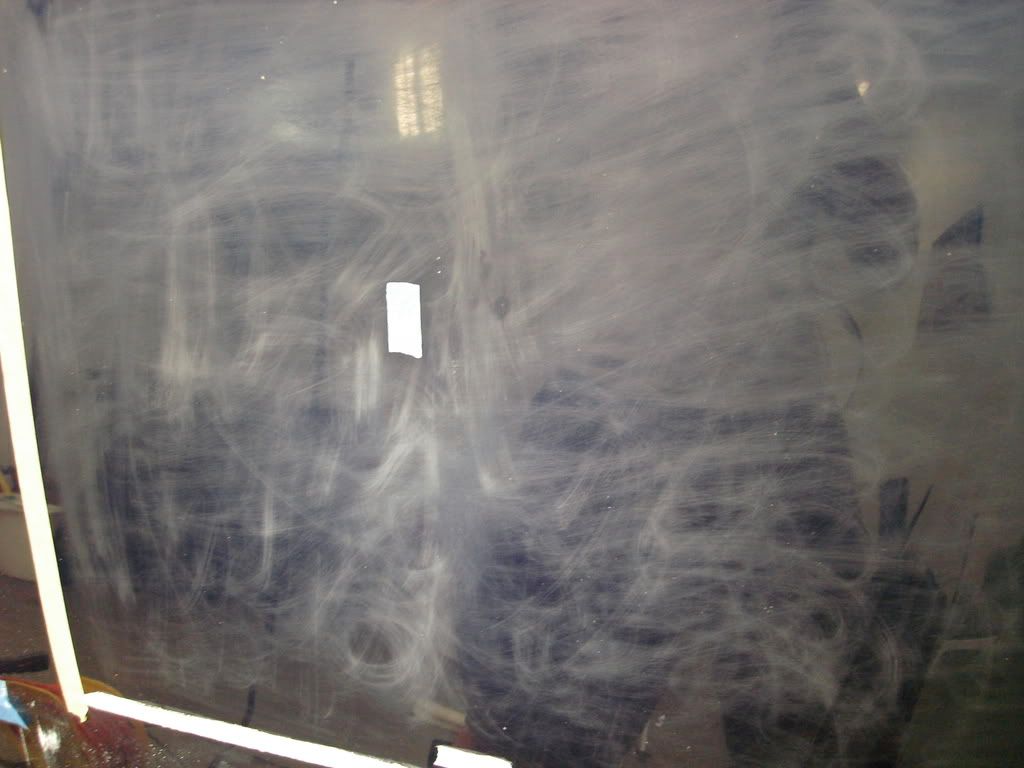
Meguiars and 3M side:
Now onto the correction.
Gloss It process: Please take note of this is you are using the high speed polisher and gloss it polishes. This basic process will help you to achieve that perfect finish everytime*
Step 1 : Gloss It Extreme cut w/ 8" white lambswool pad at 1500rpm which was then jeweled down to 1000rpm to refine the finish. The white lambswool is great for heavy cutting and moves smoothly across the finish. I sprayed the Gloss Enhancer spray directly onto the panel as the polish dried out so I could lengthen the work time. This not only allowed the extreme cut to work longer but it also helped eliminate most of the micro scratches and holograms because I finessed the finish on low RPMs using the wool pad before it completey dried out thanks to the slick gloss enahancer spray in between polishing.
To give you an idea of the aggressivness of Extreme cut - it is able to easily remove 1500grit sanding scratches no problem on a rotary. It can even remove 1500grit scratches using a cyclo random orbital as well!
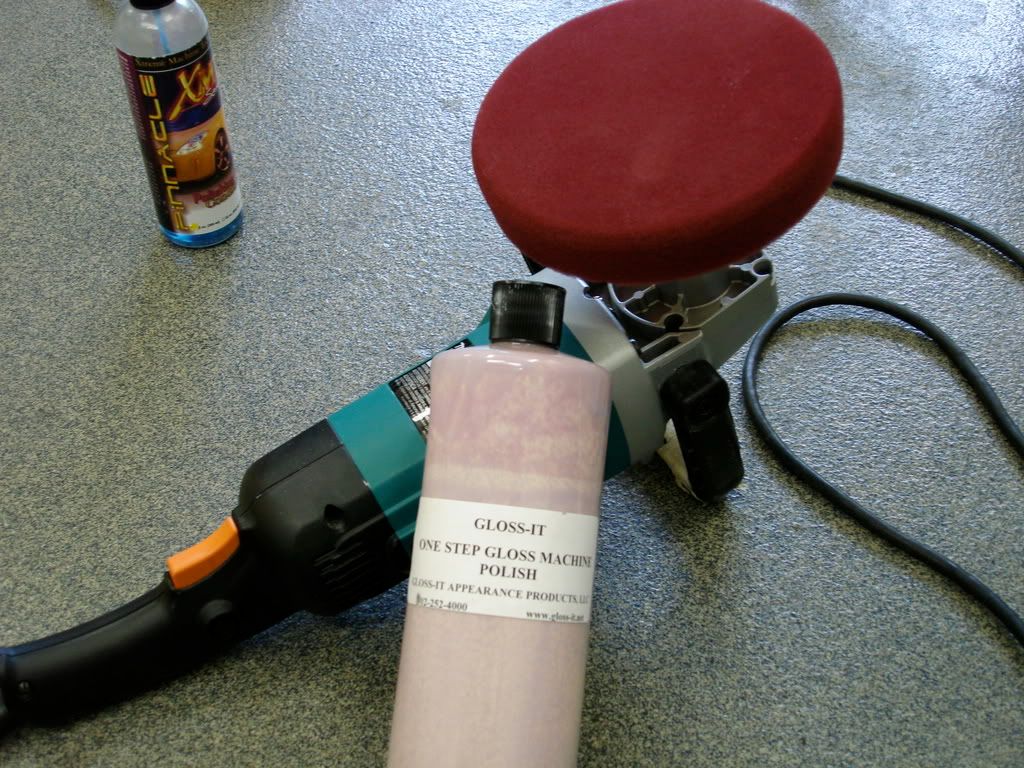
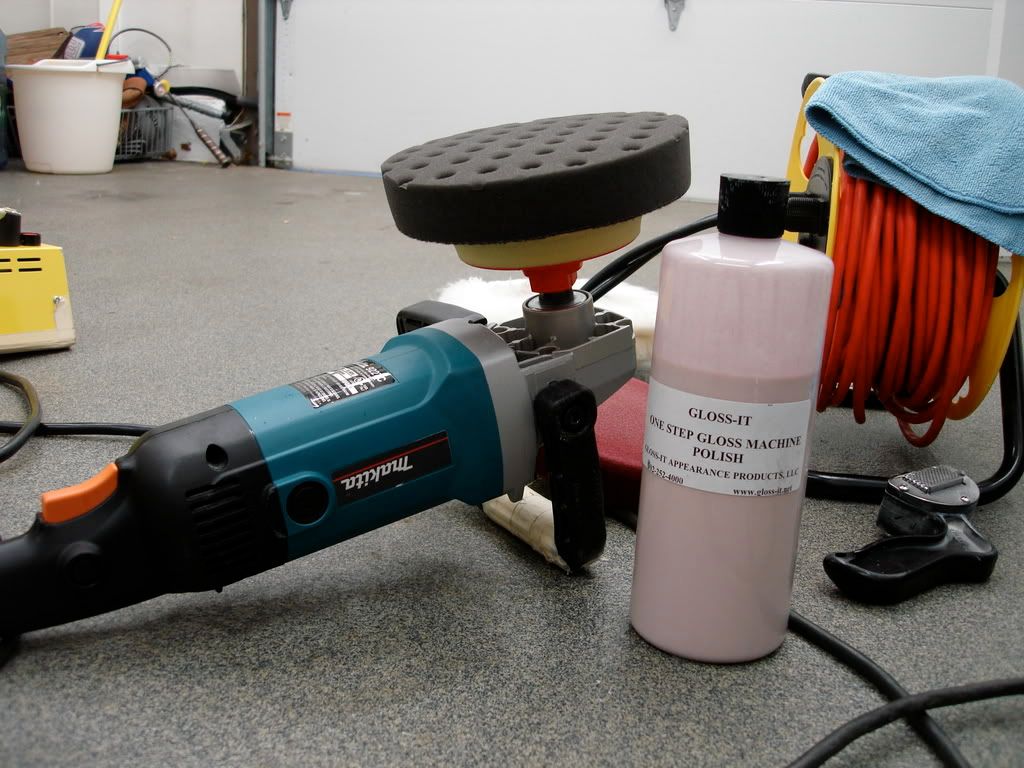
Step 2 : Gloss It One step Machine polish w/ 6inch edge CCX blue polishing pad. (This pad has some mecahnical cut but is soft enough to leave a high gloss finish without holograms) I used the One Step polish at 1500rpm and slowly jeweled it down to about 900rpm. Again as the polish dired out I sprayed the gloss enhancer right on the panel and worked it a bit longer as I refined the finish.
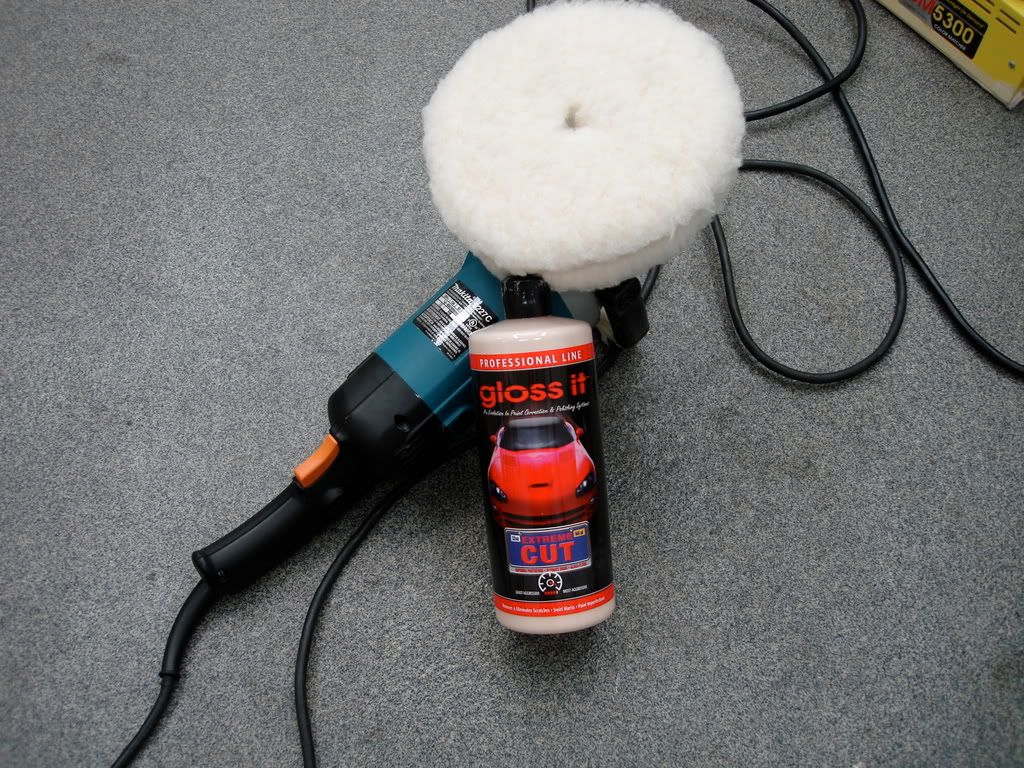
Here is the wool pad and the extreme cut

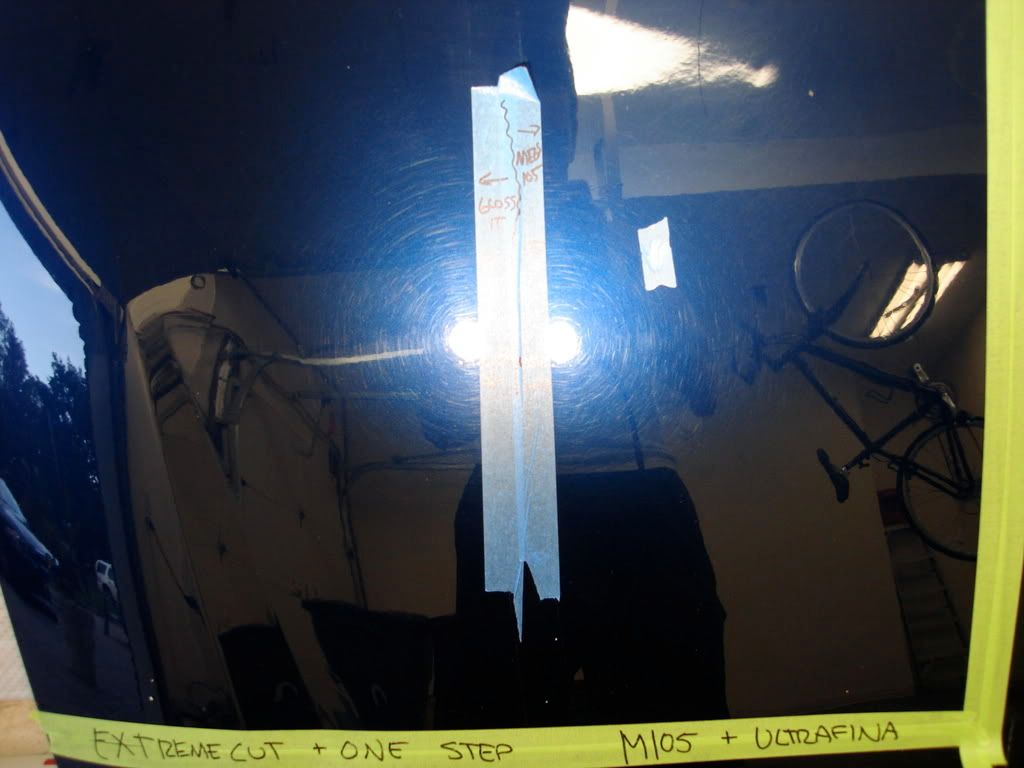
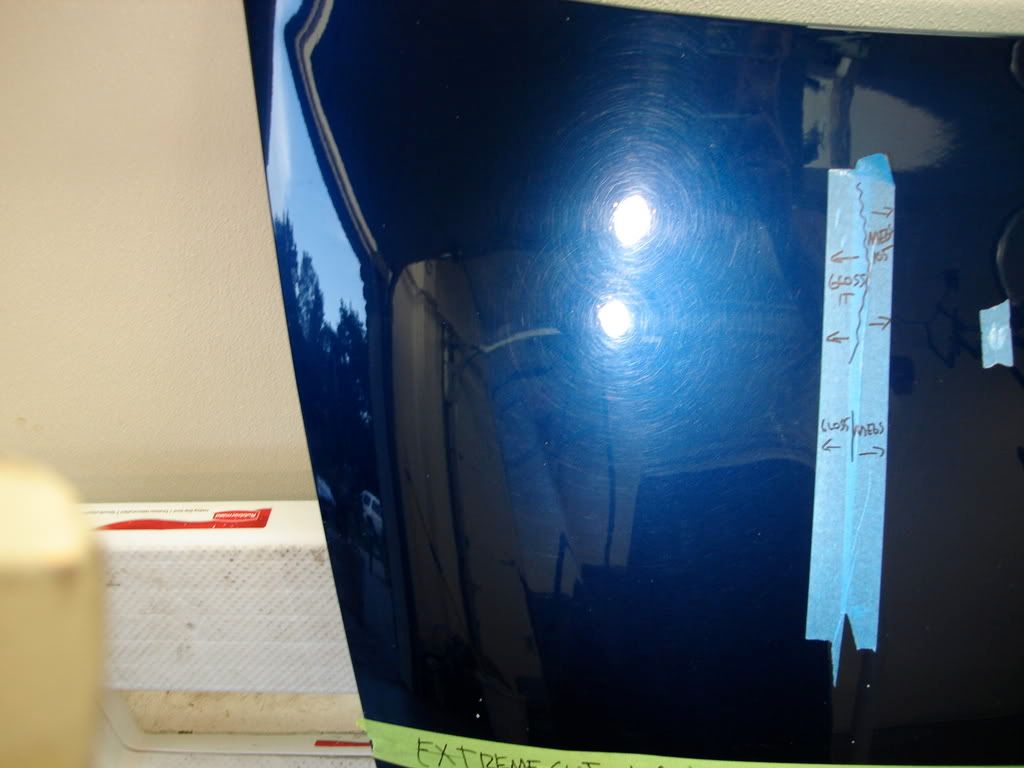
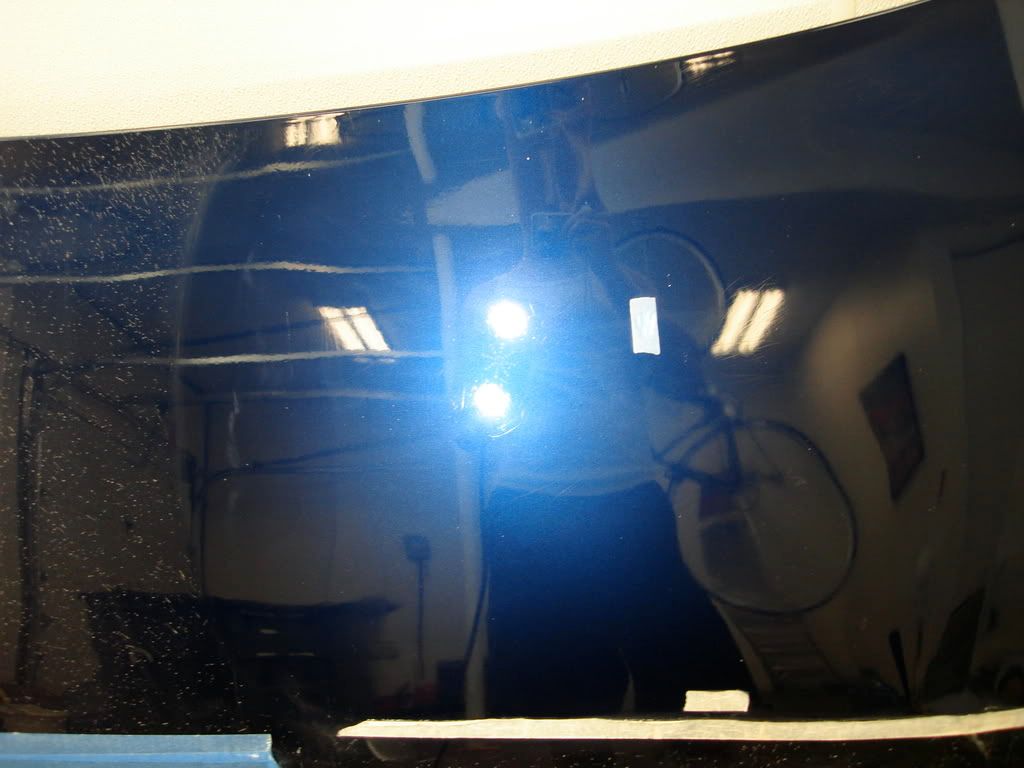
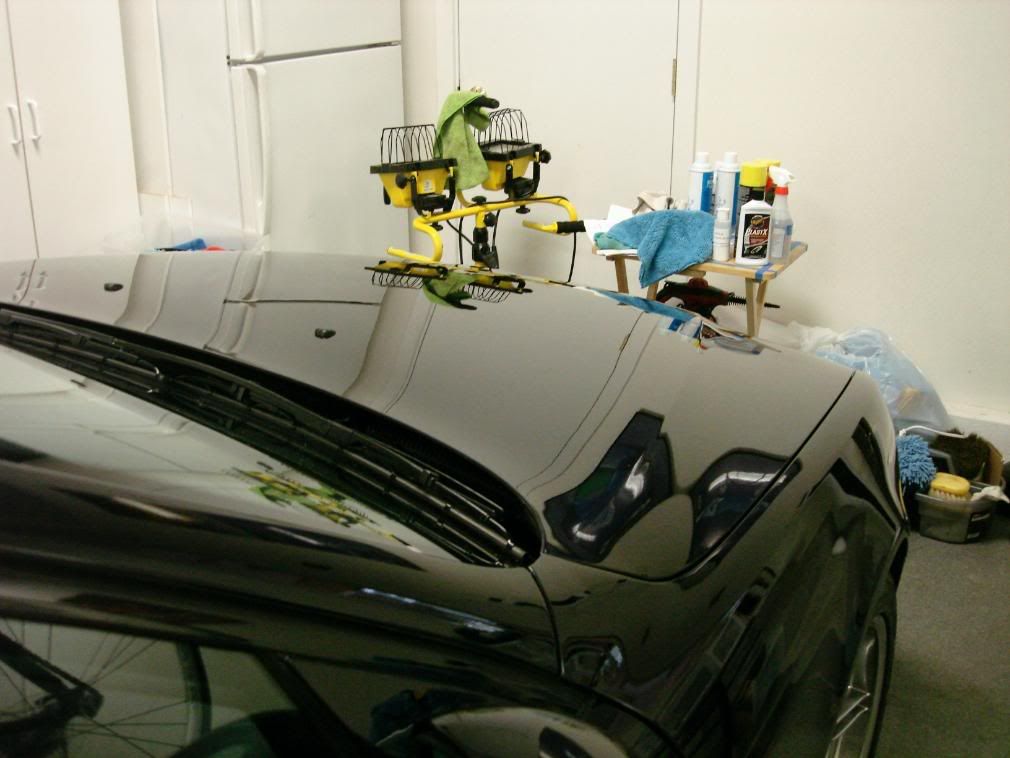
Before correction
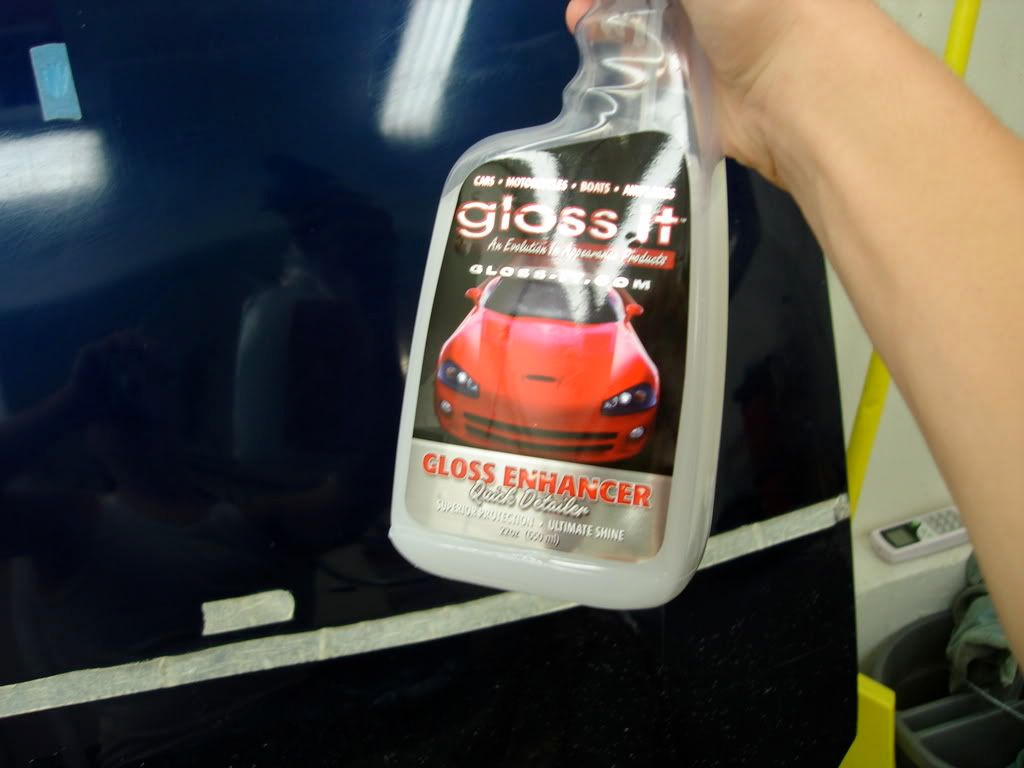
Using the gloss enahcer during correction

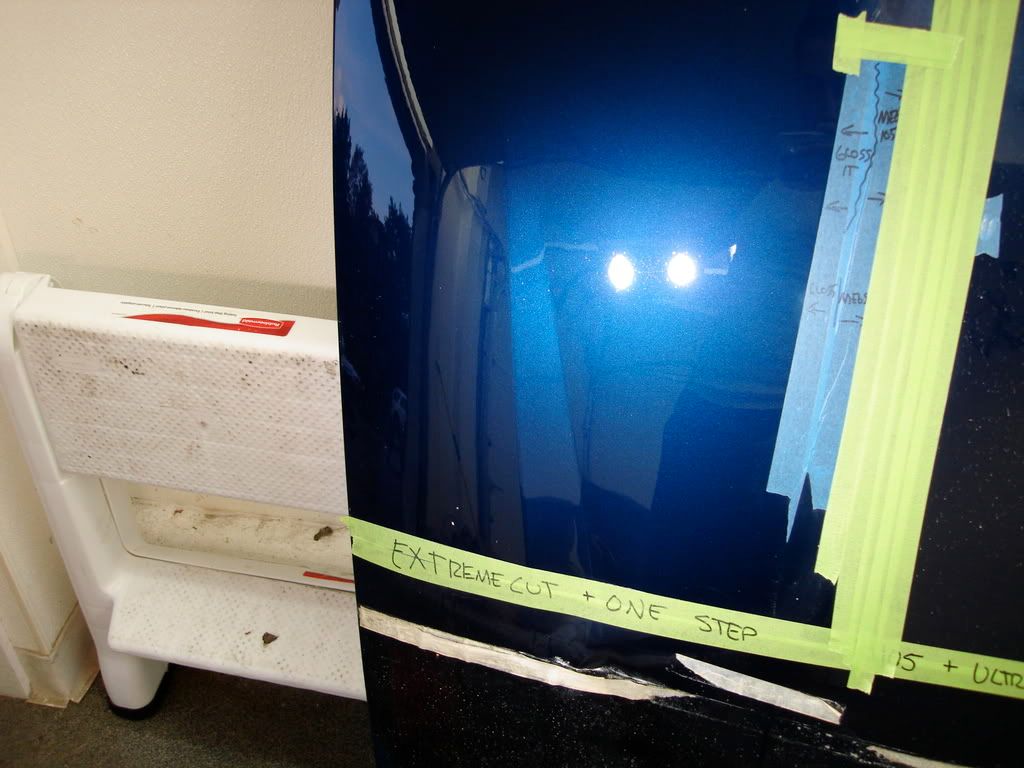
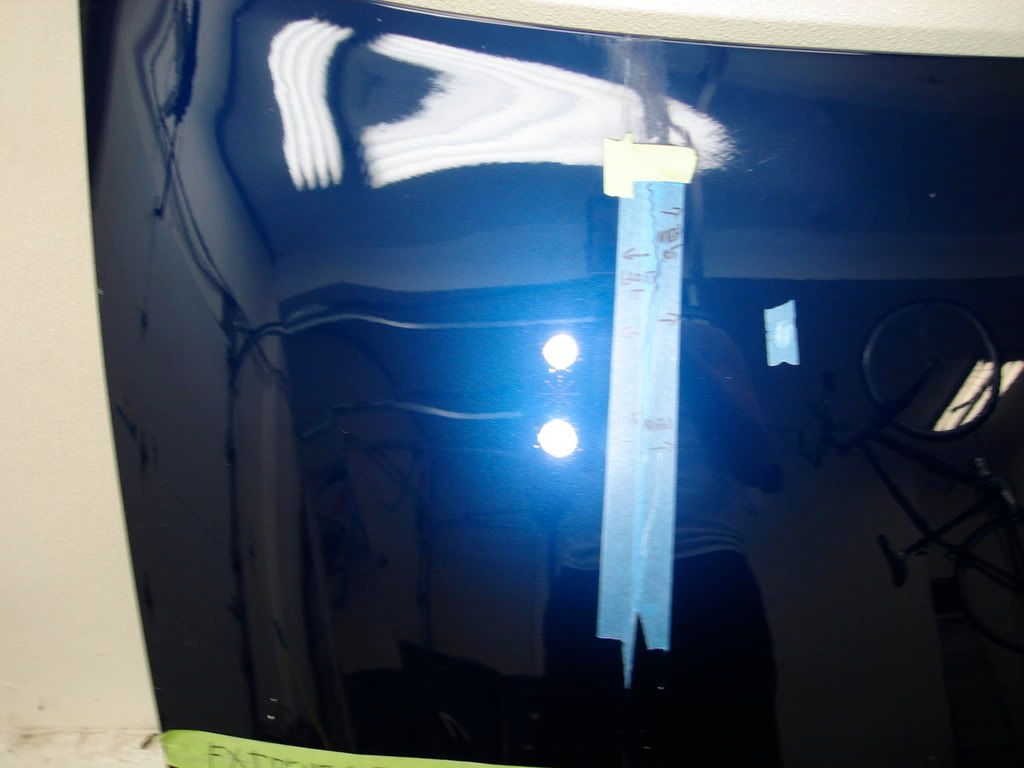
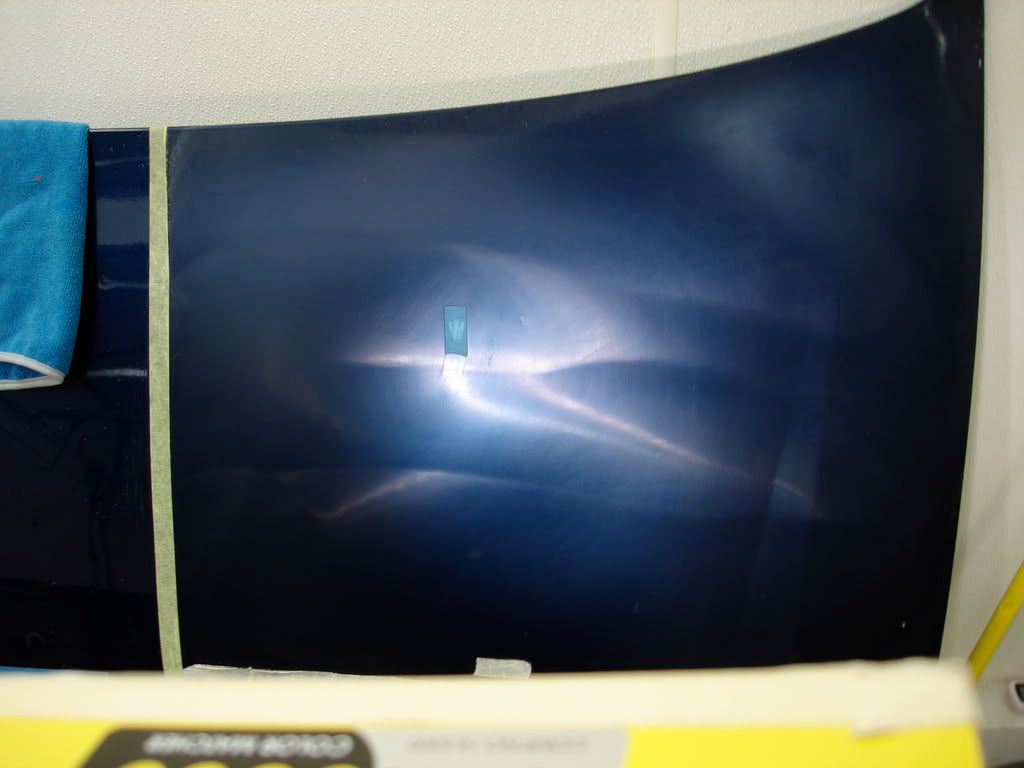
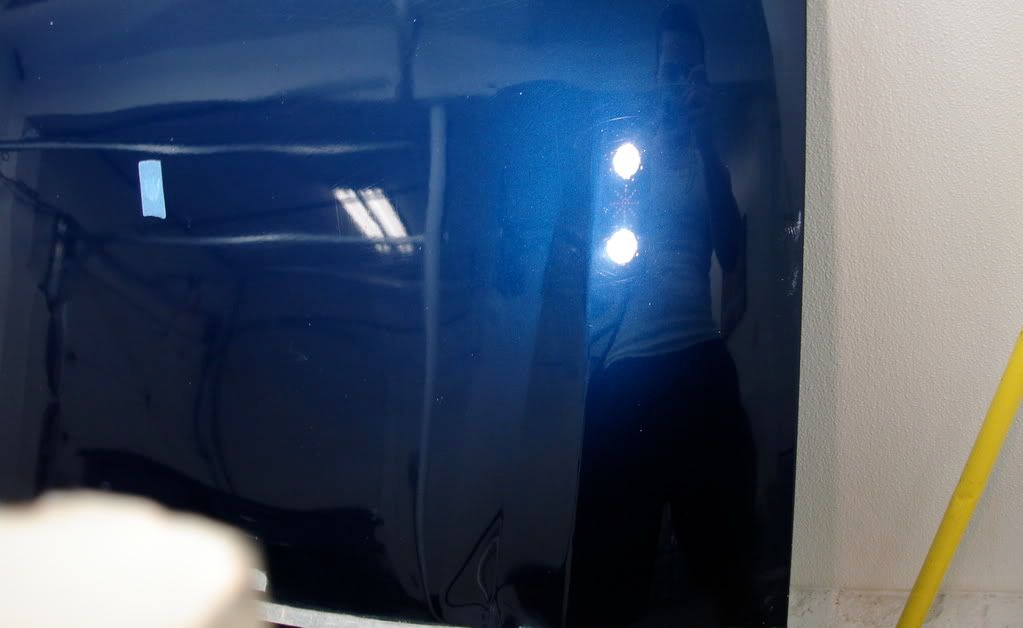
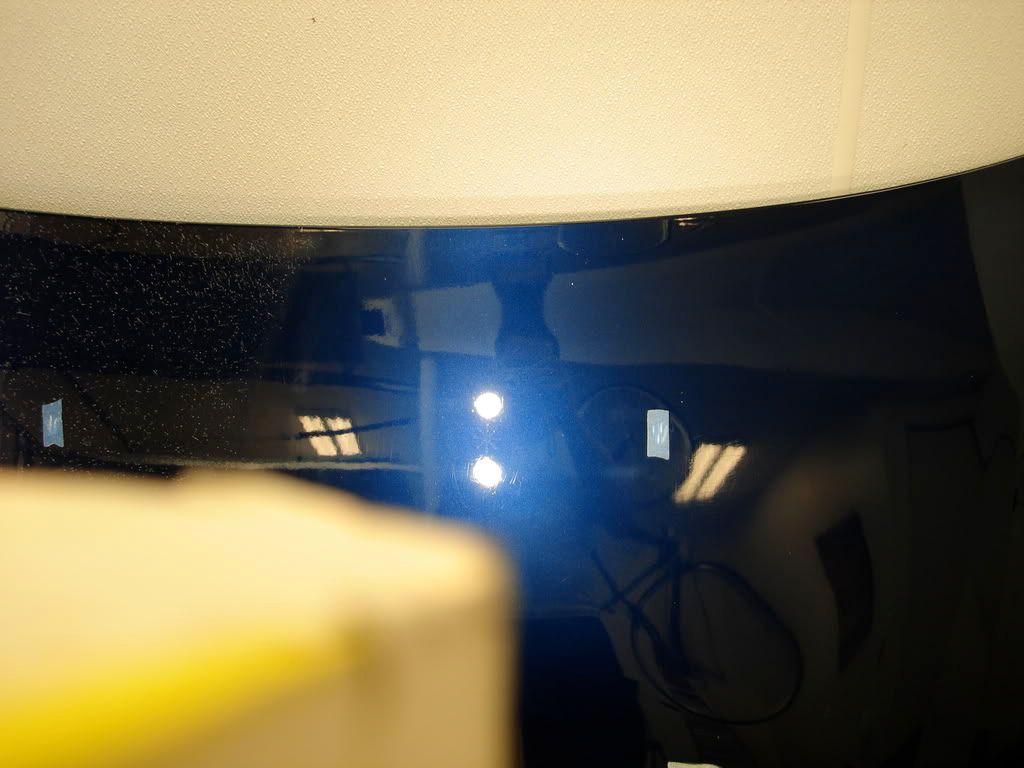
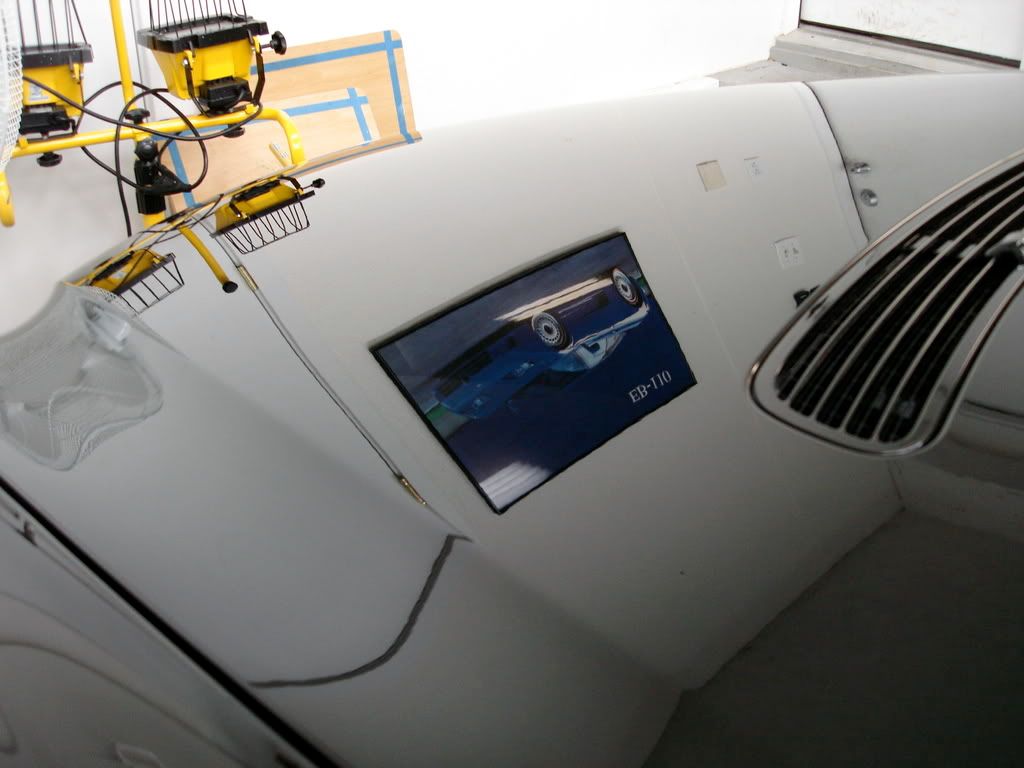
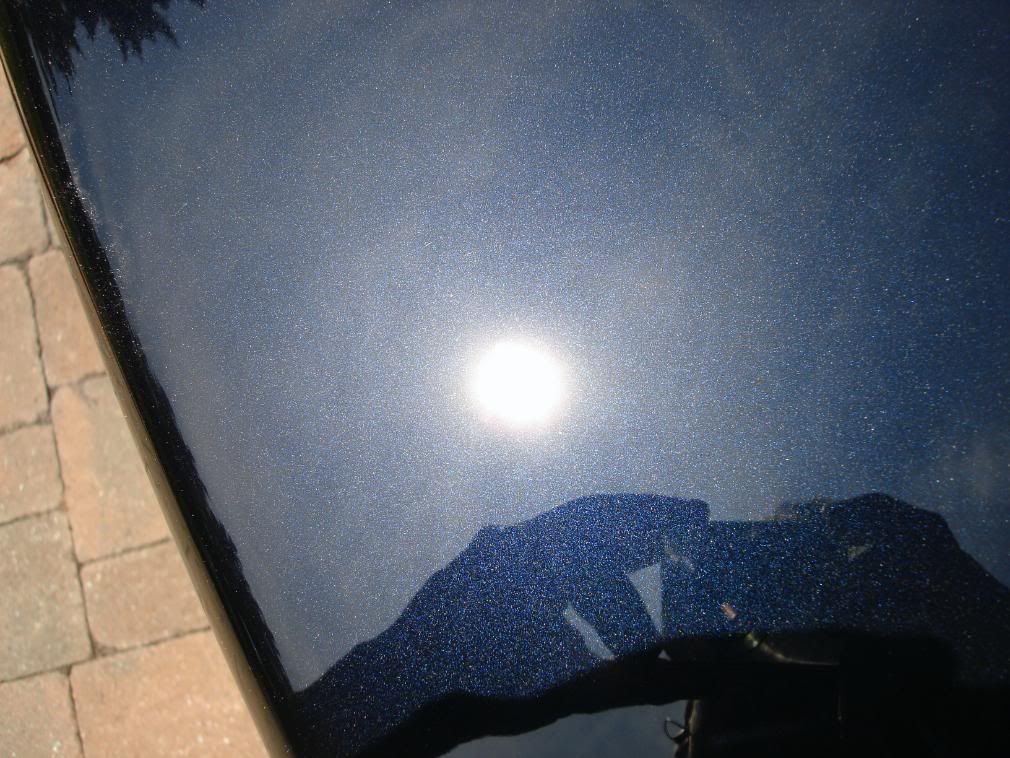
After correction using only the Extreme cut and wool pad..no finishing was done yet just a thorough IPA wipedown.
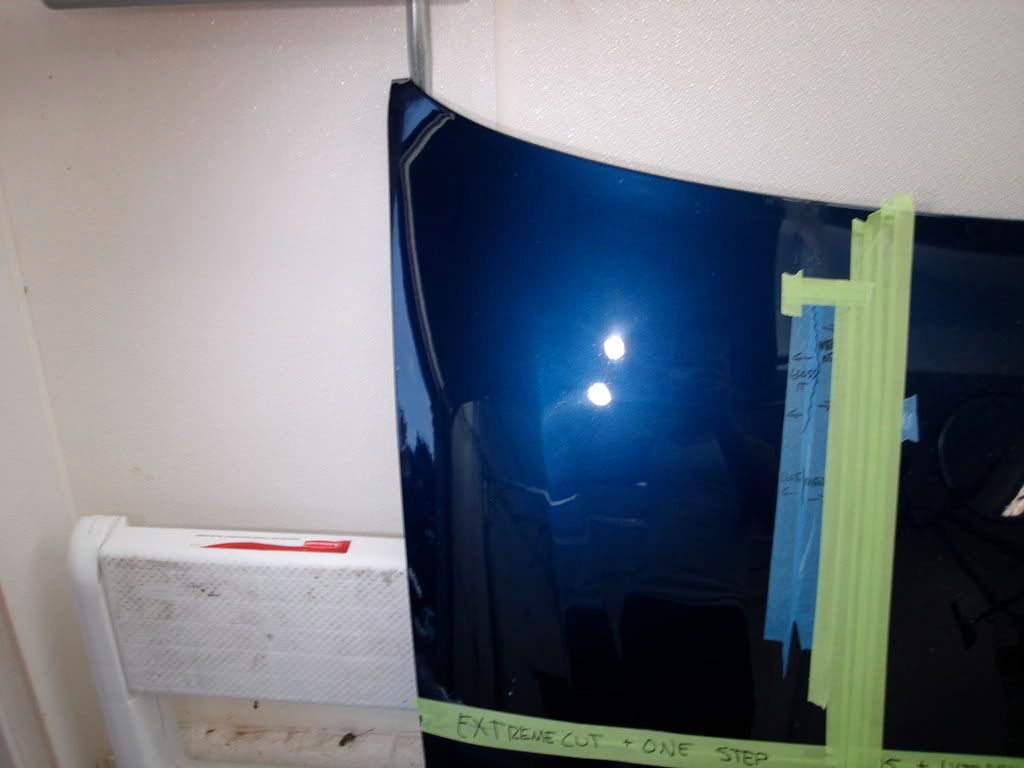
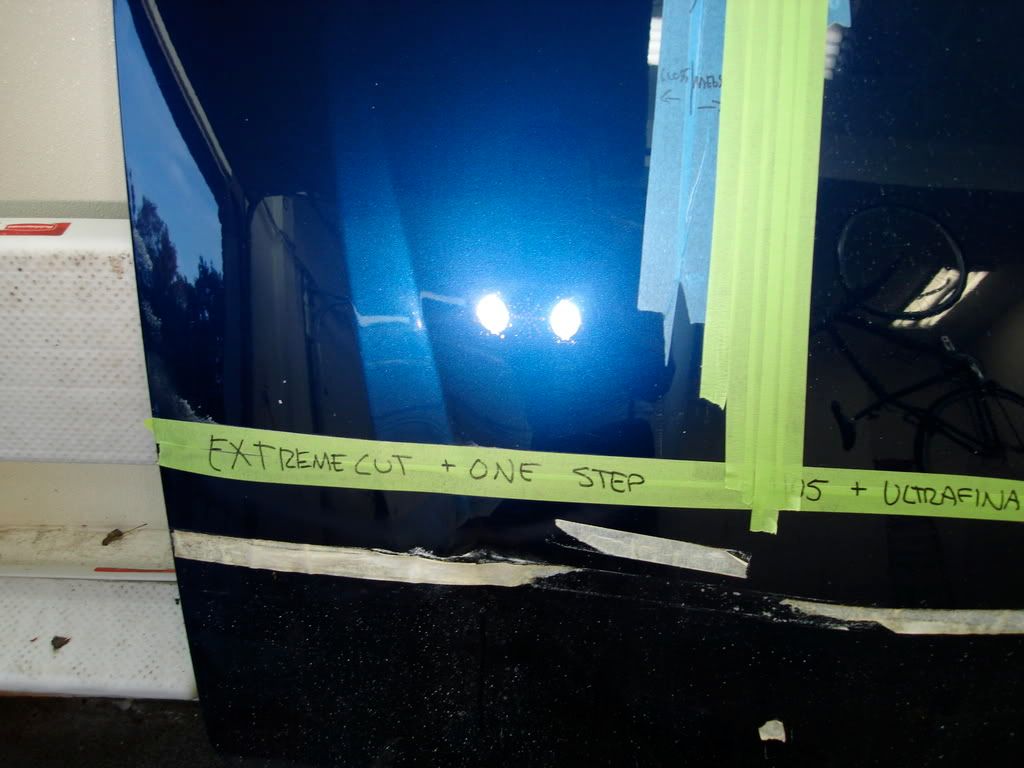
If you notice the finsih is completely defect free and left with very very minimal holograms. I took the pictures kinda far away because the CM5300 inspection light shows defects better at a distance. I only notice the holograms because the light is slightly defracted around the bulbs reflection, its very hard to see up close.
So far after only 1 step the correction was just about perfect and the wool pad left a suprisingly nice finish with minimal holograms and no micro scratches. Using the gloss enhacner spray in between polishing really helps eliminate holograms and finer scratches left by the compound and wool pad.
Now it was time to use the One Step machine polish to finish out the paint. The One step is my favorite polish because its so versatile. It has plenty on cut when needed (using a cutting pad of course) but on a softer foam pad it really is able to bring out a high gloss when a light cut is still needed. Basically the One Step is a blend of several gloss it polishes including evolution cut (like SIP) and a Gloss Finish (like Zaino Z2pro)
(This bottle of polish has an unfinished label on it because at the time it wasnt available in quart sizes, it is now though)
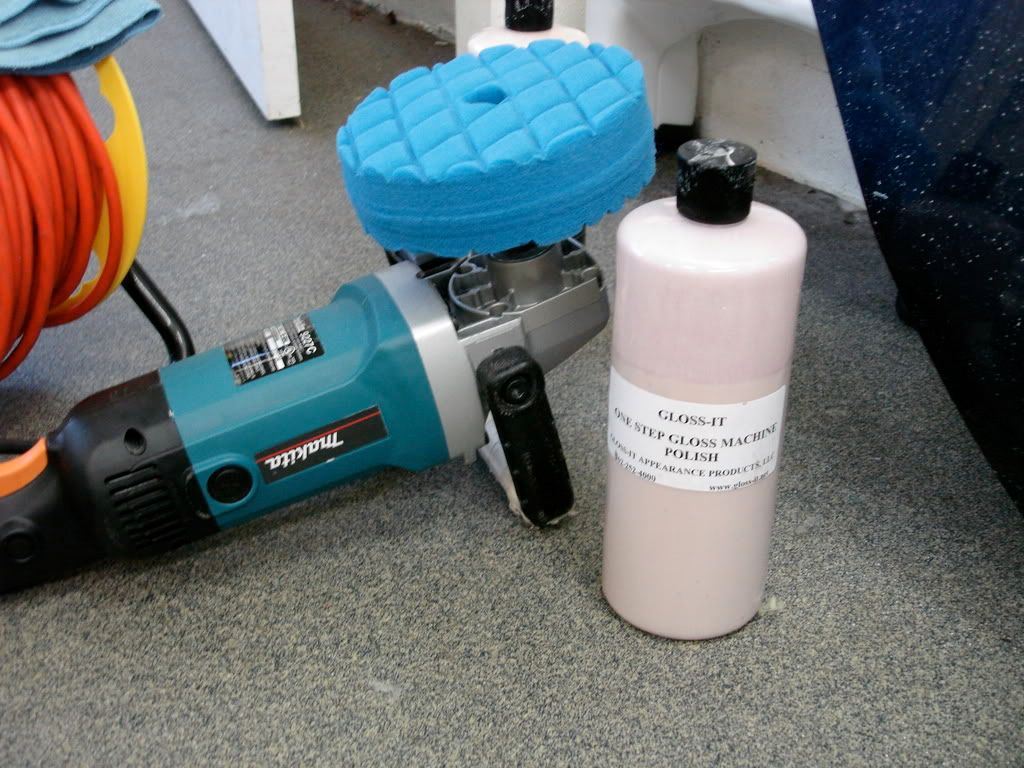
The blue CCX edge pad I used is just okay, I prefer a flat pad instead. I just thought it had the right density for this process so I used it.
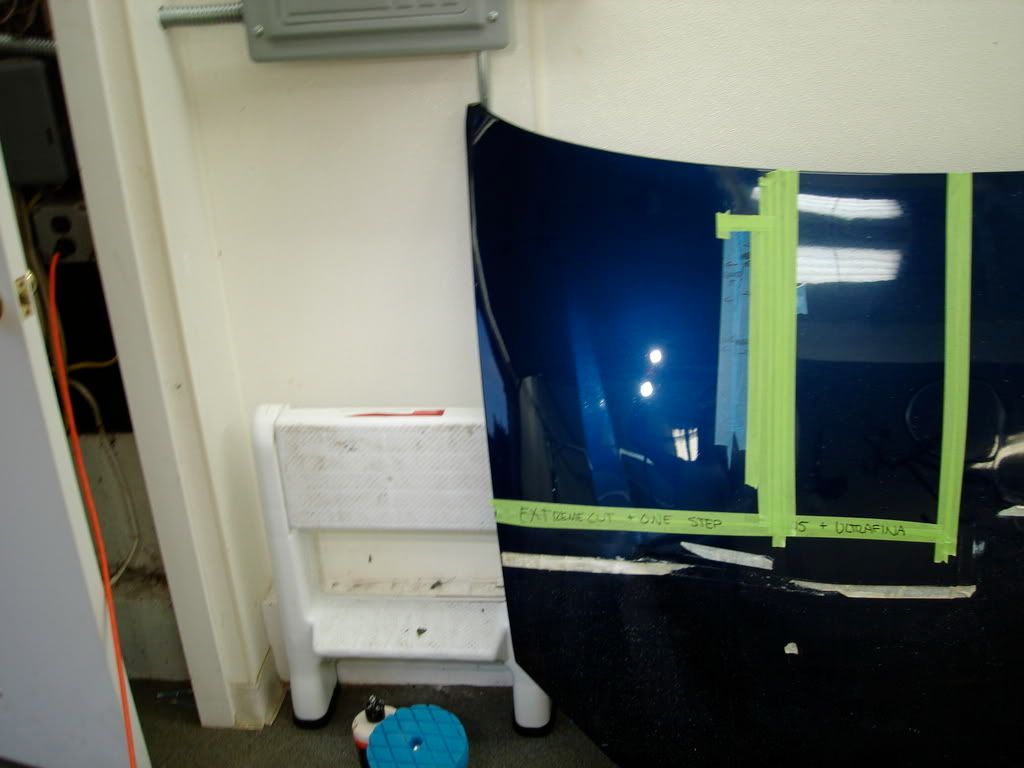
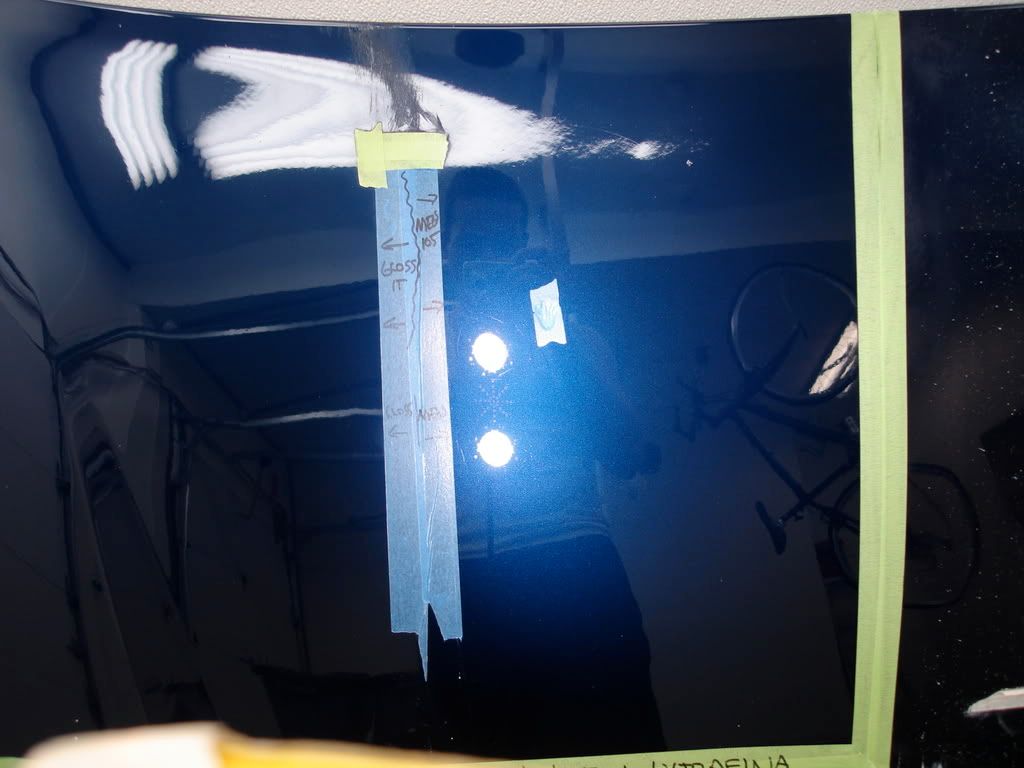
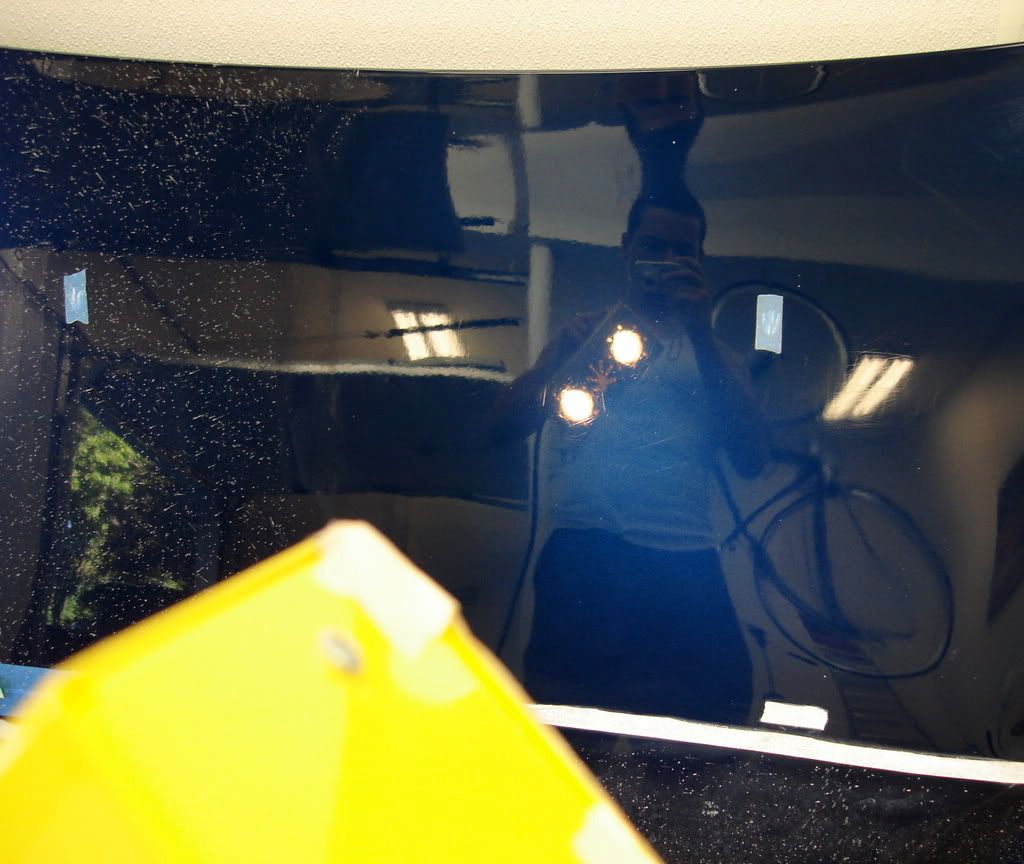
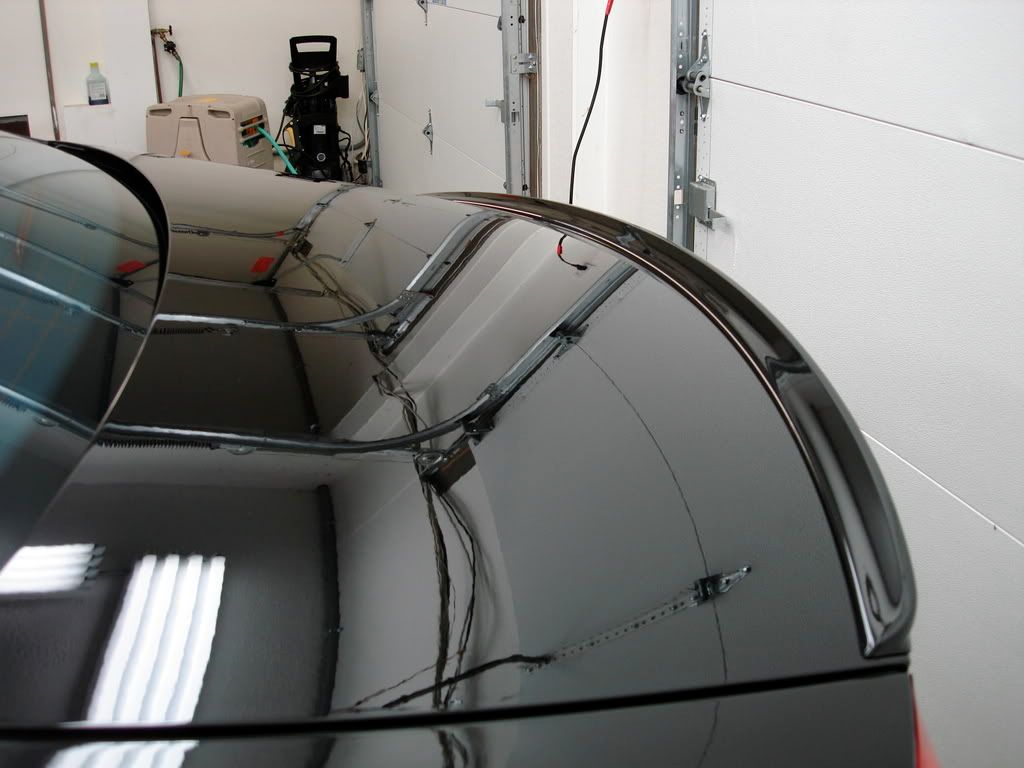
This is the finish after polishing with the Gloss It one step polish

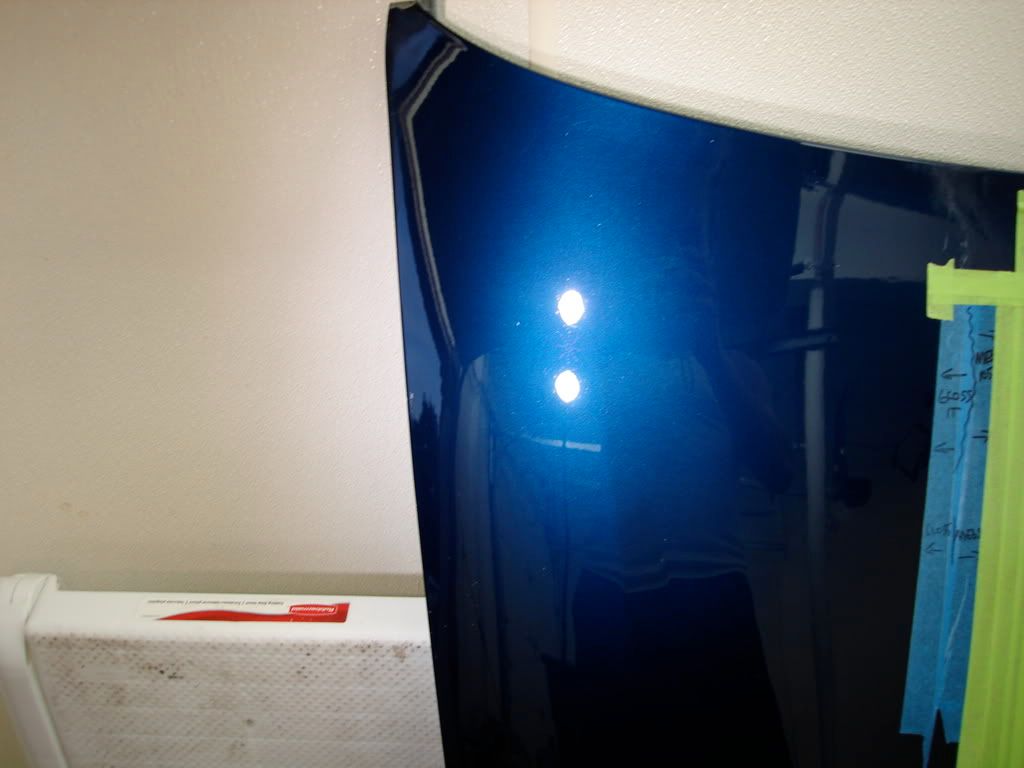

I took this picture using the CM5300 inspection light Far far away to show no swirls were hidden, here you can see the light is refracted perfectly. No holograms at all.
50/50
The uncorrected side
The corrected side
Now I moved to the right side of the panel this time using Meguiars M105 and 3M Ultrafina. Again I used the same speeds and pads for correction and finishing.
Here is M105 and the wool

Befores
After using M105


The finish left after 105 was very nice, a few deep RIDS remained but overall it was very closely matched to the gloss it extreme cut. The RIDS may have been deeper in the areas near the tape line and that why they werent removed completely.
M105 overall is more agressive than Gloss It extreme cut. The only problem is that it works extremely fast! There is no spreading this product on low RPM and then raising the speed for correction. I use the SuperBee method of laying down a 3 inch bead of M105 right on the panel and picking it up right away at about 1500rpm and just start working it. It takes some getting used to but its effective in defect removal. Now M105 as usual flashed very quickly, within about 6seconds I'd say! To be fair I also used some gloss enhancer spray when it dired out a bit to help jewel it down but it did very little to help.
I then Finished out the panel using 3M Utrafina SE on the same blue edge CCX polishing pad. As I did using the Gloss It One step I set the makita to 1500rpm when using the UF and jeweled it down to about 900rpm.
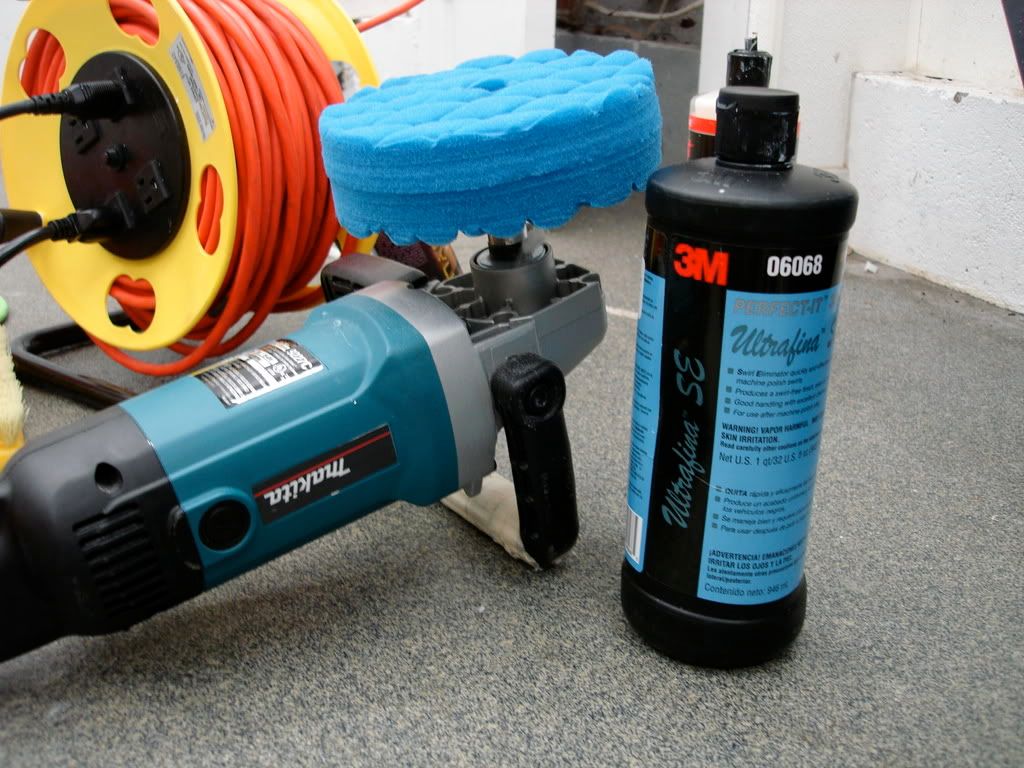
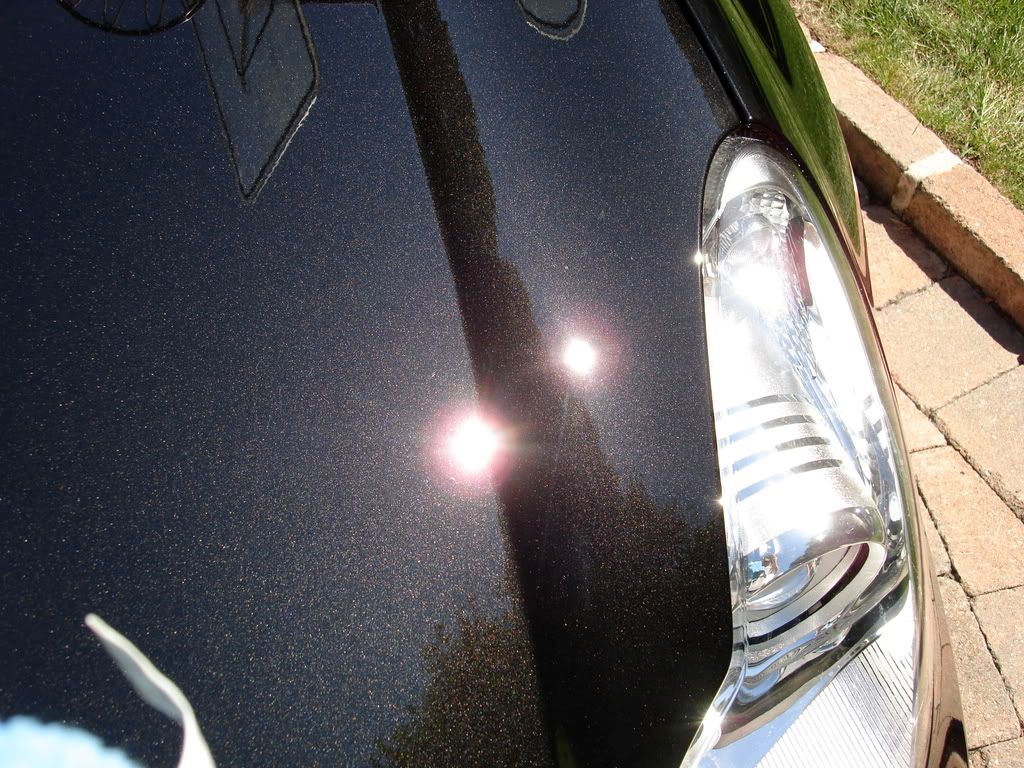
Here is the right side all finished

Ultrafina is a great polish, it does take a very long time to work though. I sometimes love using a slow breakdown polish so I can really jewel the finish but other times I feel it takes a little too long. The UF helped reduce some holograms left by M105 but it didnt really add to the overall gloss of the finish and I didnt expect it to. It just leaves a clean and LSP ready finish behind.
Since then I have been using the gloss it line on my cyclo random orbital and have gotten excellent results but I still wanted to use my Makita when needed so I called Rich Light (the owner and devloper of Gloss It) and he gave me some insight on what combos worked best when doing high speed correction. I gave them a test today and was blown away.
The first test was a comparrison between the Gloss It Extreme Cut and the Gloss It One Step machine polish vs. Meguiars M105 ultra cut compound and 3M's Ultrafina SE.
Here is my objective: I wanted to see how much correction I could achive with a heavily swirled finish using only a 2 STEP correction/finishing process. For those who detail for profit using a 2 step process opposed to a 3 or 4 step process is not only a big time saver but it also increases profitability. You are able to polish out more cars, more efficently. Of course I will only use a 2 step process if I know the finish will be 98-100% perfect afterwards, if not I will add a 3rd or 4th step to get the finish to a perfect or near perfect level.
**In this test there are no variables other than the different products used. Each pad is the exact same and each speed used on the machine is the exact same in both cases. I felt this was important to prove a fair result.**
Left side of panel: Gloss It products
Right Side of panel: Meguiars and 3M products
Here is the test panel. I spent over 10minutes getting the sides evenly swriled and scratched. Notice there are dozens of deep RIDS left in the finish.
Gloss It side:
Meguiars and 3M side:
Now onto the correction.
Gloss It process: Please take note of this is you are using the high speed polisher and gloss it polishes. This basic process will help you to achieve that perfect finish everytime*
Step 1 : Gloss It Extreme cut w/ 8" white lambswool pad at 1500rpm which was then jeweled down to 1000rpm to refine the finish. The white lambswool is great for heavy cutting and moves smoothly across the finish. I sprayed the Gloss Enhancer spray directly onto the panel as the polish dried out so I could lengthen the work time. This not only allowed the extreme cut to work longer but it also helped eliminate most of the micro scratches and holograms because I finessed the finish on low RPMs using the wool pad before it completey dried out thanks to the slick gloss enahancer spray in between polishing.
To give you an idea of the aggressivness of Extreme cut - it is able to easily remove 1500grit sanding scratches no problem on a rotary. It can even remove 1500grit scratches using a cyclo random orbital as well!
Step 2 : Gloss It One step Machine polish w/ 6inch edge CCX blue polishing pad. (This pad has some mecahnical cut but is soft enough to leave a high gloss finish without holograms) I used the One Step polish at 1500rpm and slowly jeweled it down to about 900rpm. Again as the polish dired out I sprayed the gloss enhancer right on the panel and worked it a bit longer as I refined the finish.
Here is the wool pad and the extreme cut
Before correction
Using the gloss enahcer during correction
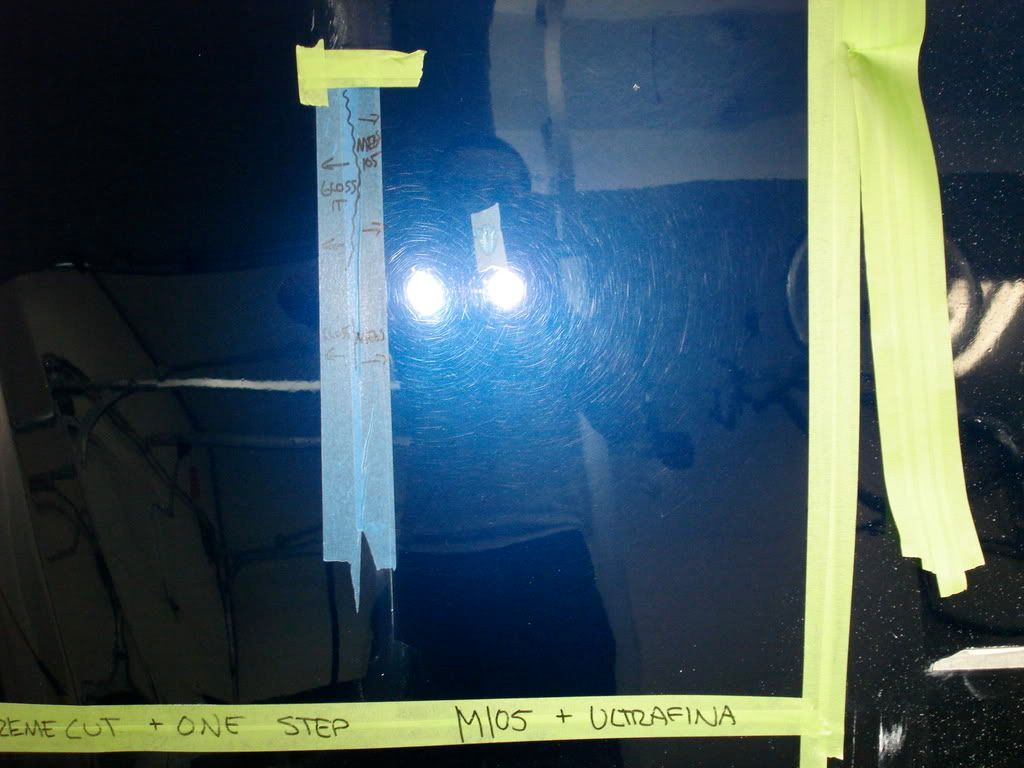
After correction using only the Extreme cut and wool pad..no finishing was done yet just a thorough IPA wipedown.
If you notice the finsih is completely defect free and left with very very minimal holograms. I took the pictures kinda far away because the CM5300 inspection light shows defects better at a distance. I only notice the holograms because the light is slightly defracted around the bulbs reflection, its very hard to see up close.
So far after only 1 step the correction was just about perfect and the wool pad left a suprisingly nice finish with minimal holograms and no micro scratches. Using the gloss enhacner spray in between polishing really helps eliminate holograms and finer scratches left by the compound and wool pad.
Now it was time to use the One Step machine polish to finish out the paint. The One step is my favorite polish because its so versatile. It has plenty on cut when needed (using a cutting pad of course) but on a softer foam pad it really is able to bring out a high gloss when a light cut is still needed. Basically the One Step is a blend of several gloss it polishes including evolution cut (like SIP) and a Gloss Finish (like Zaino Z2pro)
(This bottle of polish has an unfinished label on it because at the time it wasnt available in quart sizes, it is now though)
The blue CCX edge pad I used is just okay, I prefer a flat pad instead. I just thought it had the right density for this process so I used it.
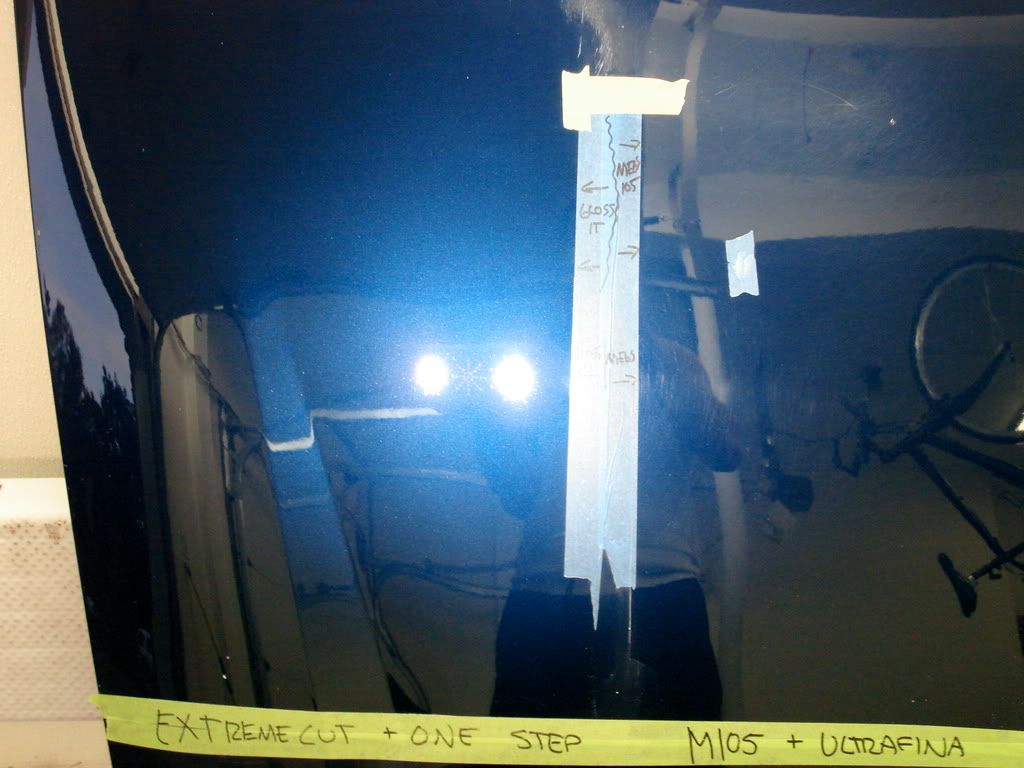
This is the finish after polishing with the Gloss It one step polish
I took this picture using the CM5300 inspection light Far far away to show no swirls were hidden, here you can see the light is refracted perfectly. No holograms at all.
50/50
The uncorrected side
The corrected side
Now I moved to the right side of the panel this time using Meguiars M105 and 3M Ultrafina. Again I used the same speeds and pads for correction and finishing.
Here is M105 and the wool
Befores
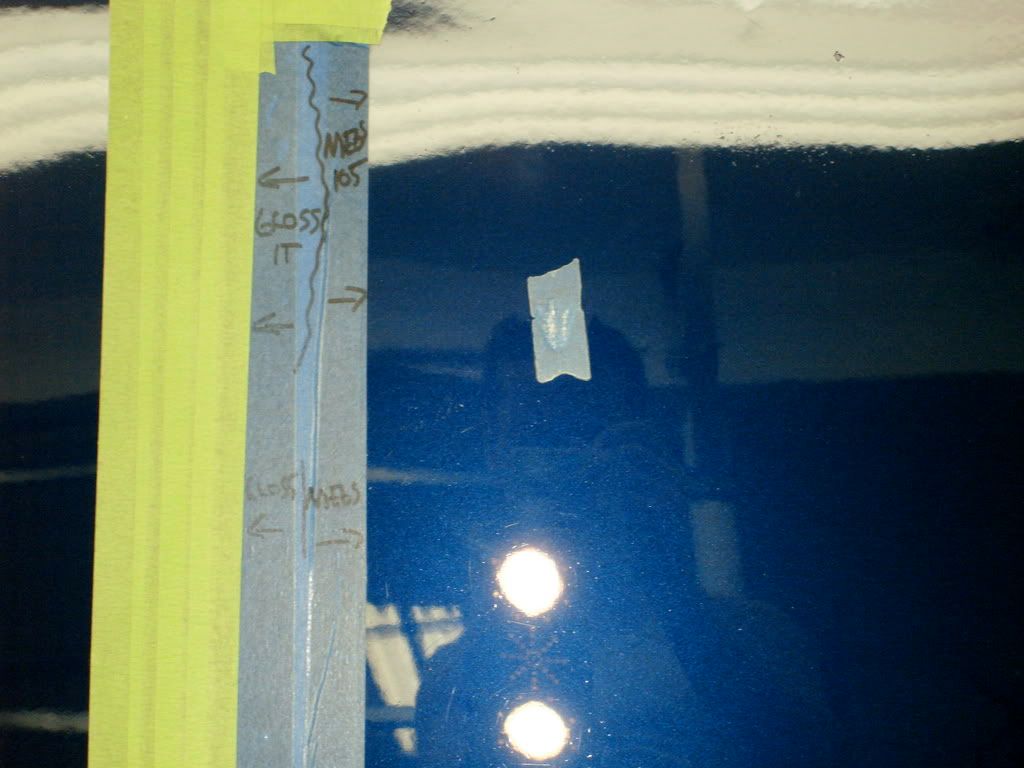
After using M105
The finish left after 105 was very nice, a few deep RIDS remained but overall it was very closely matched to the gloss it extreme cut. The RIDS may have been deeper in the areas near the tape line and that why they werent removed completely.
M105 overall is more agressive than Gloss It extreme cut. The only problem is that it works extremely fast! There is no spreading this product on low RPM and then raising the speed for correction. I use the SuperBee method of laying down a 3 inch bead of M105 right on the panel and picking it up right away at about 1500rpm and just start working it. It takes some getting used to but its effective in defect removal. Now M105 as usual flashed very quickly, within about 6seconds I'd say! To be fair I also used some gloss enhancer spray when it dired out a bit to help jewel it down but it did very little to help.
I then Finished out the panel using 3M Utrafina SE on the same blue edge CCX polishing pad. As I did using the Gloss It One step I set the makita to 1500rpm when using the UF and jeweled it down to about 900rpm.
Here is the right side all finished
Ultrafina is a great polish, it does take a very long time to work though. I sometimes love using a slow breakdown polish so I can really jewel the finish but other times I feel it takes a little too long. The UF helped reduce some holograms left by M105 but it didnt really add to the overall gloss of the finish and I didnt expect it to. It just leaves a clean and LSP ready finish behind.


") Ill admit I went a little nuts on this one
Ill admit I went a little nuts on this one


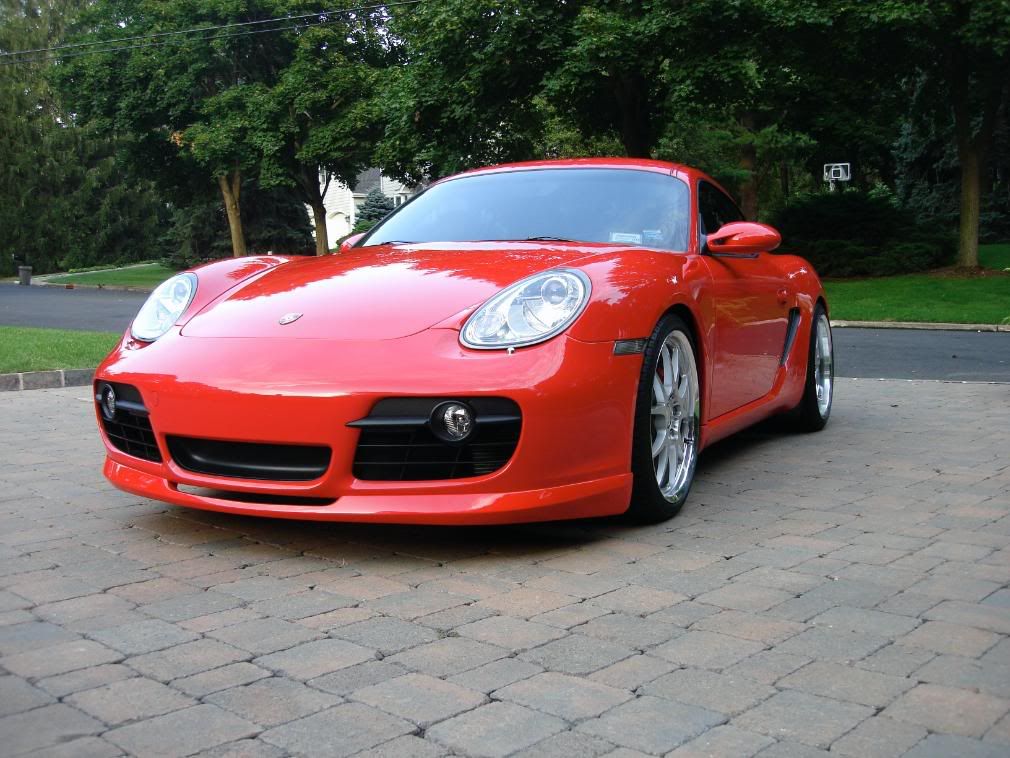
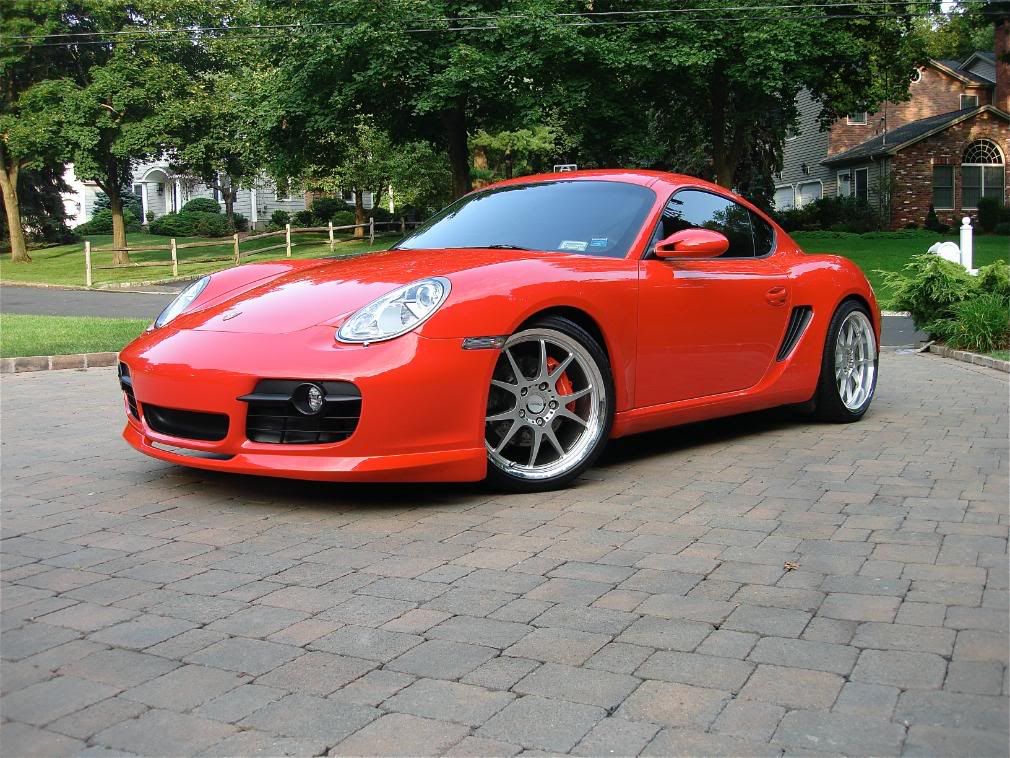
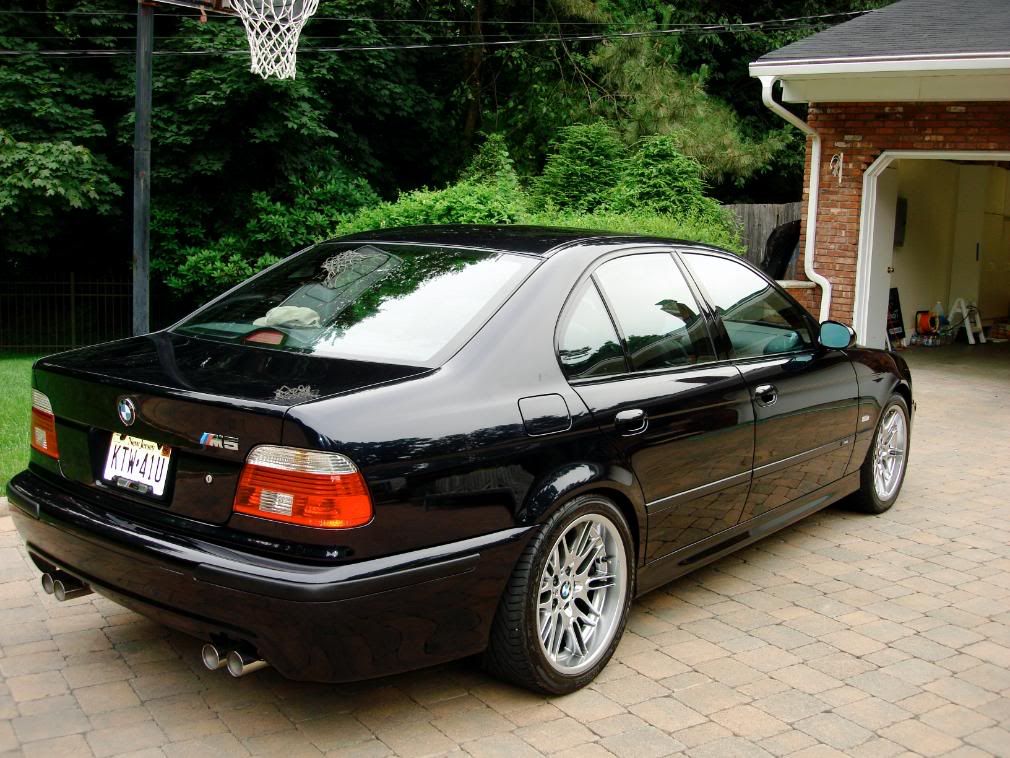
")