Todd@RUPES
Just a regular guy
Orange Peel:
Orange Peel, in this discussion, refers to the latter. It is the bumpy texture common to most factory and refinished paints. Orange Peel can begin in any of the paint's layers (primer/base coat/clear coat) but it is the final layer (often clear coat) that will determine how light reflects. If the surface of the paint system is smooth the paint will reflect light evenly.
Old Idea, New Method
Imagine a cross section of paint like the earth's terrain. Orange Peel would represent rolling hills. In order to remove Orange Peel you would have to effectively reduce the height of the hills. If create perfectly a perfectly smooth surface you would need to lower the hills down to the lowest base and then level the surface like a plateau.
Typically Orange Peel is removed (or reduced) by using a coarse grade of sandpaper wrapped around a firm sanding block. This block is necessary to focus the action of the paper on just the peaks (high spots) of the Orange Peel. The firmer the sanding block -the more the action is focused- the more level the surface will become.
After sanding with a coarse grade of paper the surface is flat but heavily scratched. This often requires an additional step (or more) of sanding followed by an aggressive machine polishing known as "cutting" or "compounding" to remove the sanding marks and restore gloss to the paint. After cutting the paint several more steps of polishing are often requires to remove the subsequent finer and finer polishing scratches until the paint is smooth.
CarPro's new Orange Peel Removing Pads are designed to level orange peel while eliminating the need for multiple sanding steps and "cutting/compounding". The firm design of the pad and the careful selection material (a unique denim and corduroy velvet) allow the pads to plane surface, focusing on the peaks of the Orange Peel, and create (more) level paint.
The Subject
Do they work? That is what I aimed to find out. My Mazdaspeed3 was in accident and entire driver's side (front fender to rear bumper) was repainted. As typical of many bodyshop's the paint had heavy Orange Peel (much heavier than then Orange Peel found on the factory OEM paint). Given that my car has both factory/OEM paint and thicker, more heavily textured aftermarket paint, I have the perfect subject to test out both of CarPro's Orange Peel Removal Pads. This review will focus on the Denim version of the pad.
CarPro Orange Peel Removal Pads
CarPro Orange Peel Removal Pads are available with two different material configurations:
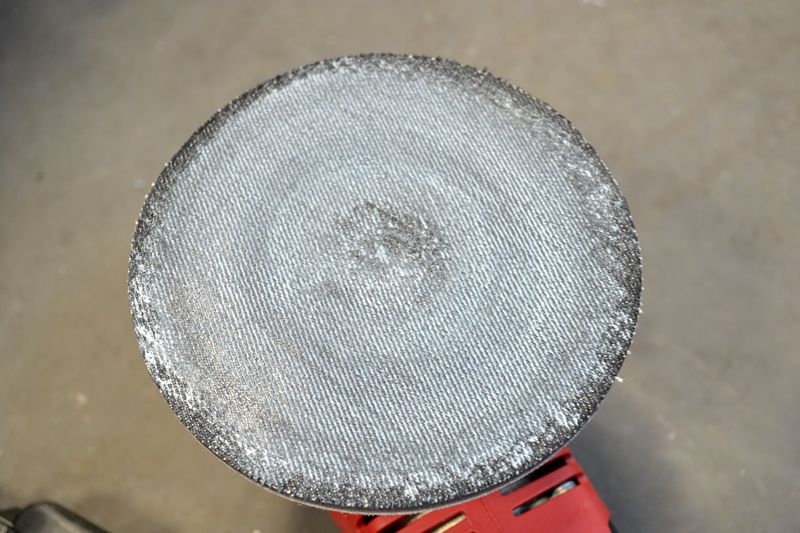
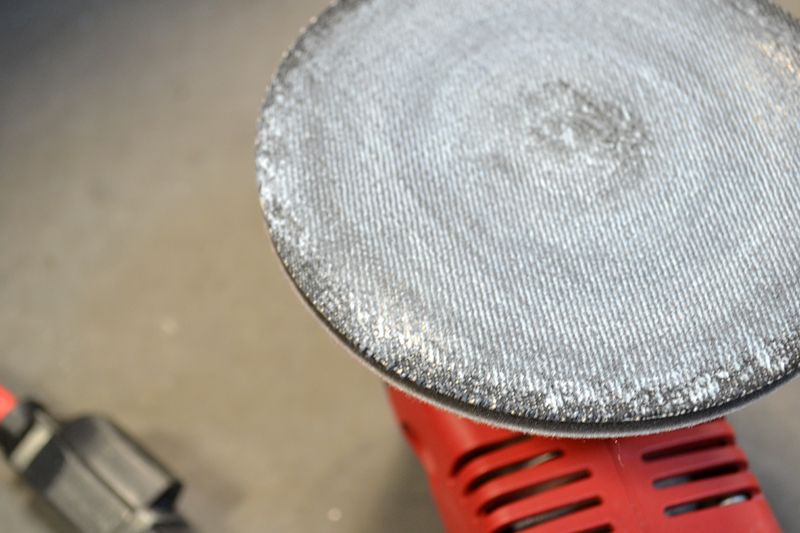
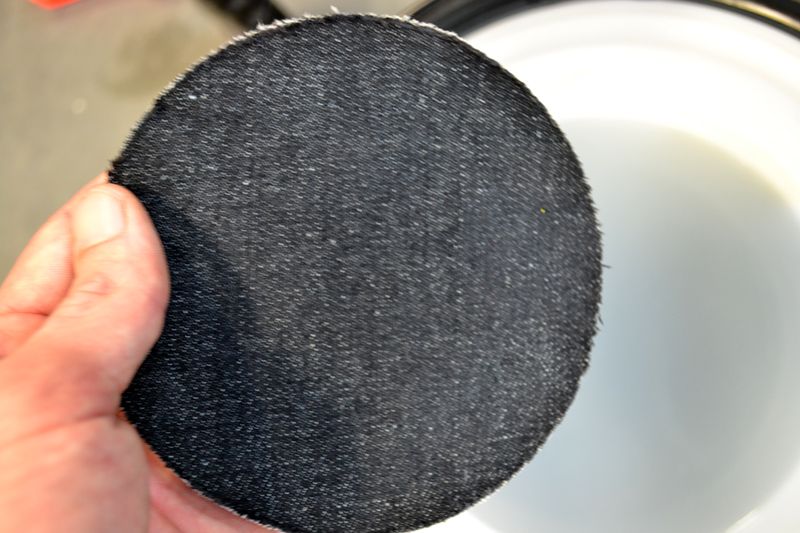
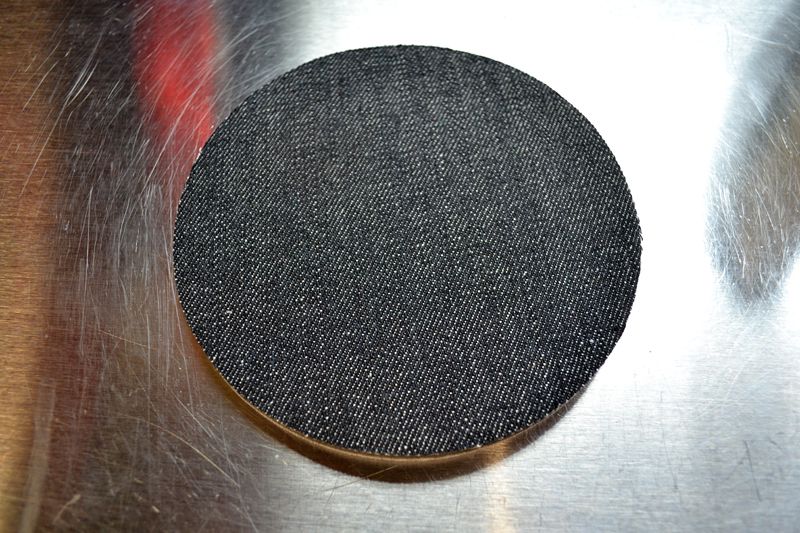
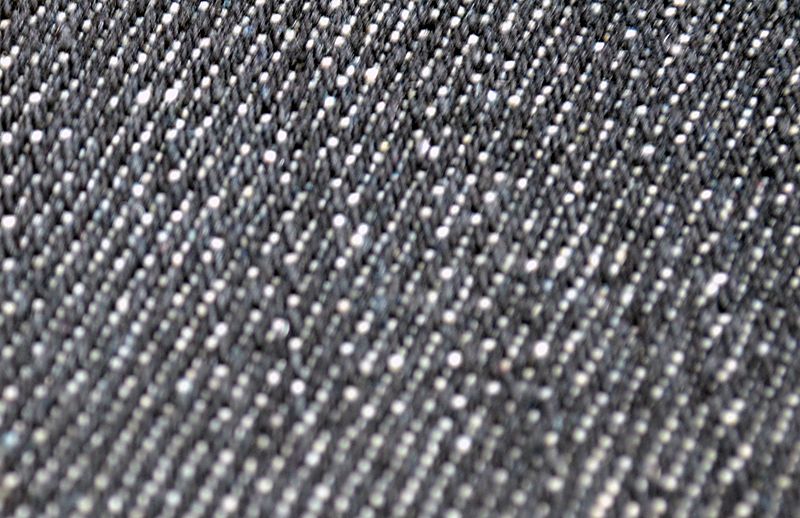
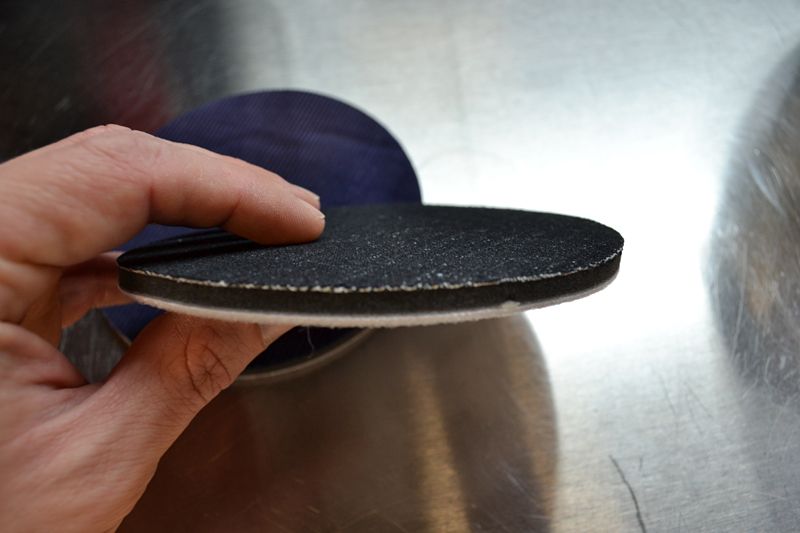
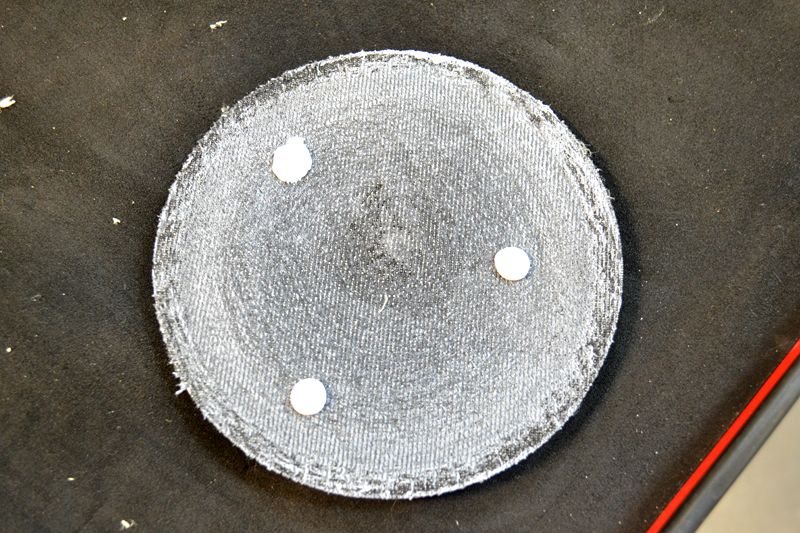
Denim: The Demin pads use a unique, coarse grade demin that is aggressive and offers maximum leveling power. This pad is designed to remove heavy orange peel from resprayed (thick) paint systems.
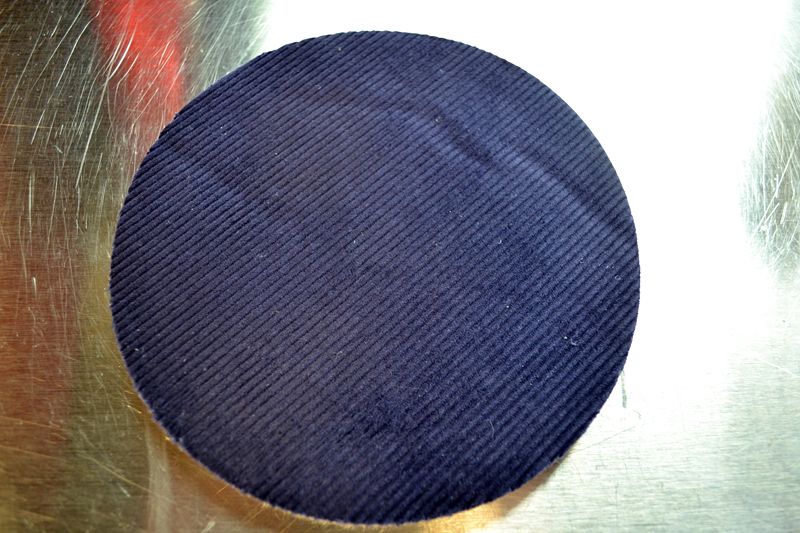
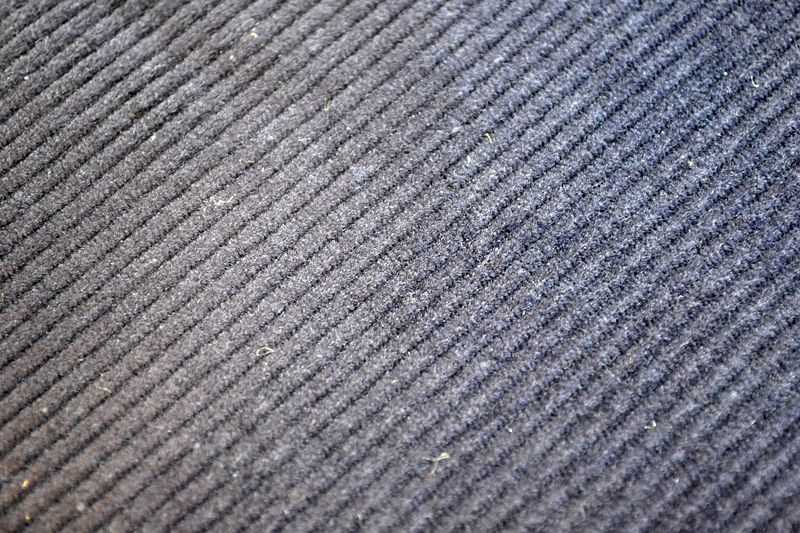
Velvet: The Velvet pads use a roped corduroy velvet that is milder in action when compared to the Denim pads. This pad is design to reduce orange peel on factory/OEM (thin) paint systems.
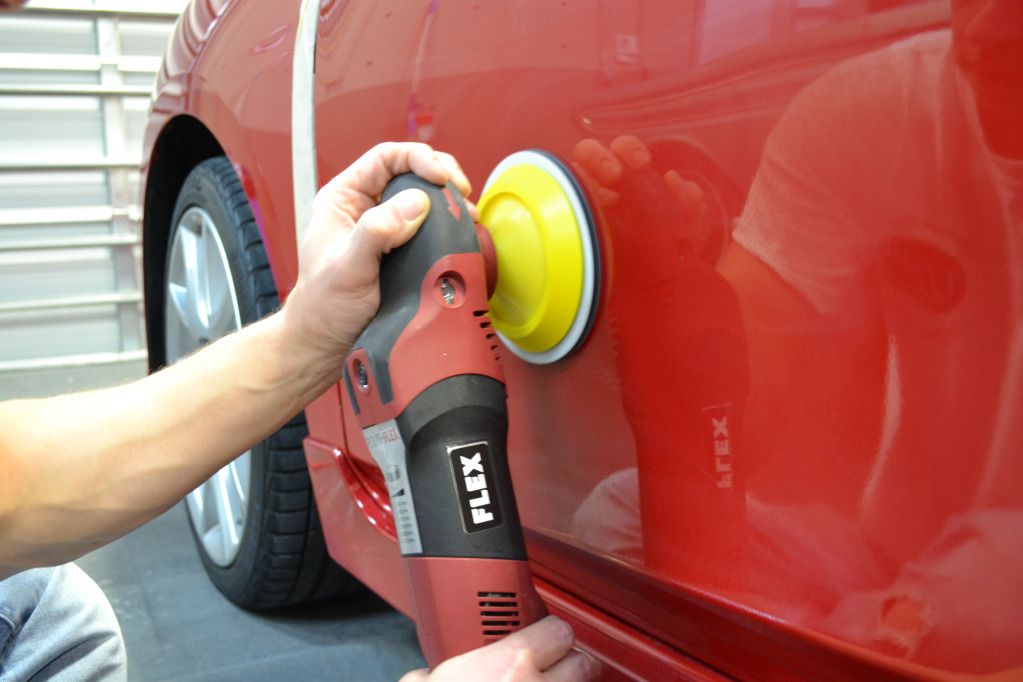
Both pads measure 5.3 inches in diameter and are extremely thin/firm. They feature a full length hook-n-loop backing material that attaches to any 5 inch or smaller rotary backing plate.
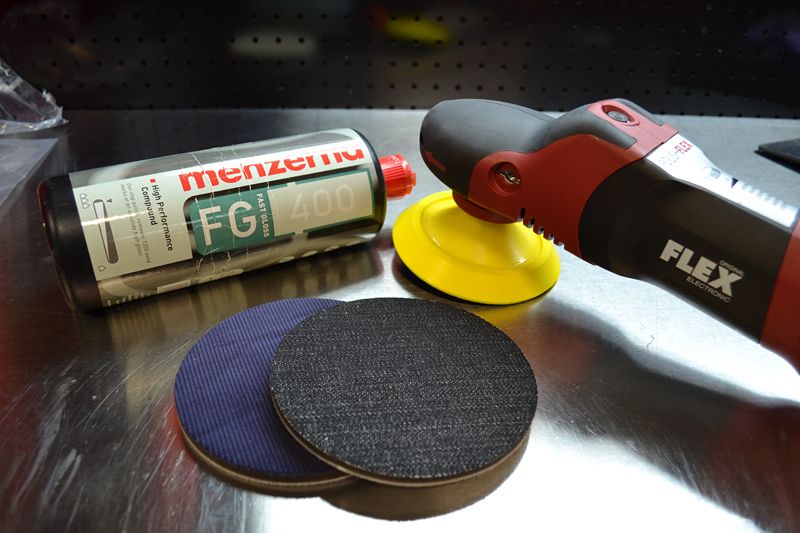
To use the CarPro Orange Peel Removal Pad you will need a polishing compound, rotary polisher, and a backing plate.
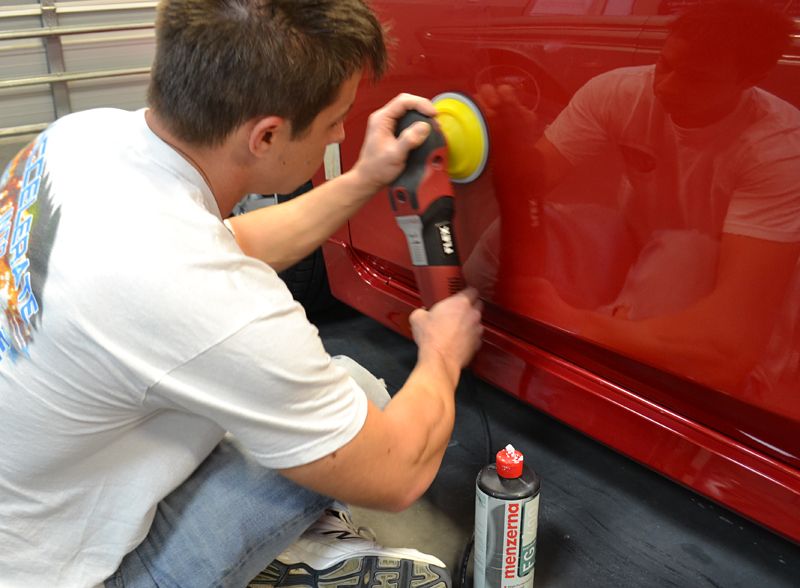
For this test I used a FLEX PE14 Rotary Polisher with a Lake Country 4.75 Inch Rotary Backing plate. I tested the CarPro Denim Pad with Menzerna FG400, CarPro Fixer and Meguair's M105 Ultra Cut Compound.
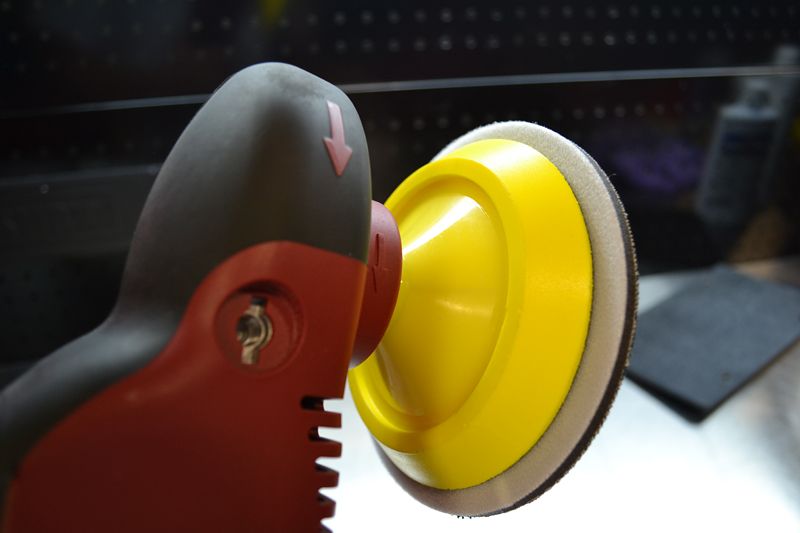
Choosing a backing plate- There are several styles of backing plates available. I elected to go with the Lake Country 4.75 inch because it is the firmest one we offer which will increase the leveling action of the pad (necessary to remove orange peel). I did test it with the FLEX FOAM HD backing pad and found that while the cut was impressive, the leveling action (necessary to remove Orange Peel) was GREATLY reduced.
Getting Started
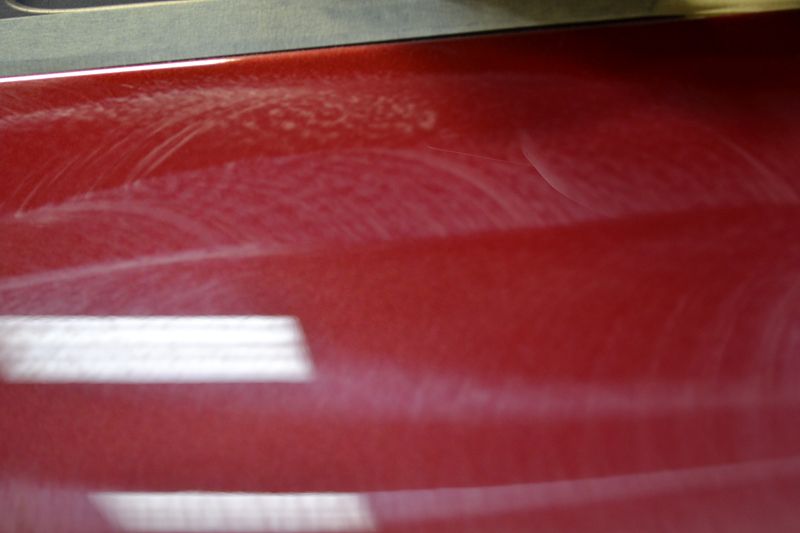
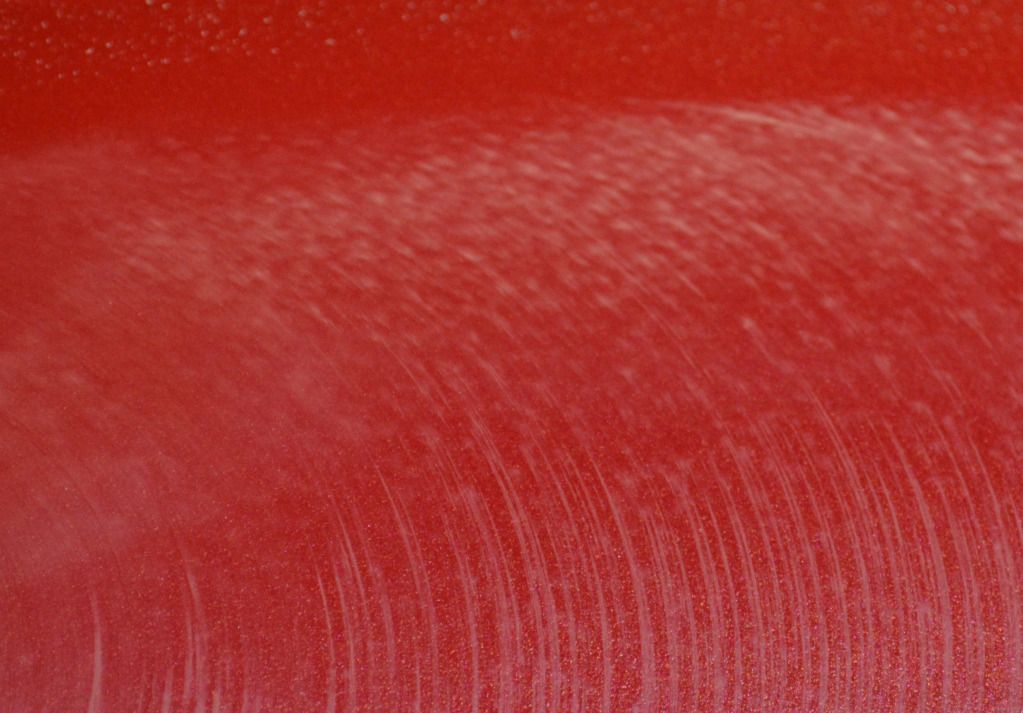
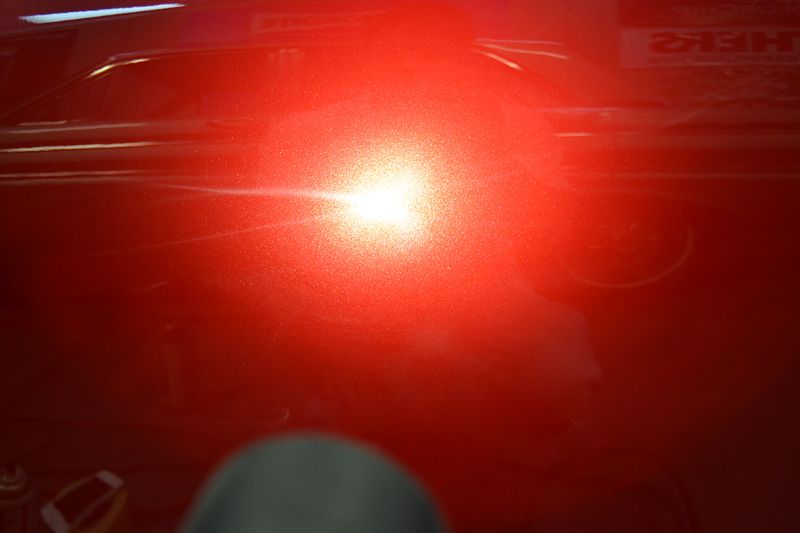
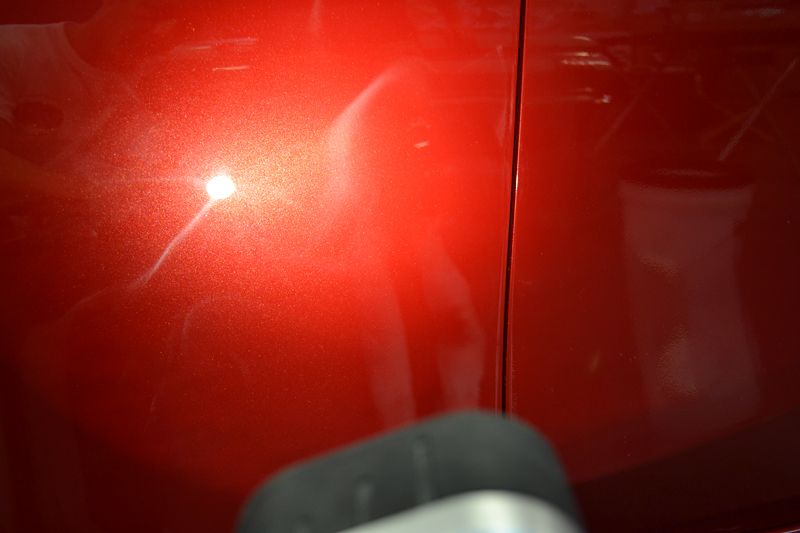
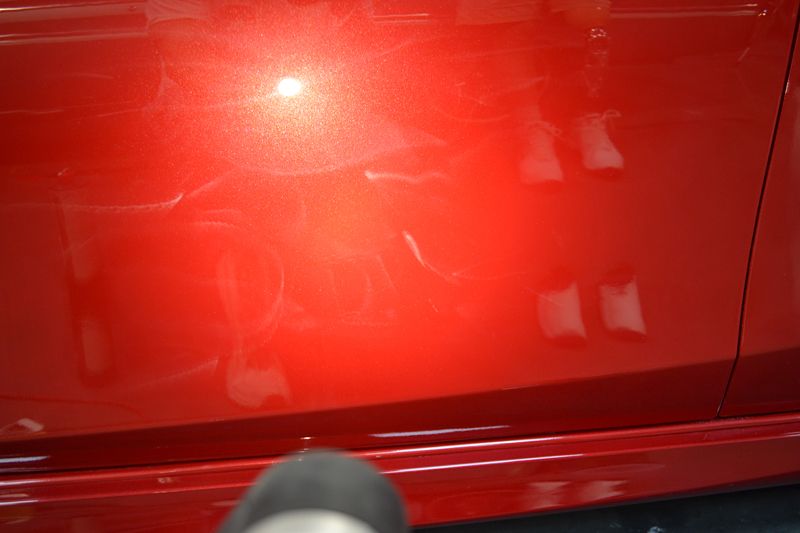
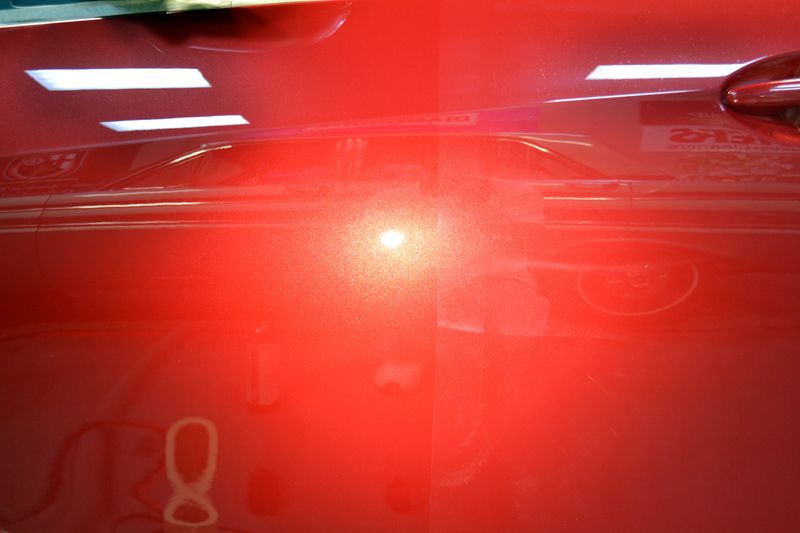
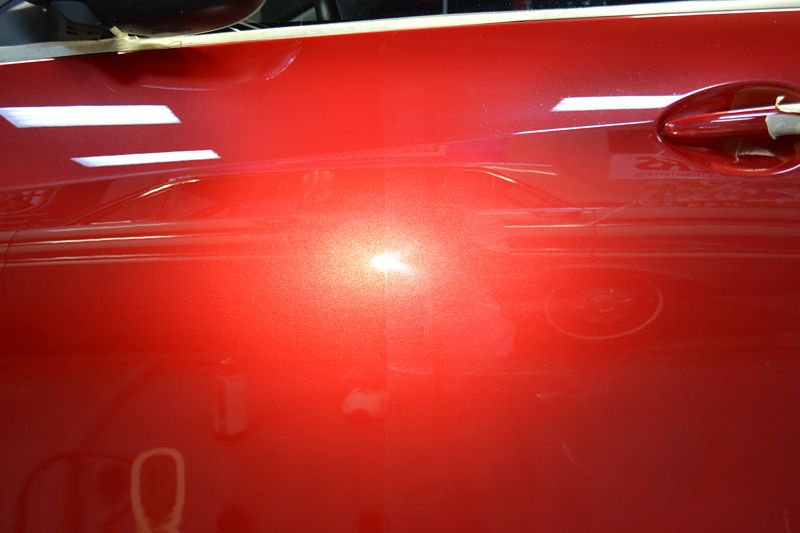
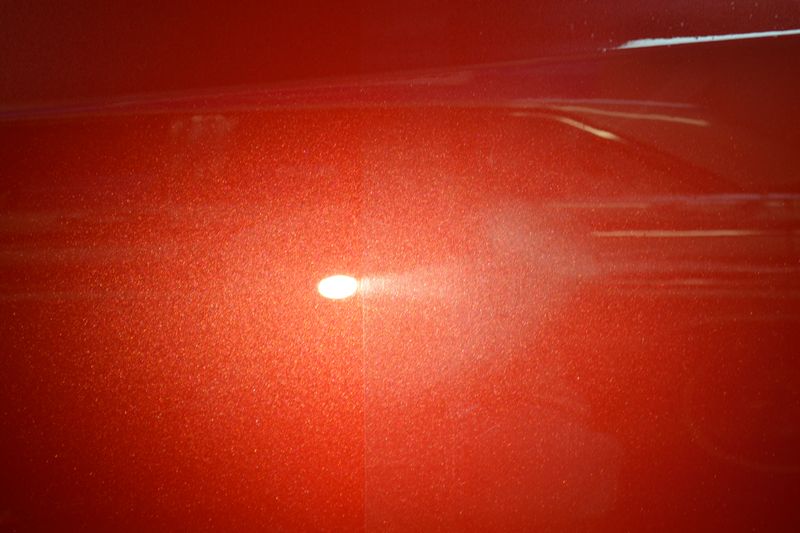
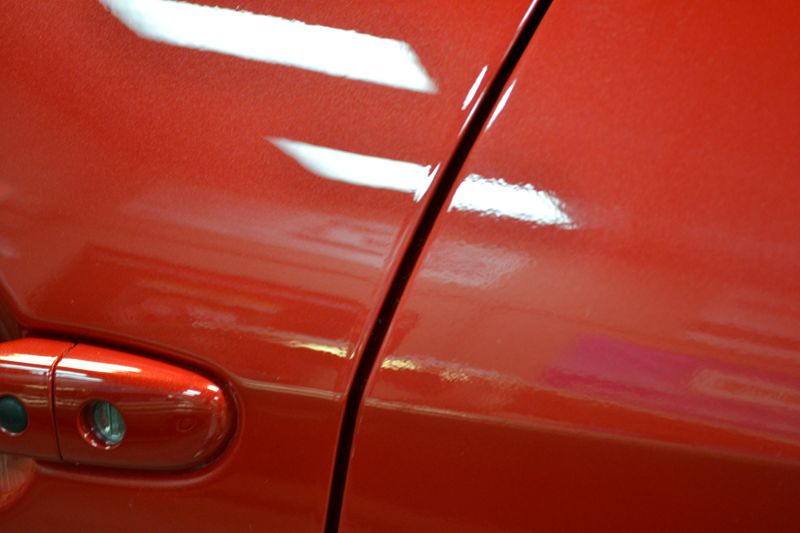
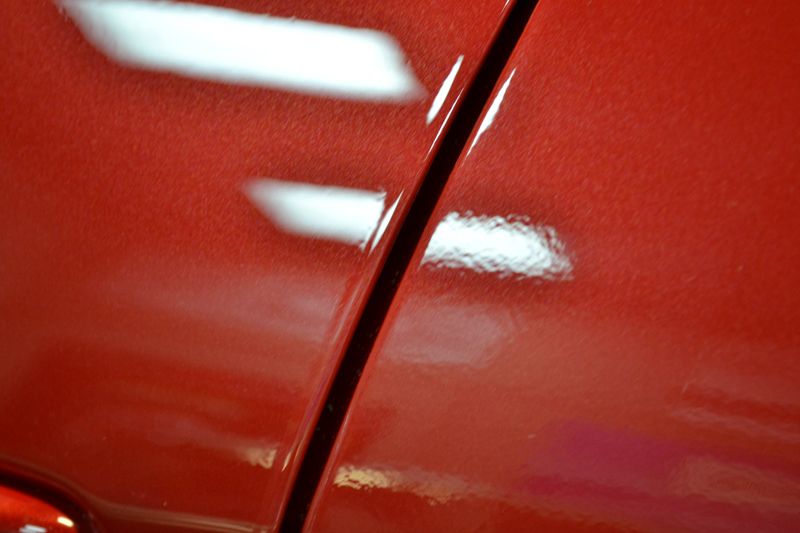
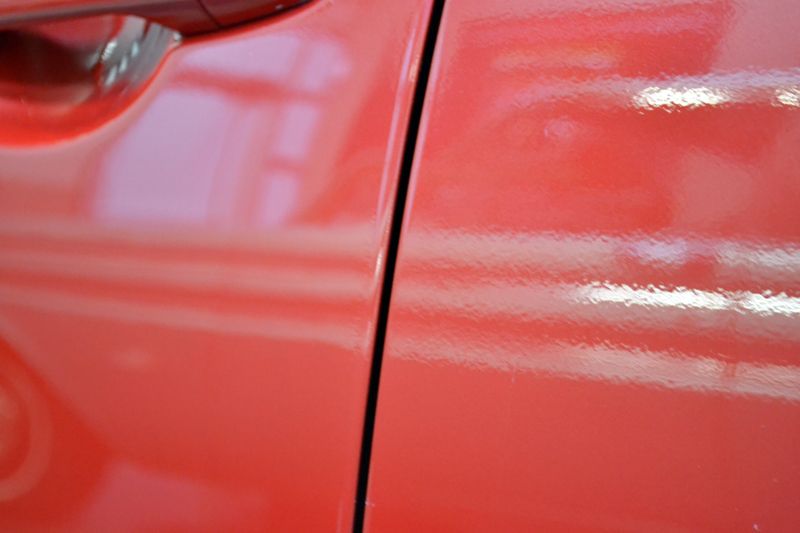
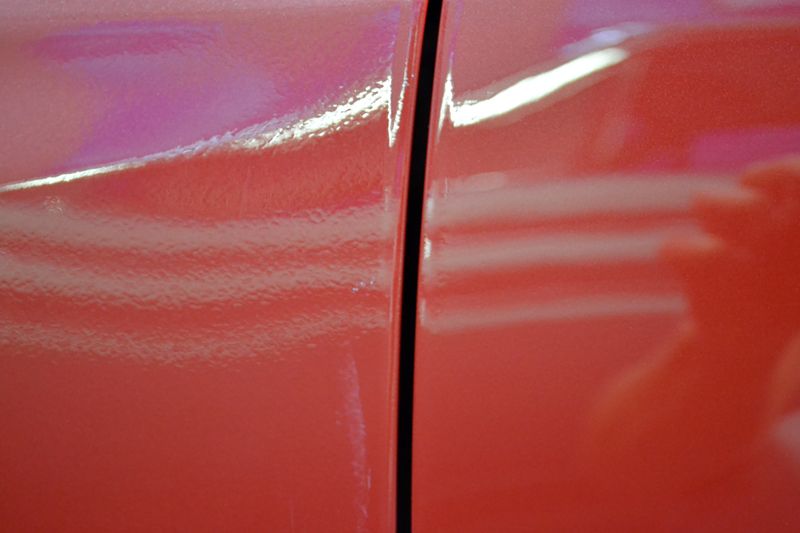
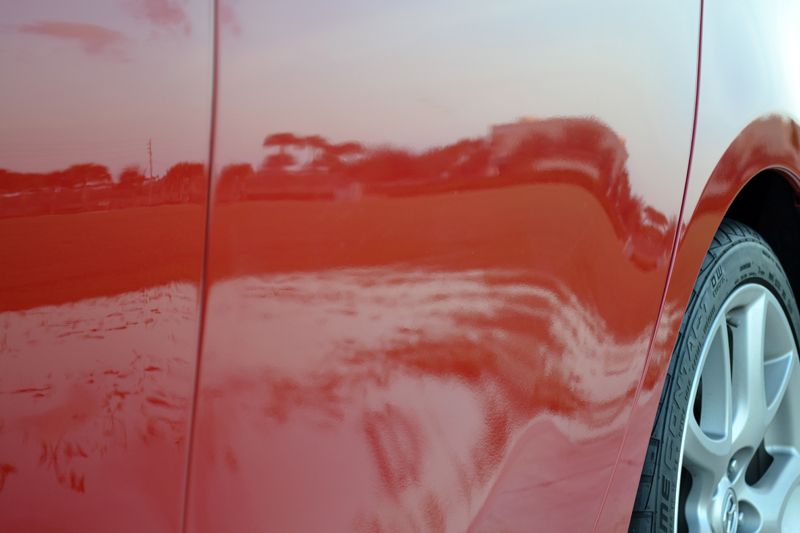
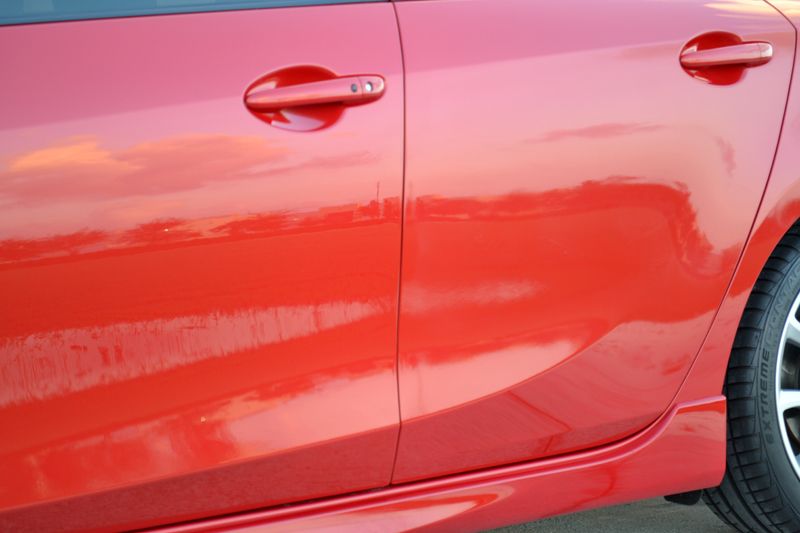
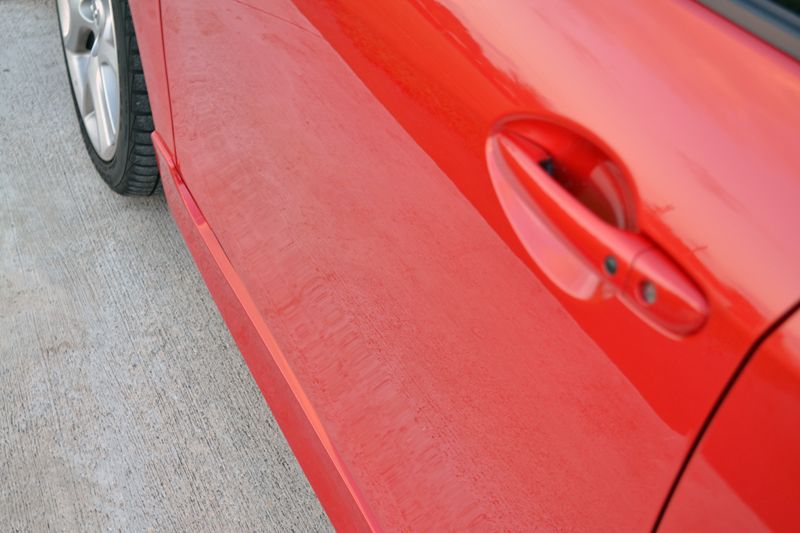
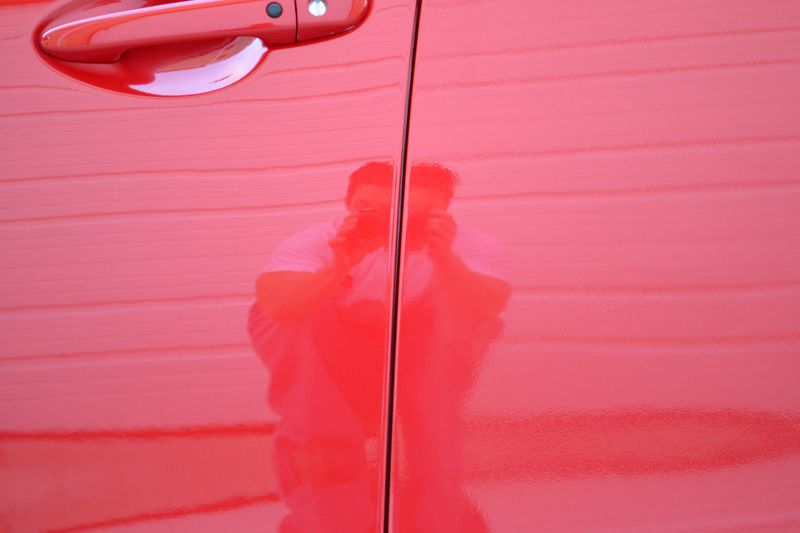
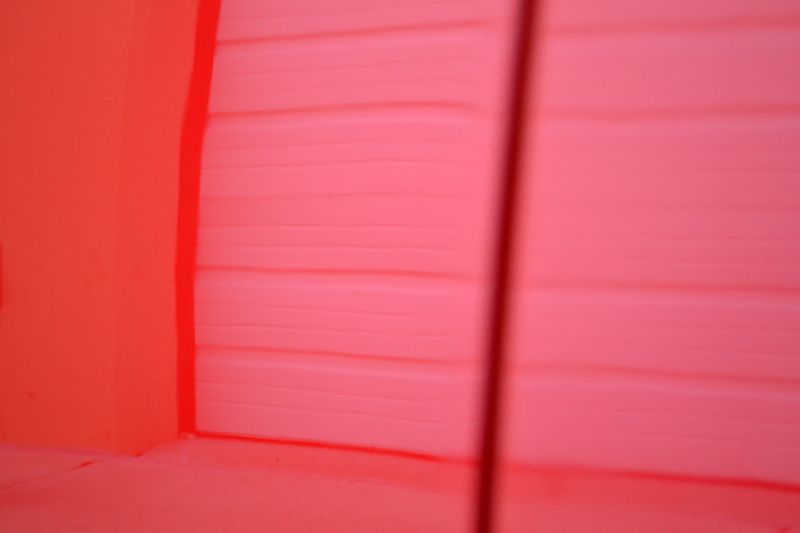
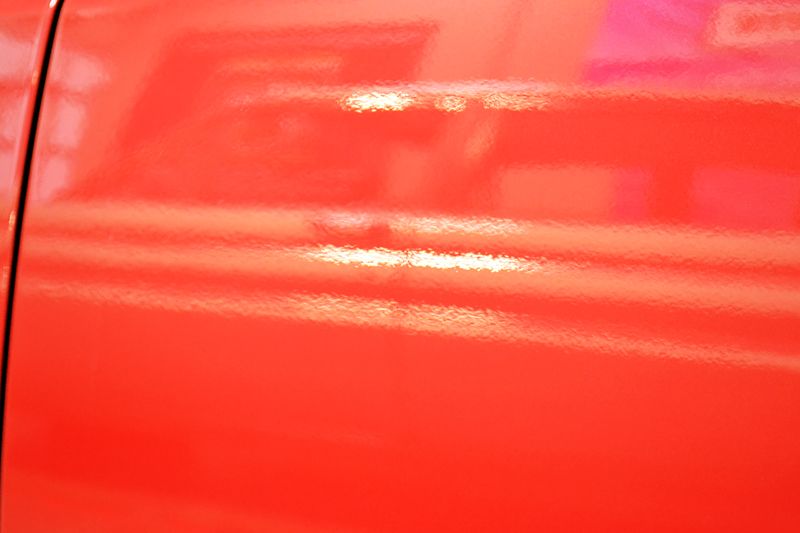
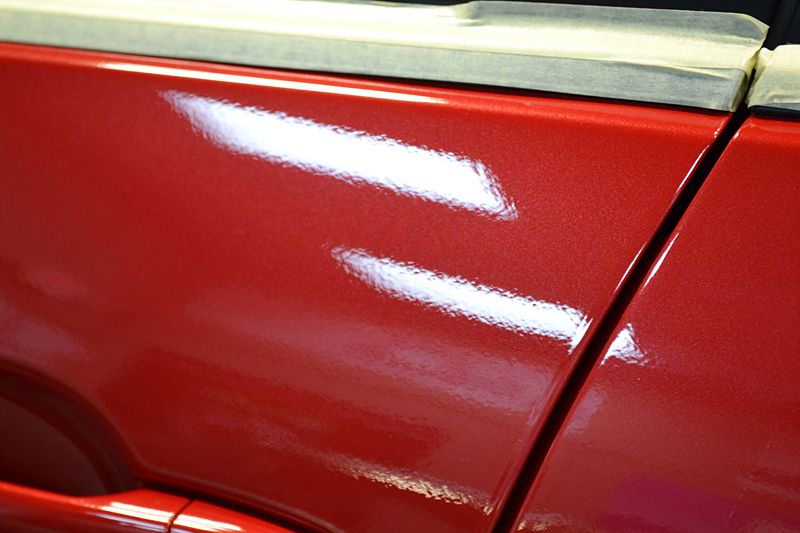
The driver's side of my Velocity Red Mazdaspeed 3 was involved in an accident. This required the entire driver's side to be repainted. The body shop did an excellent job in matching the multi-stage paint system but the amount of surface texture -Orange Peel- was unacceptable. Below are some pictures of the heavy texture, some of which you could feel by hand.


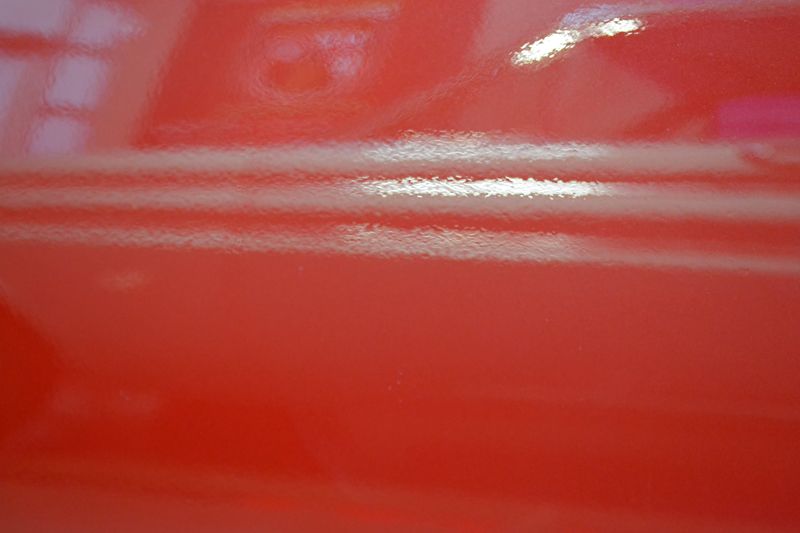
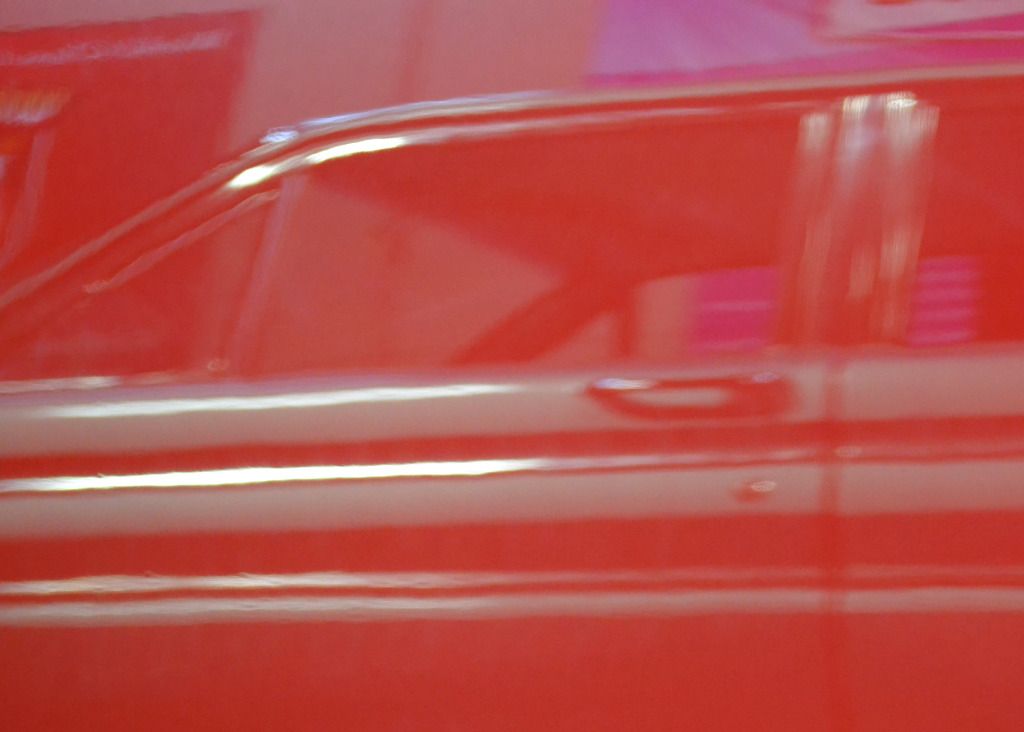
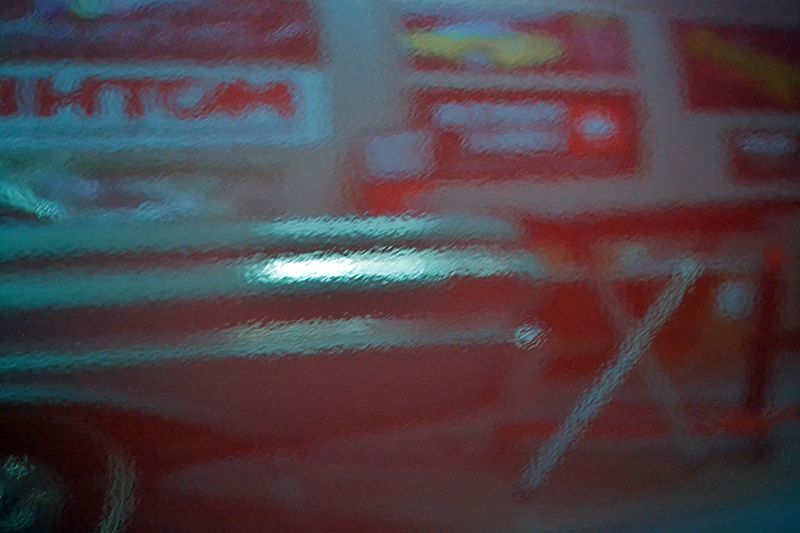
The dulled reflections on an old Ford Falcon in the background...
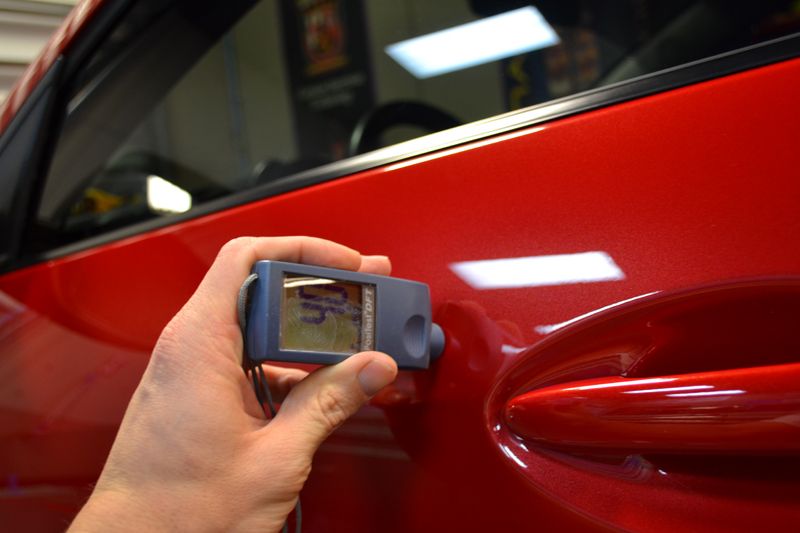
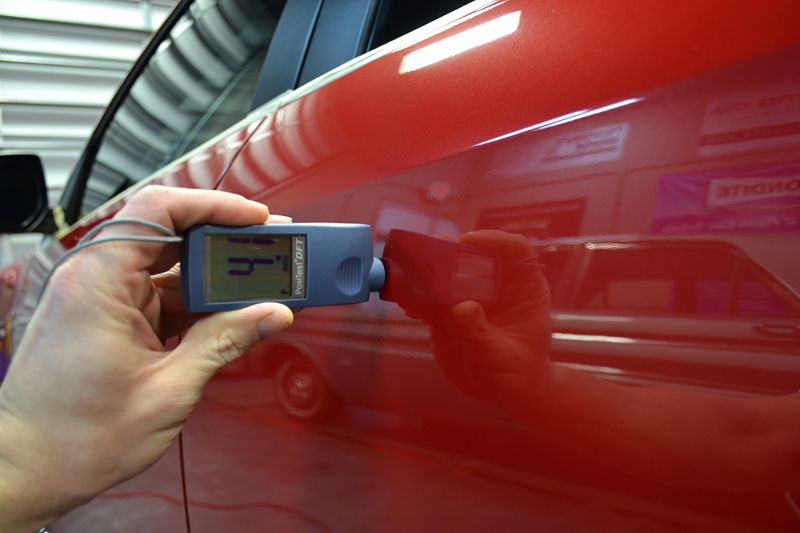
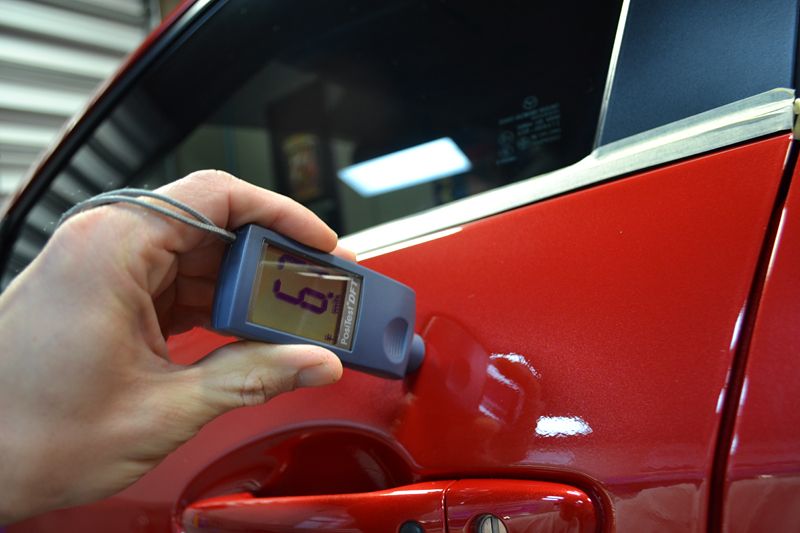
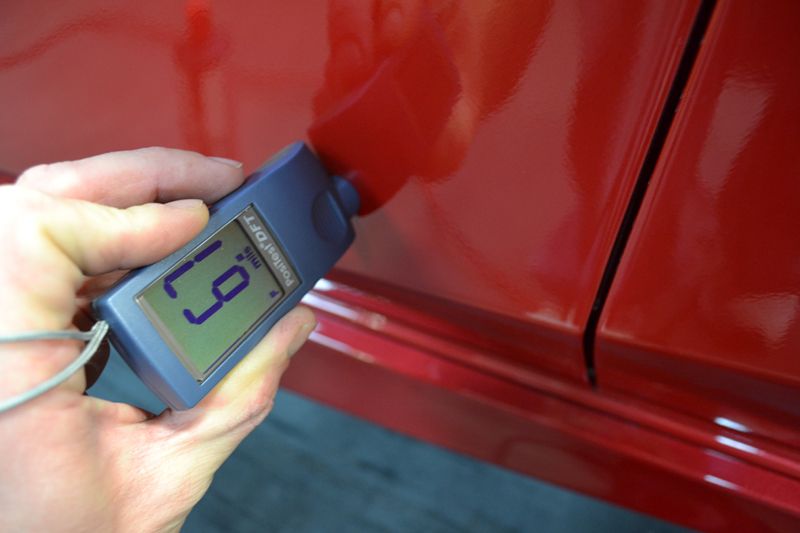
The next step was to chart the thickness of the paint so I could accurately measure how much paint (clear coat) was removed after each application. First up... The factory side:
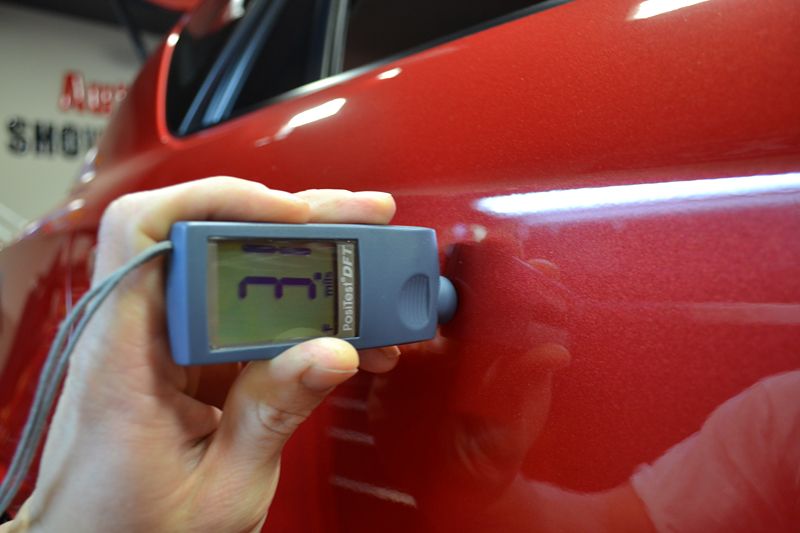
As the above picture shows, Mazda's have a notoriously thin paint system from the factory. The pictures below show measurements from the repainted side, which varied in thickness from 4.1 mils all the way to 7 mils, although most readings were around 6.5.
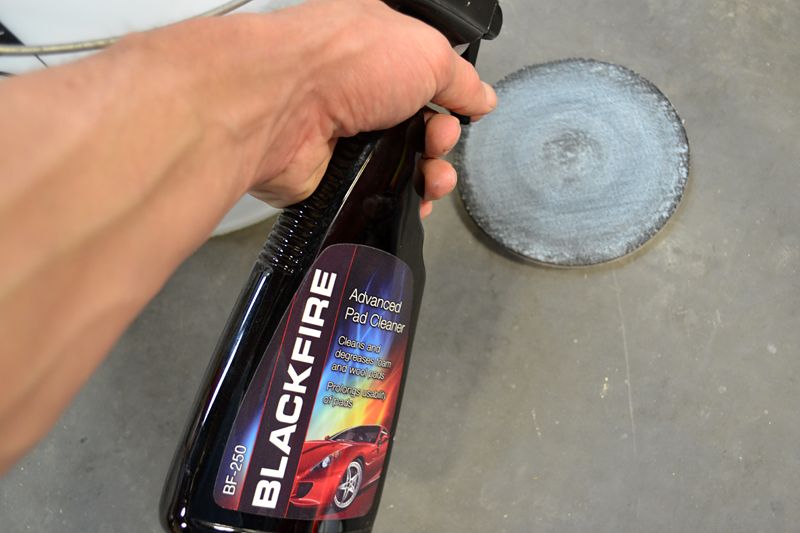
Before polishing with the CarPro Demin Orange Peel Removal Pad you want to make sure your paint is perfectly clean. I used BLACKFIRE Wet Diamond Waterless Wash and several Supreme 530 Microfiber towels in order to clean the paint. Because of the aggressive leveling action of this tool you will want to make sure your textured and soft trim is taped off. I used Meguiars Automotive Masking Tape to tape off the window seals.

Priming The Pad and Selecting A Polish
Before skipping to the results and techniques, which is what we are anxiously waiting for, let me move forward and look back in retrospect.
CarPro recommends using their Fixer Polisher with the Orange Peel Removal Pads, and it works great. Being that I work for Autopia and have a huge selection of products at my disposal I wanted to team this system up with other polishes to get a feel of how they perform.
CarPro Fixer: Fixer worked well. The thin formula provided plenty of lubrication and a quick cut. The finish left behind by Fixer was considerably more scoured then the other polishes and the cutting speed was the weakest.
Meguiar's M105: When used with Meguiar's M105, the Demin Pads performed flawlessly and delivered the fastest cutting/leveling action. The dry nature of this product meant that the pad caked quickly and would start skipping if over worked.
Menzerna FG400: Menzerna FG400 delivered the smoothest polishing action and highest quality finish. It was the second most aggressive in terms of leveling ability and speed (behind M105) but delivered the best finish.
My Pick: For this test I found Menzerna FG400 to be my favorite. Although slightly less aggressive then M105 it dusted much less and keep the working surface clean. I suspect that removing Orange Peel from paint is no different then polishing the paint- in the sense that certain products are simply going to work better on certain paint systems. In the case of my repainted panels, Menzerna was the clear winner.
The Demin Pad's are non absorbent so very little product goes a long way. I found that using 5 dime sized dots for the first application and 3 dime sized dots subsequently provided the best results.
The Technique
You should be very comfortable using a rotary polisher and have knowledge of paint removal before getting started. If you are using to polishing with soft wool/foam pads and a cushioned backing plate you should start slowly to get used to the much more direct (sensitive) steering this system will give you.
I did a lot of research prior to using this system, watched videos and read articles. Most recommendations called for light pressure and low speed. After some experimenting I found, that on my paint system, higher speeds (1400-1500 rpm) and not pressure delivered the best results.
-The bumpy protective skin of a citrus fruit
-The often loathed bumpy texture of paint that reduces gloss and disputes light
Orange Peel, in this discussion, refers to the latter. It is the bumpy texture common to most factory and refinished paints. Orange Peel can begin in any of the paint's layers (primer/base coat/clear coat) but it is the final layer (often clear coat) that will determine how light reflects. If the surface of the paint system is smooth the paint will reflect light evenly.
Old Idea, New Method
Imagine a cross section of paint like the earth's terrain. Orange Peel would represent rolling hills. In order to remove Orange Peel you would have to effectively reduce the height of the hills. If create perfectly a perfectly smooth surface you would need to lower the hills down to the lowest base and then level the surface like a plateau.
Typically Orange Peel is removed (or reduced) by using a coarse grade of sandpaper wrapped around a firm sanding block. This block is necessary to focus the action of the paper on just the peaks (high spots) of the Orange Peel. The firmer the sanding block -the more the action is focused- the more level the surface will become.
After sanding with a coarse grade of paper the surface is flat but heavily scratched. This often requires an additional step (or more) of sanding followed by an aggressive machine polishing known as "cutting" or "compounding" to remove the sanding marks and restore gloss to the paint. After cutting the paint several more steps of polishing are often requires to remove the subsequent finer and finer polishing scratches until the paint is smooth.
CarPro's new Orange Peel Removing Pads are designed to level orange peel while eliminating the need for multiple sanding steps and "cutting/compounding". The firm design of the pad and the careful selection material (a unique denim and corduroy velvet) allow the pads to plane surface, focusing on the peaks of the Orange Peel, and create (more) level paint.
The Subject
Do they work? That is what I aimed to find out. My Mazdaspeed3 was in accident and entire driver's side (front fender to rear bumper) was repainted. As typical of many bodyshop's the paint had heavy Orange Peel (much heavier than then Orange Peel found on the factory OEM paint). Given that my car has both factory/OEM paint and thicker, more heavily textured aftermarket paint, I have the perfect subject to test out both of CarPro's Orange Peel Removal Pads. This review will focus on the Denim version of the pad.
CarPro Orange Peel Removal Pads
CarPro Orange Peel Removal Pads are available with two different material configurations:
Denim: The Demin pads use a unique, coarse grade demin that is aggressive and offers maximum leveling power. This pad is designed to remove heavy orange peel from resprayed (thick) paint systems.
Velvet: The Velvet pads use a roped corduroy velvet that is milder in action when compared to the Denim pads. This pad is design to reduce orange peel on factory/OEM (thin) paint systems.
Both pads measure 5.3 inches in diameter and are extremely thin/firm. They feature a full length hook-n-loop backing material that attaches to any 5 inch or smaller rotary backing plate.
To use the CarPro Orange Peel Removal Pad you will need a polishing compound, rotary polisher, and a backing plate.
For this test I used a FLEX PE14 Rotary Polisher with a Lake Country 4.75 Inch Rotary Backing plate. I tested the CarPro Denim Pad with Menzerna FG400, CarPro Fixer and Meguair's M105 Ultra Cut Compound.
Choosing a backing plate- There are several styles of backing plates available. I elected to go with the Lake Country 4.75 inch because it is the firmest one we offer which will increase the leveling action of the pad (necessary to remove orange peel). I did test it with the FLEX FOAM HD backing pad and found that while the cut was impressive, the leveling action (necessary to remove Orange Peel) was GREATLY reduced.
Getting Started
The driver's side of my Velocity Red Mazdaspeed 3 was involved in an accident. This required the entire driver's side to be repainted. The body shop did an excellent job in matching the multi-stage paint system but the amount of surface texture -Orange Peel- was unacceptable. Below are some pictures of the heavy texture, some of which you could feel by hand.
The dulled reflections on an old Ford Falcon in the background...
The next step was to chart the thickness of the paint so I could accurately measure how much paint (clear coat) was removed after each application. First up... The factory side:
As the above picture shows, Mazda's have a notoriously thin paint system from the factory. The pictures below show measurements from the repainted side, which varied in thickness from 4.1 mils all the way to 7 mils, although most readings were around 6.5.
Before polishing with the CarPro Demin Orange Peel Removal Pad you want to make sure your paint is perfectly clean. I used BLACKFIRE Wet Diamond Waterless Wash and several Supreme 530 Microfiber towels in order to clean the paint. Because of the aggressive leveling action of this tool you will want to make sure your textured and soft trim is taped off. I used Meguiars Automotive Masking Tape to tape off the window seals.
Priming The Pad and Selecting A Polish
Before skipping to the results and techniques, which is what we are anxiously waiting for, let me move forward and look back in retrospect.
CarPro recommends using their Fixer Polisher with the Orange Peel Removal Pads, and it works great. Being that I work for Autopia and have a huge selection of products at my disposal I wanted to team this system up with other polishes to get a feel of how they perform.
CarPro Fixer: Fixer worked well. The thin formula provided plenty of lubrication and a quick cut. The finish left behind by Fixer was considerably more scoured then the other polishes and the cutting speed was the weakest.
Meguiar's M105: When used with Meguiar's M105, the Demin Pads performed flawlessly and delivered the fastest cutting/leveling action. The dry nature of this product meant that the pad caked quickly and would start skipping if over worked.
Menzerna FG400: Menzerna FG400 delivered the smoothest polishing action and highest quality finish. It was the second most aggressive in terms of leveling ability and speed (behind M105) but delivered the best finish.
My Pick: For this test I found Menzerna FG400 to be my favorite. Although slightly less aggressive then M105 it dusted much less and keep the working surface clean. I suspect that removing Orange Peel from paint is no different then polishing the paint- in the sense that certain products are simply going to work better on certain paint systems. In the case of my repainted panels, Menzerna was the clear winner.
The Demin Pad's are non absorbent so very little product goes a long way. I found that using 5 dime sized dots for the first application and 3 dime sized dots subsequently provided the best results.
The Technique
You should be very comfortable using a rotary polisher and have knowledge of paint removal before getting started. If you are using to polishing with soft wool/foam pads and a cushioned backing plate you should start slowly to get used to the much more direct (sensitive) steering this system will give you.
I did a lot of research prior to using this system, watched videos and read articles. Most recommendations called for light pressure and low speed. After some experimenting I found, that on my paint system, higher speeds (1400-1500 rpm) and not pressure delivered the best results.
- Work a small section, about 2 ft x 2 ft square (or 4 square feet in various shapes depending on the shape of the panel). Increasing the working size had a dramatic effect on the amount of orange peel removed.
- Spread the polish over the working section at a slow speed. Thankfully the FLEX PE spins down to 600 RPM (less when the trigger is slightly depressed) so I could get a nice even coverage on the working area.
- Increase to your working speed (in my case 1400-1500 RPM). Use medium arm speed to avoid over heating the paint and work back and forth until the orange peel is removed or the product begins to dry.
- Adjust the amount of pressure you are using until you find The Sweet Spot. The sweet spot is when you are leveling just the Orange Peel, which creates a visible pattern in the polish residue. It almost looks like the peaks of the Orange Peel are becoming dull with polish.
- Remove residue with a soft microfiber towel.
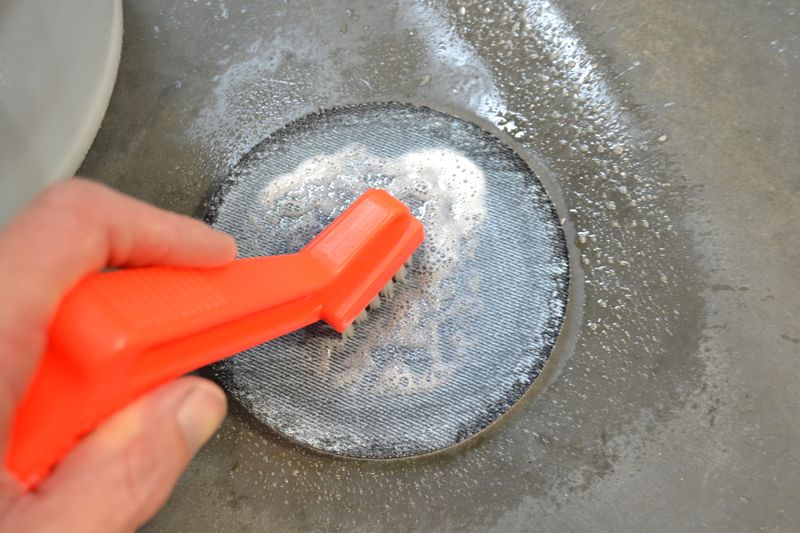
- Clean The Pad after each section with a soft nylon brush or compressed air. When the pad becomes caked with residue, wash it, and set aside to allow to dry.
Last edited by a moderator: