OCDinPDX
Paint Ph.D
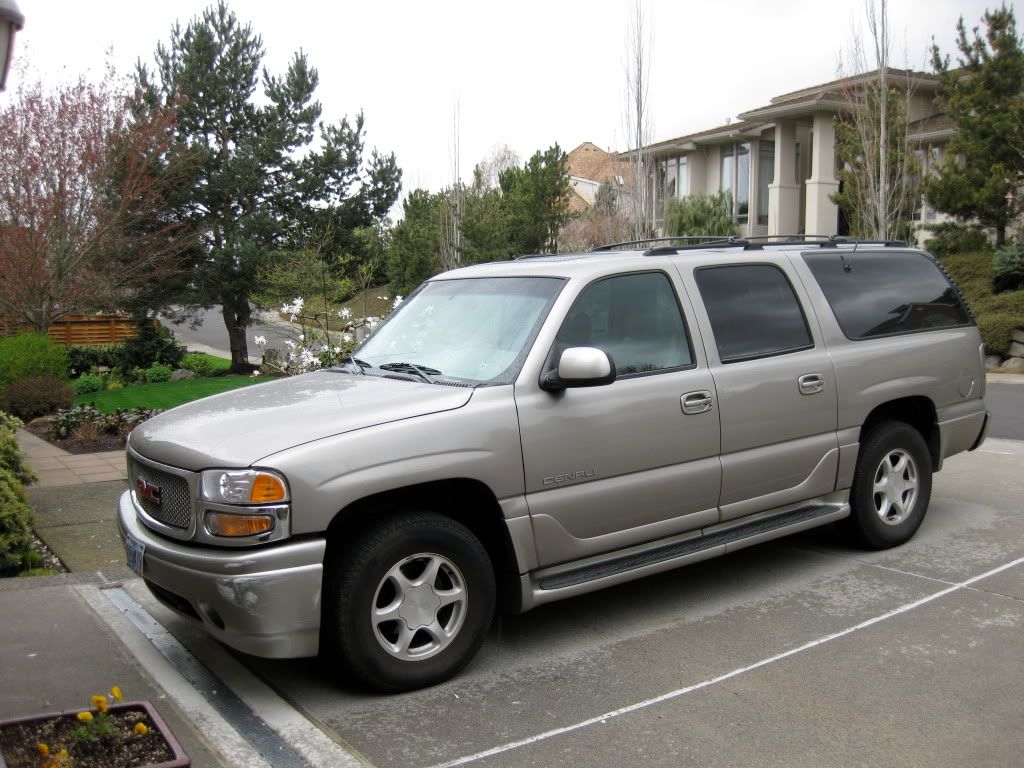
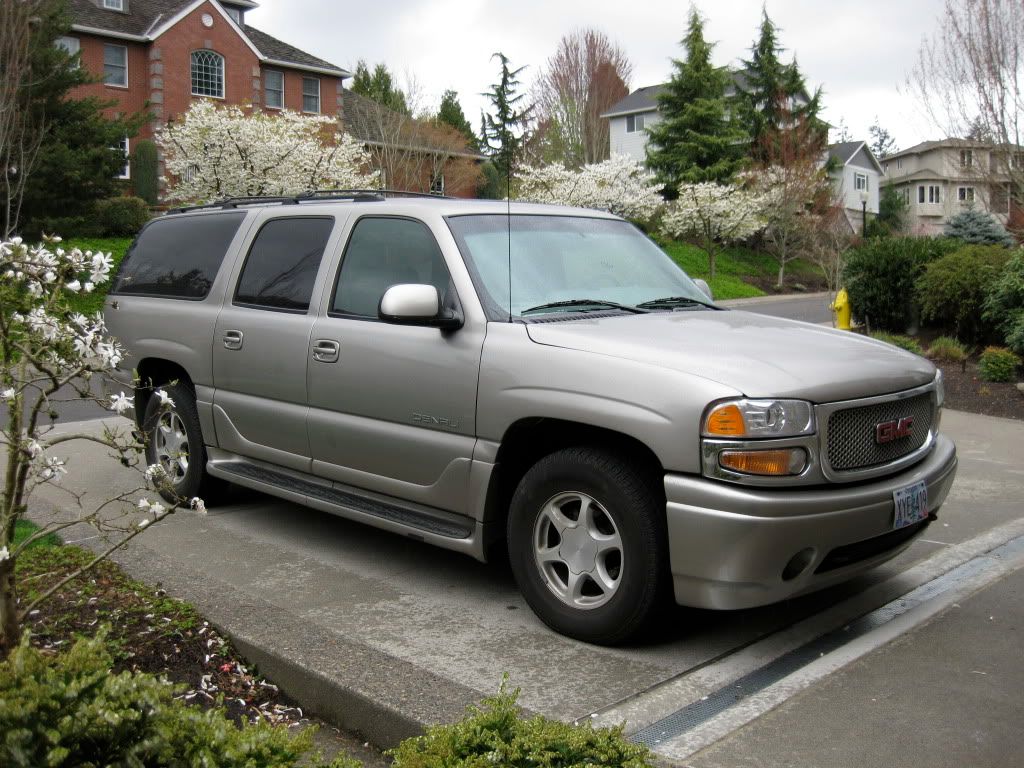
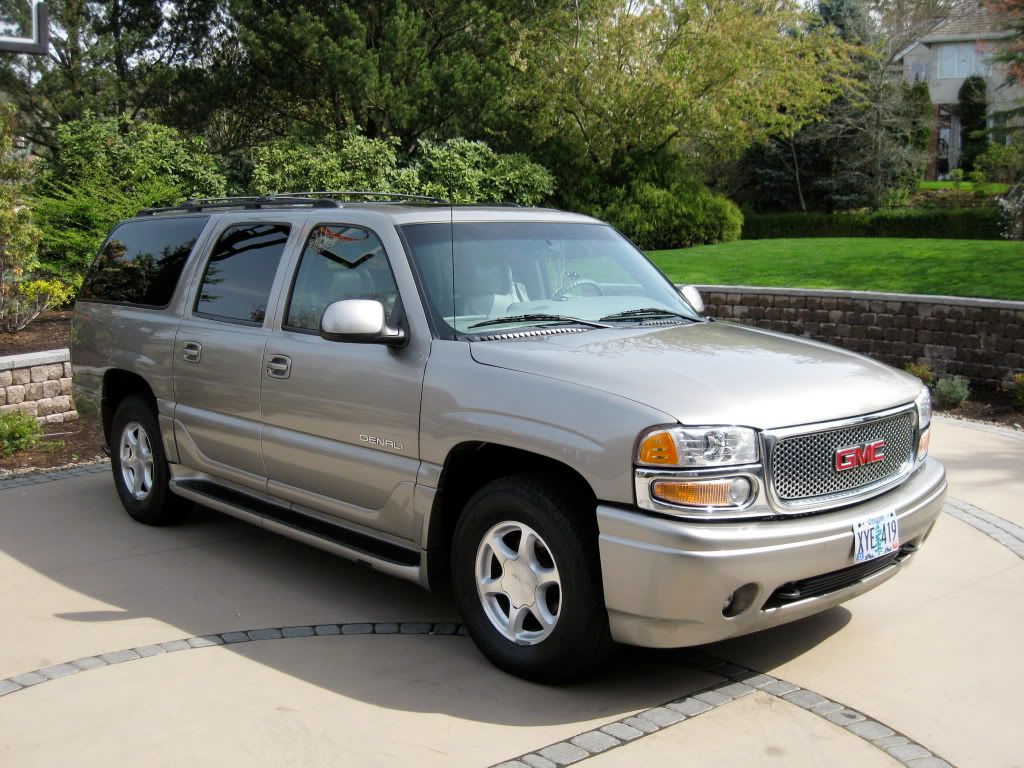
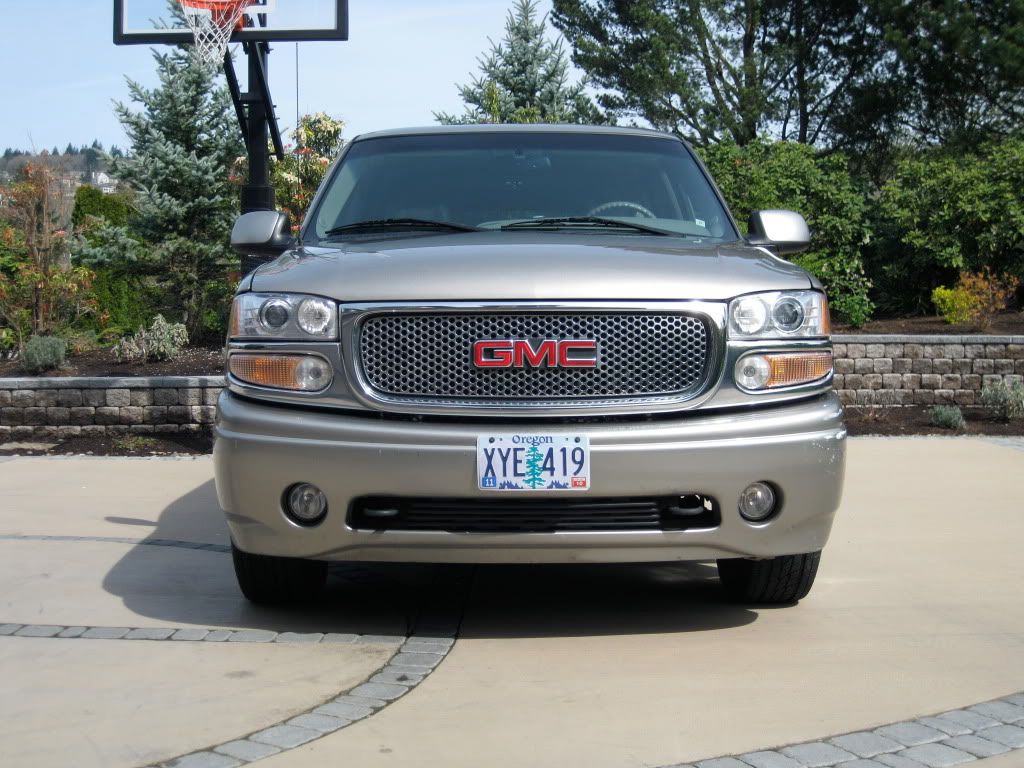
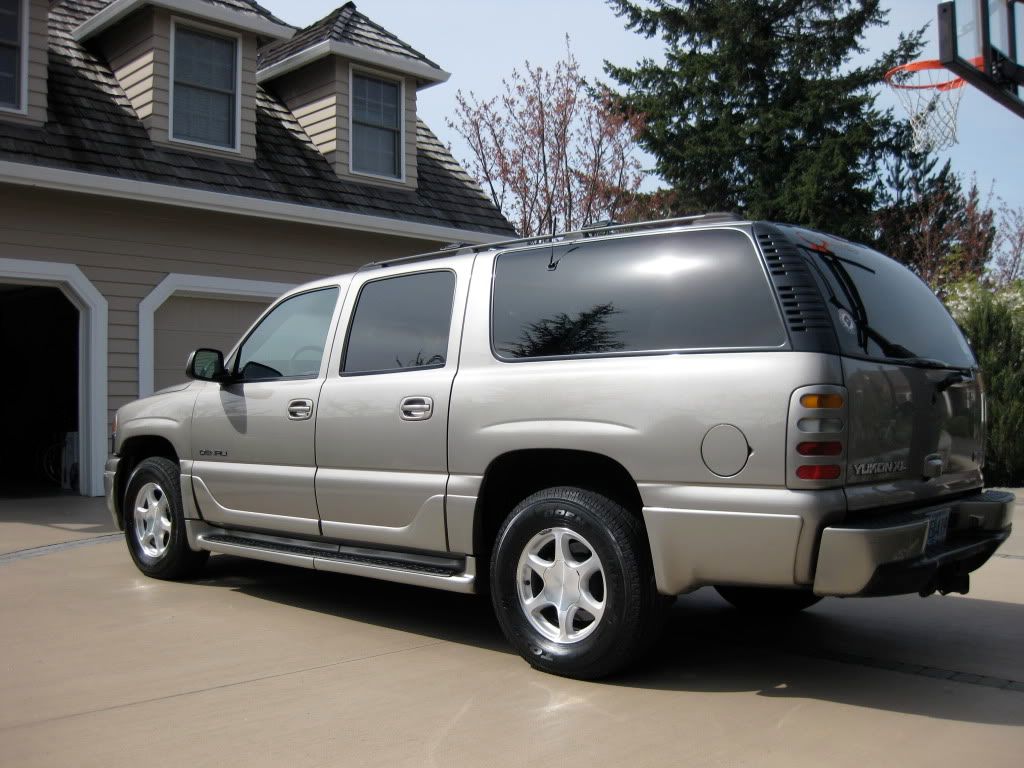
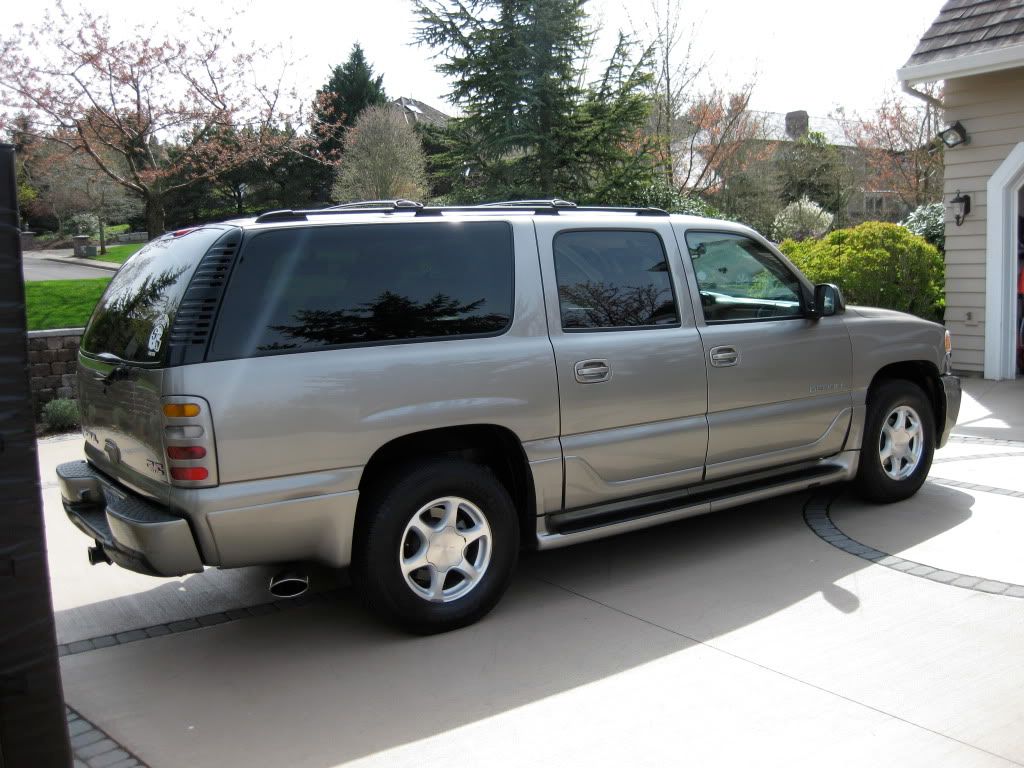
2001 GMC Yukon XL Denali
Pewter Metallic - Full Correction
Pewter Metallic - Full Correction
For those of you who aren't keeping track, this is the second Yukon XL to grace my presence in the last year. While they are great for the money, their sheer size makes them a daunting vehicle to wash, let alone subject to a decontamination and full correction. There is a LOT of painted real estate and unlike last time, there was nobody available to help me. I flew this one completely solo and I’m feeling the hurt as a result.
This particular Yukon was a blessing and a curse in the same sentence. It was a curse in the fact that it is huge and it has had several panels that were poorly repainted. It doesn't even look like the body shop bothered to wet-sand or polish them before retuning the car to the owner and hence, they have a seriously cloudy look to them due to all the orange peel. Add to the fact that the repaint went from hard to soft in a matter of inches and that made for a downright infuriating job. Thank goodness it was only two doors. The blessing is that the owner left it with me while he and his family went to Arizona so there was no time pressure. That is the only part of this job that kept me sane.
I know somebody will ask why I didn't finish down from the SIP and the reason is that I didn't need to. The paint was the perfect mixture of hard and soft that SIP made an almost perfect one-stepper. I washed the truck after polishing and looked it over in the sun. There were NO holograms. I even had another detailer look it over and he couldn't find any. Thank God for small favors. I did finish down the Power Gloss on the tailgate as that did leave some pretty hefty holograms.
PROCESS
TOTAL TIME: 16 HOURS
TOTAL TIME: 16 HOURS
Wash
Hand-wash with Griot's Car Wash and Microfiber Wash Pad
Griot's Wheel Cleaner
Dried with Griot's WW MF Towels (it needed two)
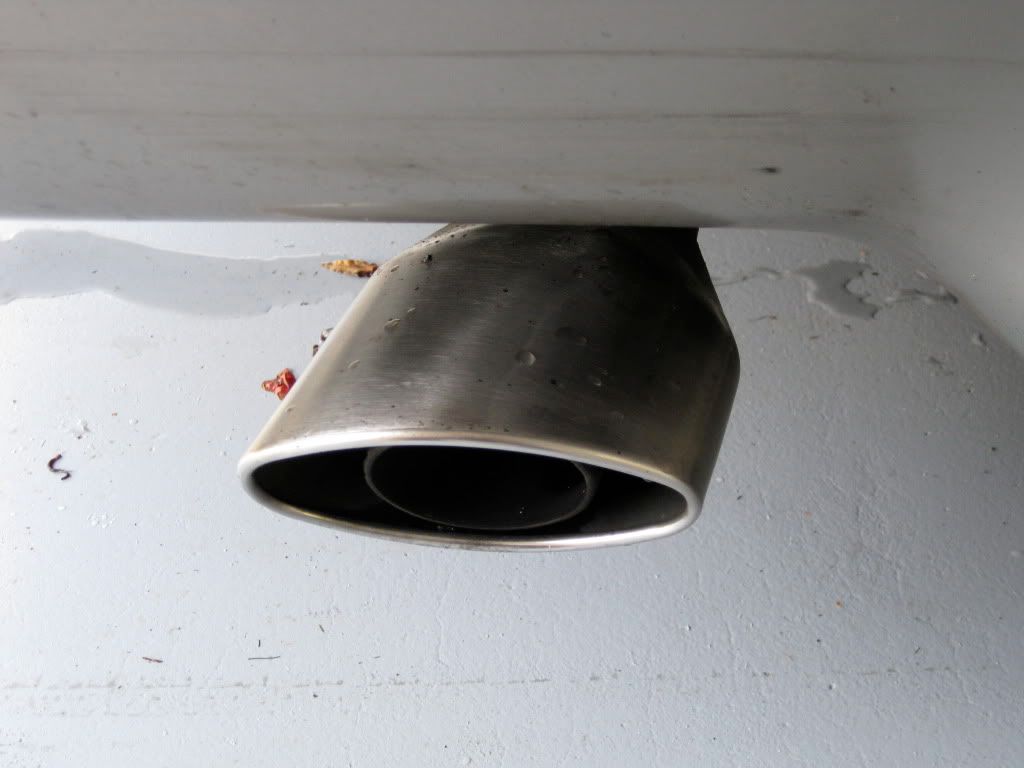
Cleaned SS Exhaust Tip with 0000 Steel Wool and Clay Bar
Clay
Clayed entire car with Griot's Clay and Speed Shine
Polish & LSP
Makita 9227C
Lake Country 6" & 3" Orange
Menzerna Power Gloss (on tailgate)
Menzerna SIP (rest of body)
Sealed with one coat of Blackfire Wet Diamond hand-applied and cured for an hour
Engine, Wheel Arches, and Tires
Engine bay cleaned with Meg's APC 4:1 and dressed with Stoner's Trim Shine
Wheel arches cleaned with CG Grime Reaper 10:1 and dressed with Griot's Undercarriage Dressing
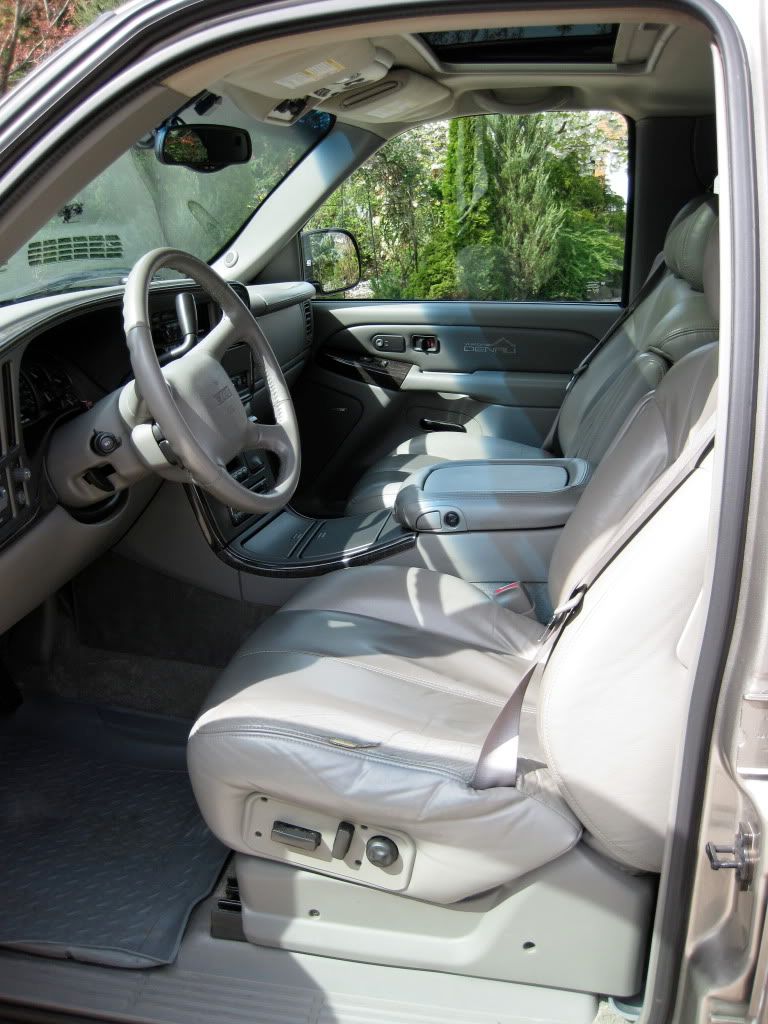
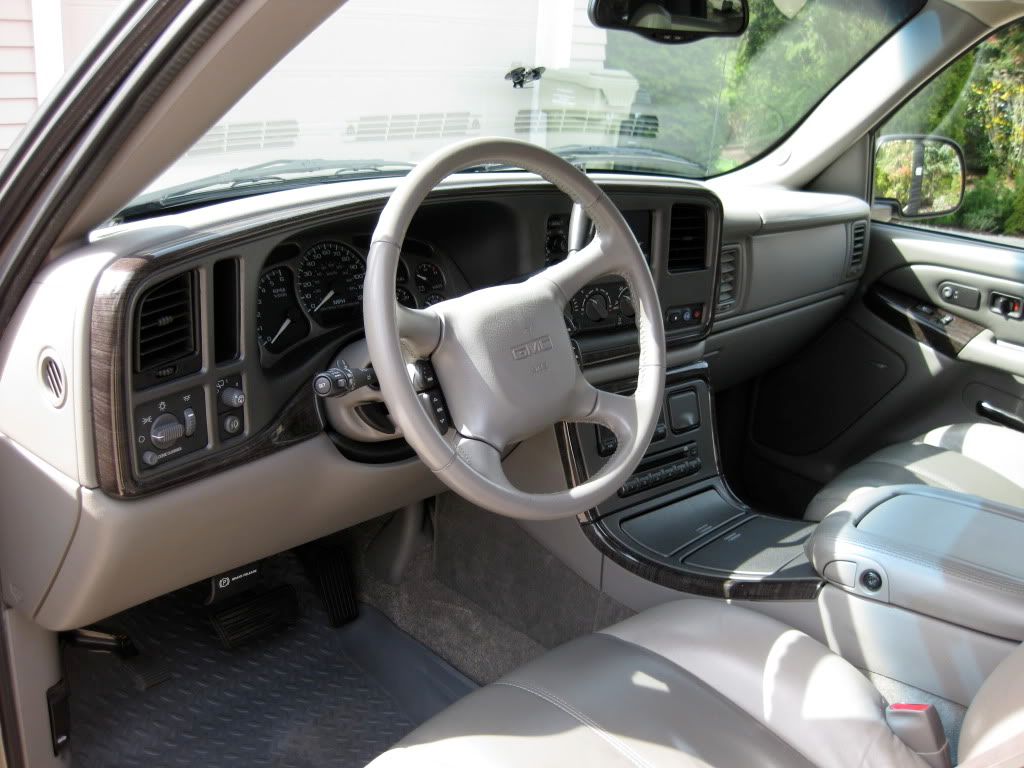
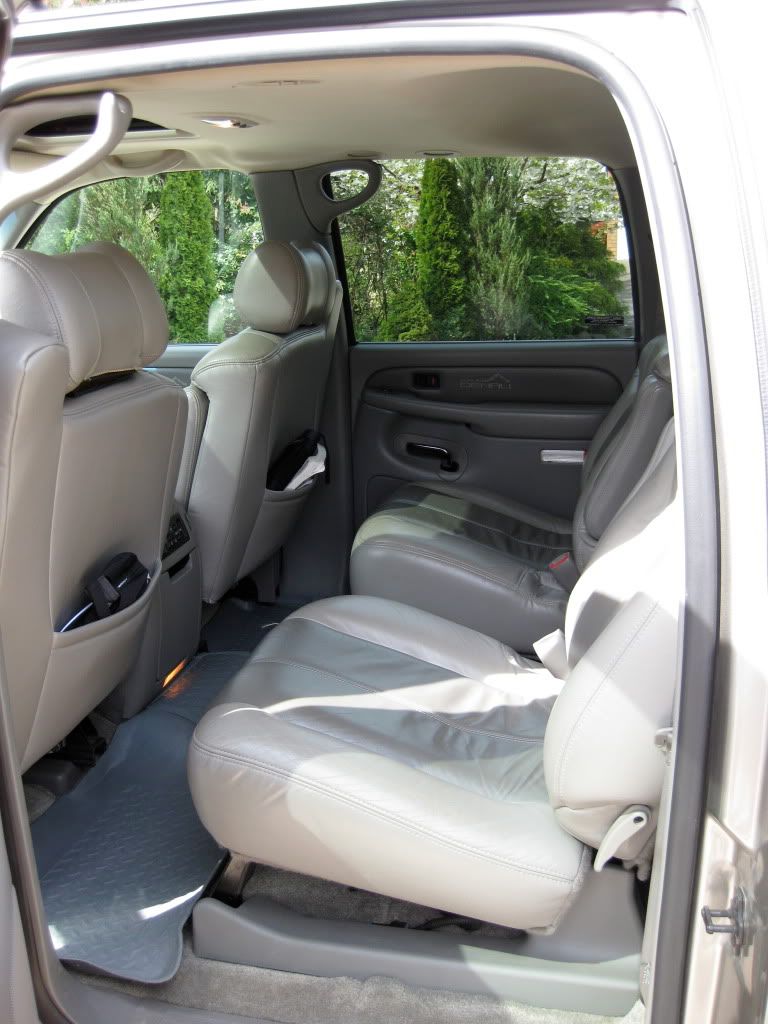
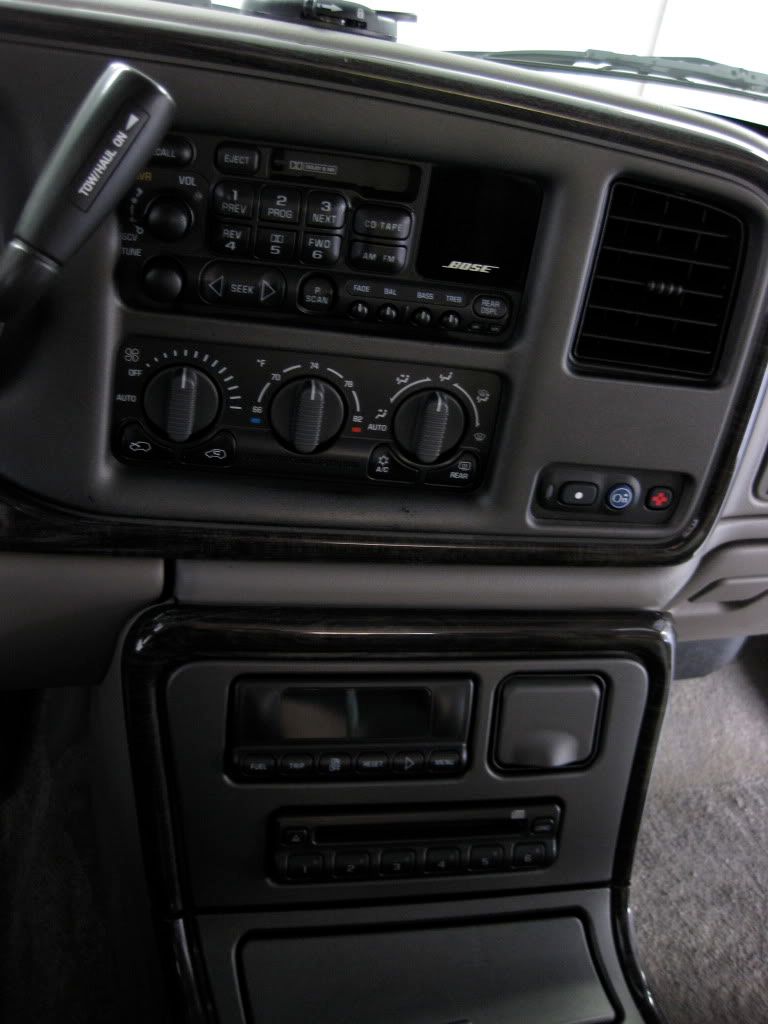
Interior
Vacuum and shampoo carpets
Vacuum seats
Scrub rubber floor mats with Meg's APC 4:1
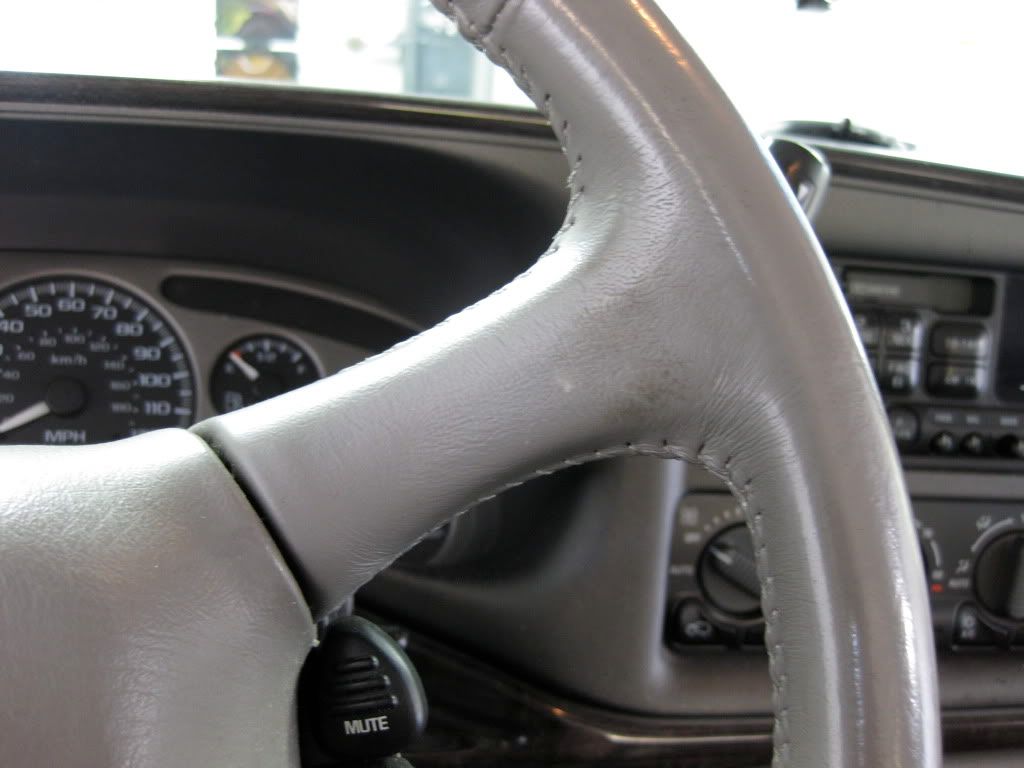
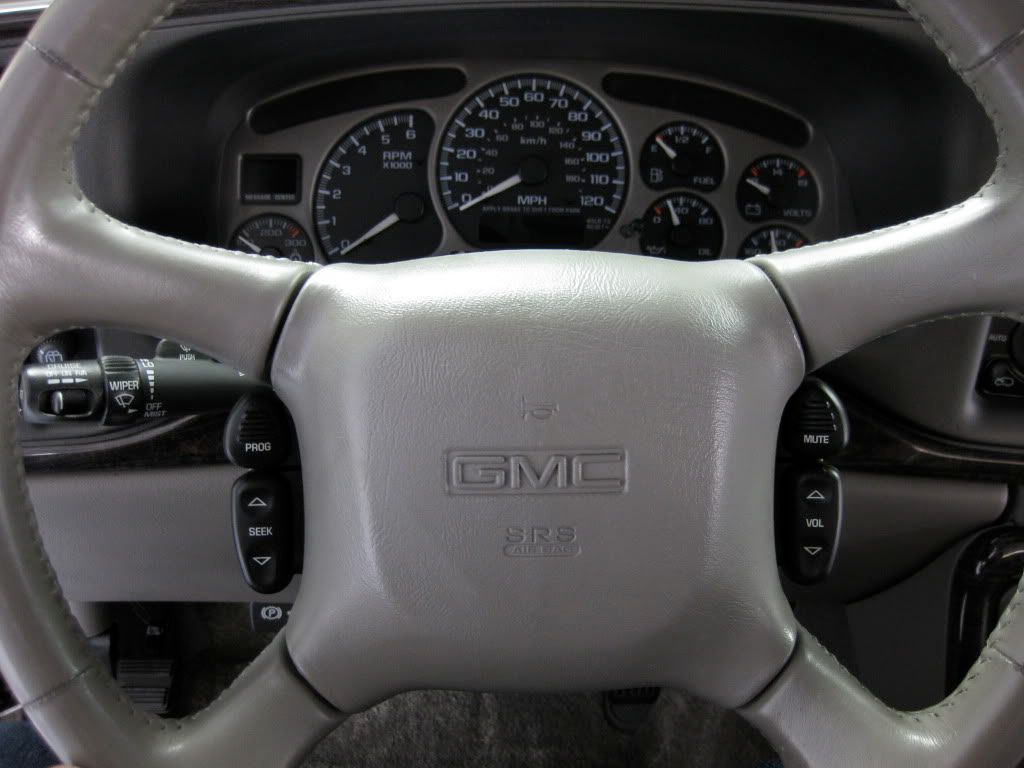
Lexol Leather Cleaner & Conditioner on seats, steering wheel and door panels
Griot's Interior Cleaner on all plastic surfaces
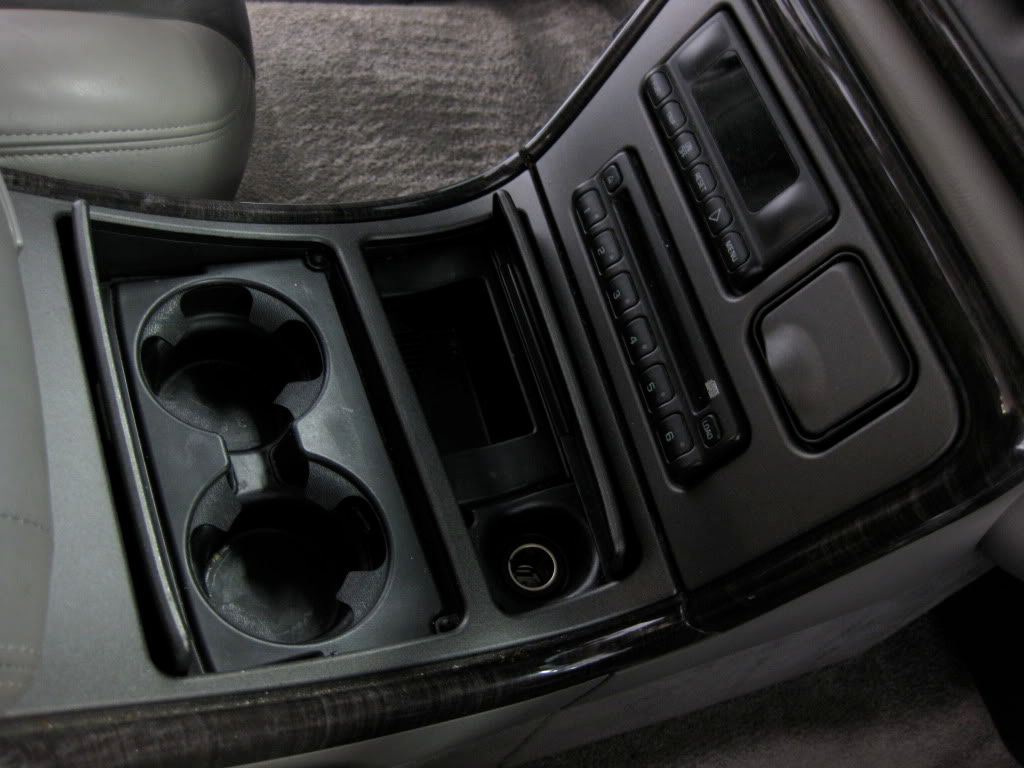
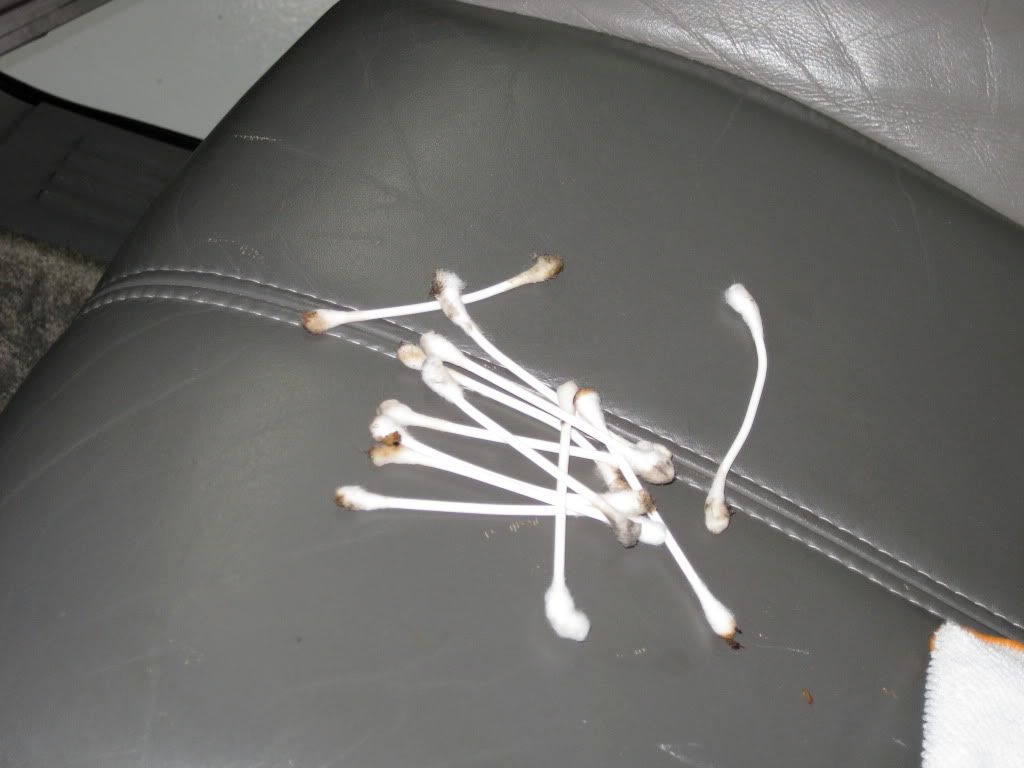
Tons of Q-Tips moistened with interior cleaner to get spilled coffee and soda out of console crevices
Sprayaway Glass Cleaner on windows with paper towels
Hand-wash with Griot's Car Wash and Microfiber Wash Pad
Griot's Wheel Cleaner
Dried with Griot's WW MF Towels (it needed two)
Cleaned SS Exhaust Tip with 0000 Steel Wool and Clay Bar
Clay
Clayed entire car with Griot's Clay and Speed Shine
Polish & LSP
Makita 9227C
Lake Country 6" & 3" Orange
Menzerna Power Gloss (on tailgate)
Menzerna SIP (rest of body)
Sealed with one coat of Blackfire Wet Diamond hand-applied and cured for an hour
Engine, Wheel Arches, and Tires
Engine bay cleaned with Meg's APC 4:1 and dressed with Stoner's Trim Shine
Wheel arches cleaned with CG Grime Reaper 10:1 and dressed with Griot's Undercarriage Dressing
Interior
Vacuum and shampoo carpets
Vacuum seats
Scrub rubber floor mats with Meg's APC 4:1
Lexol Leather Cleaner & Conditioner on seats, steering wheel and door panels
Griot's Interior Cleaner on all plastic surfaces
Tons of Q-Tips moistened with interior cleaner to get spilled coffee and soda out of console crevices
Sprayaway Glass Cleaner on windows with paper towels
Alright, enough chit-chat....let's get to the pictures. Here the beast upon arrival in a light misting rain. I’m glad I got it started when I did because it poured for the rest of the first day.
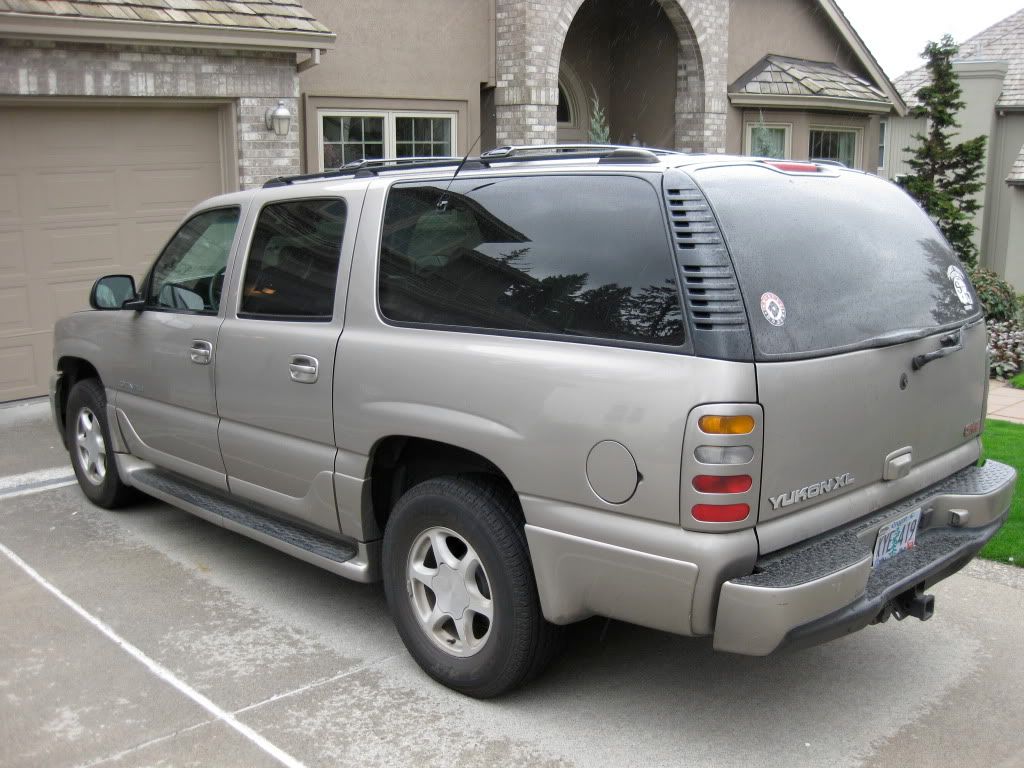
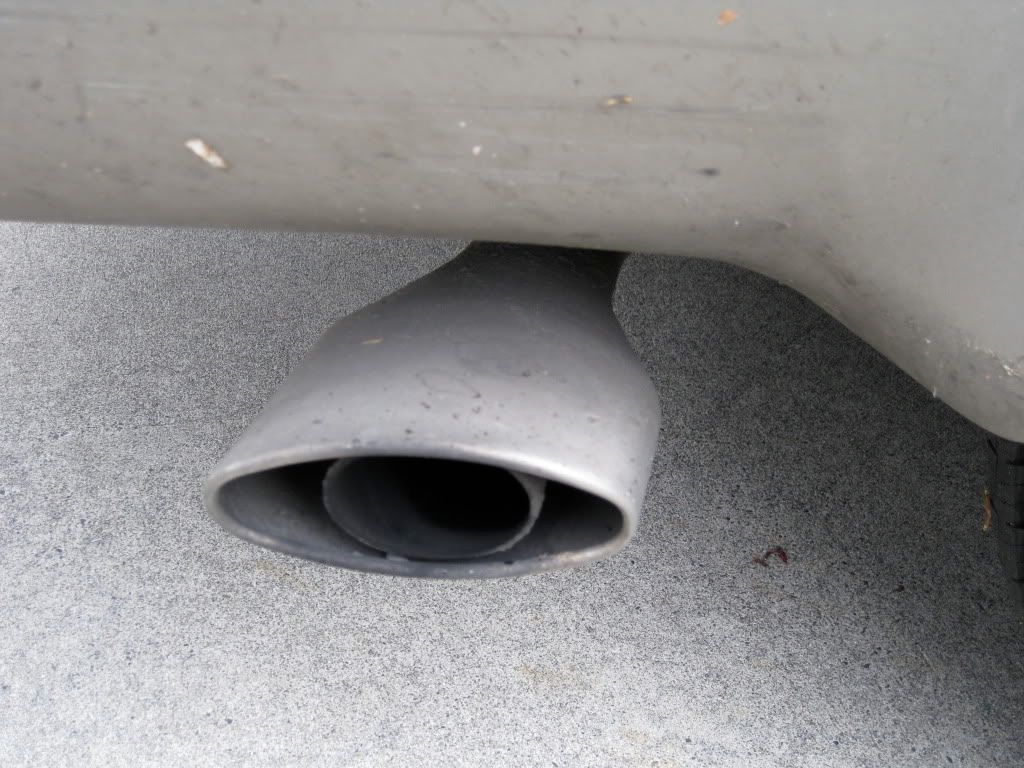
I didn’t even notice the exhaust tip was stainless steel…
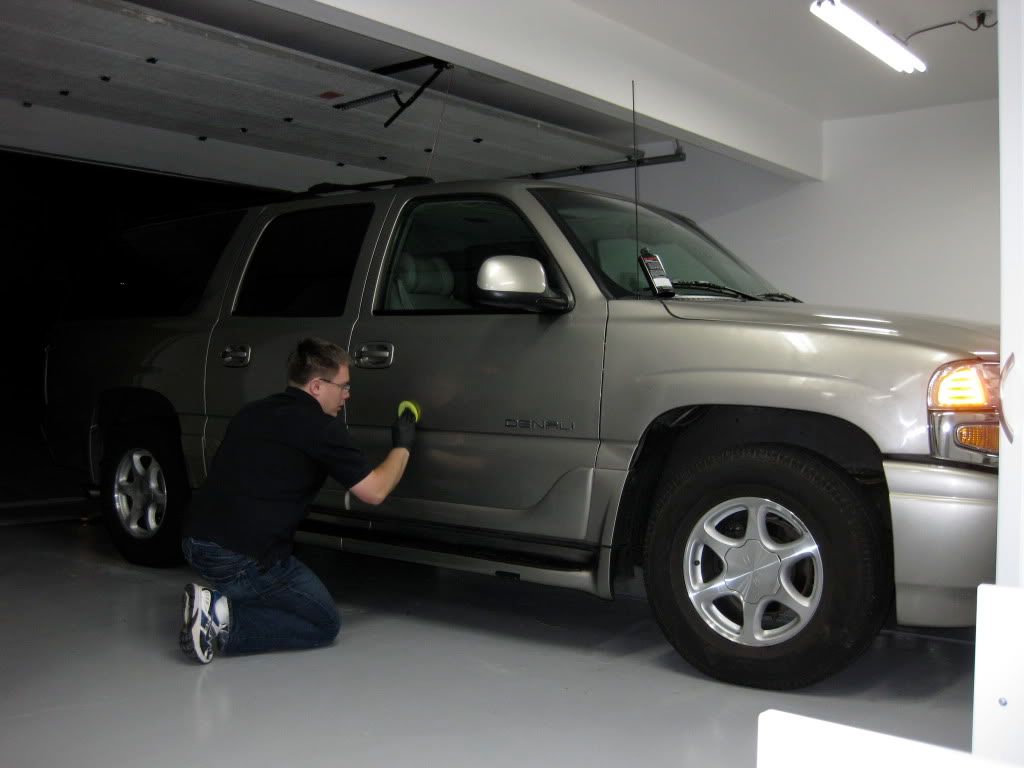
The wash alone took about an hour and once in the garage and dried off, I started claying. The lower on the body I went, the worse it got. I am convinced this car has never been clayed before.
From the hood
From the front fenders…
And from the lower rocker panels…the WORST contamination I’ve pulled off any car. However under all the crap, the paint was in fairly good shape.
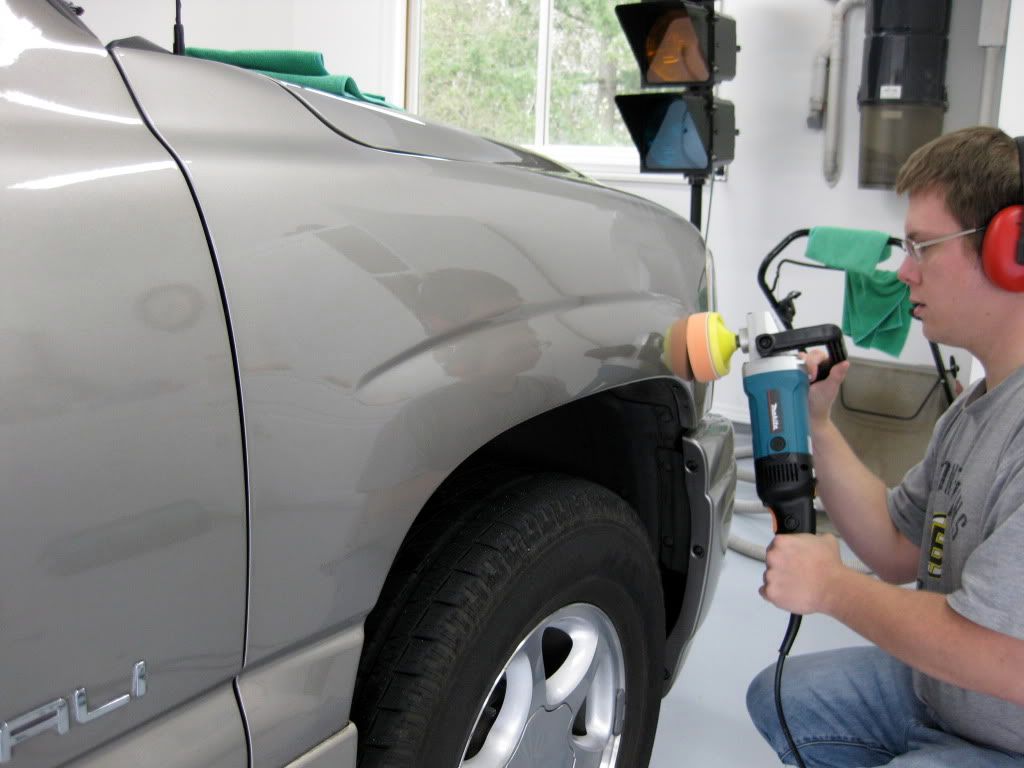
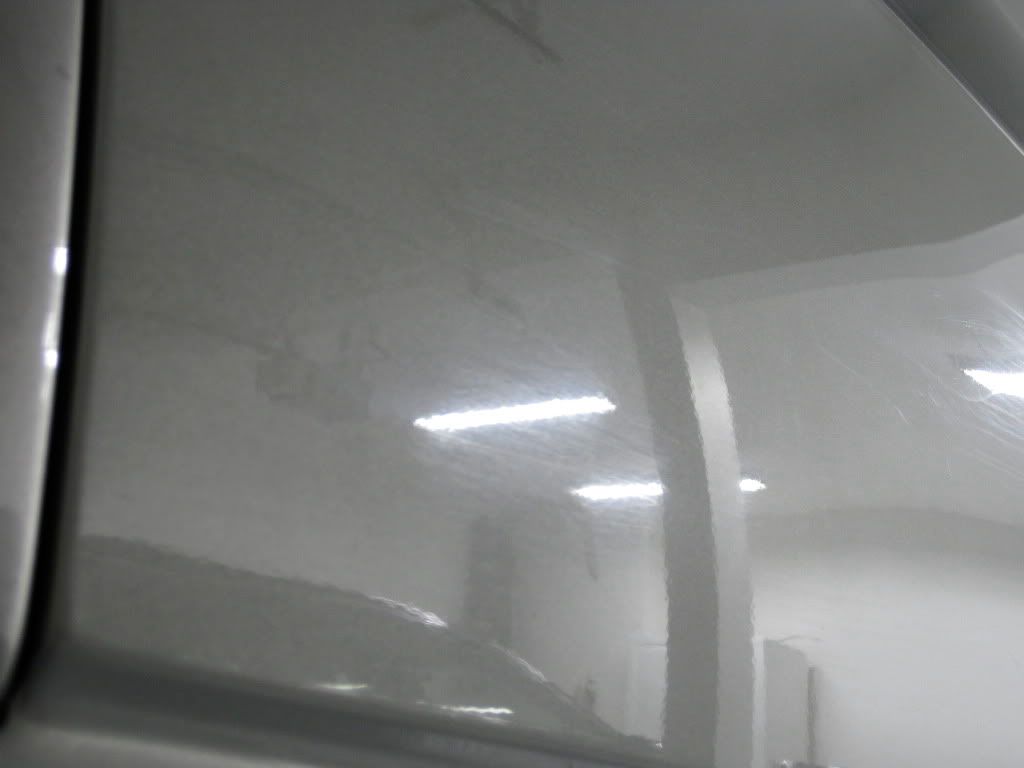
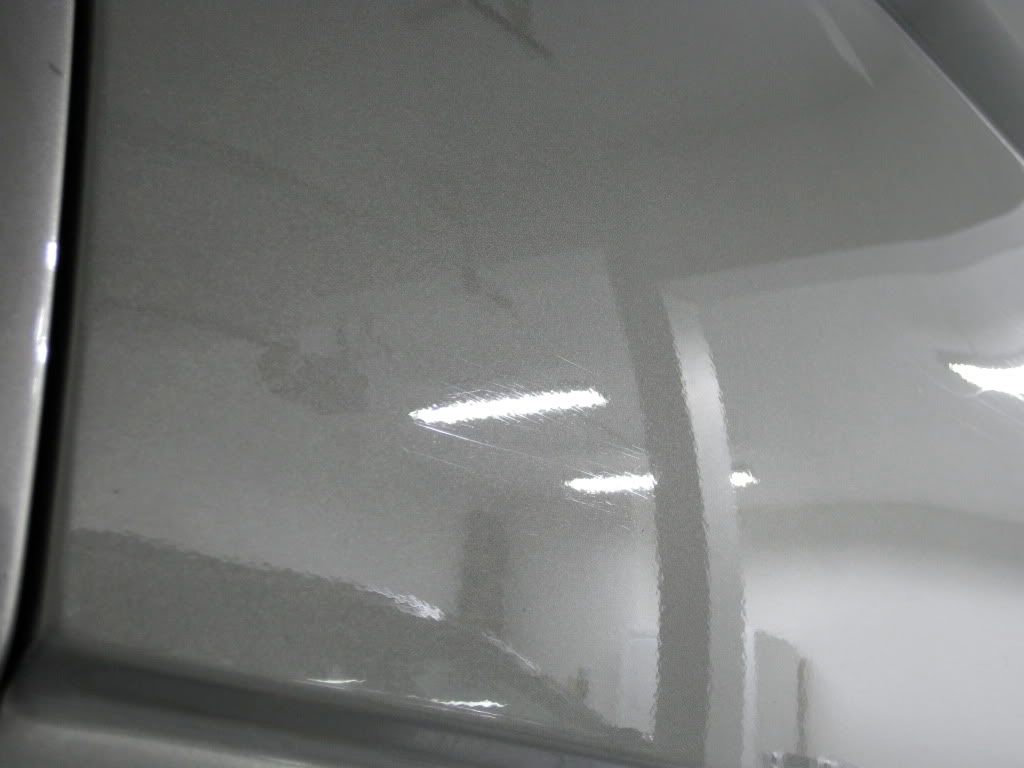
The right rear fender was my test panel because it was flat and wide enough to be useful and it had some lovely car wash brush scratches. Here is the test panel after a single pass of SIP on the rotary with an orange pad running about 1700 rpm.
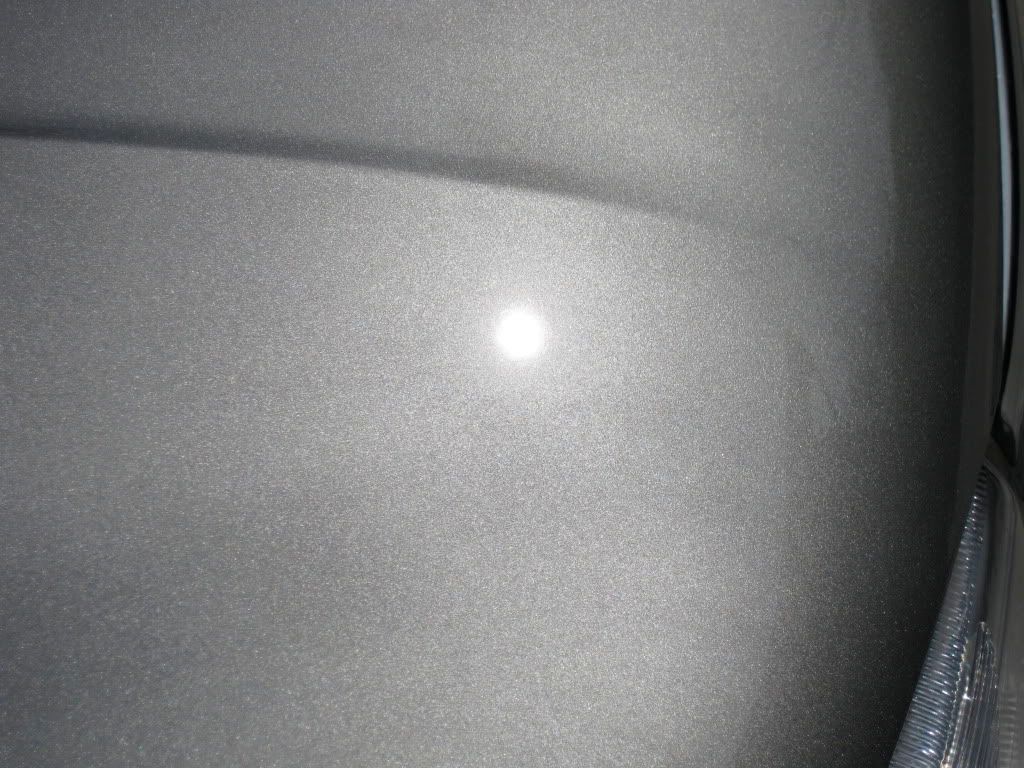
The hood was only mildly oxidized without much damage and really came into its own. Here is the shine after a pass of SIP.
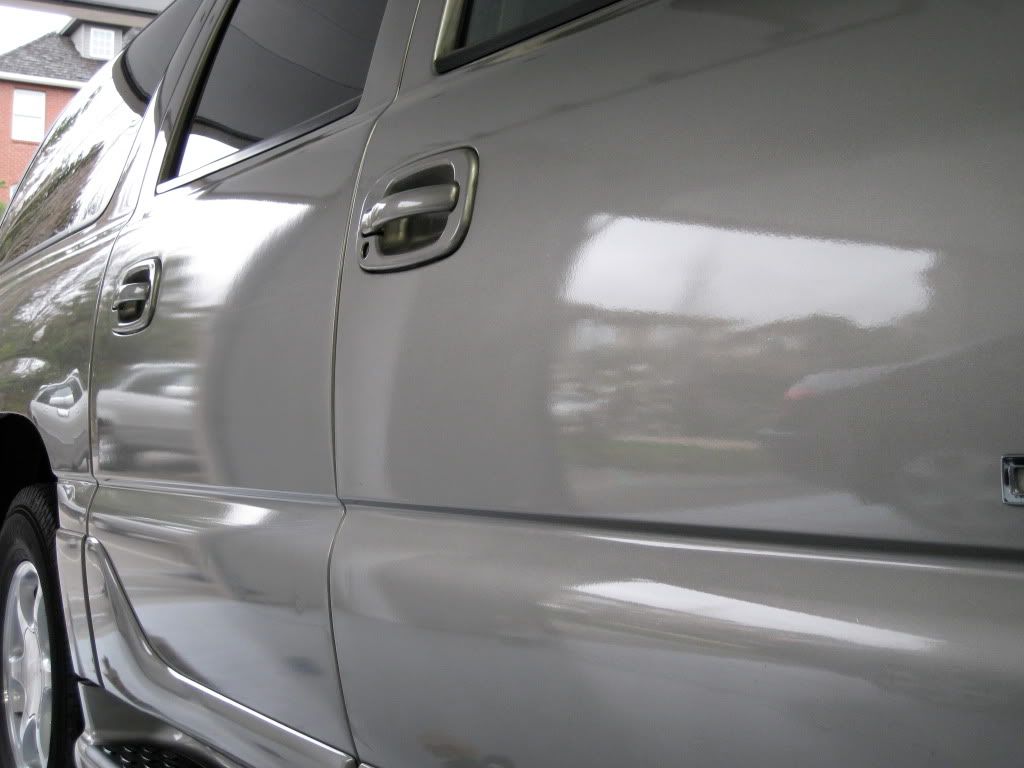
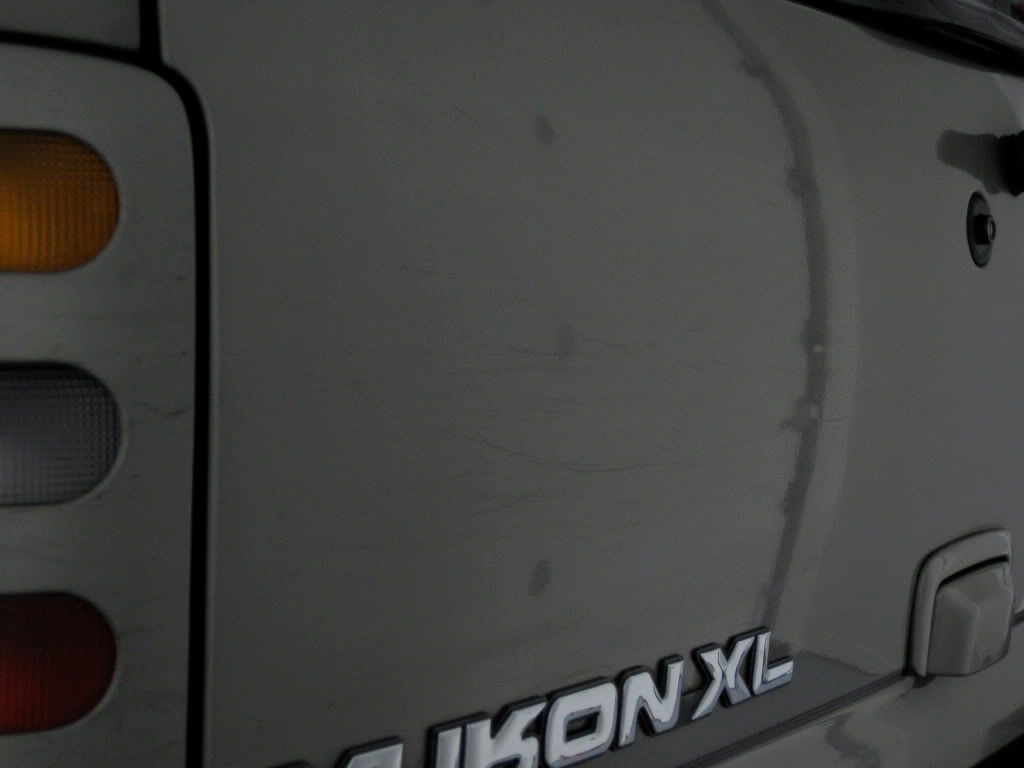
Remember the terrible repaint I was telling you about? And this wasn’t the worst part of the so-called “repair”. Whatever body shop attempted to fix this car doesn’t deserve to be in business. The gaps were all off, the door creaked whenever it was opened and the marker light didn’t work.
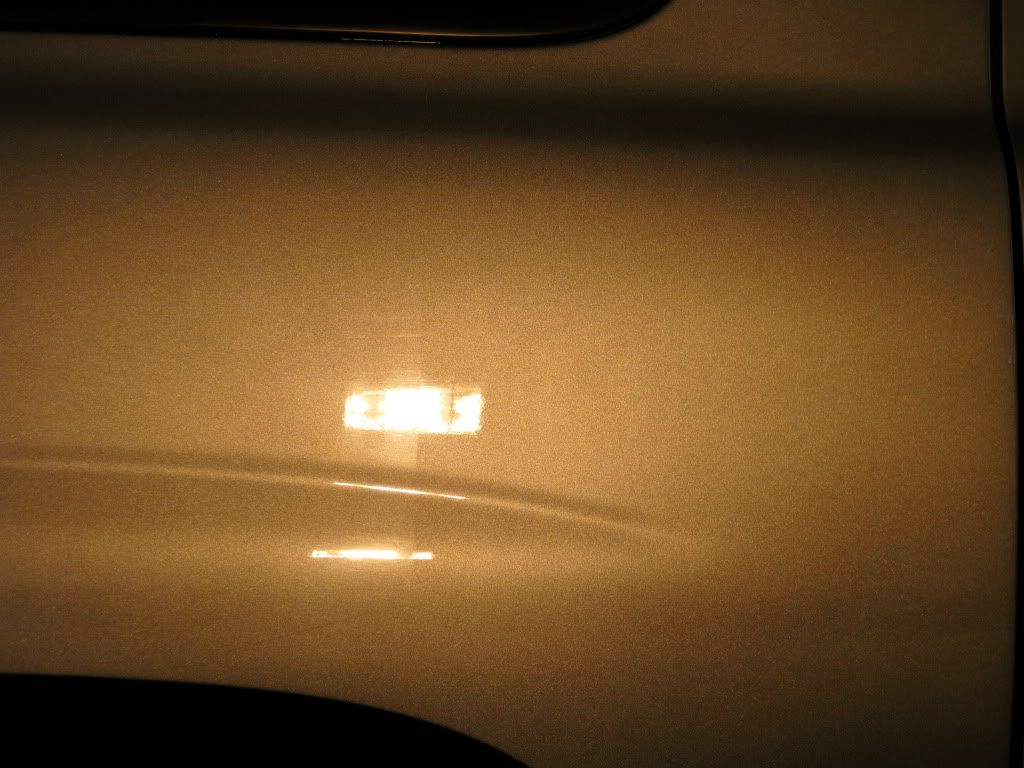
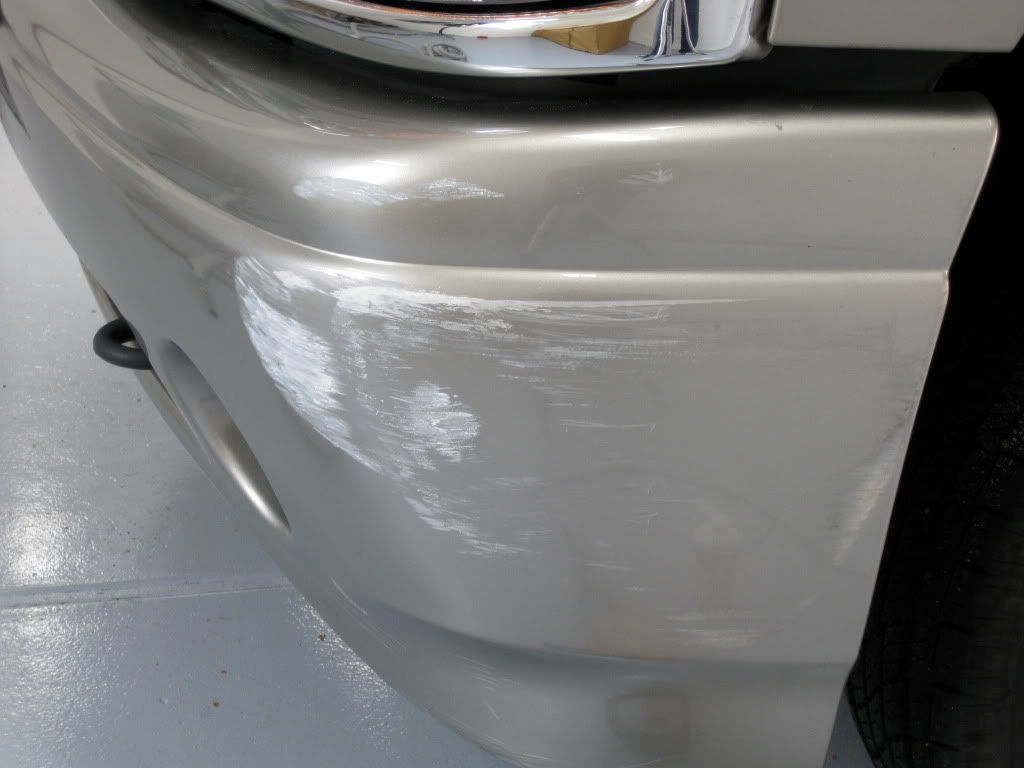
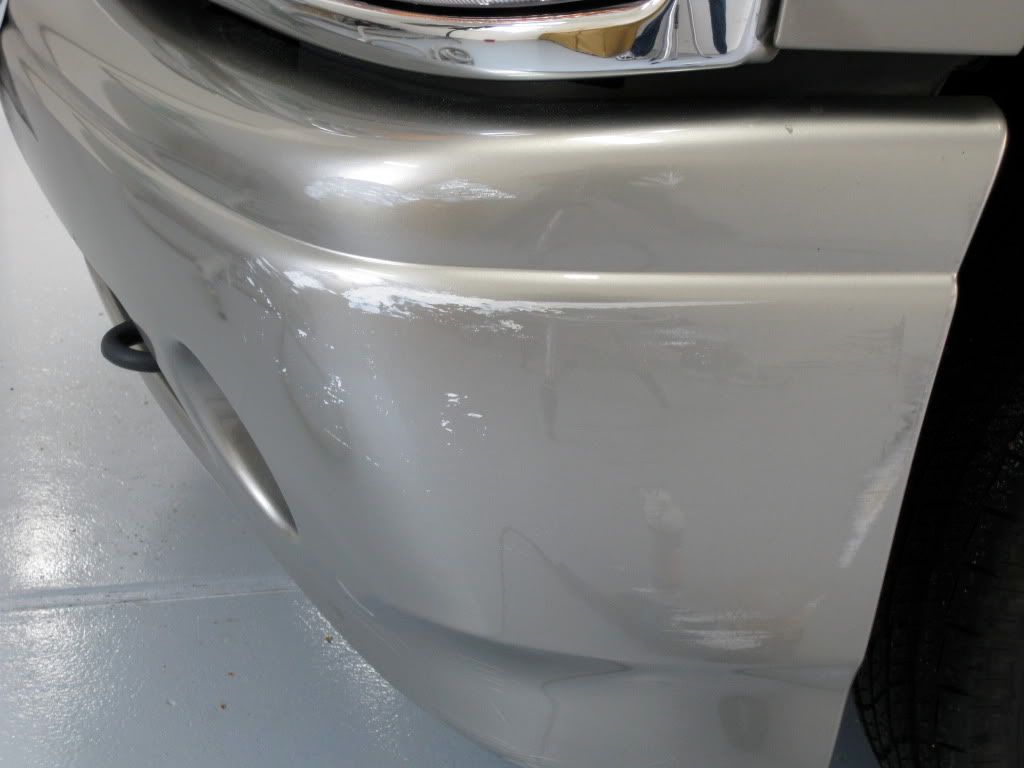
The right rear quarter panel had seen some automatic car wash abuse.
I hit this once more after this to really clear it up…
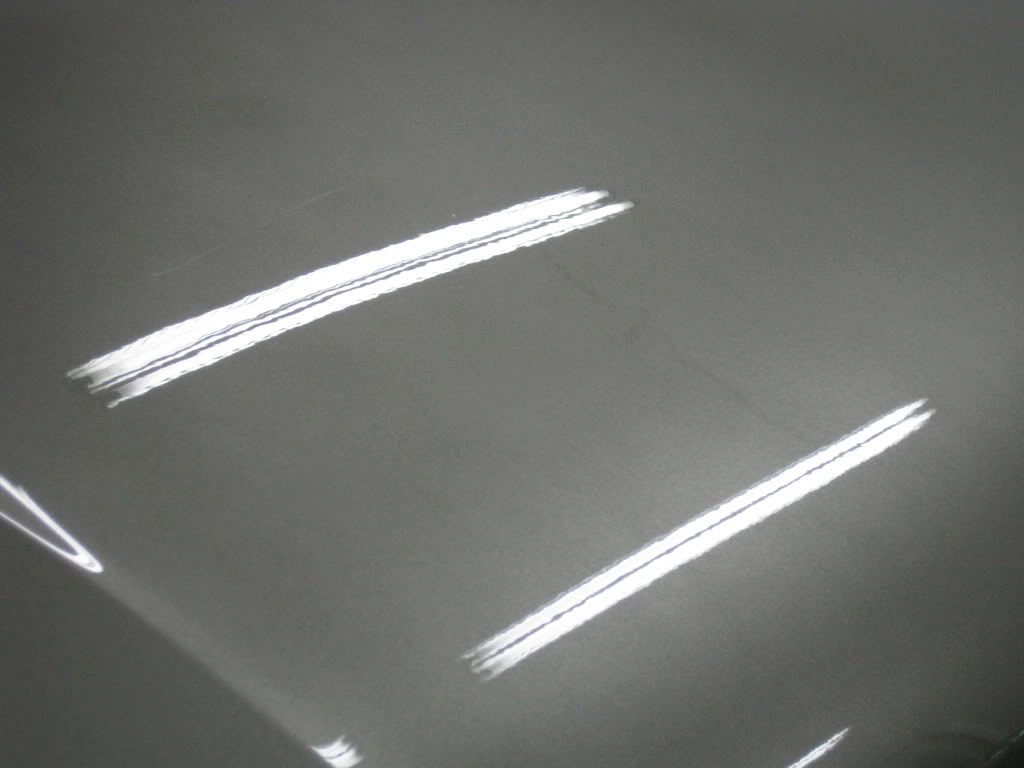
The tailgate was so badly marred from car wash attendants scraping their brushes over it, the first section I polished actually made it appear a different color. I had a real hard time capturing the damage because it’s such a light color but believe me when I say it was BAD. There was almost no reflection.
I was also asked to try to minimize this paint transfer from when the owner nicked the side of the garage door while pulling in.
It’s difficult to see here but the entire console was dusty, some of the plastics had a sticky feel to them and there was a great deal of spilled beverage in the cracks.

Fallen Q-Tip soldiers having done their job well.
Blackfire Wet Diamond going on.
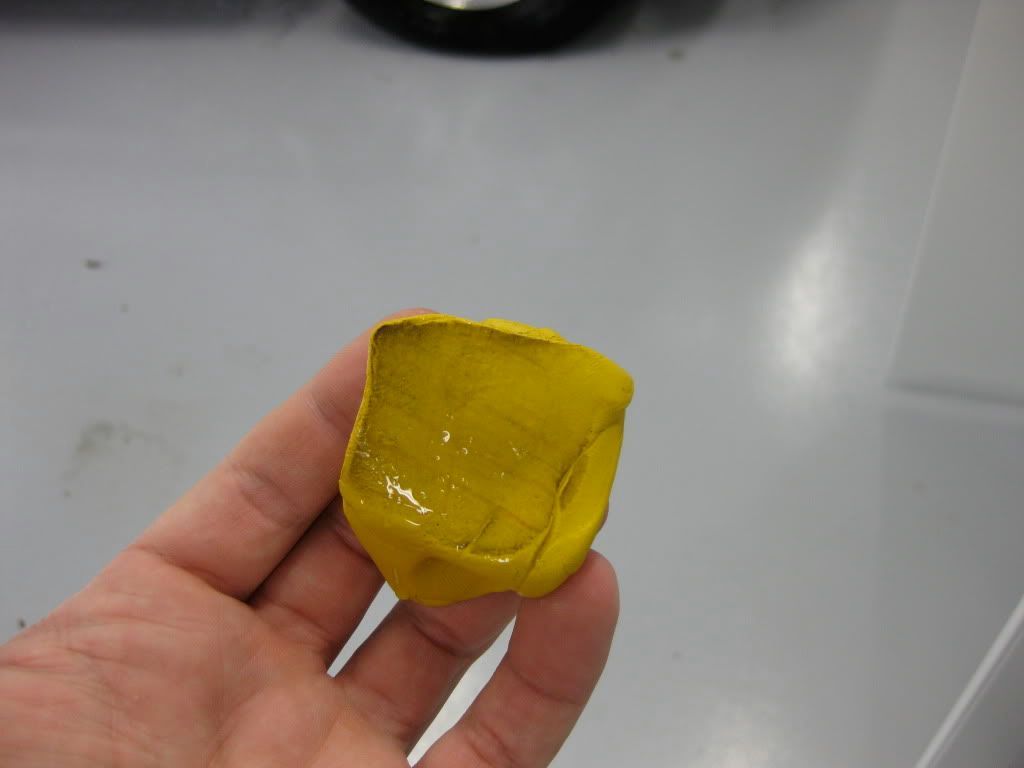
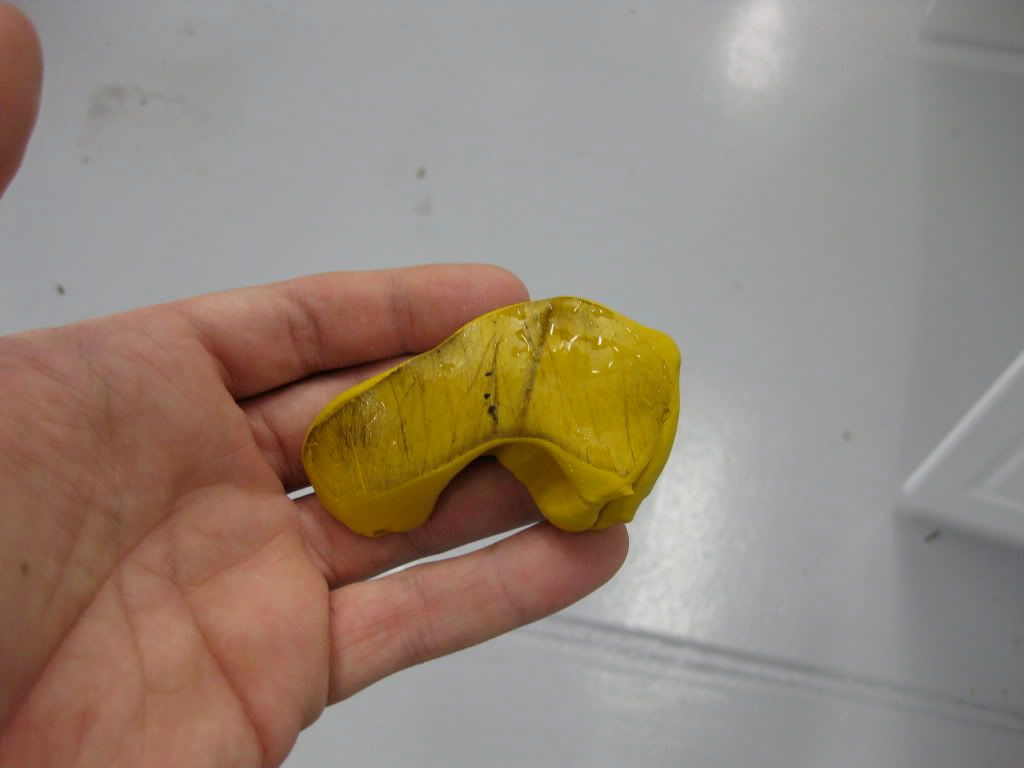
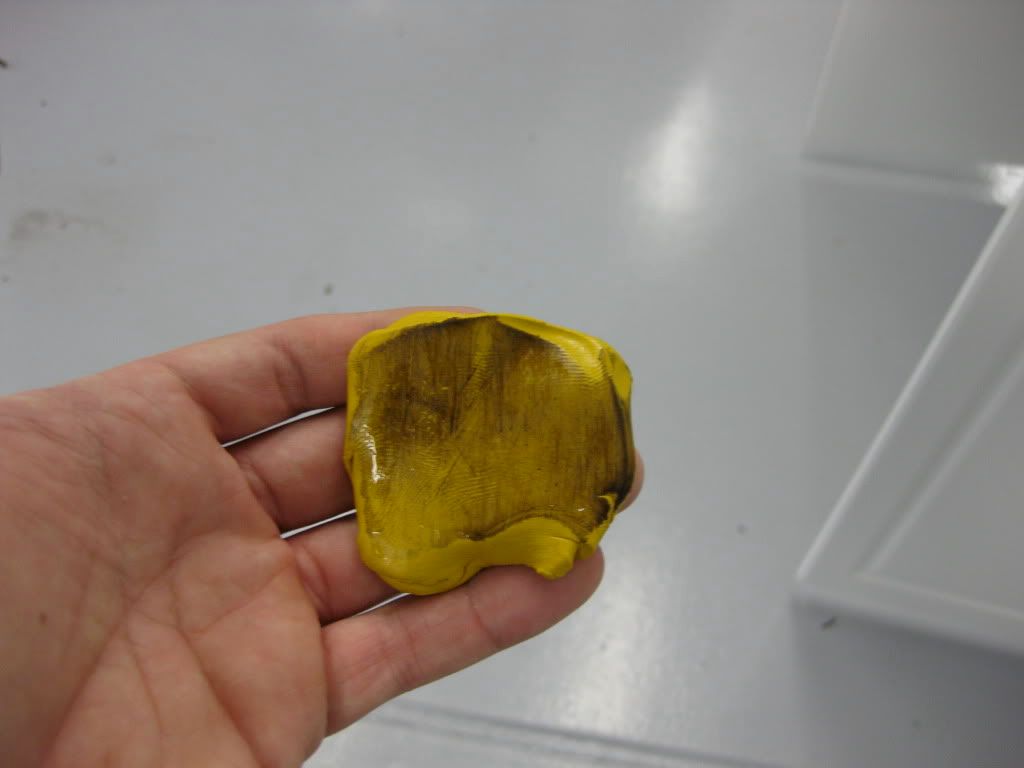
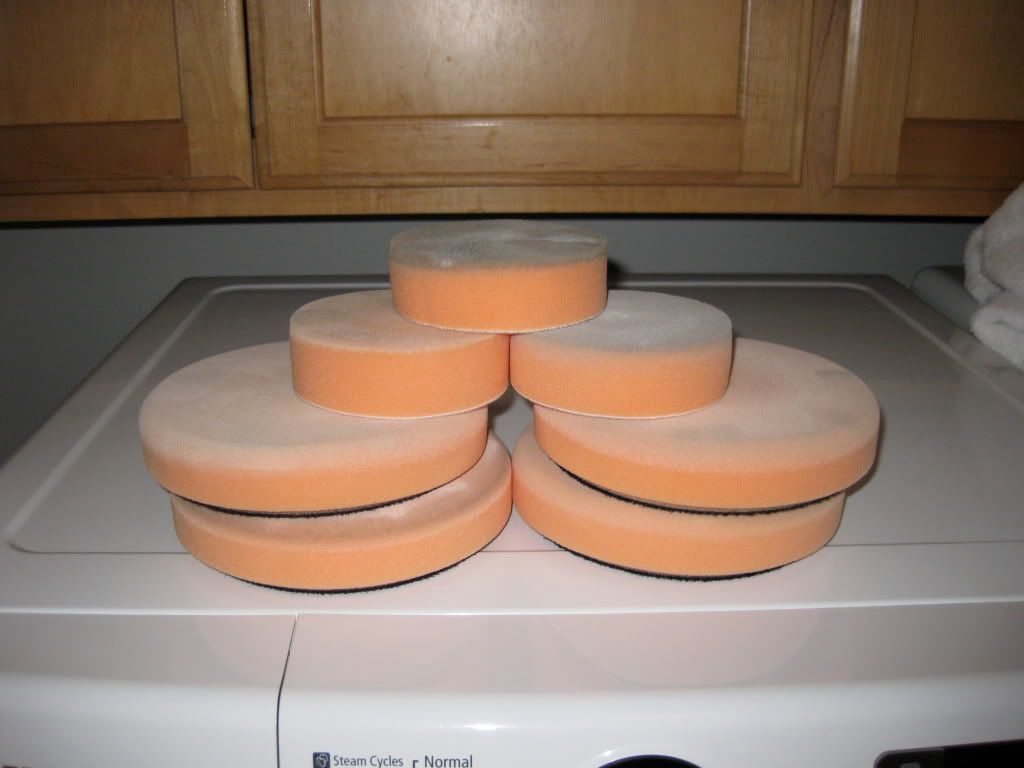
My little pyramid o’ pads…this truck required the use of every single orange pad I own. For a while I was panicking because I feared I wouldn’t have enough. I did but just barely so.


 assout: