Rolls Royce Phantom Drophead Coupe
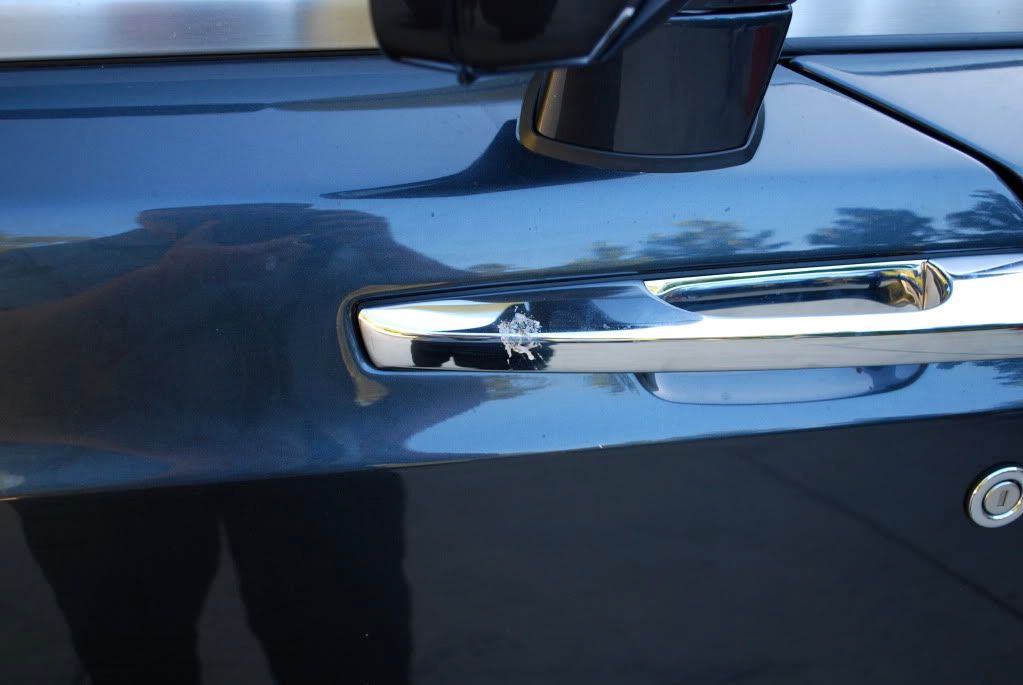
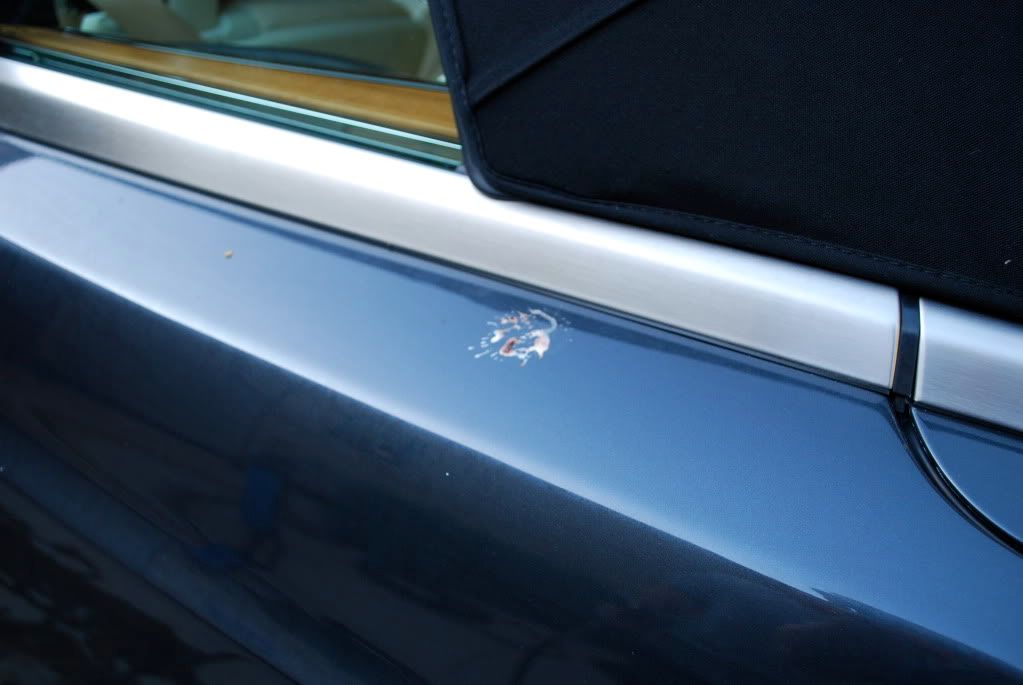
Initial condition...

The car had quite a few bird bombs, we were lucky enough to get to them before the etched the film as the entire car was wrapped by Premier
Car was in surprisingly dirty condition. I started on the wheels and Bob wash the paint and rag top.
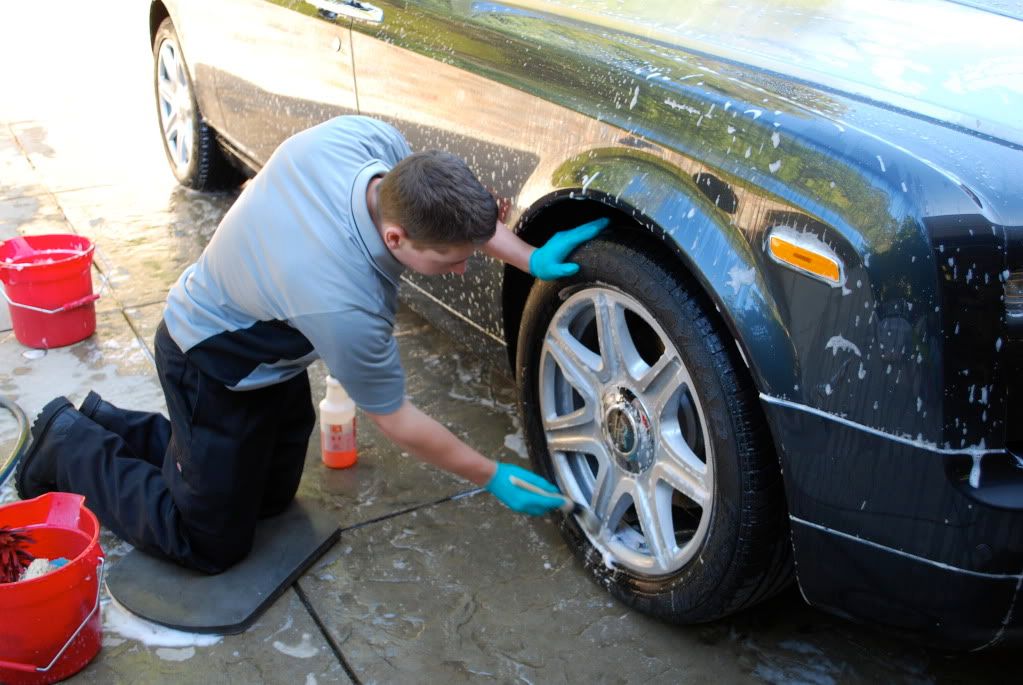
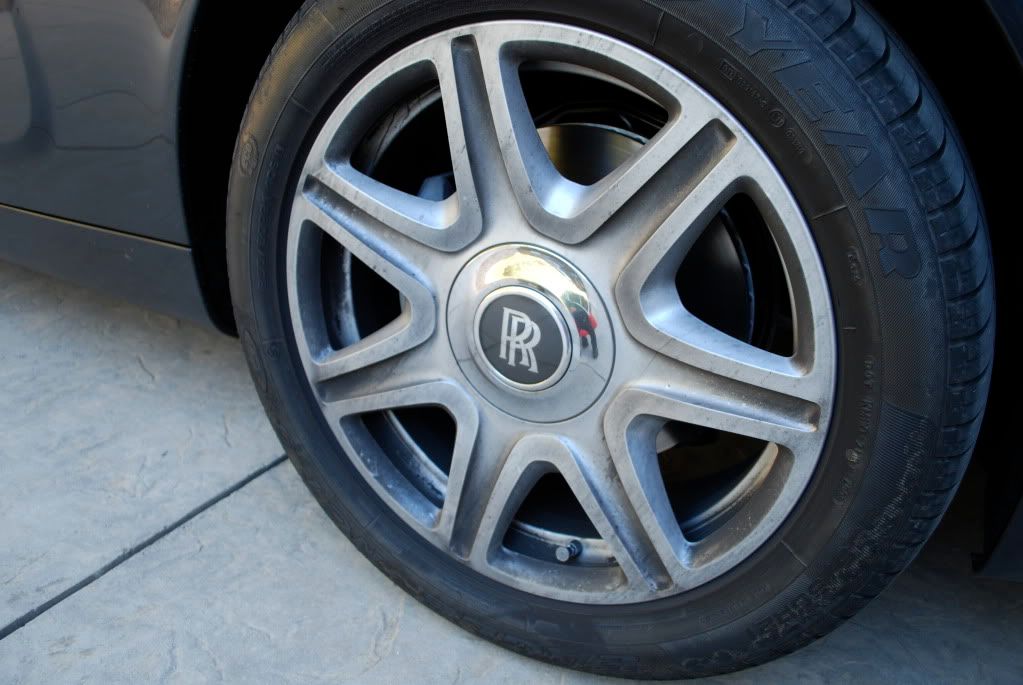
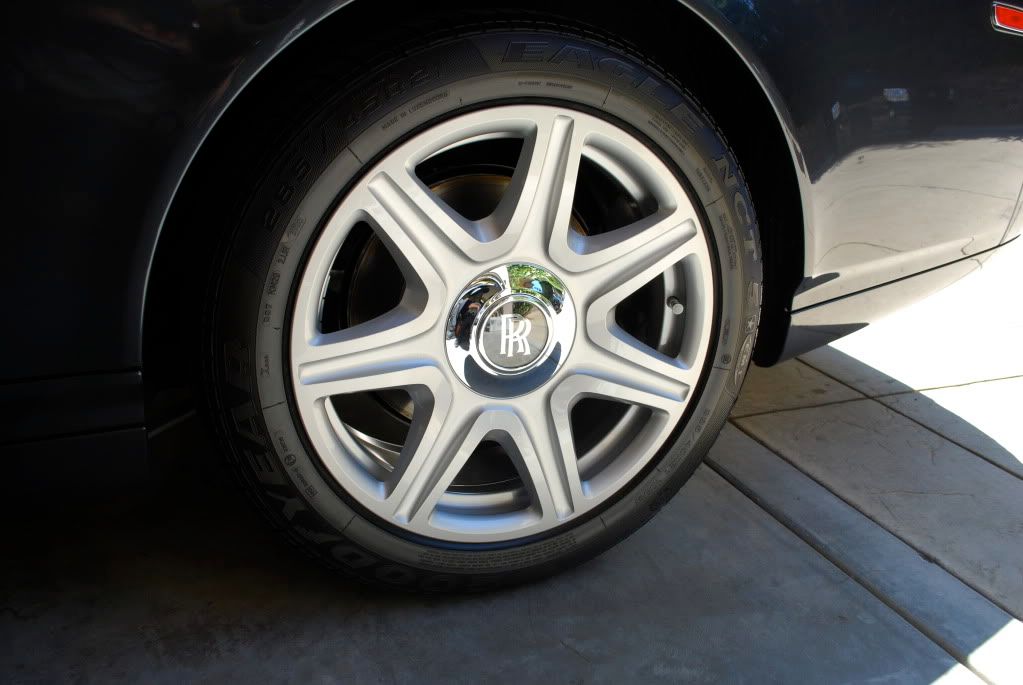
P & S brake buster and a mixture of brushes did the trick... btw RR's have floating center caps that never move, even when the car is speeding down the road, as if driving a drophead isnt "pimp" enough need not your centercaps rotate an inch.
Before shot
After shot, wheel wells were cleaned with enviroclean. Not much to do in there as they were carpet/felt lined at all 4 corners.

Bob hadnling the rag top...
Not Bob handling the paint...


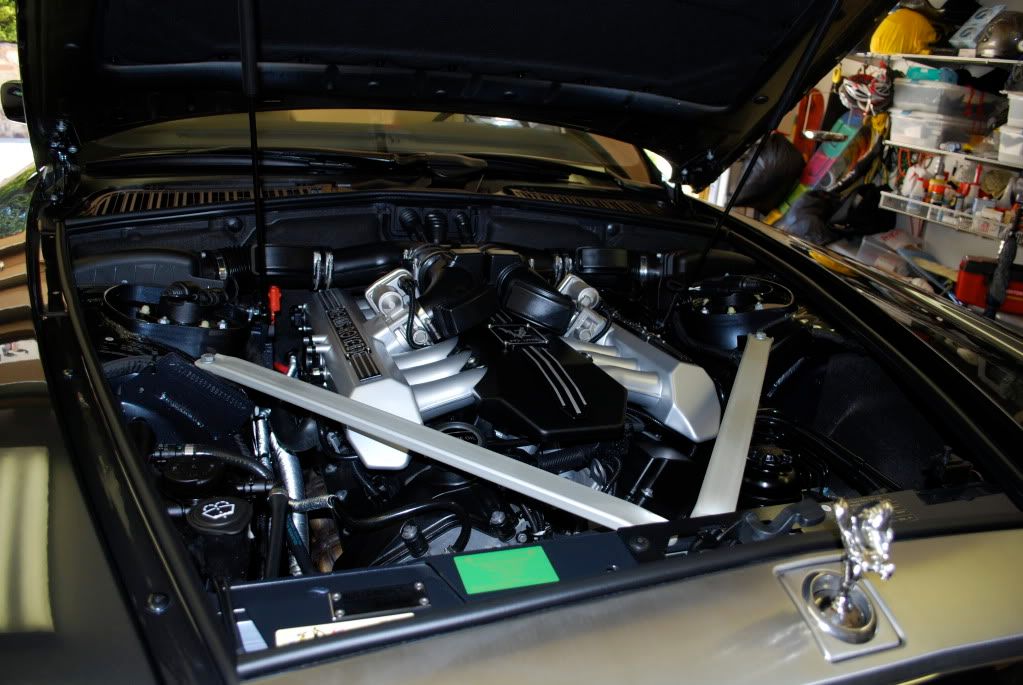
Under the hood, before
During
After

Before we started correction on the car, the aluminum hood needed some attention. As expected it faded a bit, Bob had a good combo for me to try and it worked very well (I will let him elaborate on it if he wants, we all have our secrets)
I started by hand and made some good headway but it took a while...

50/50 (left side uncorrected, right side polished)

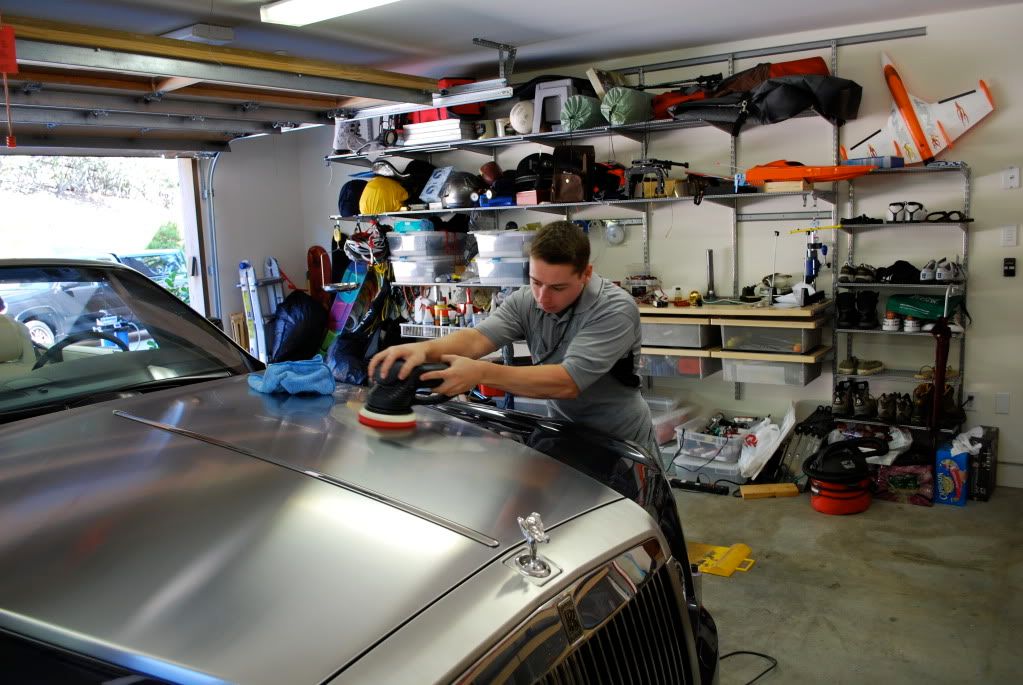
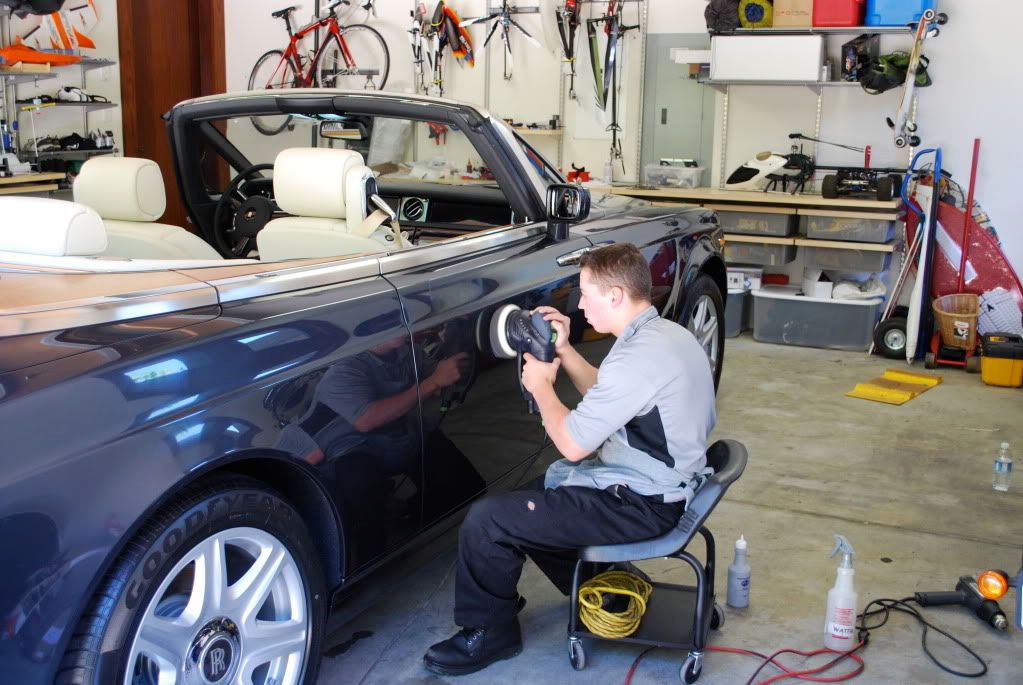
We decided to machine it out instead so we pulled the car in and got to work, the Festool DA with a red finishing pad
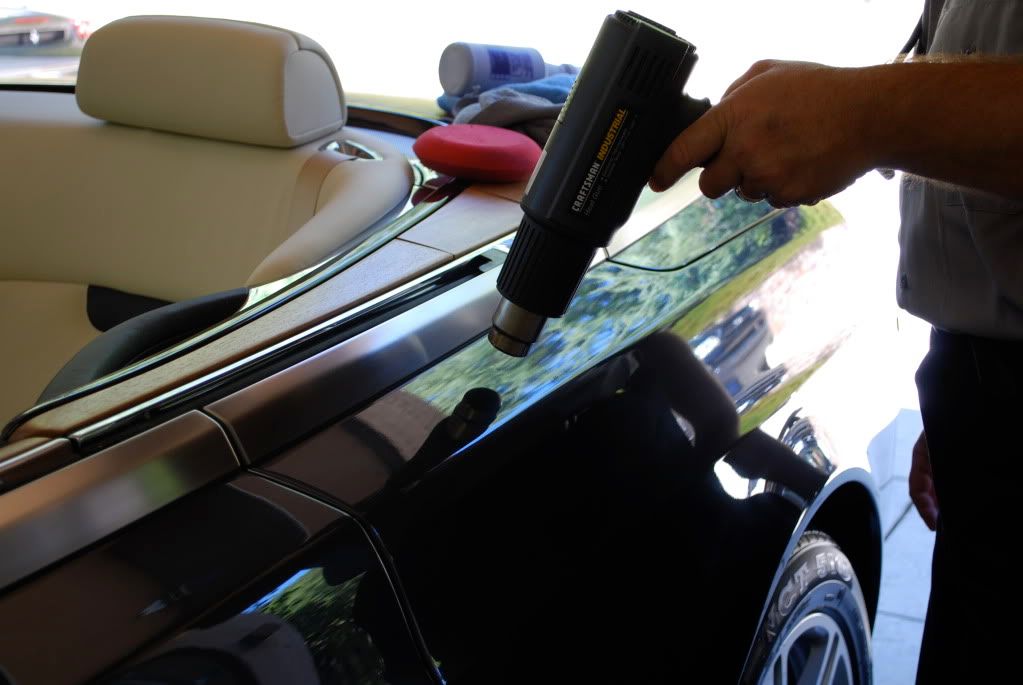
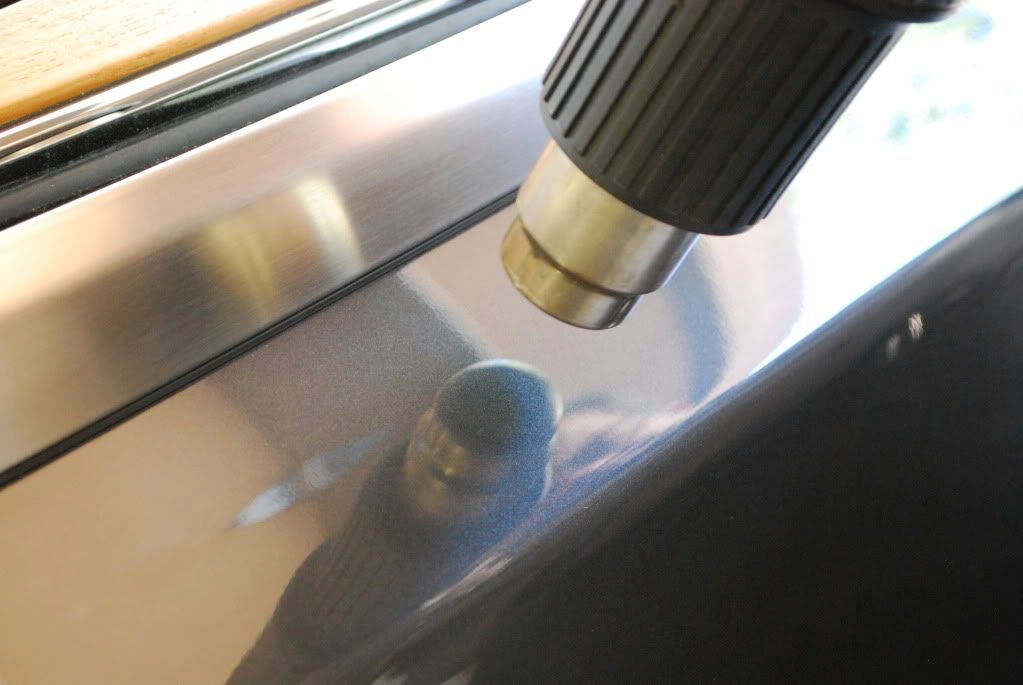
Bob handled the several bird etchings in the clear film with a heat gun, as he explained before about 360 degress, 2inches or so off the finish and left it on for no more than 4 or 5 seconds before letting it cool. Most times this process needs to be repeated several times to lift the etch on film
All gone
Correction was a 2 step process: extra care was taken on the film. Low speed polishing with a well moistened pad on a DA is the way to go
Festool DA
Menzerna 106FA w/ finish pad
Menzerna 85rd w/ finish pad
Me with the Festool

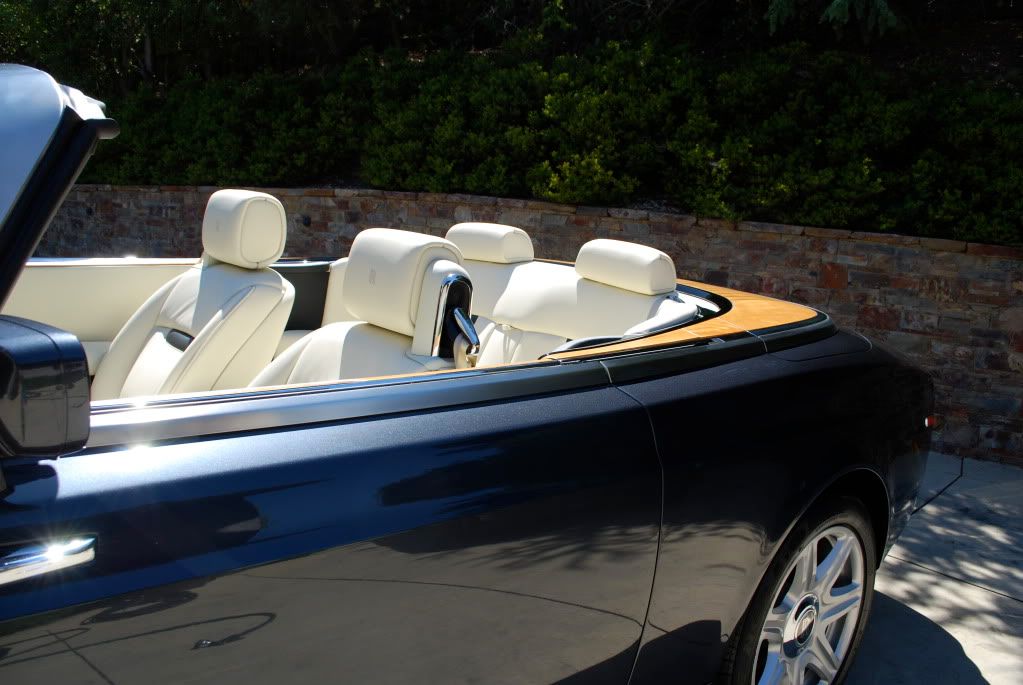
Bob cleaned and conditioned the leather.... all 17 cows worth of it :tongue:. After the first go with the conditioner he decided the leather was soft but not as soft as it should be. He went back a second time with the conditioner and the leather softened up a bit more and had a supple feel, dry to the touch.

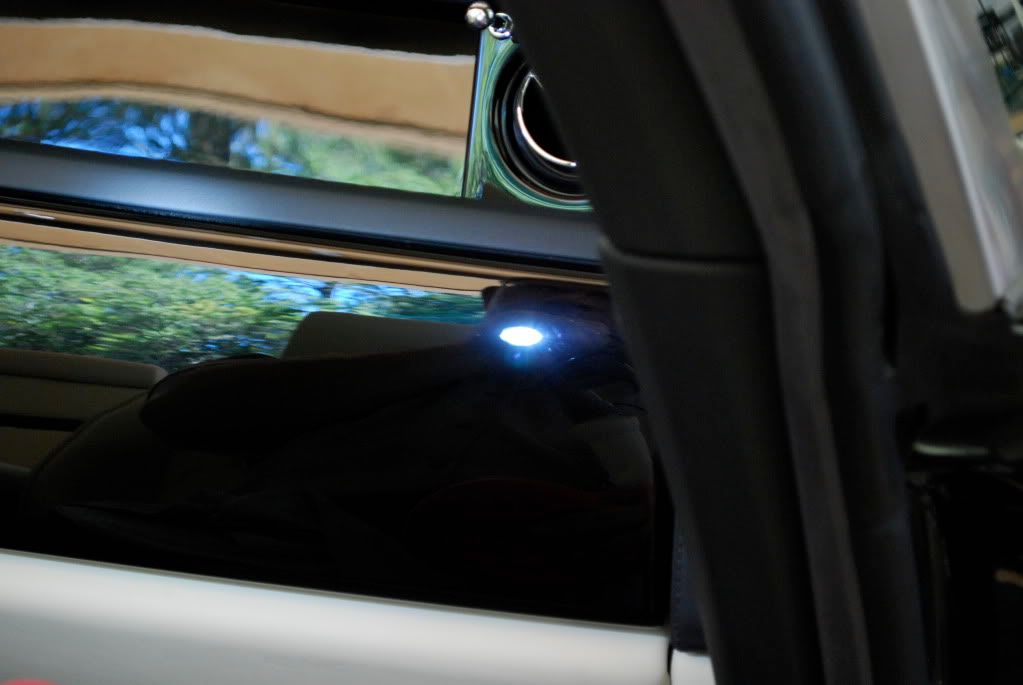
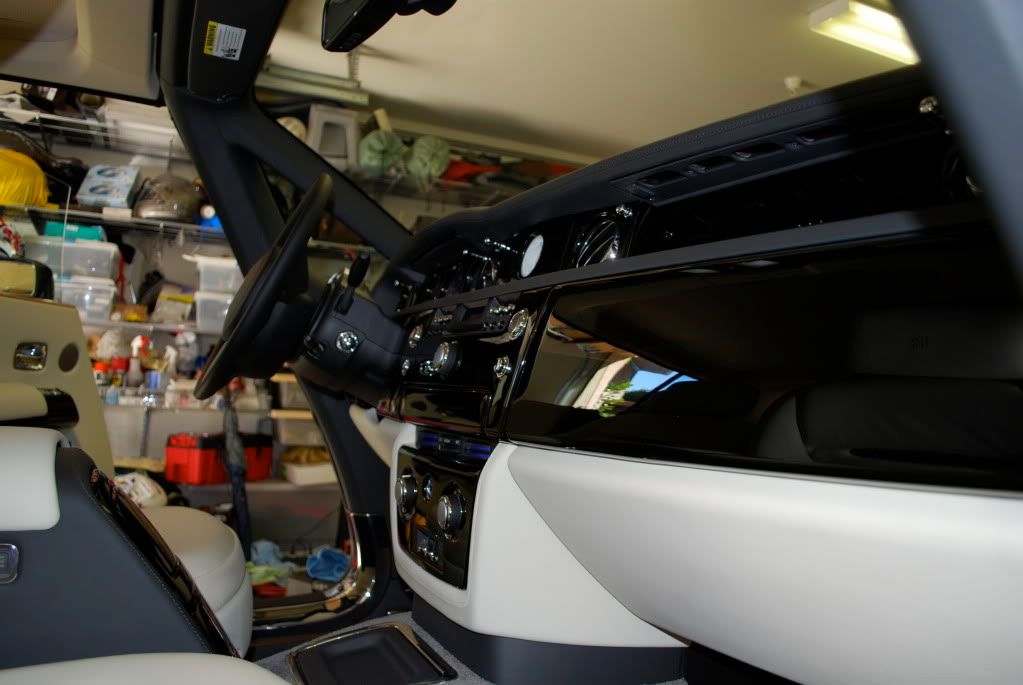
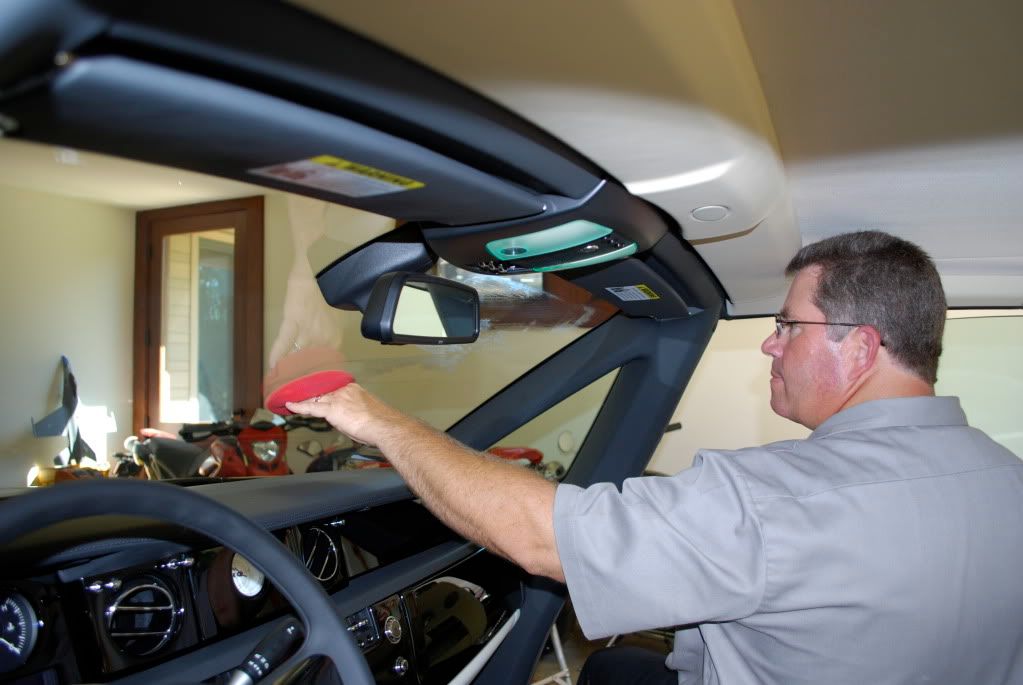
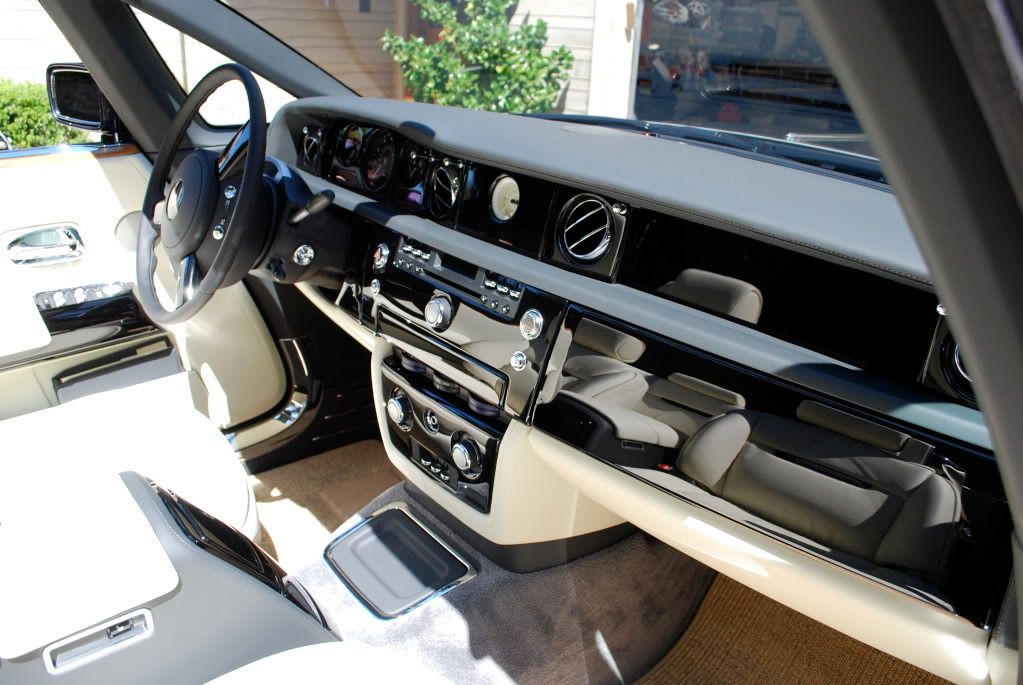
The interior piano black wood seemed to be perfect until we checked it with the LED. Strangely enough some sanding marks were found. Bob began hand polishing and with no luck he ended up rotary correction the wood finish with a 3" pad and BP at about 900rpm using slow passes.
The end result of machine polished wood under the LED...
Finished off and topped with CG acrylic glaze
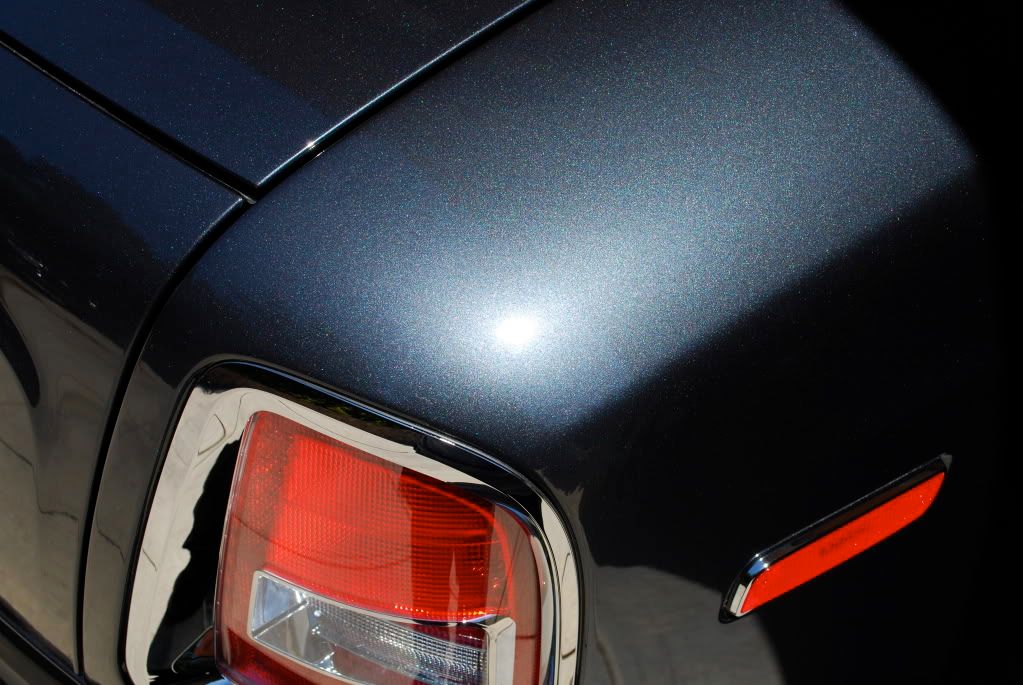
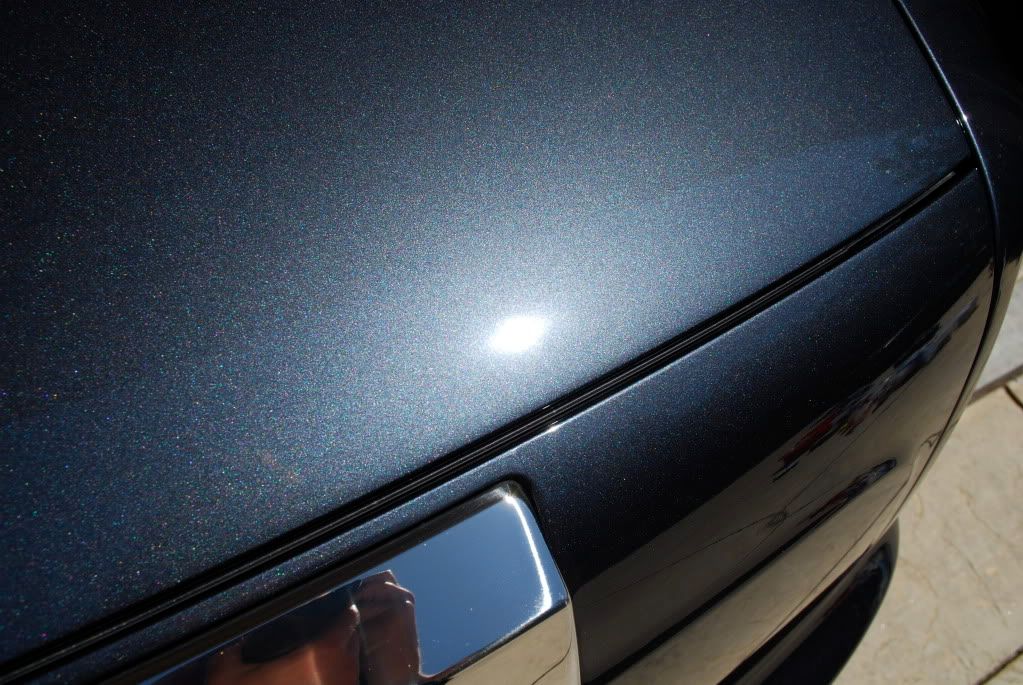
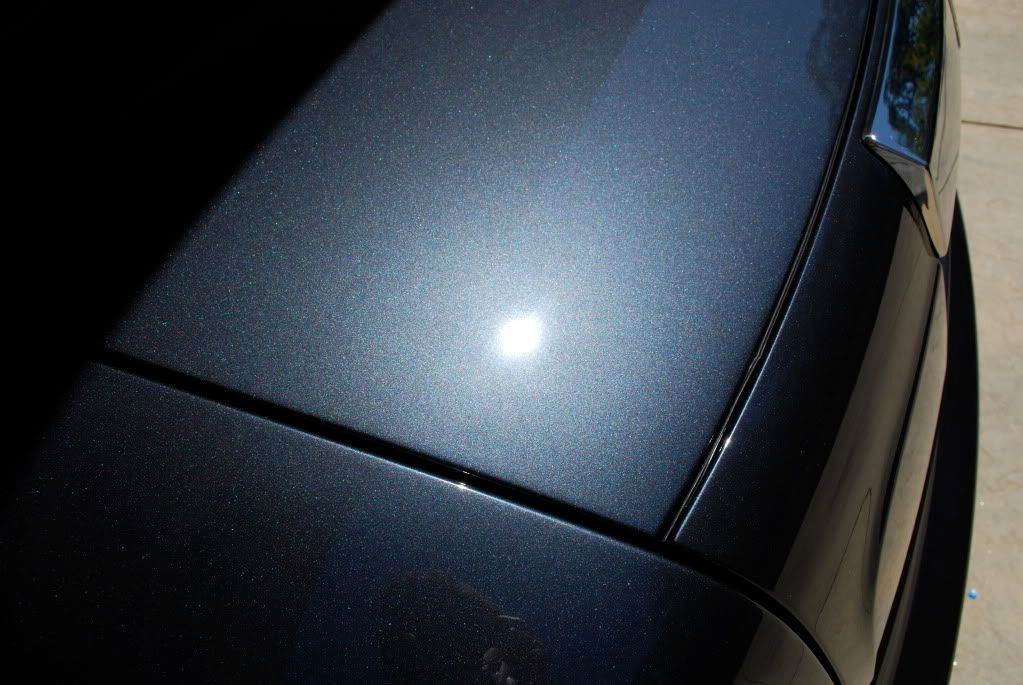
Some sun shots of the paint... no LSP
The LSP of choice was CG acrylic glaze and JetSeal. Bob machined in the acrylic with the festool and buffed it off right away. He followed up with 2 coats of Jetseal cured 30minutes each and buffed off with some DI water.
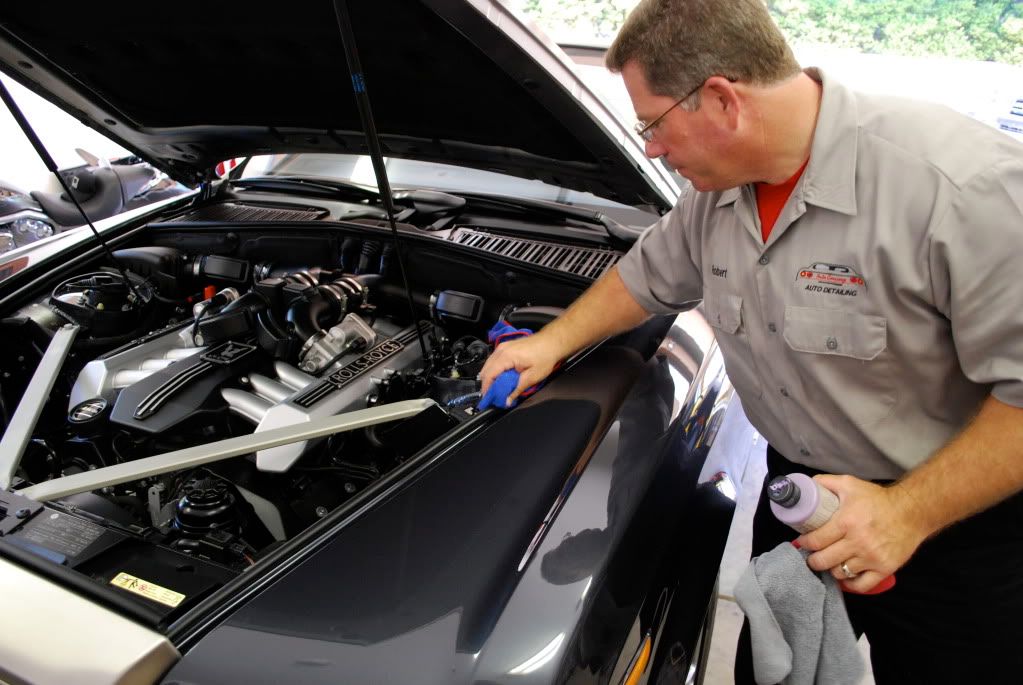
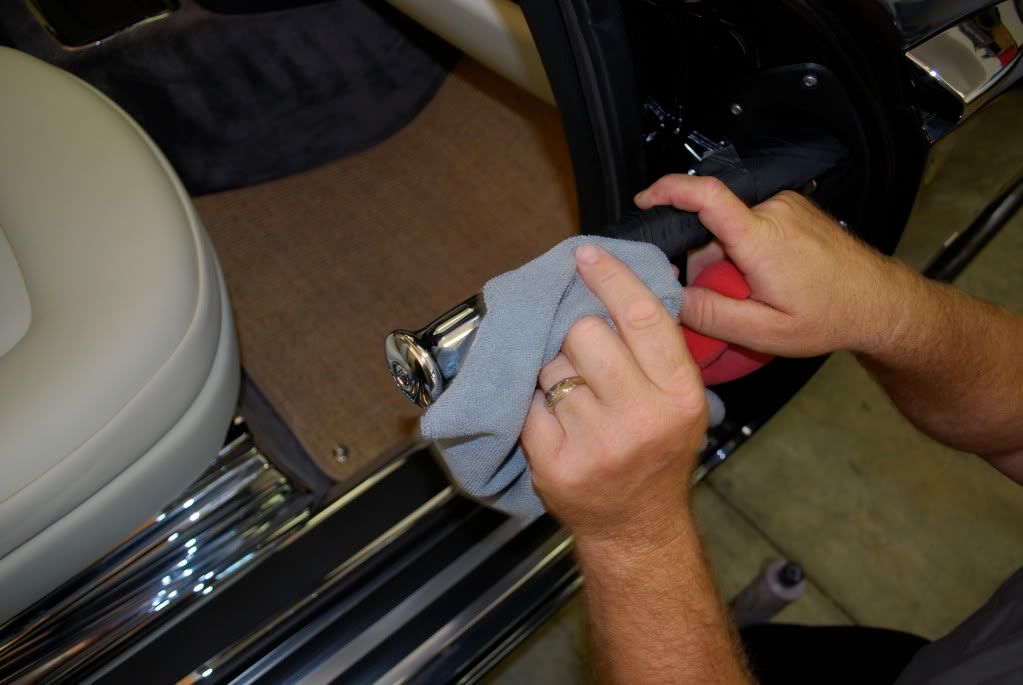
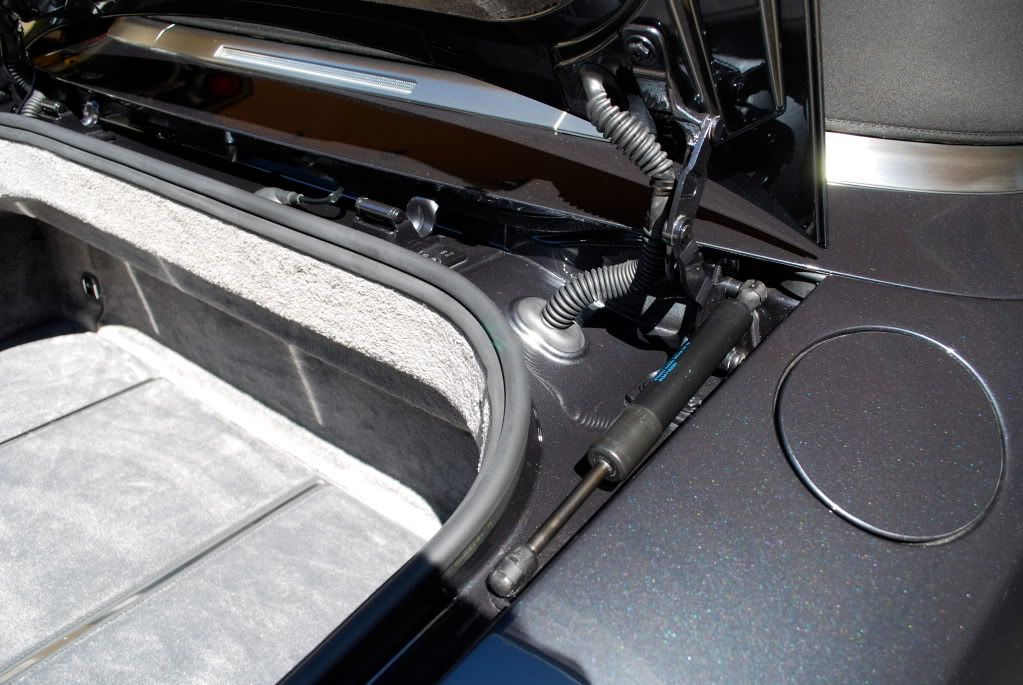
Waiting for JS to cure he tidied up the engine bay, cleaning the jambs and dressing all the trim
After...
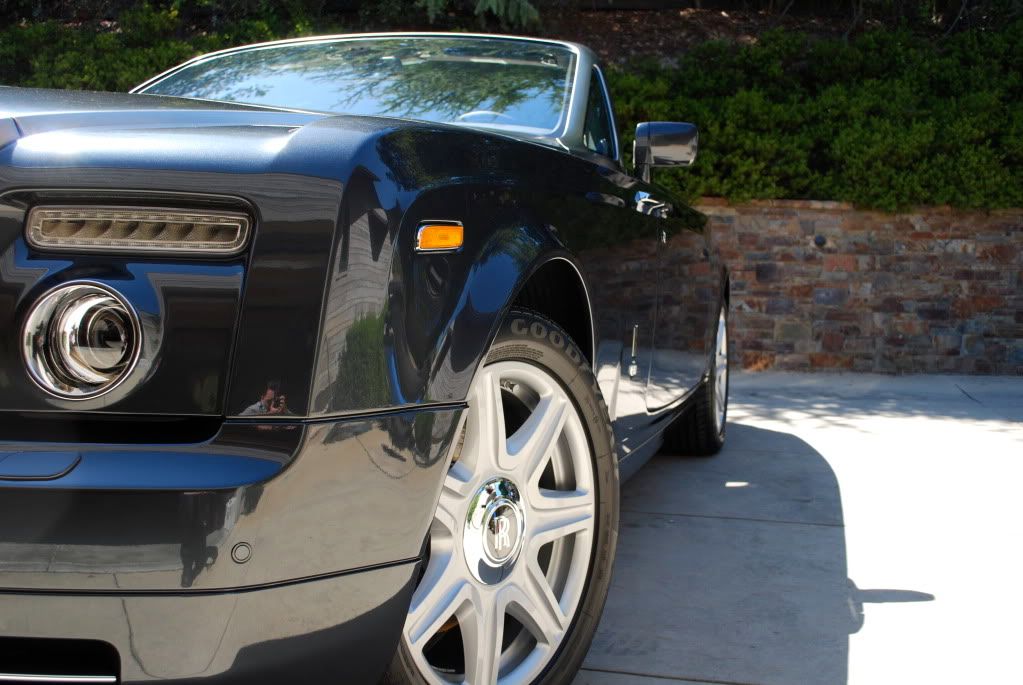
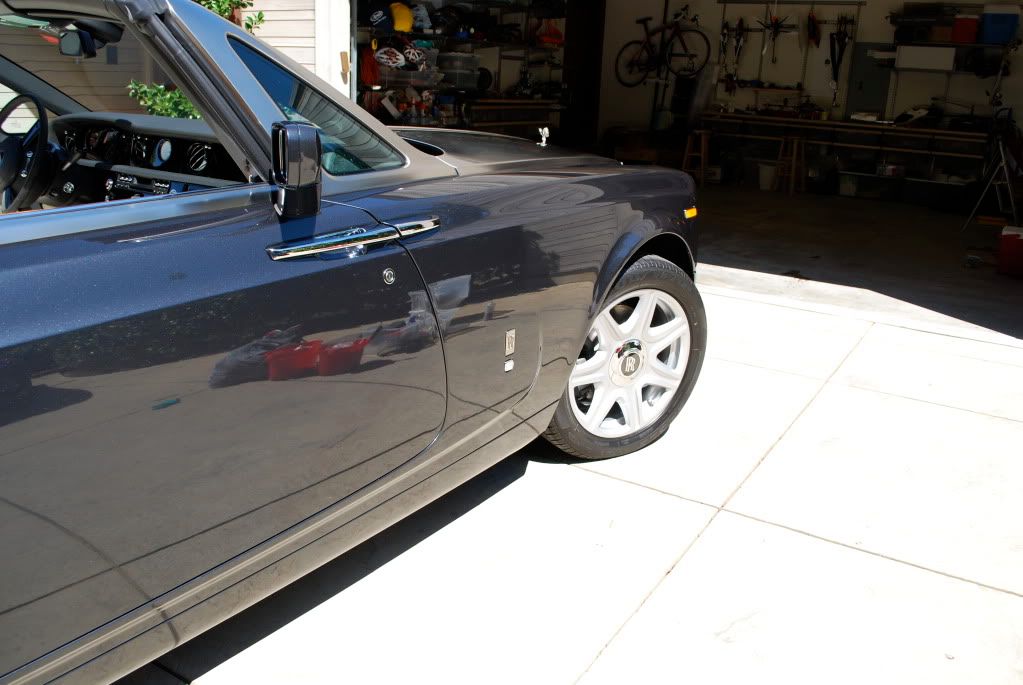
Some finishing tocuhes included polishing the glass, umbrellas and the wheels.
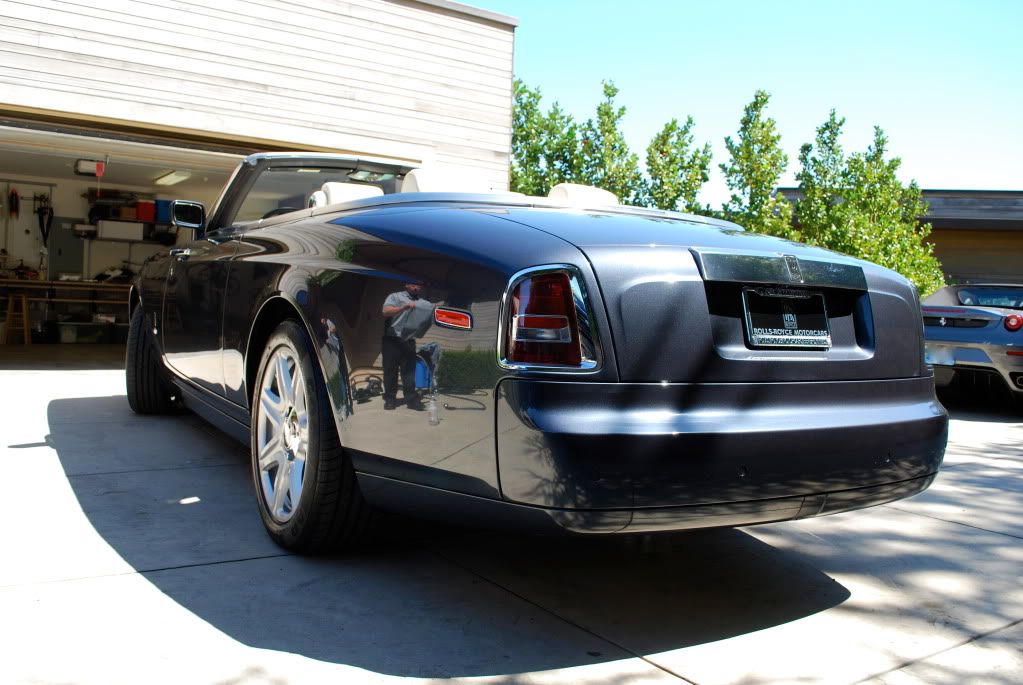
The final wipedown

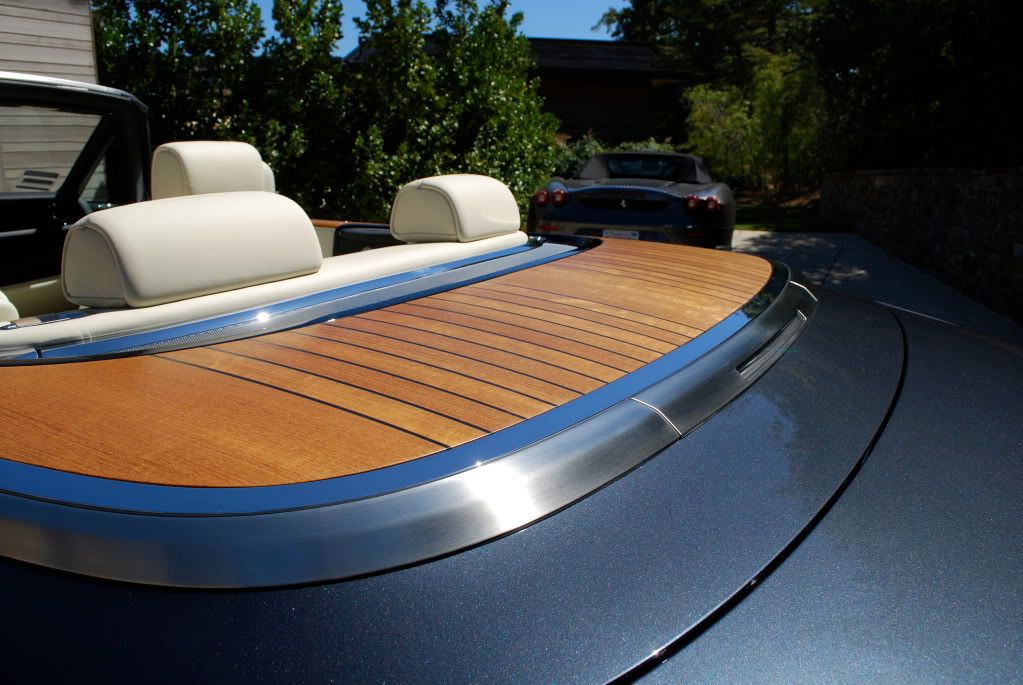
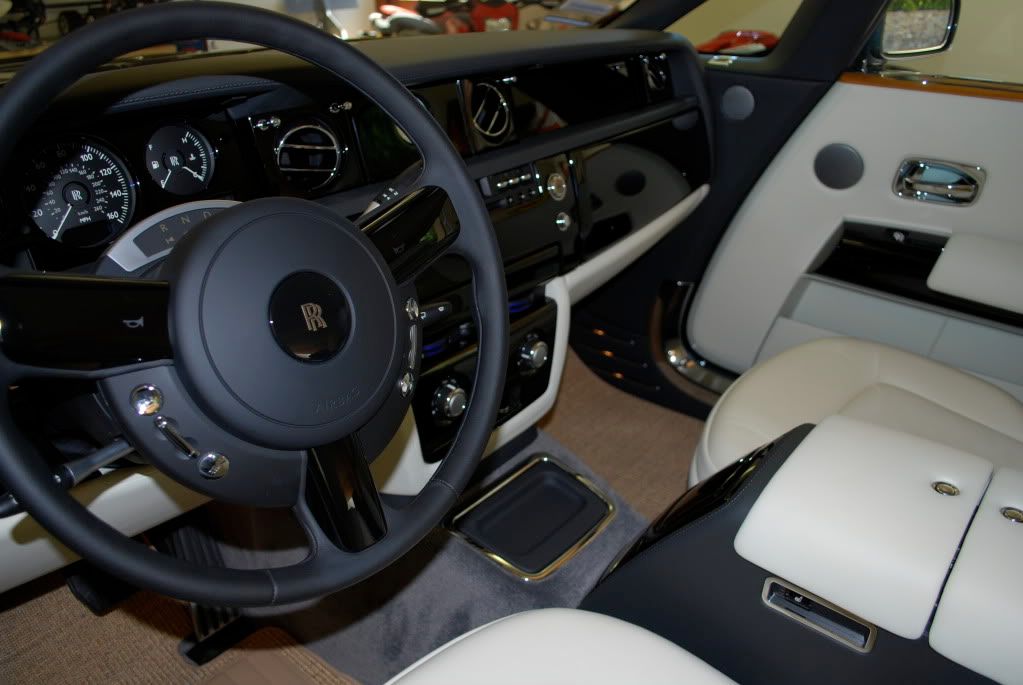
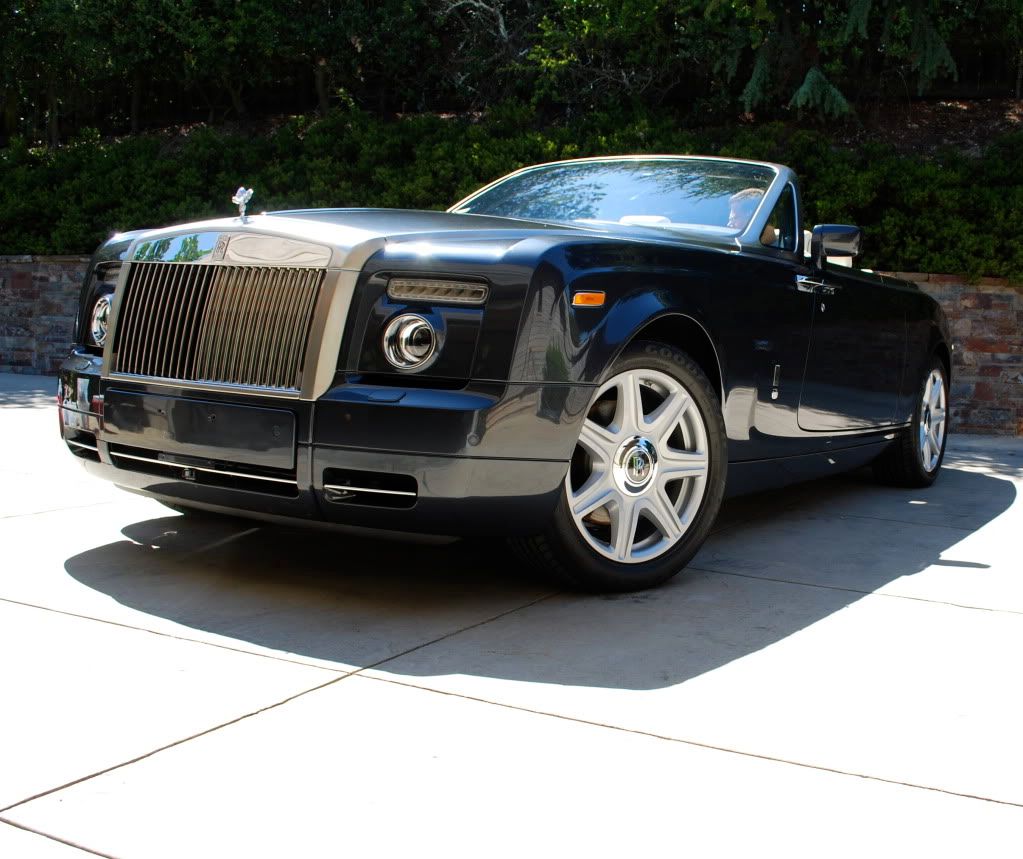
Final shots
[/B]
Initial condition...
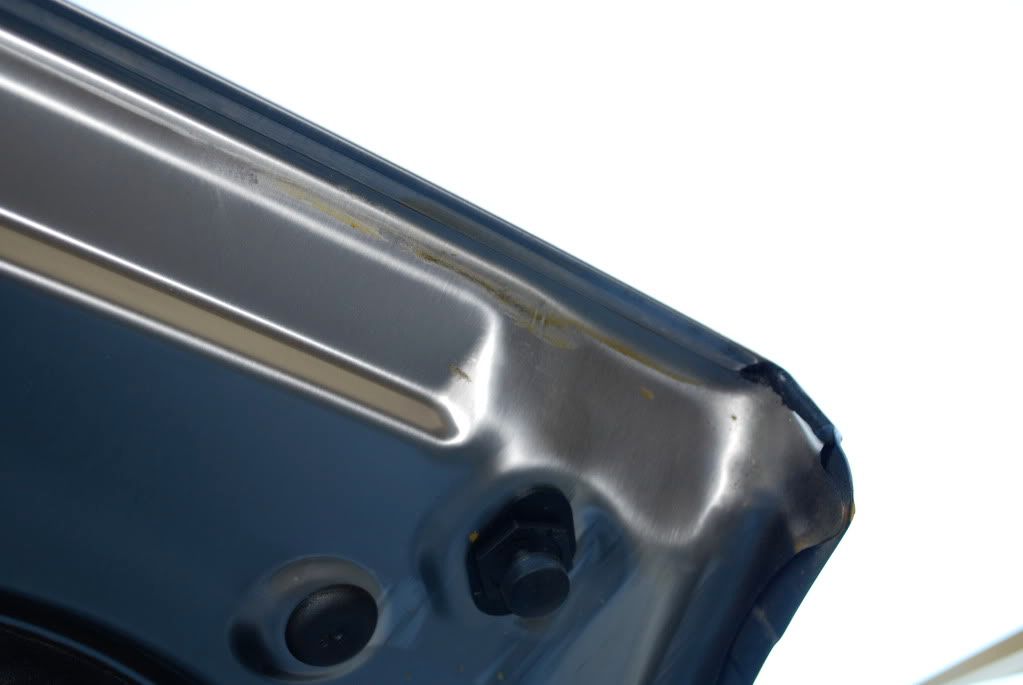
The car had quite a few bird bombs, we were lucky enough to get to them before the etched the film as the entire car was wrapped by Premier
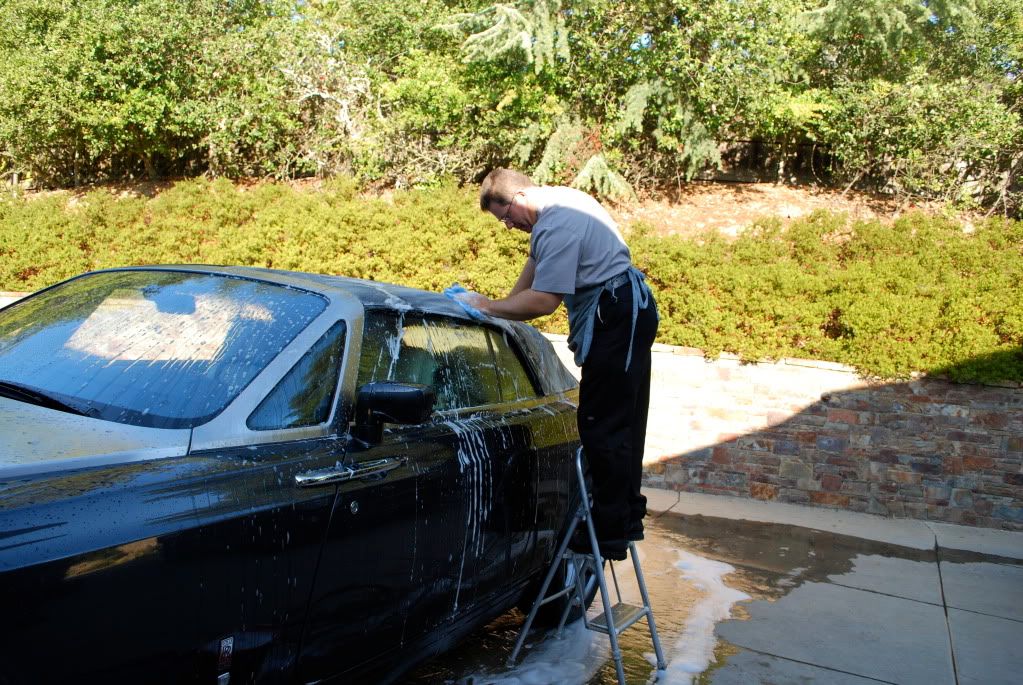
Car was in surprisingly dirty condition. I started on the wheels and Bob wash the paint and rag top.
P & S brake buster and a mixture of brushes did the trick... btw RR's have floating center caps that never move, even when the car is speeding down the road, as if driving a drophead isnt "pimp" enough need not your centercaps rotate an inch.
Before shot
After shot, wheel wells were cleaned with enviroclean. Not much to do in there as they were carpet/felt lined at all 4 corners.
Bob hadnling the rag top...
Not Bob handling the paint...
Under the hood, before
During
After
Before we started correction on the car, the aluminum hood needed some attention. As expected it faded a bit, Bob had a good combo for me to try and it worked very well (I will let him elaborate on it if he wants, we all have our secrets)
I started by hand and made some good headway but it took a while...
50/50 (left side uncorrected, right side polished)
We decided to machine it out instead so we pulled the car in and got to work, the Festool DA with a red finishing pad
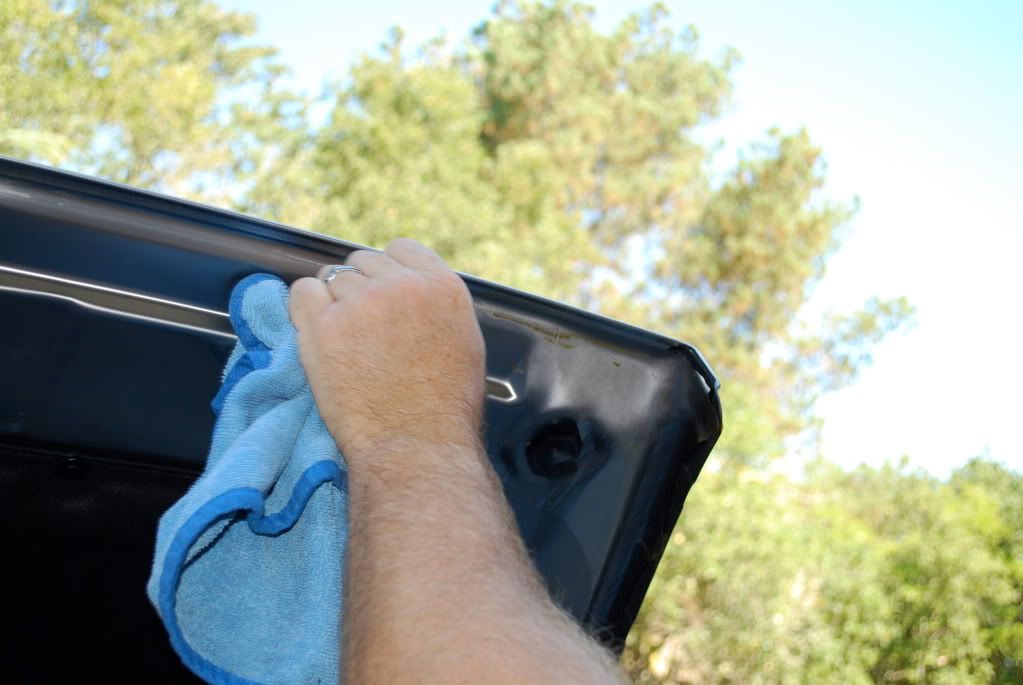
Bob handled the several bird etchings in the clear film with a heat gun, as he explained before about 360 degress, 2inches or so off the finish and left it on for no more than 4 or 5 seconds before letting it cool. Most times this process needs to be repeated several times to lift the etch on film
All gone
Correction was a 2 step process: extra care was taken on the film. Low speed polishing with a well moistened pad on a DA is the way to go
Festool DA
Menzerna 106FA w/ finish pad
Menzerna 85rd w/ finish pad
Me with the Festool
Bob cleaned and conditioned the leather.... all 17 cows worth of it :tongue:. After the first go with the conditioner he decided the leather was soft but not as soft as it should be. He went back a second time with the conditioner and the leather softened up a bit more and had a supple feel, dry to the touch.
The interior piano black wood seemed to be perfect until we checked it with the LED. Strangely enough some sanding marks were found. Bob began hand polishing and with no luck he ended up rotary correction the wood finish with a 3" pad and BP at about 900rpm using slow passes.
The end result of machine polished wood under the LED...
Finished off and topped with CG acrylic glaze
Some sun shots of the paint... no LSP
The LSP of choice was CG acrylic glaze and JetSeal. Bob machined in the acrylic with the festool and buffed it off right away. He followed up with 2 coats of Jetseal cured 30minutes each and buffed off with some DI water.
Waiting for JS to cure he tidied up the engine bay, cleaning the jambs and dressing all the trim
After...
Some finishing tocuhes included polishing the glass, umbrellas and the wheels.
The final wipedown
Final shots
[/B]


") I love that car.
I love that car.