Angus
AspiringProductSpecialist
For this review, I’m going to share my first experience using Detailer’s All In One Headlight Restoring Polish and Detailer’s Headlight Protectant Spray to revive the headlights on my folks 98’ Subaru Outback:
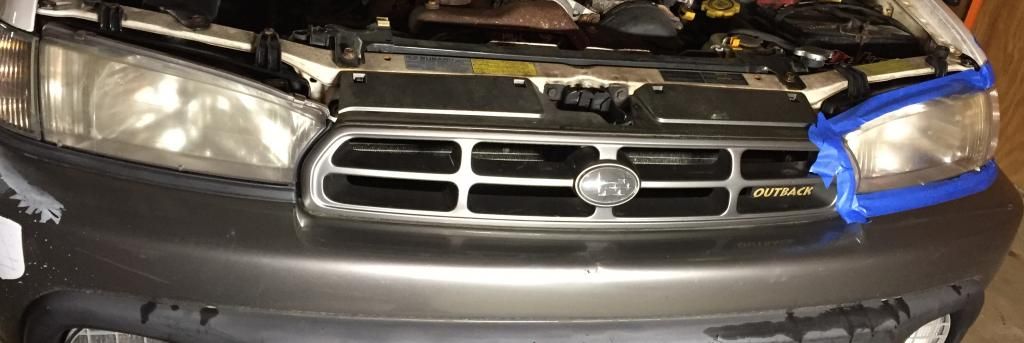
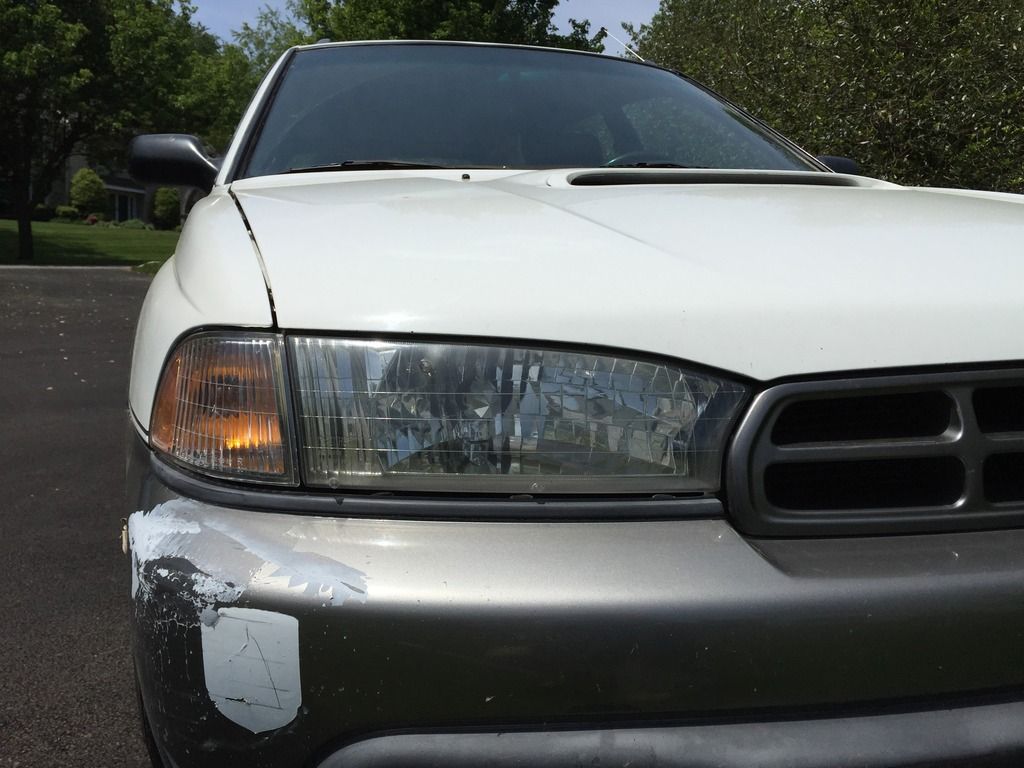
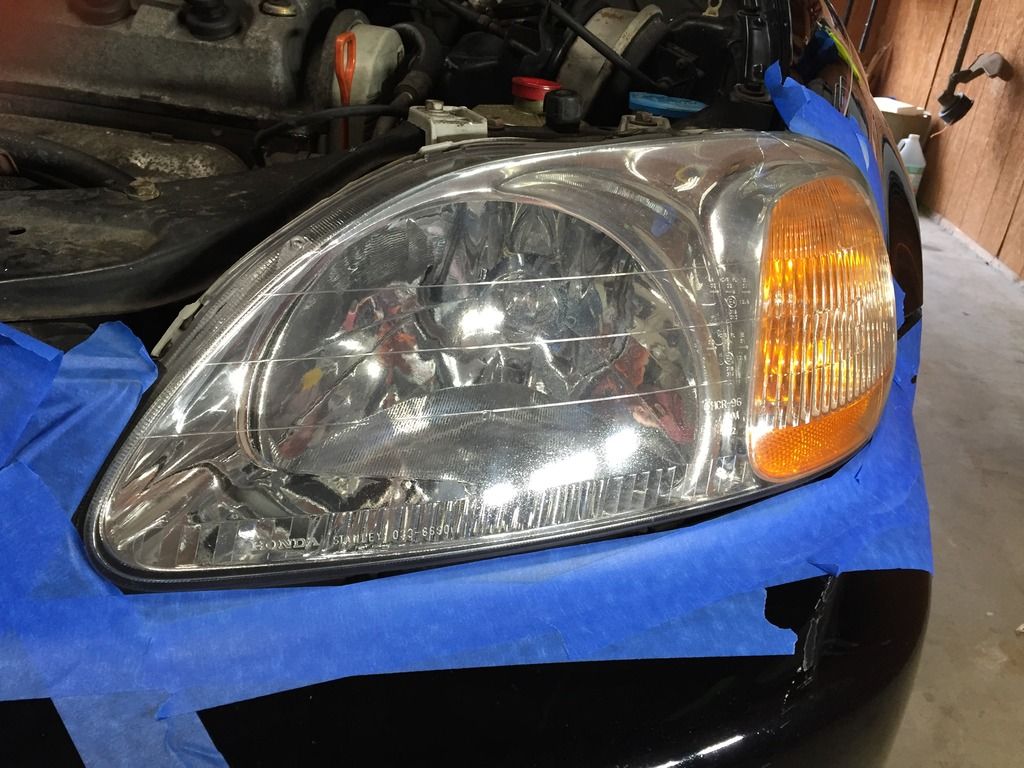
Drivers side close up:
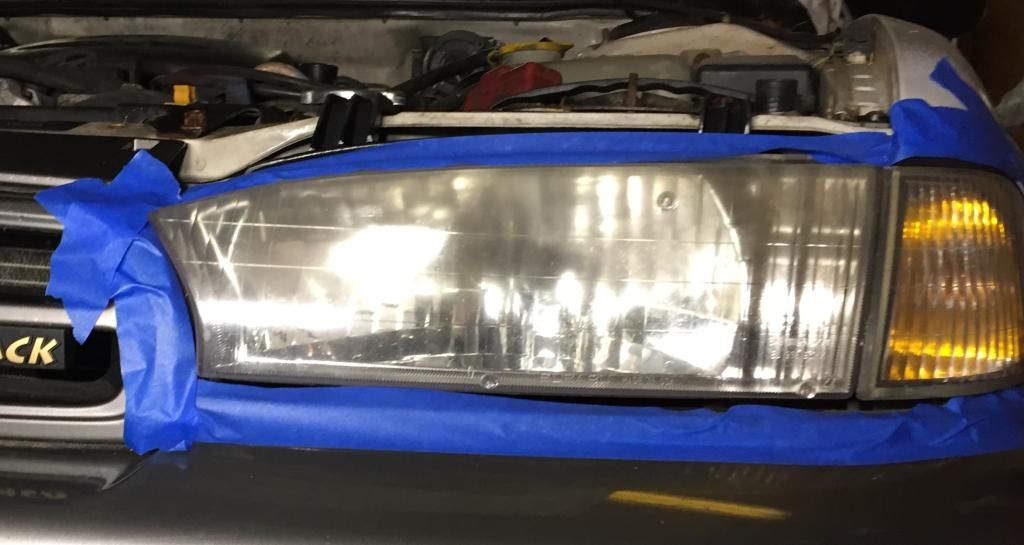
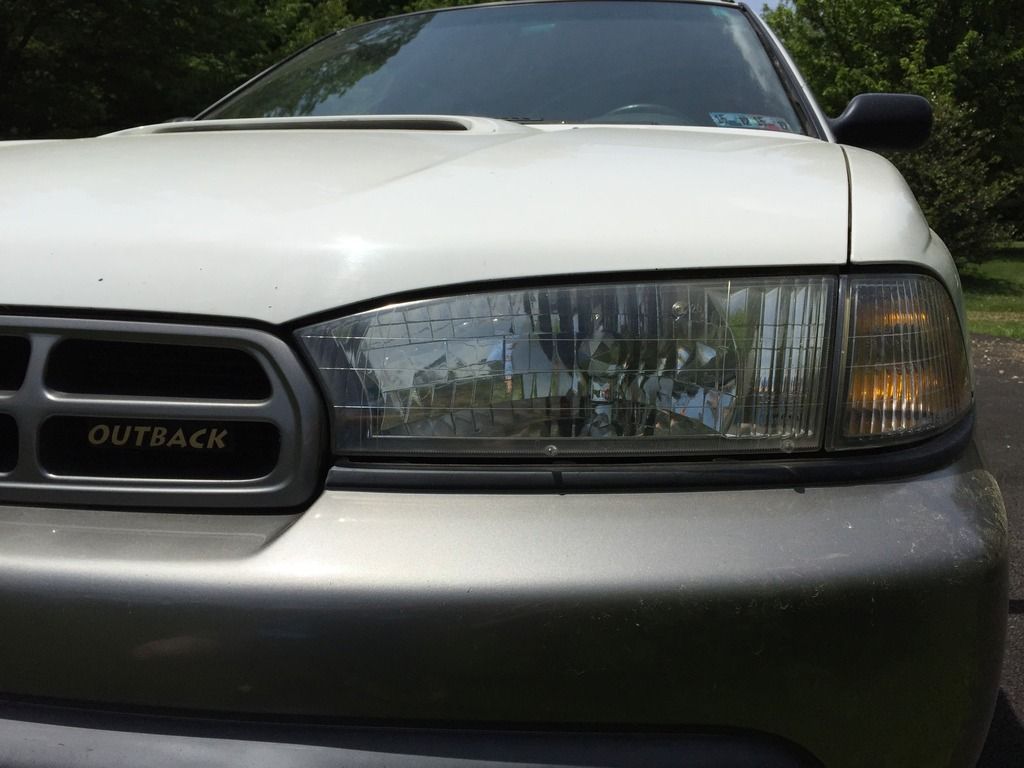
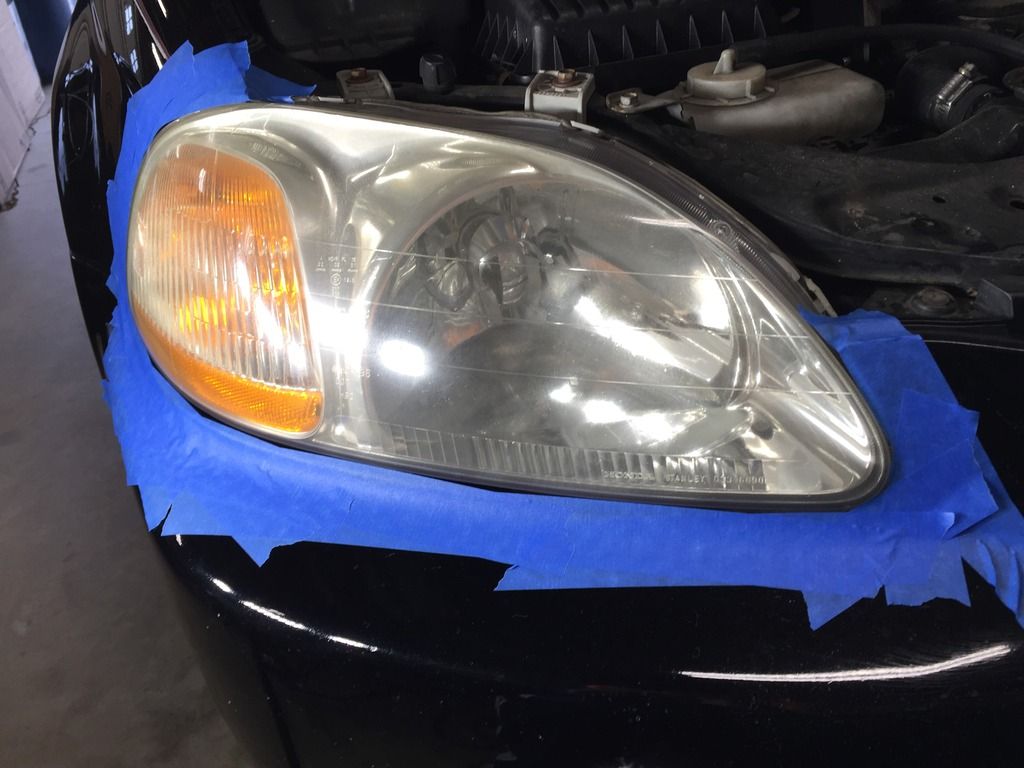
Passengers side close up:
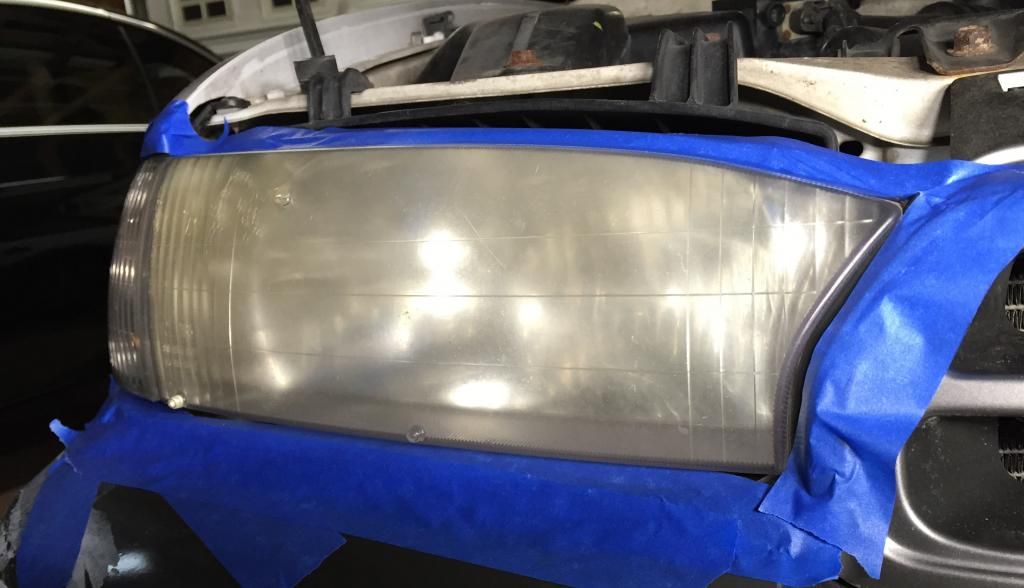
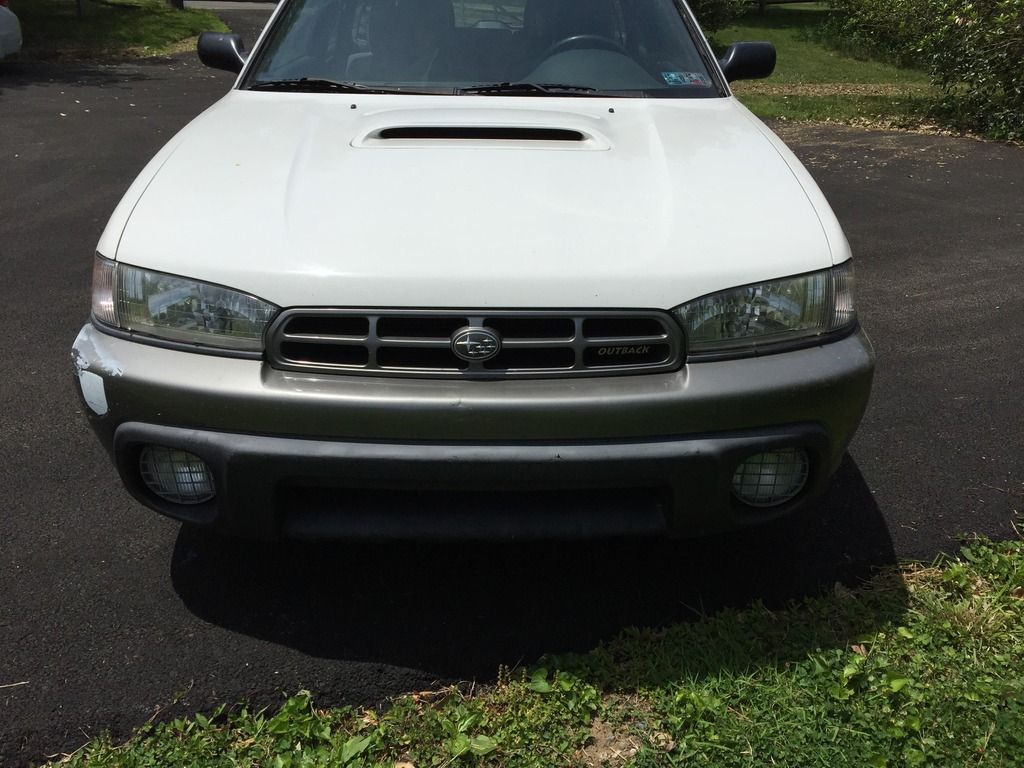
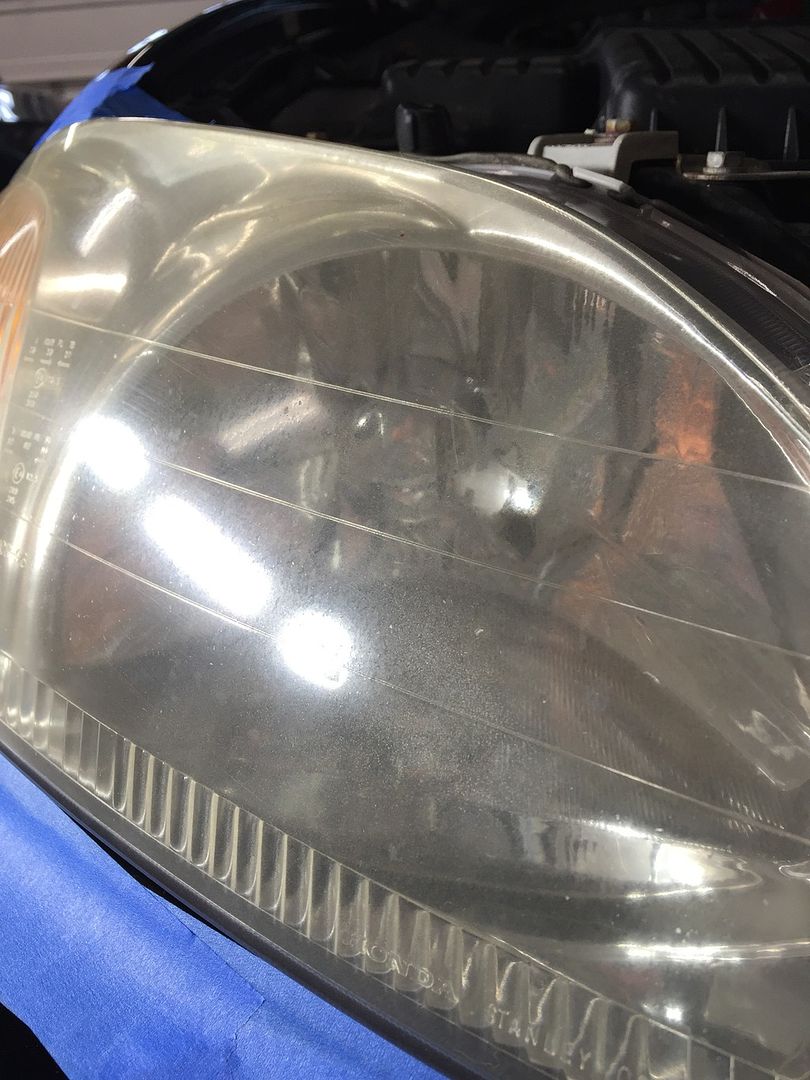
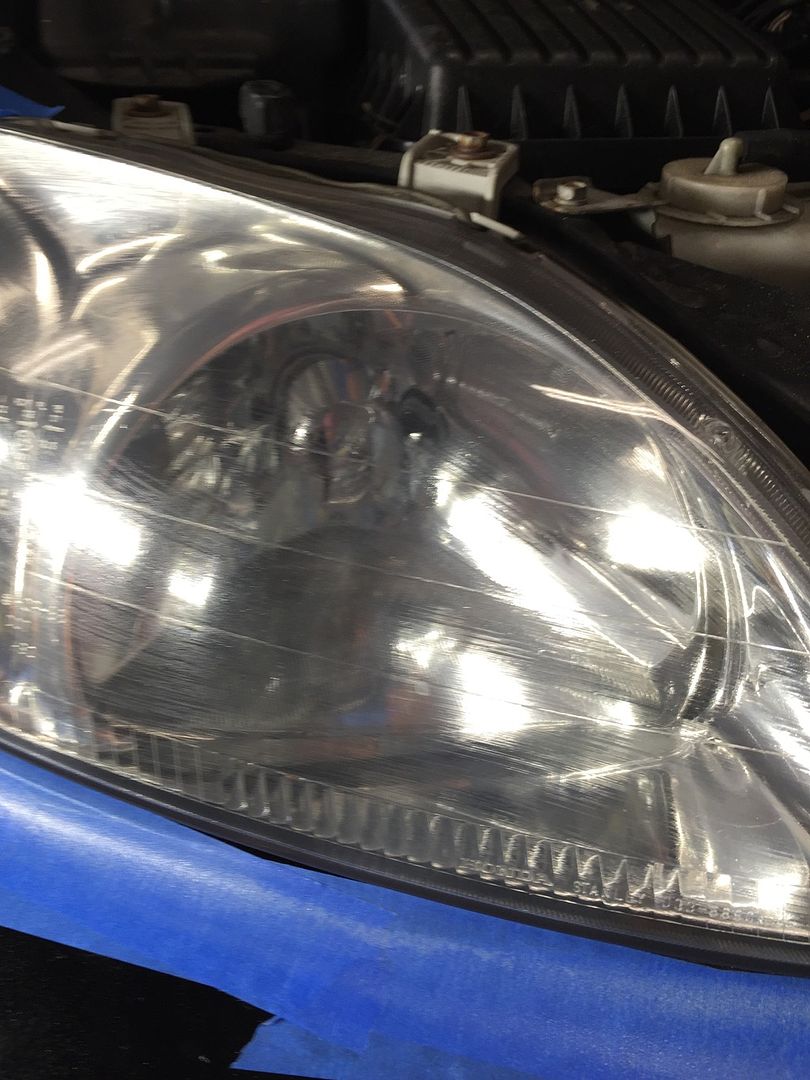
They’ve had this car since new and as you can see the headlights are badly hazed and have never been corrected. As great as this car is in inclement weather in the dark the headlights have always left A LOT to be desired. So making sure they’re cleaned and at their best is important.
First up, Detailer’s All In One Headlight Restoring Polish:
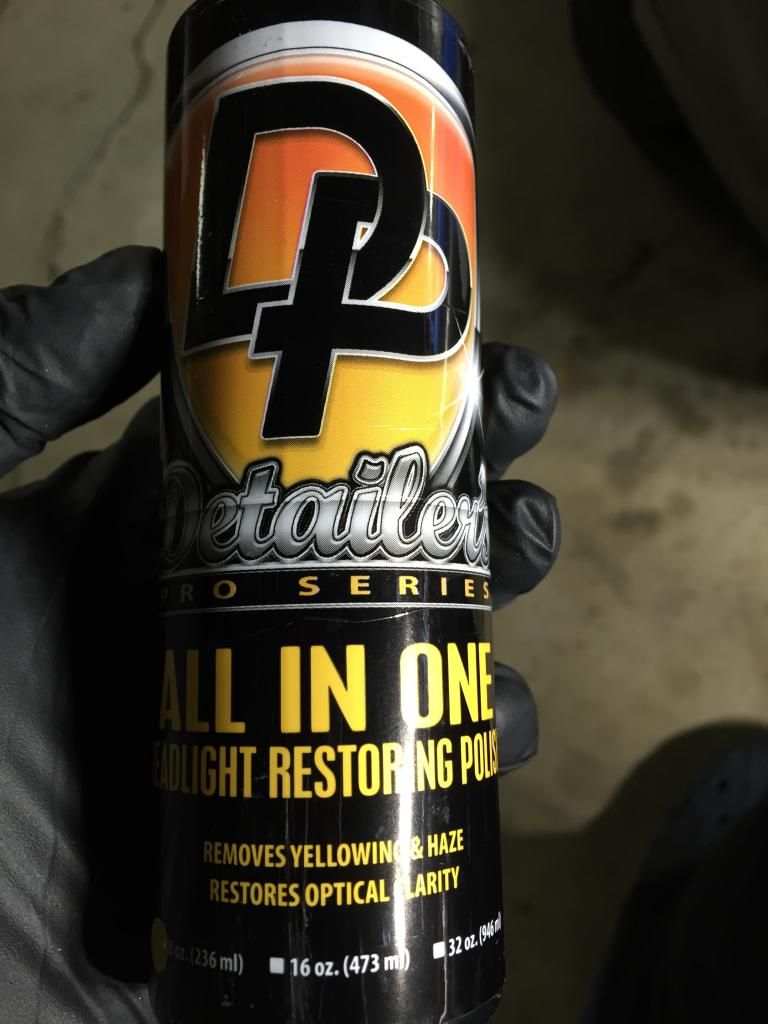
From AG's product page for DP’s AIO Headlight Restoring Polish:
Directions:
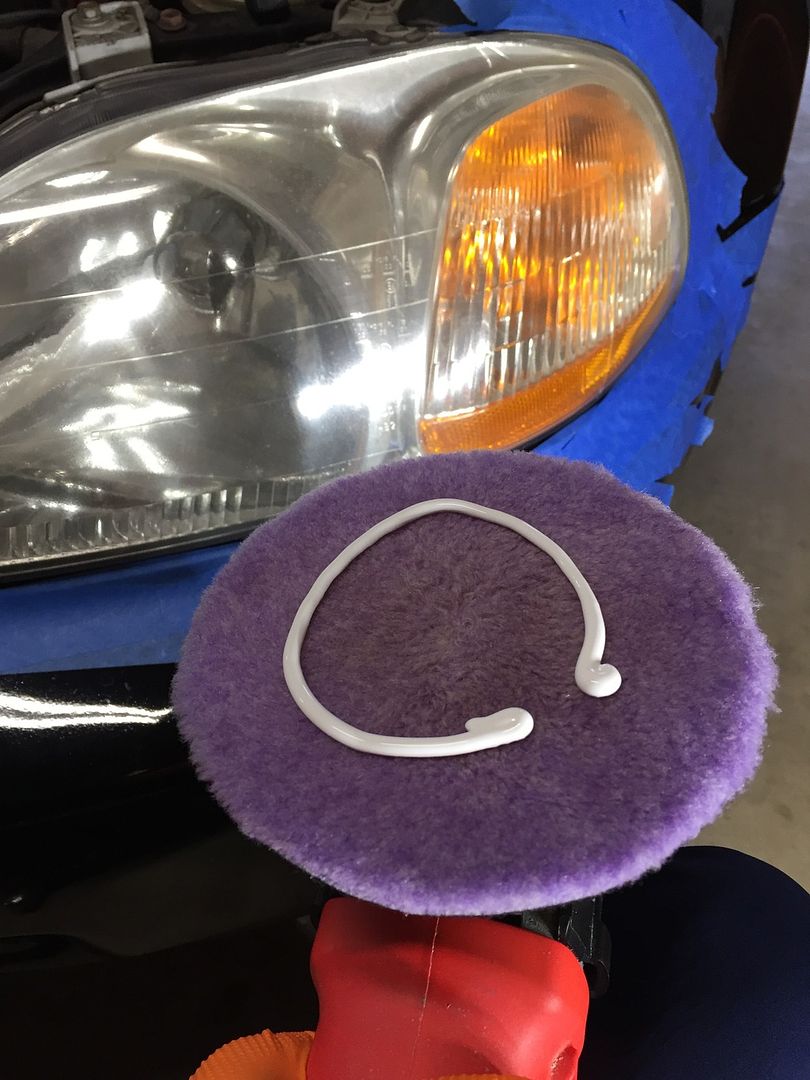
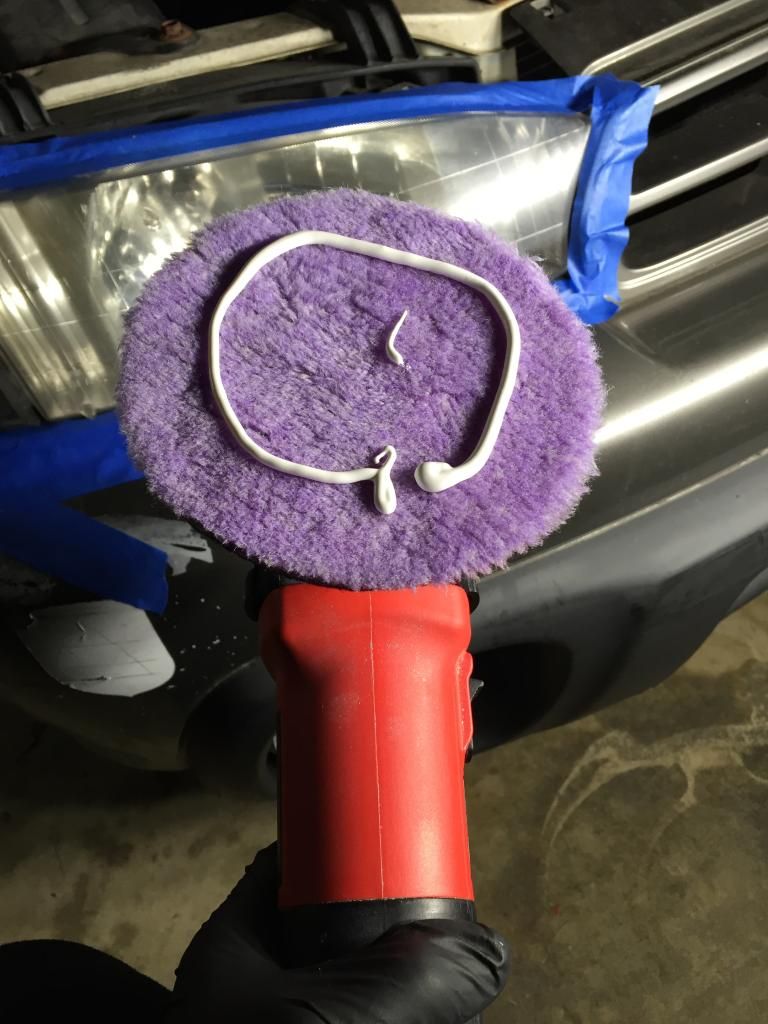
Bead of product applied to outer edge of pad:
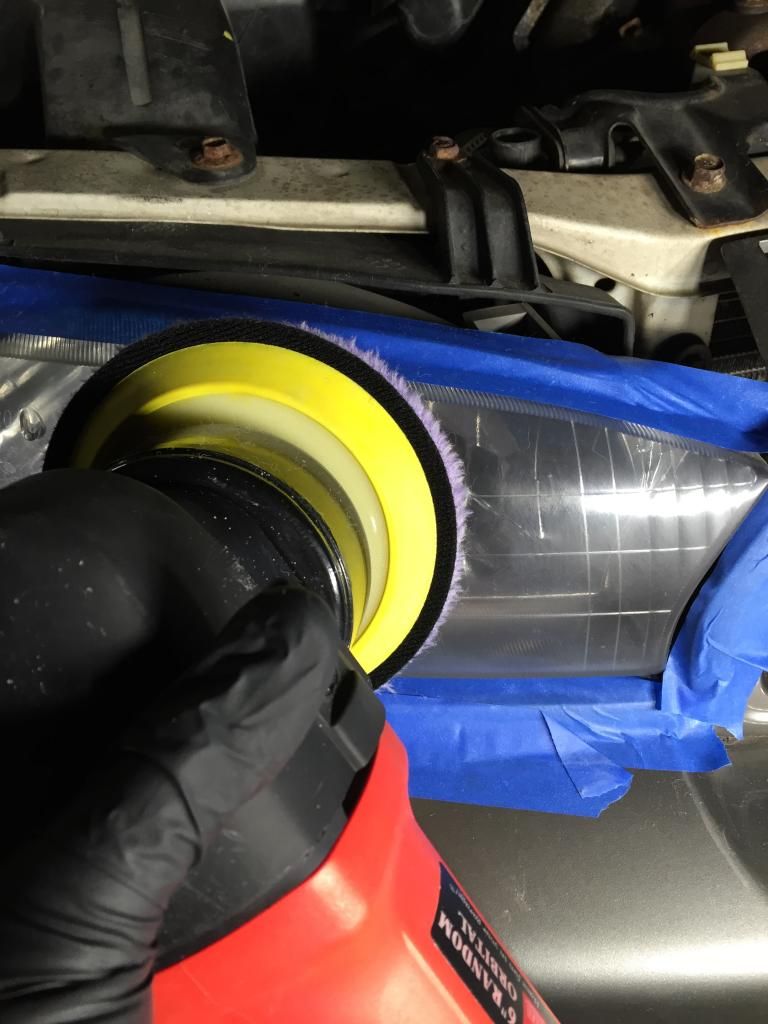
Time to work it into the headlight, GG DA set to speed setting 6:
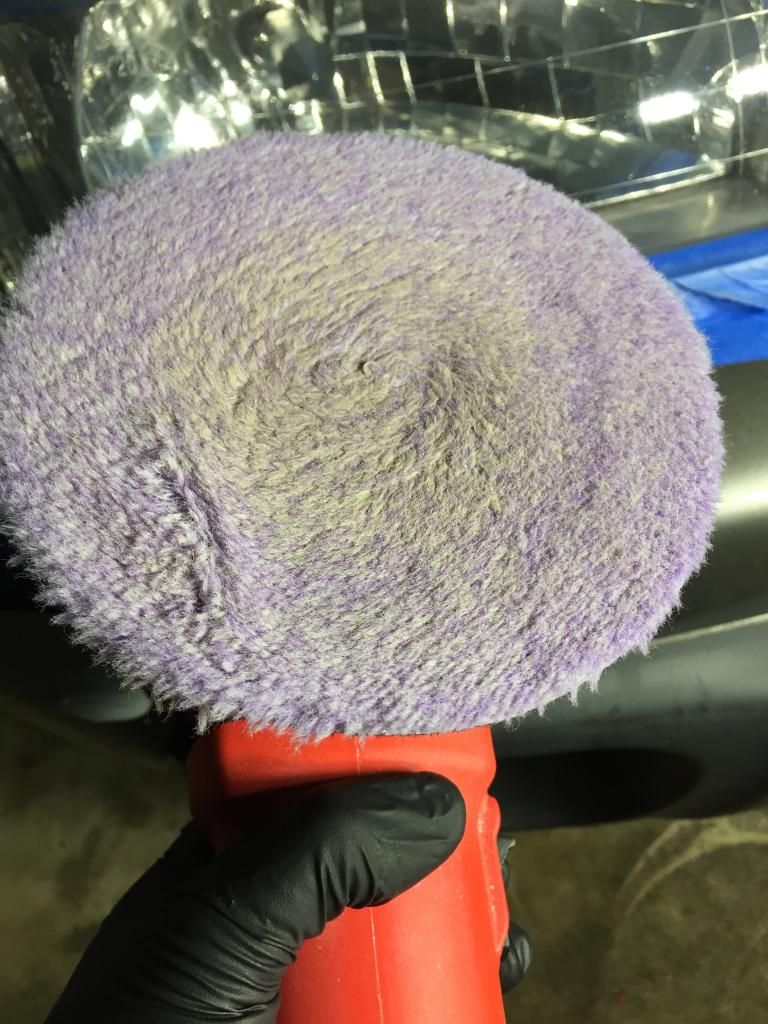
After about a minute the polish starts turning clear, once it’s completely gone here’s what’s left on the pad:
I quickly reload the pad, and repeat the same process on the driver’s side.
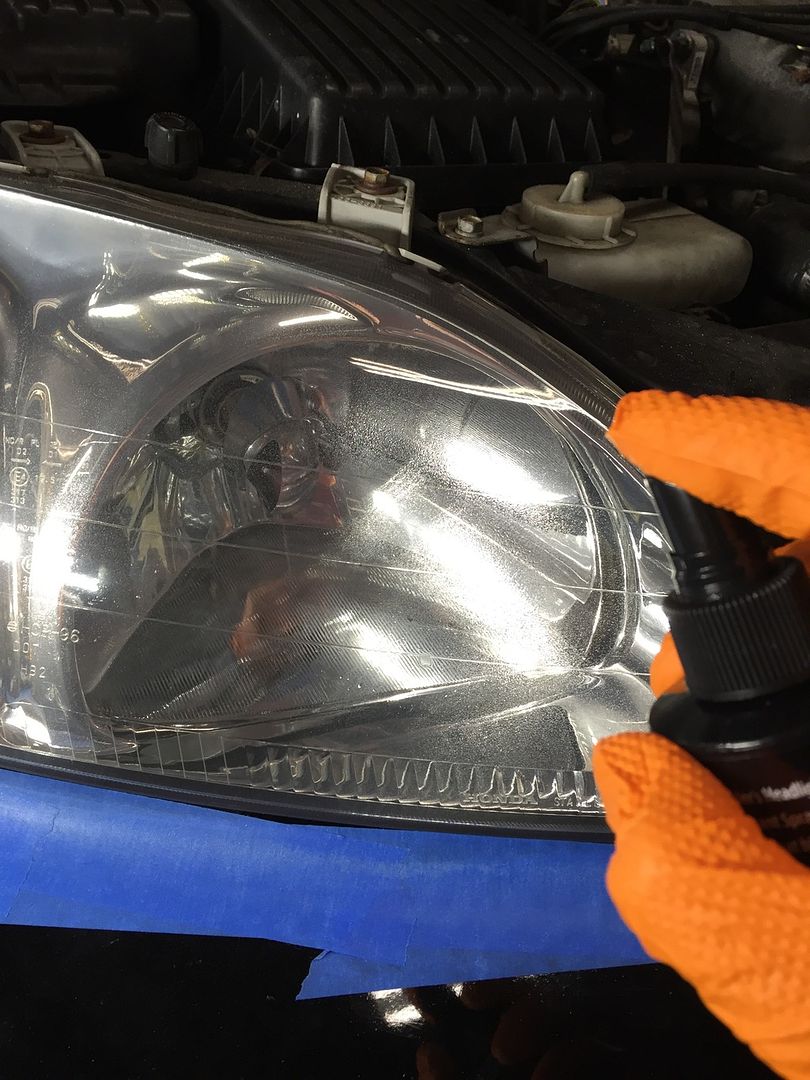
Now it’s time to seal the headlights with Detailer’s Headlight Protectant Spray:
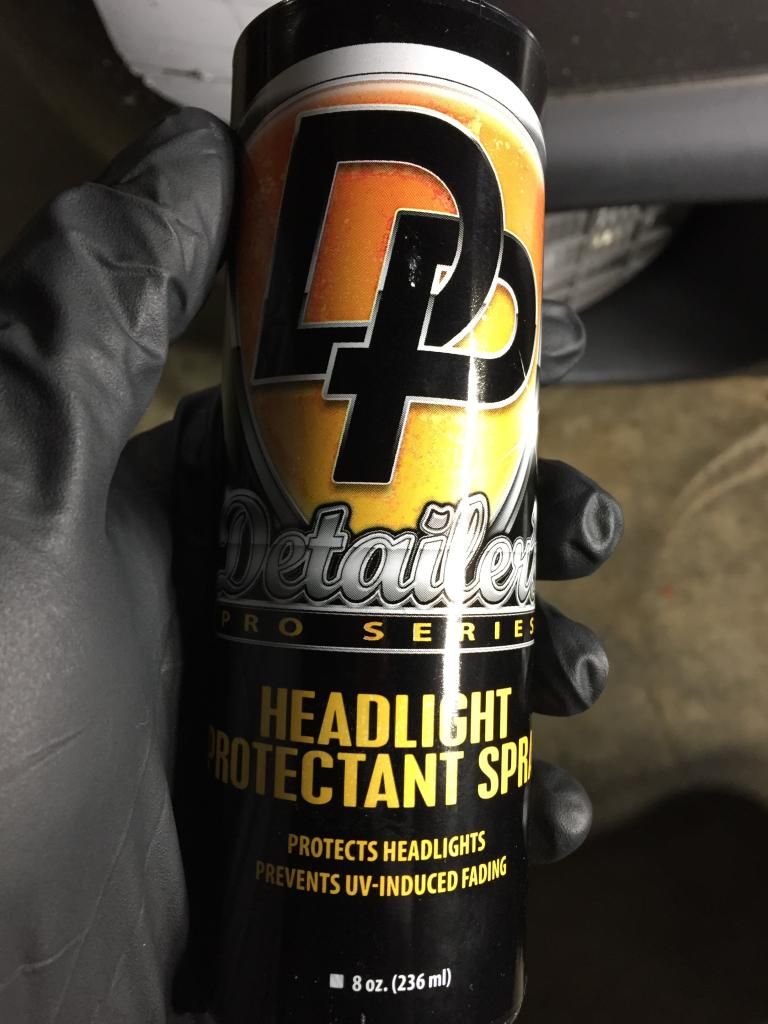
From AG's product page for DP’s Headlight Protectant Spray:
Detailer’s Headlight Protectant Spray is a polymer sealant that blankets your headlight lenses in a clear, durable film of protection. Advanced cross-linking polymers seal the pores of plastic headlight lenses to prevent degradation caused by UV rays, water, and environmental pollution. Use on clear plastic headlight lenses, vinyl windows, and motorcycle windscreens. Treated surfaces will resist yellowing, fading and discoloration.
Directions:
Final Results
Here’s some before and after shots of both headlights after being fully corrected and sealed with Detailer’s All In One Headlight Restoring Polish and Detailer’s Headlight Protectant Spray:
Passengers side BEFORE:

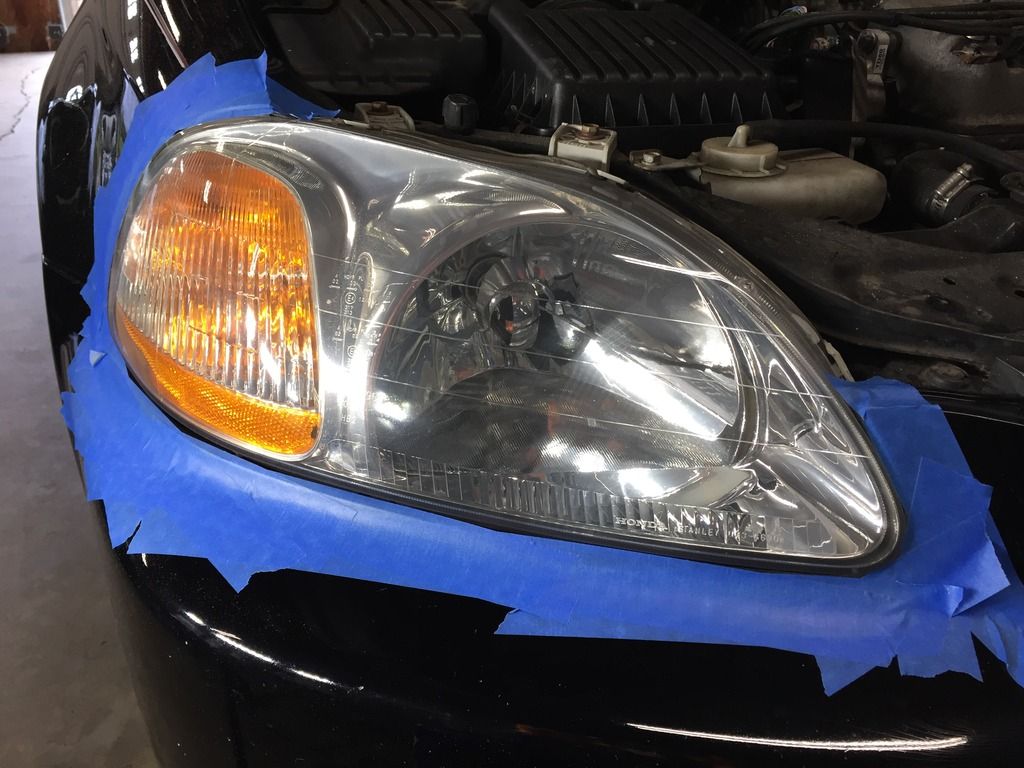
Passengers side AFTER
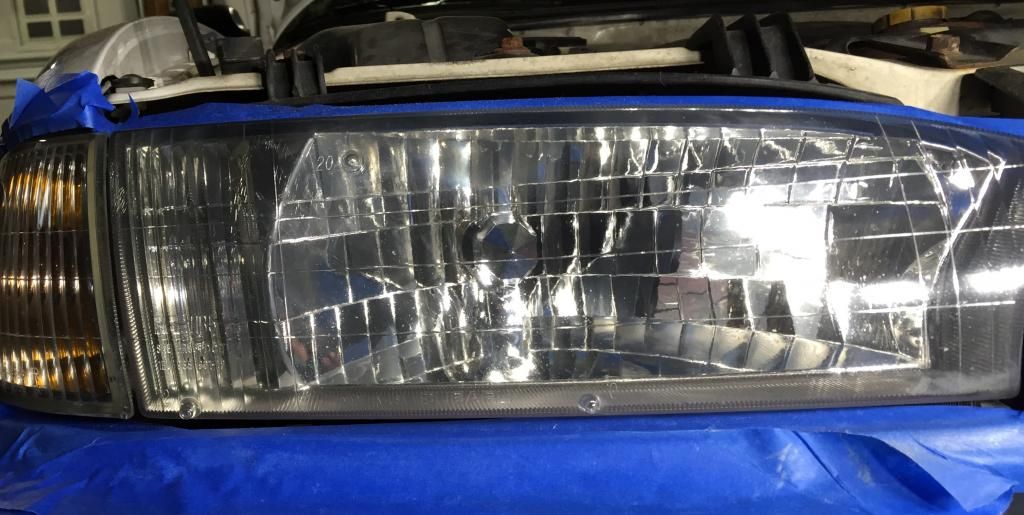
Drivers side BEFORE:

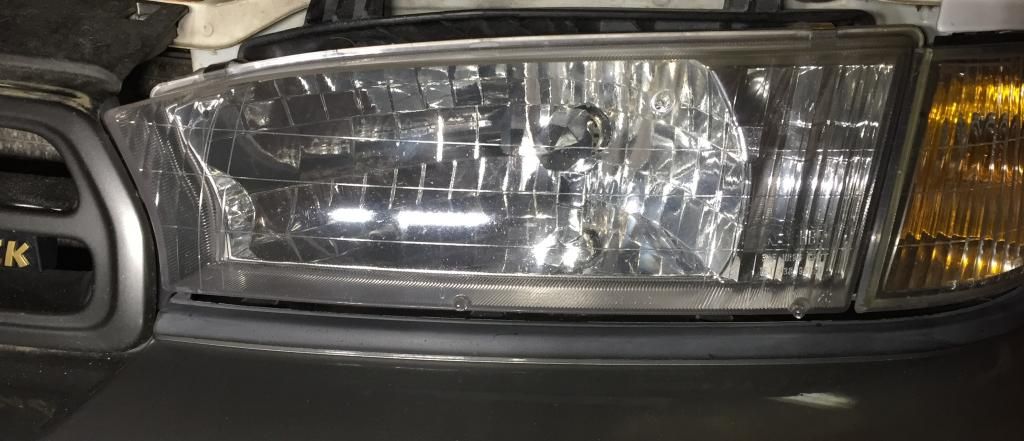
Drivers side AFTER:
Conclusion
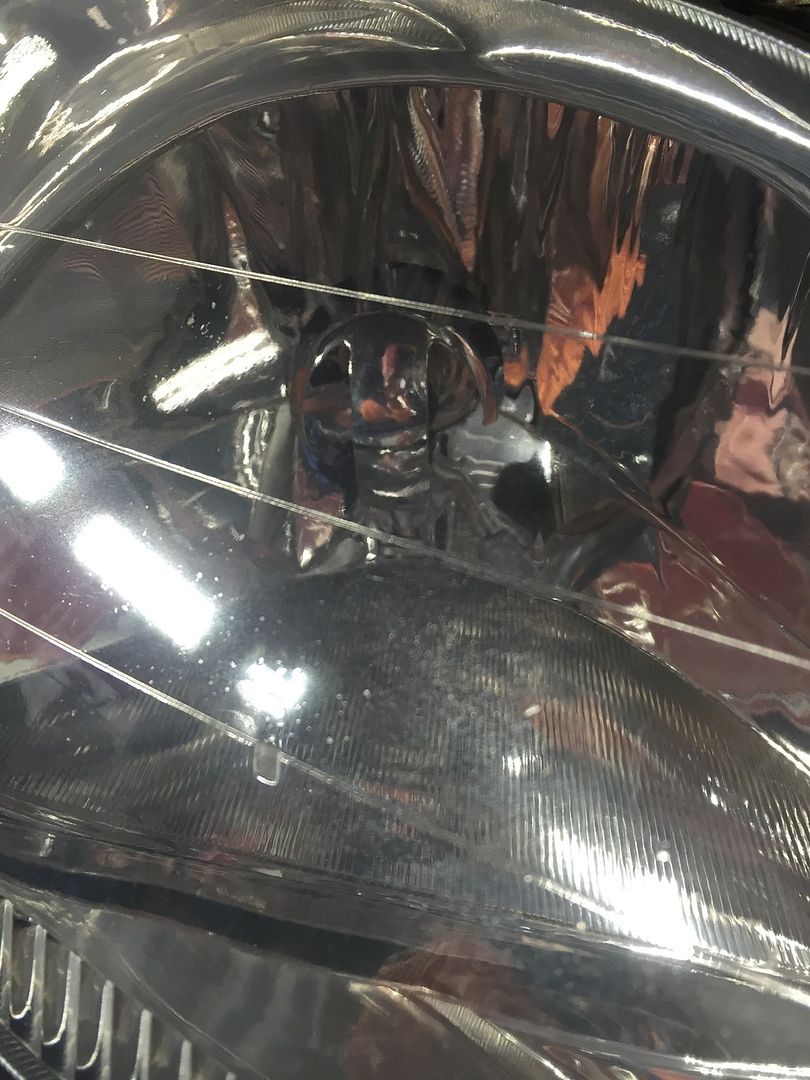
DP’s All In One Headlight Restoring Polish worked extremely well to correct the headlights. It only took a few minutes per lens to achieve crystal clear results with my DA. By immediately following up with Detailer’s Headlight Protectant Spray I’m optimistic the headlights will not return to their prior state anytime soon.
Recommendation
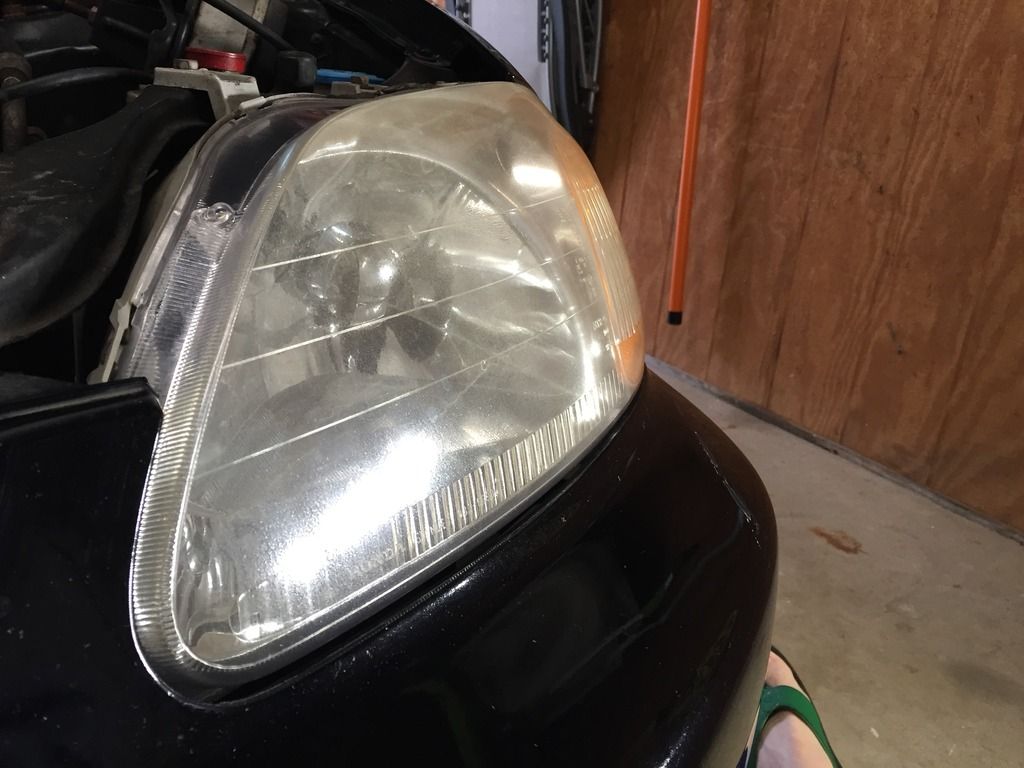
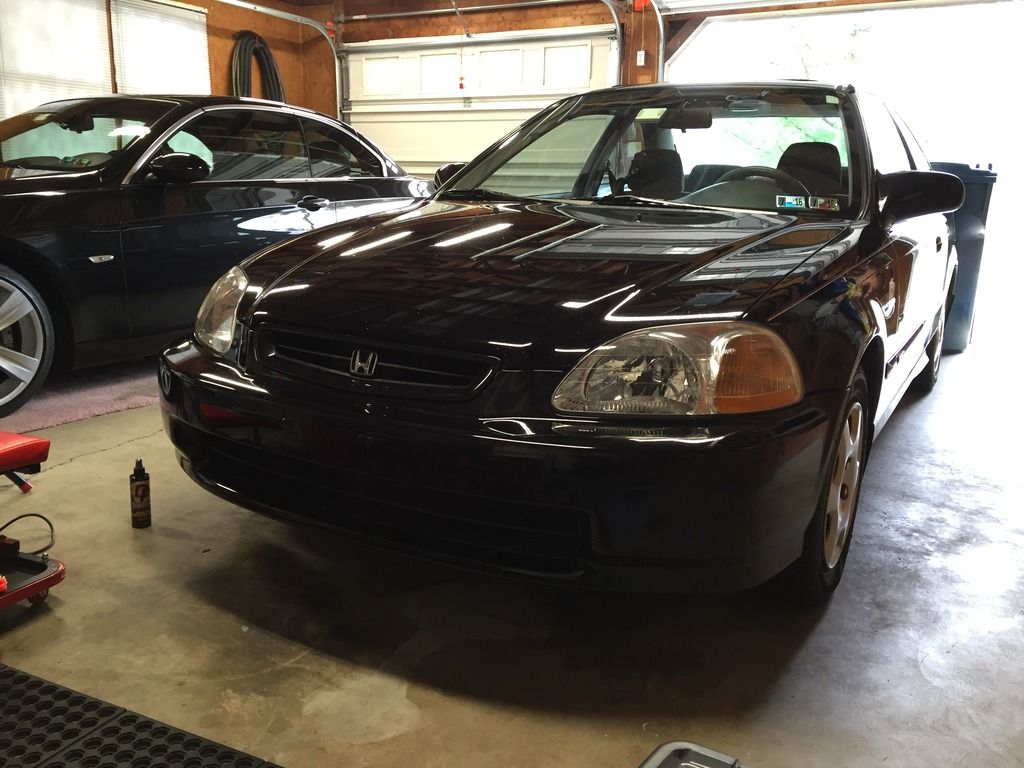
This was my first time using DP’s All In One Headlight Restoring Polish and I was very impressed by how well it works. I’ve used Meguiars PlastX Clear Plastic Polish for a few years after buying the Meguiars Headlight & Clear Plastic Restoration Kit from my local Pep Boys to fix my Honda Civic’s headlights. What’s missing however from Meg’s kit is a headlight sealant. If you want long lasting results you must re-seal your headlights with a product designed to prevent your headlights from hazing over again in a few months.
For any notices out there looking to replicate my results, I'd recommend buying The Detailer's Total Headlight Restoration Kit as it comes with everything you need to get the job done right the first time.
As always, your comments and questions are welcome! I hope this review was helpful.
Products used:
Detailer’s All In One Headlight Restoring Polish
Detailer’s Headlight Protectant Spray
Griots Garage 6 Inch Polisher
5Inch DA Backing Plate
5.5 Inch Thin Foamed Wool Pad

Drivers side close up:

Passengers side close up:

They’ve had this car since new and as you can see the headlights are badly hazed and have never been corrected. As great as this car is in inclement weather in the dark the headlights have always left A LOT to be desired. So making sure they’re cleaned and at their best is important.
First up, Detailer’s All In One Headlight Restoring Polish:

From AG's product page for DP’s AIO Headlight Restoring Polish:
Detailer’s All In One Headlight Restoring Polish is a one-step cleaner, compound and polish for plastic headlight lenses. Formulated using an advanced blend of micro and diminishing abrasives, Detailer’s All In One Headlight Restoring Polish makes multi-step headlight polishing systems obsolete. In one simple step you’ll be able to restore yellowed, dull, faded plastic headlight lenses to like-new condition, increasing nighttime visibility and reducing glare.
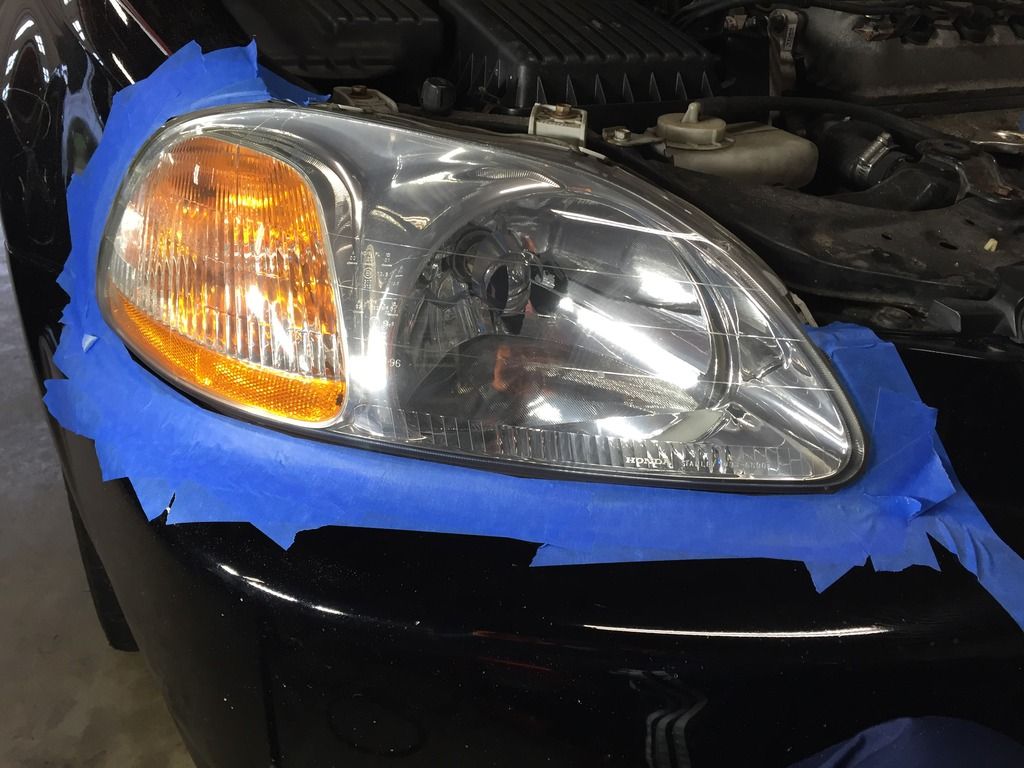
After thoroughly cleaning both headlights, I tape them off and go to work. Of the 2, the passengers side lens is by far the is the worst so I’ll start there. (Full disclosure, I also used this lens to test the bug spray myth.)
Directions:
- Ensure surface is clean and cool to the touch.
- Tape off paint surrounding lenses. Apply using a drill or polisher equipped with the proper backing plate and foam or wool cutting pad.
- Dispense a line of polish around outer edge of pad. Press pad to lens cover and turn on. If you are using a drill or rotary polisher, set speed between 1500 and 1800 RPM. If you are using a dual action polisher, set speed between 5000 and 6000 OPM.
- Work polish in until it turns clear.
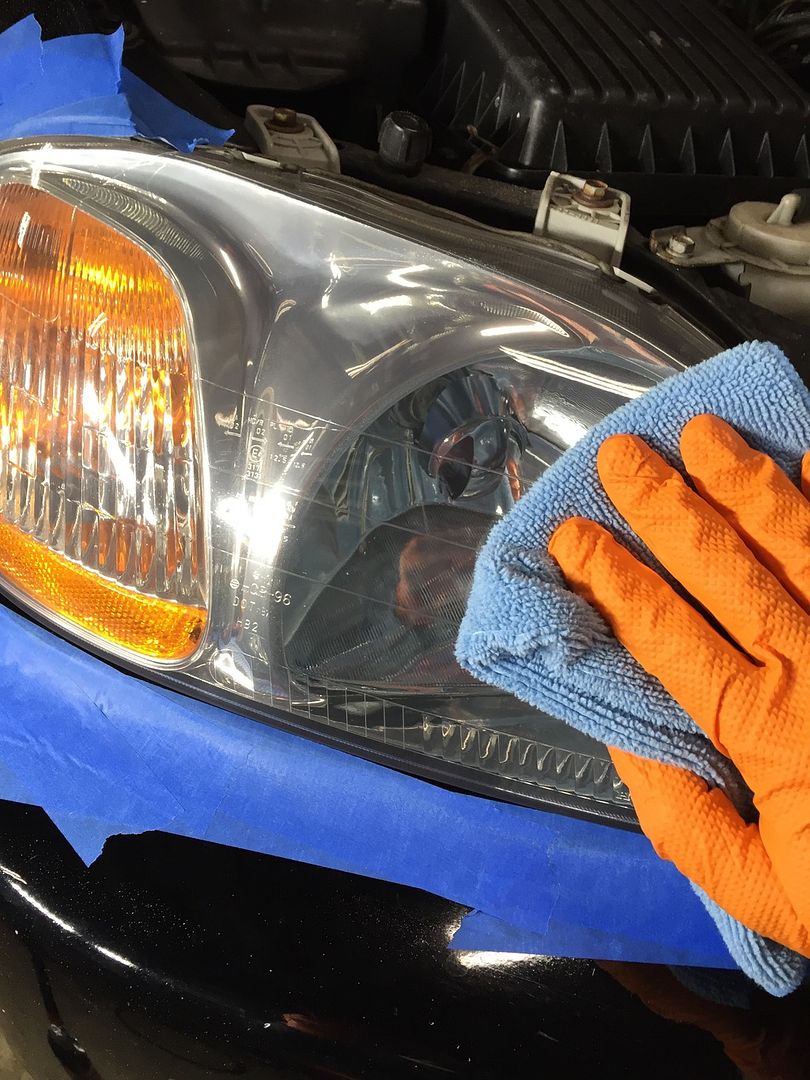
- Wipe off residue with a microfiber towel. Repeat if necessary.
- Follow with Detailer’s Headlight Protectant Spray to retard UV-induced yellowing and fading.
Bead of product applied to outer edge of pad:

Time to work it into the headlight, GG DA set to speed setting 6:

After about a minute the polish starts turning clear, once it’s completely gone here’s what’s left on the pad:

I quickly reload the pad, and repeat the same process on the driver’s side.
Now it’s time to seal the headlights with Detailer’s Headlight Protectant Spray:

From AG's product page for DP’s Headlight Protectant Spray:
Detailer’s Headlight Protectant Spray is a polymer sealant that blankets your headlight lenses in a clear, durable film of protection. Advanced cross-linking polymers seal the pores of plastic headlight lenses to prevent degradation caused by UV rays, water, and environmental pollution. Use on clear plastic headlight lenses, vinyl windows, and motorcycle windscreens. Treated surfaces will resist yellowing, fading and discoloration.
Directions:
- Ensure surface is clean, cool to the touch and free of oxidation or yellowing. If necessary, polish lenses first using Detailer’s All In One Headlight Restoring Polish.
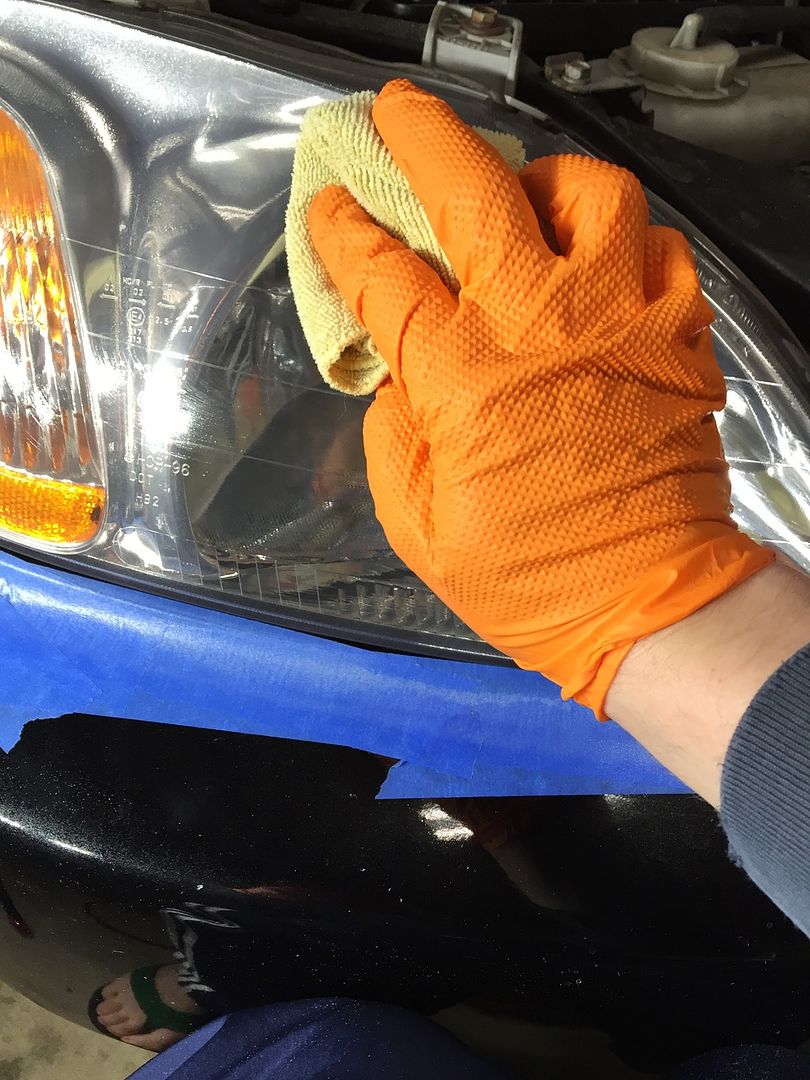
- Spray product directly onto surface and evenly distribute using a microfiber towel.
- Flip towel over and lightly buff area.
- Apply a second coat to ensure even coverage.
Final Results
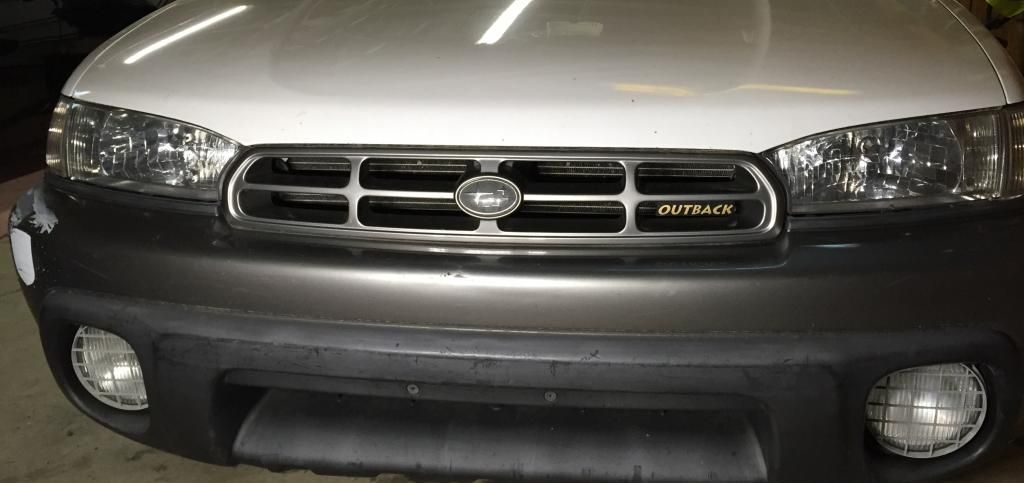
Here’s some before and after shots of both headlights after being fully corrected and sealed with Detailer’s All In One Headlight Restoring Polish and Detailer’s Headlight Protectant Spray:
Passengers side BEFORE:

Passengers side AFTER

Drivers side BEFORE:

Drivers side AFTER:


Conclusion
DP’s All In One Headlight Restoring Polish worked extremely well to correct the headlights. It only took a few minutes per lens to achieve crystal clear results with my DA. By immediately following up with Detailer’s Headlight Protectant Spray I’m optimistic the headlights will not return to their prior state anytime soon.
Recommendation
This was my first time using DP’s All In One Headlight Restoring Polish and I was very impressed by how well it works. I’ve used Meguiars PlastX Clear Plastic Polish for a few years after buying the Meguiars Headlight & Clear Plastic Restoration Kit from my local Pep Boys to fix my Honda Civic’s headlights. What’s missing however from Meg’s kit is a headlight sealant. If you want long lasting results you must re-seal your headlights with a product designed to prevent your headlights from hazing over again in a few months.
For any notices out there looking to replicate my results, I'd recommend buying The Detailer's Total Headlight Restoration Kit as it comes with everything you need to get the job done right the first time.
As always, your comments and questions are welcome! I hope this review was helpful.
Products used:
Detailer’s All In One Headlight Restoring Polish
Detailer’s Headlight Protectant Spray
Griots Garage 6 Inch Polisher
5Inch DA Backing Plate
5.5 Inch Thin Foamed Wool Pad

