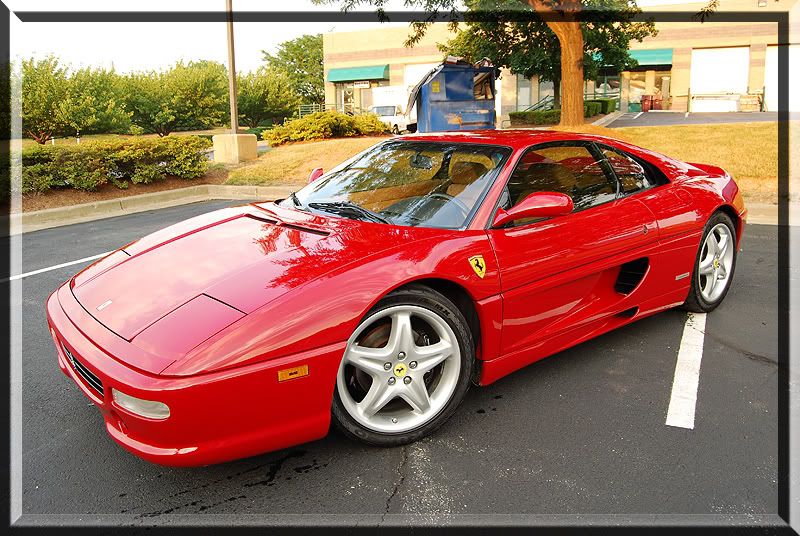
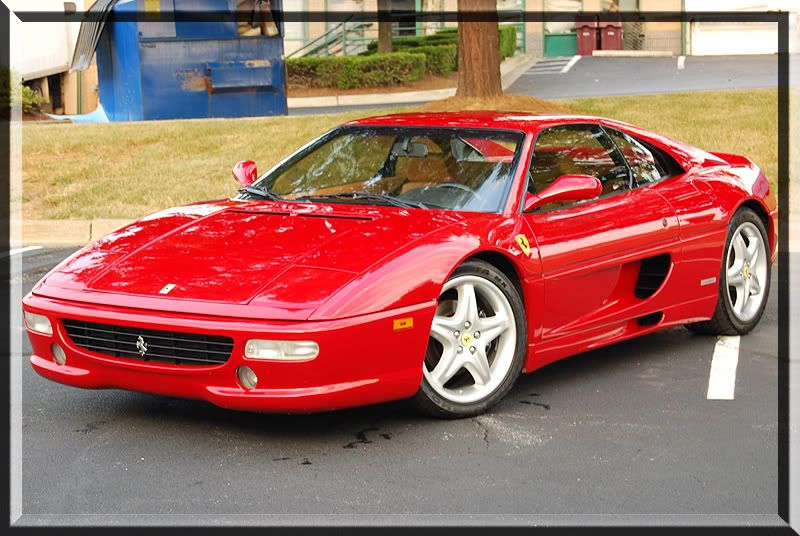
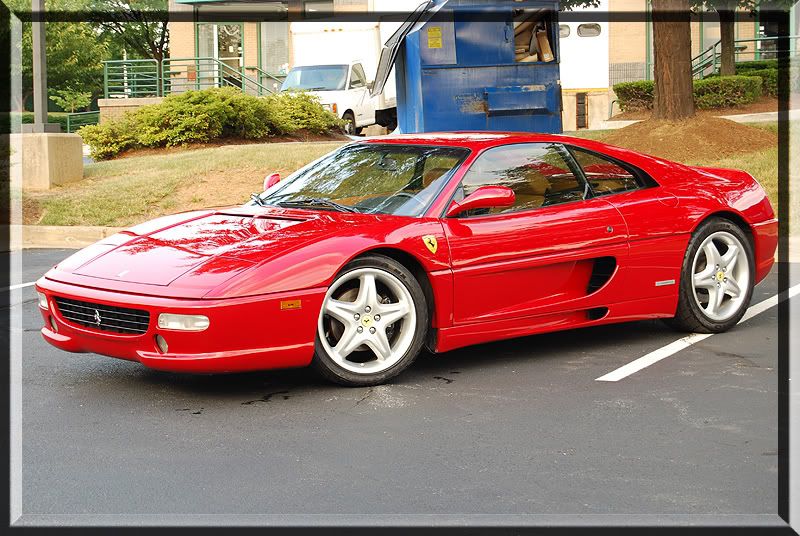
The car is a 1996 Ferrari 355 Berlinetta. Owner recently purchased it and wanted it detailed. Previous owner didn’t appear to take very good care of it as it was pretty swirled and the marring was a little deep. The paint is single stage and was actually a little bit of a pain to work with. This is not the typical Ferrari bright red, but instead, a deeper slight maroon red.
Time Spent: About 10 hours
Process:
Wash and clay
EC with Orange Cut @ 1800 rpms
Menz SIP with White Polish Pad @ 1800rpms
Menz 106FF with Blue Finesse Pad @ 1500rpms
Re-washed
Zymol Ital
Tires Dressed with Z16
I also did some light interior work and cleaned the engine bay but was pressed for time and didn’t take those pics.
Pics!
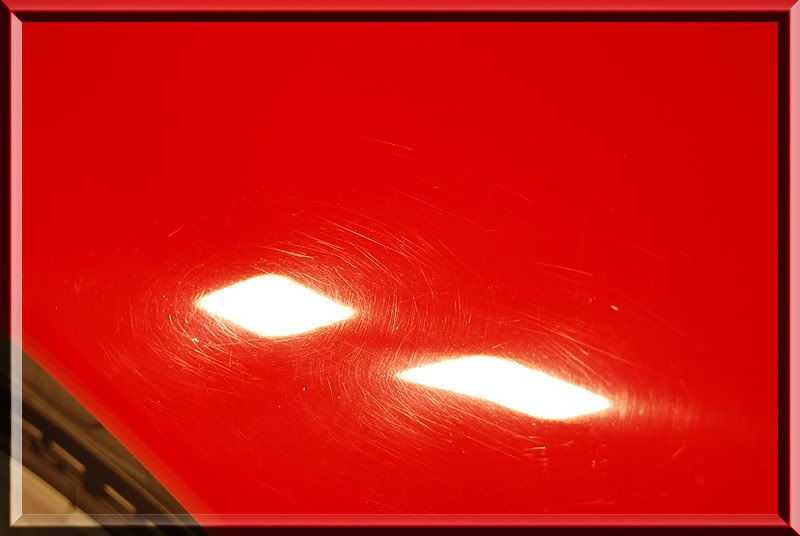
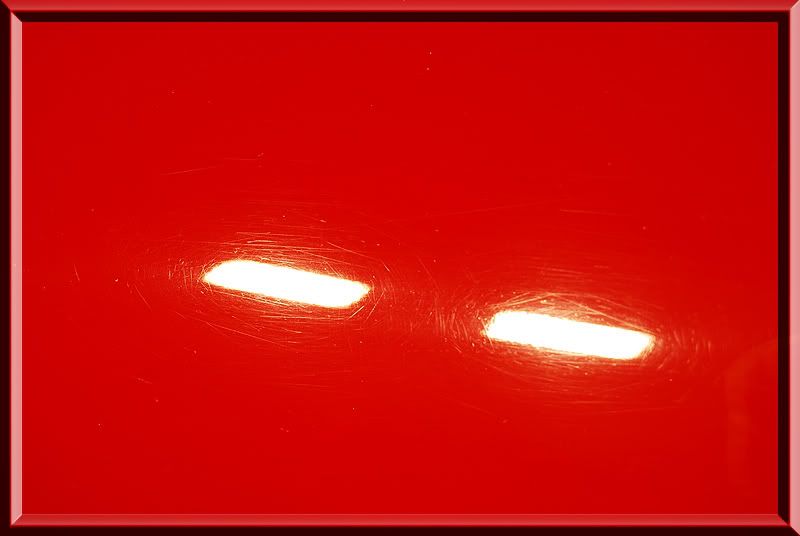
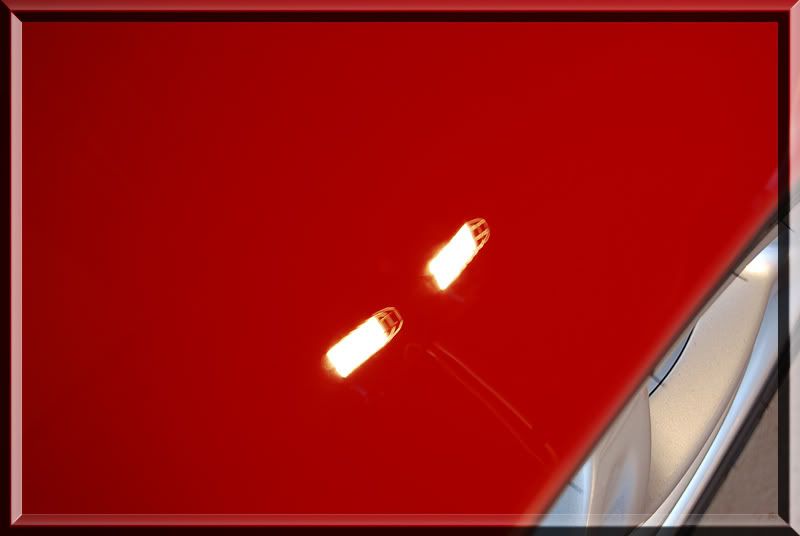
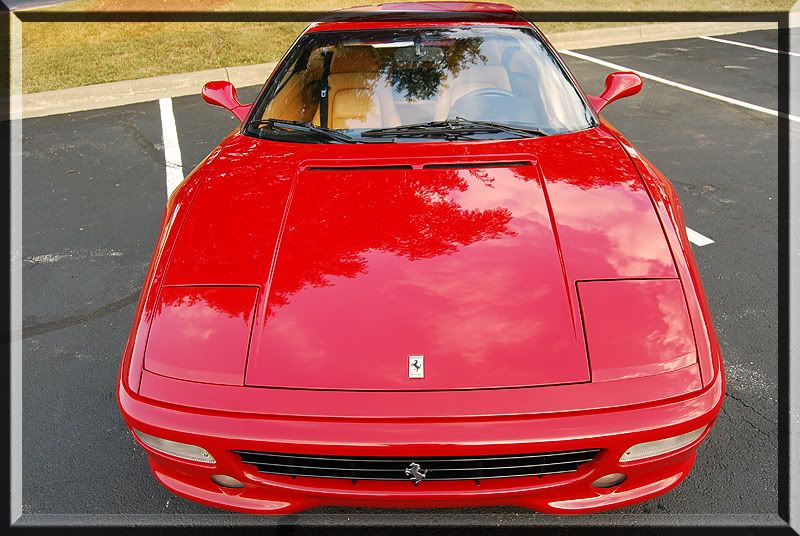
Hood Before:
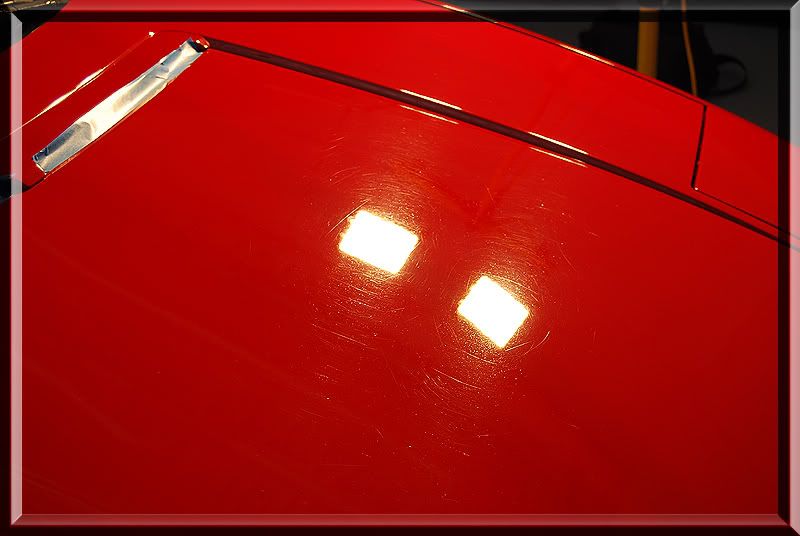
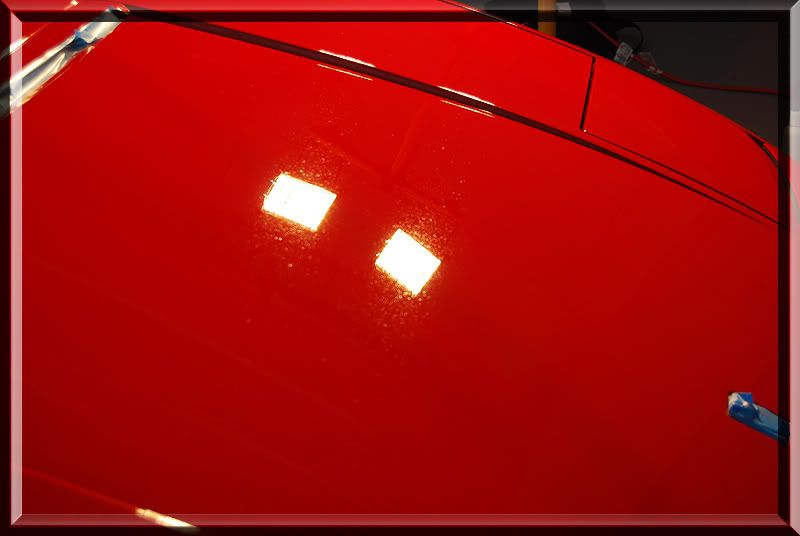
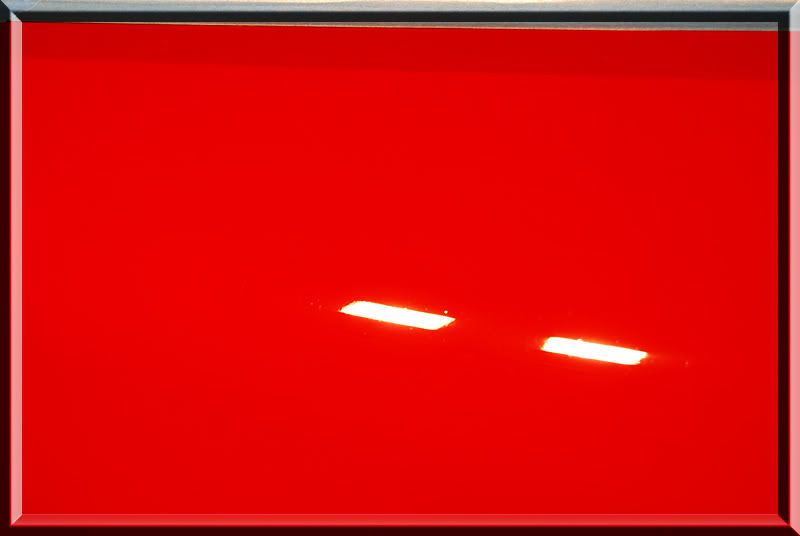
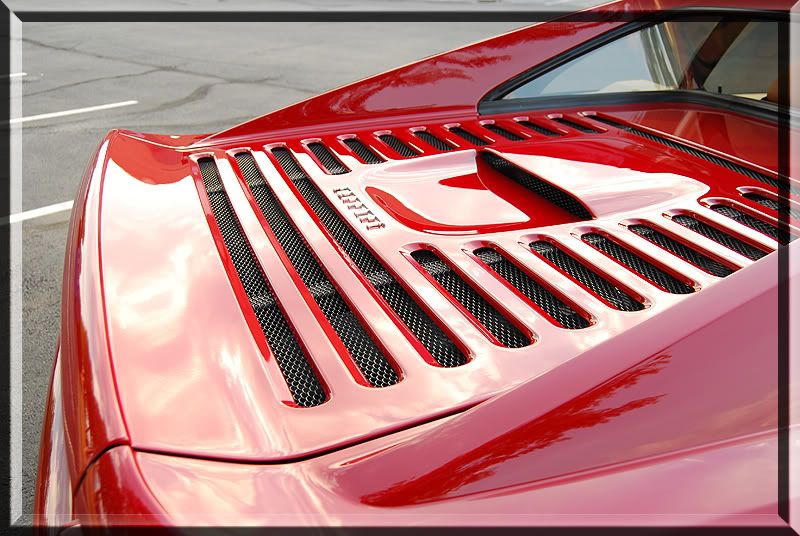
Hood After (Those dots are sand pitting/road rash):
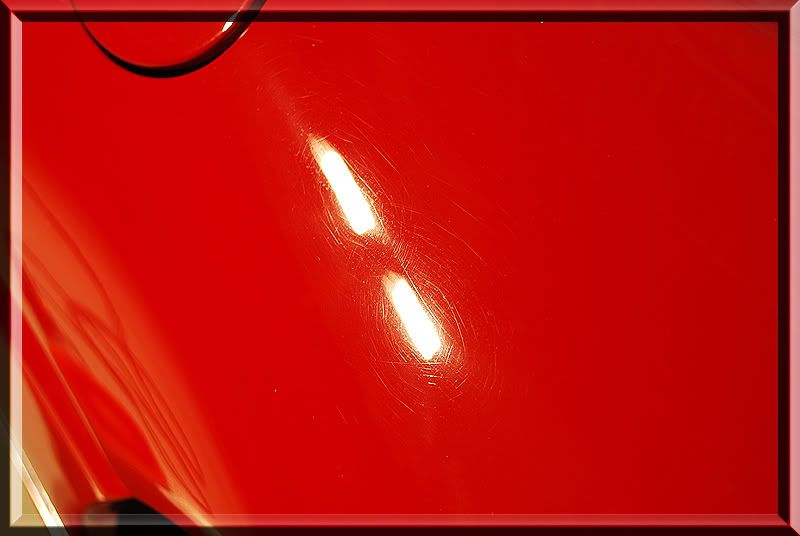
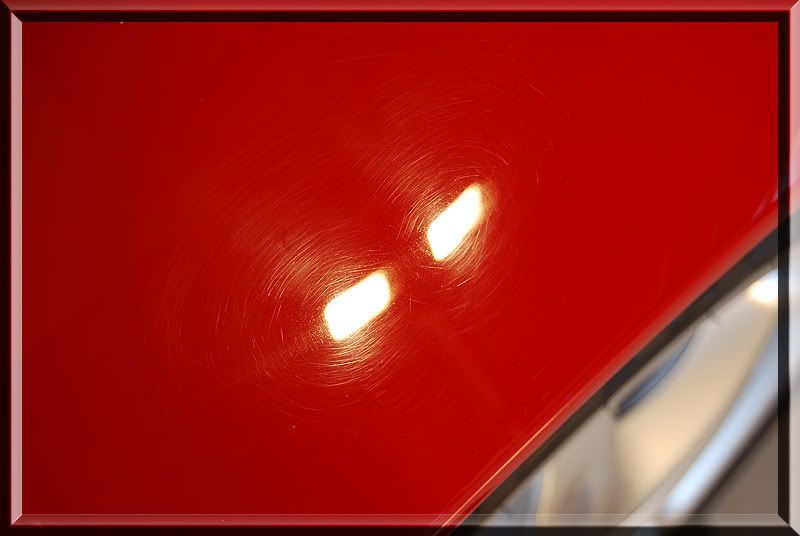
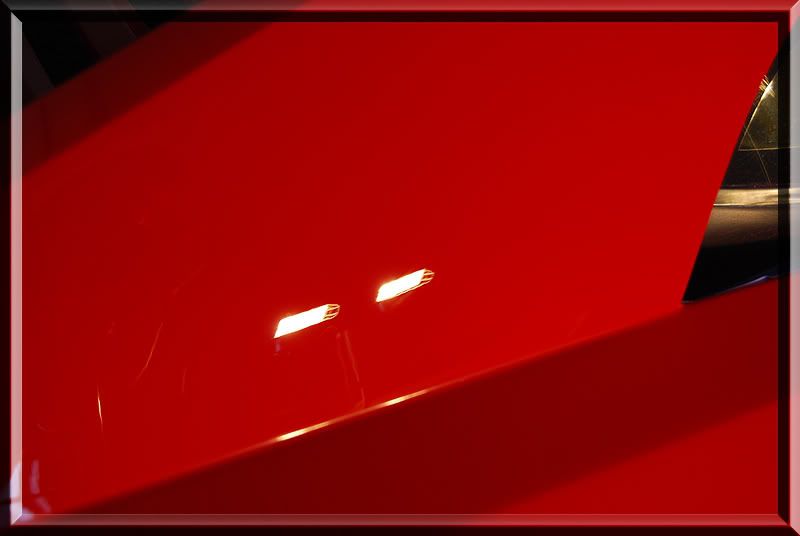
Driver Fender Before:
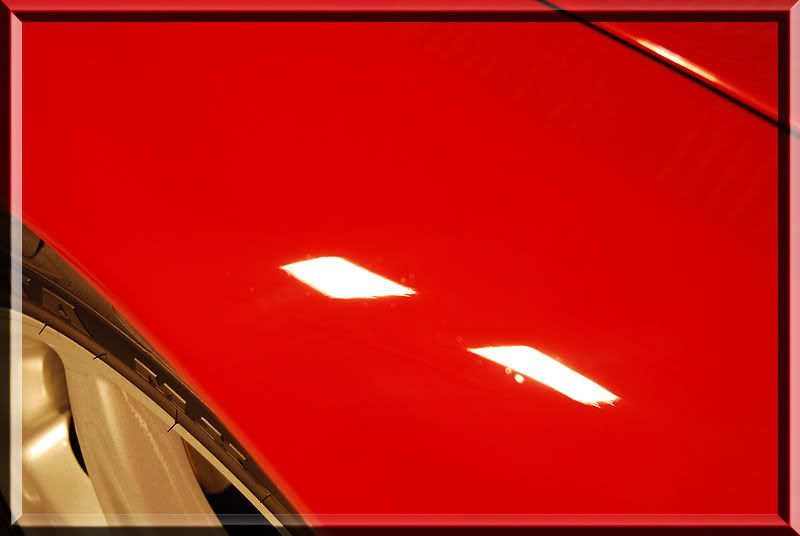
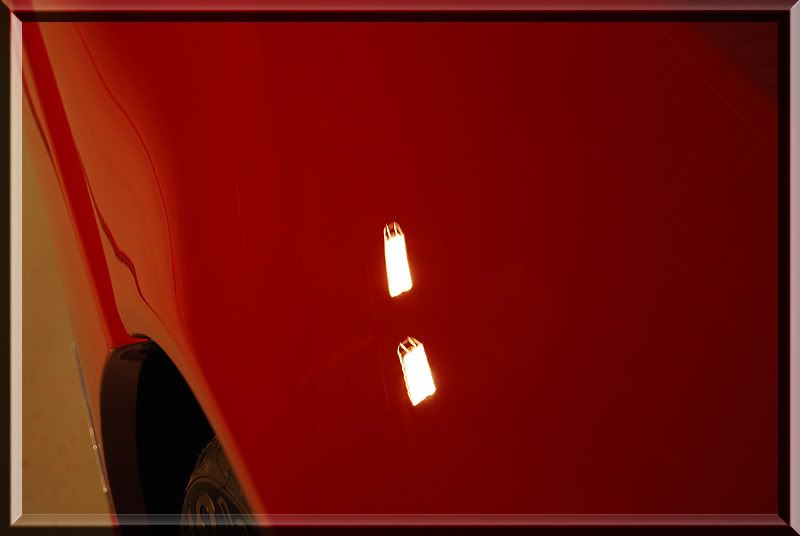
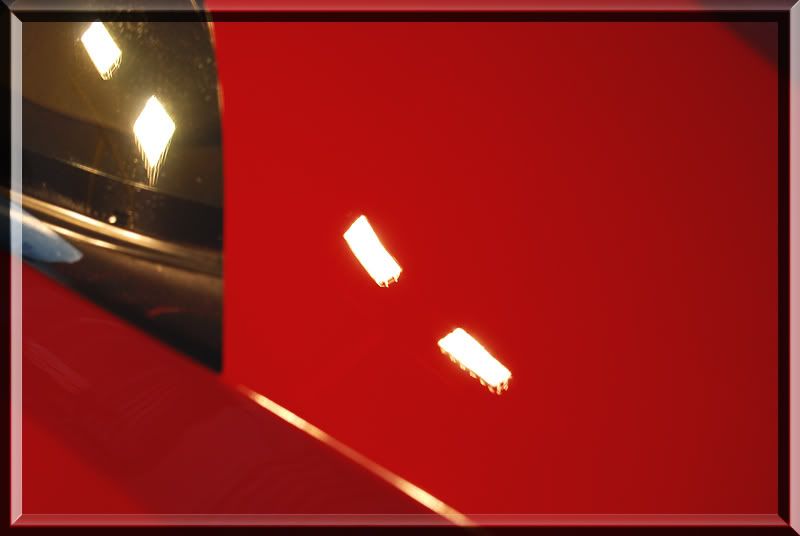
Driver Fender After:
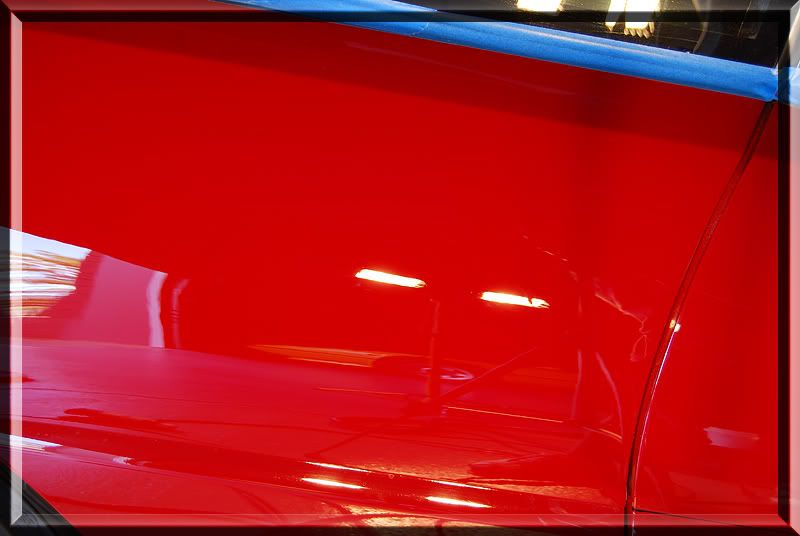
Driver Door Before:
Driver Door After:
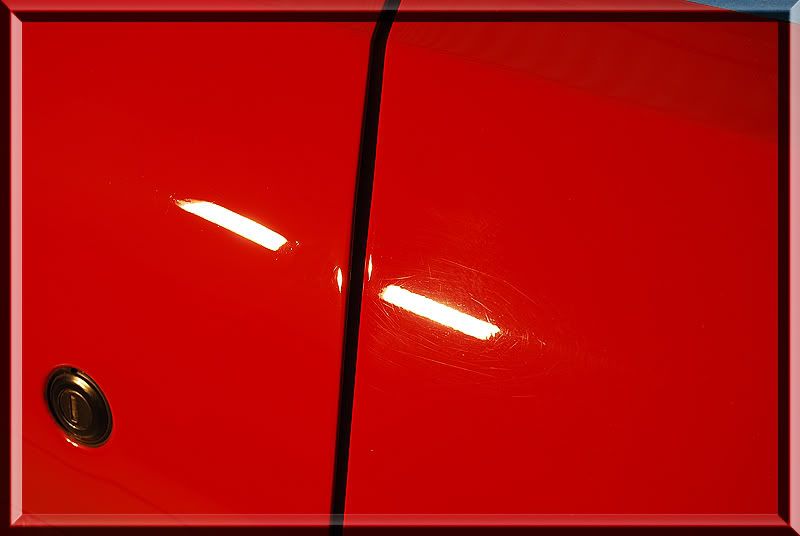
Comparison of Driver Door Polished and Quarter Panel Untouched:
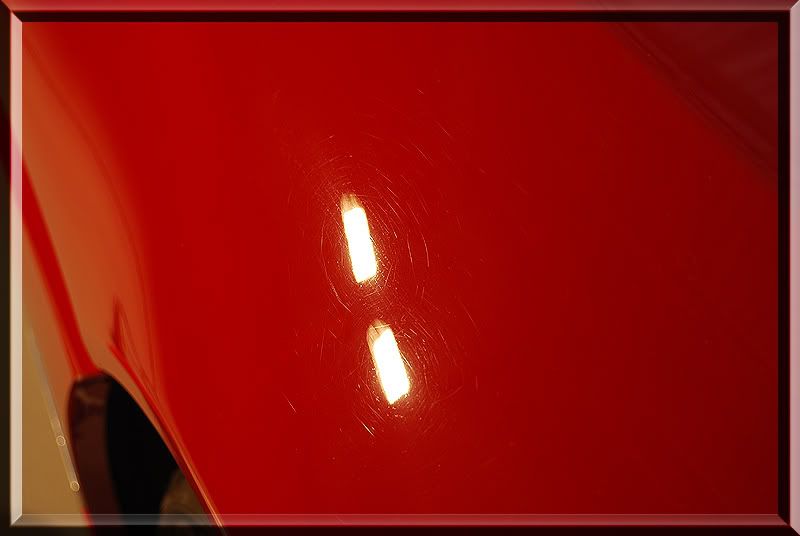
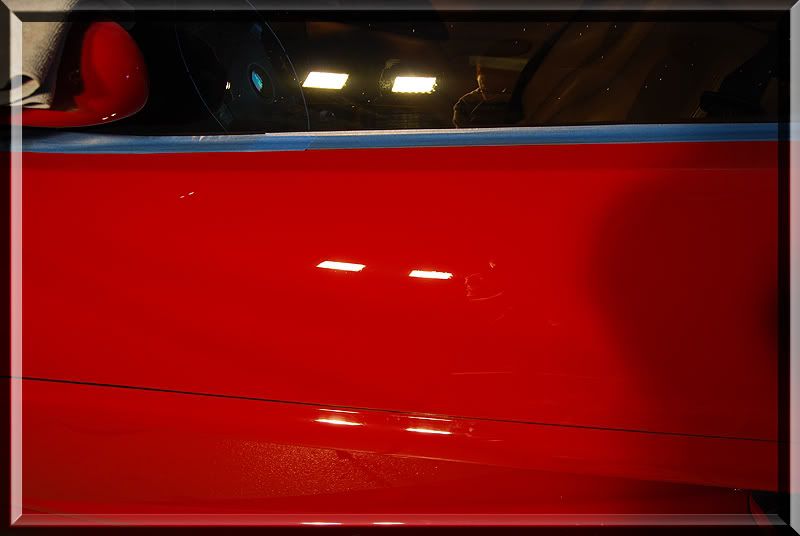
Driver Quarter Panel Before:
Driver Quarter Panel After:
Top of Driver Quarter Panel Before:

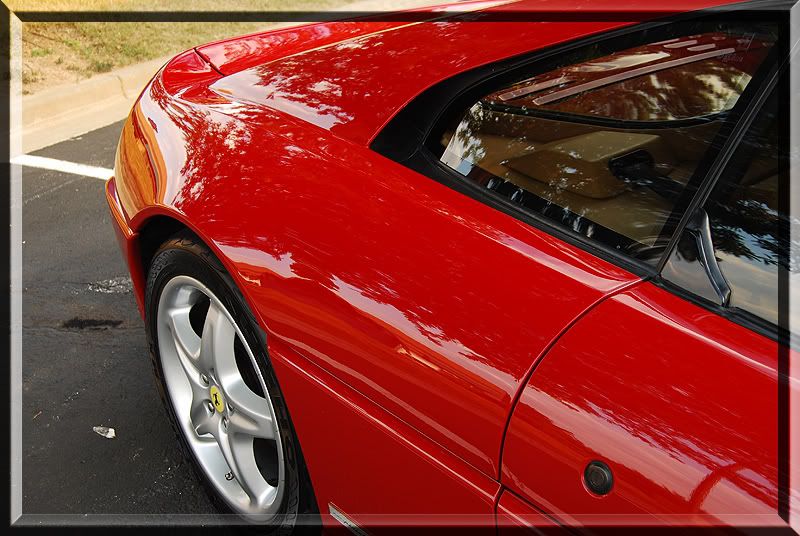
Top of Driver Quarter Panel After:
Driver Quarter Panel Before:
Driver Quarter Panel After:

Passenger Fender Before:
Passenger Fender After:
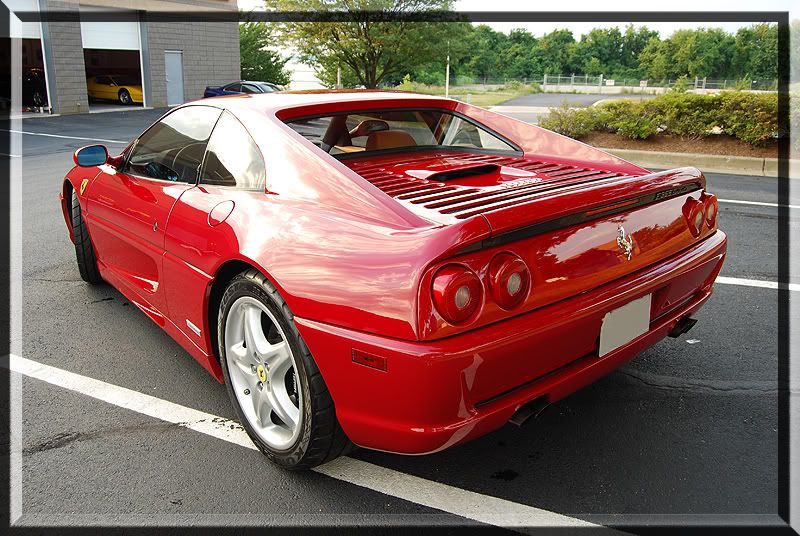
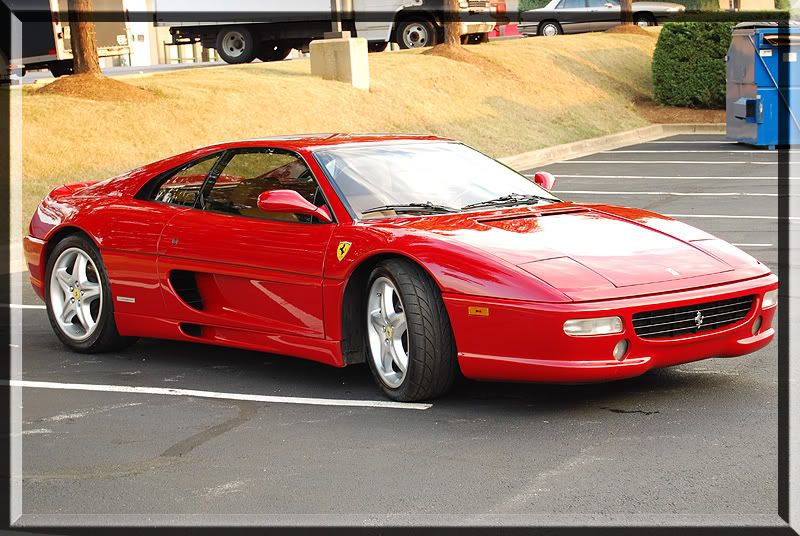
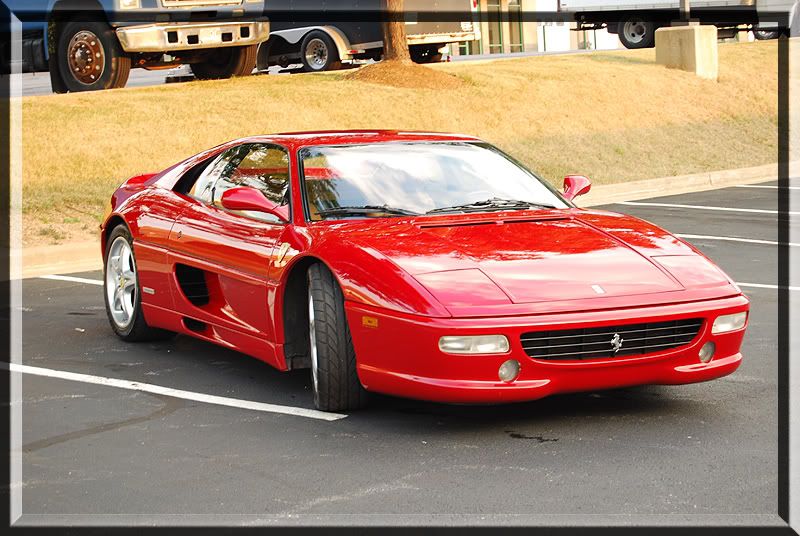
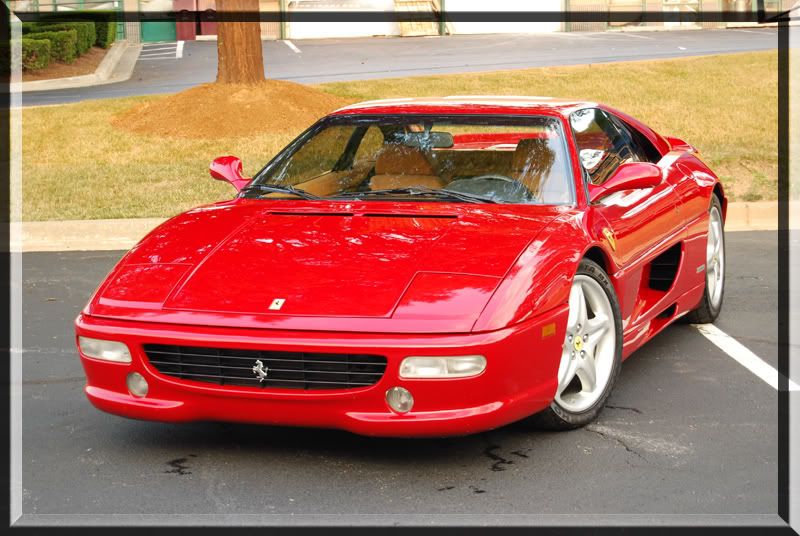
Some Random After Shots:
Time Spent: About 10 hours
Process:
Wash and clay
EC with Orange Cut @ 1800 rpms
Menz SIP with White Polish Pad @ 1800rpms
Menz 106FF with Blue Finesse Pad @ 1500rpms
Re-washed
Zymol Ital
Tires Dressed with Z16
I also did some light interior work and cleaned the engine bay but was pressed for time and didn’t take those pics.
Pics!
Hood Before:
Hood After (Those dots are sand pitting/road rash):
Driver Fender Before:
Driver Fender After:
Driver Door Before:
Driver Door After:
Comparison of Driver Door Polished and Quarter Panel Untouched:
Driver Quarter Panel Before:
Driver Quarter Panel After:
Top of Driver Quarter Panel Before:
Top of Driver Quarter Panel After:
Driver Quarter Panel Before:
Driver Quarter Panel After:
Passenger Fender Before:
Passenger Fender After:
Some Random After Shots:

")
